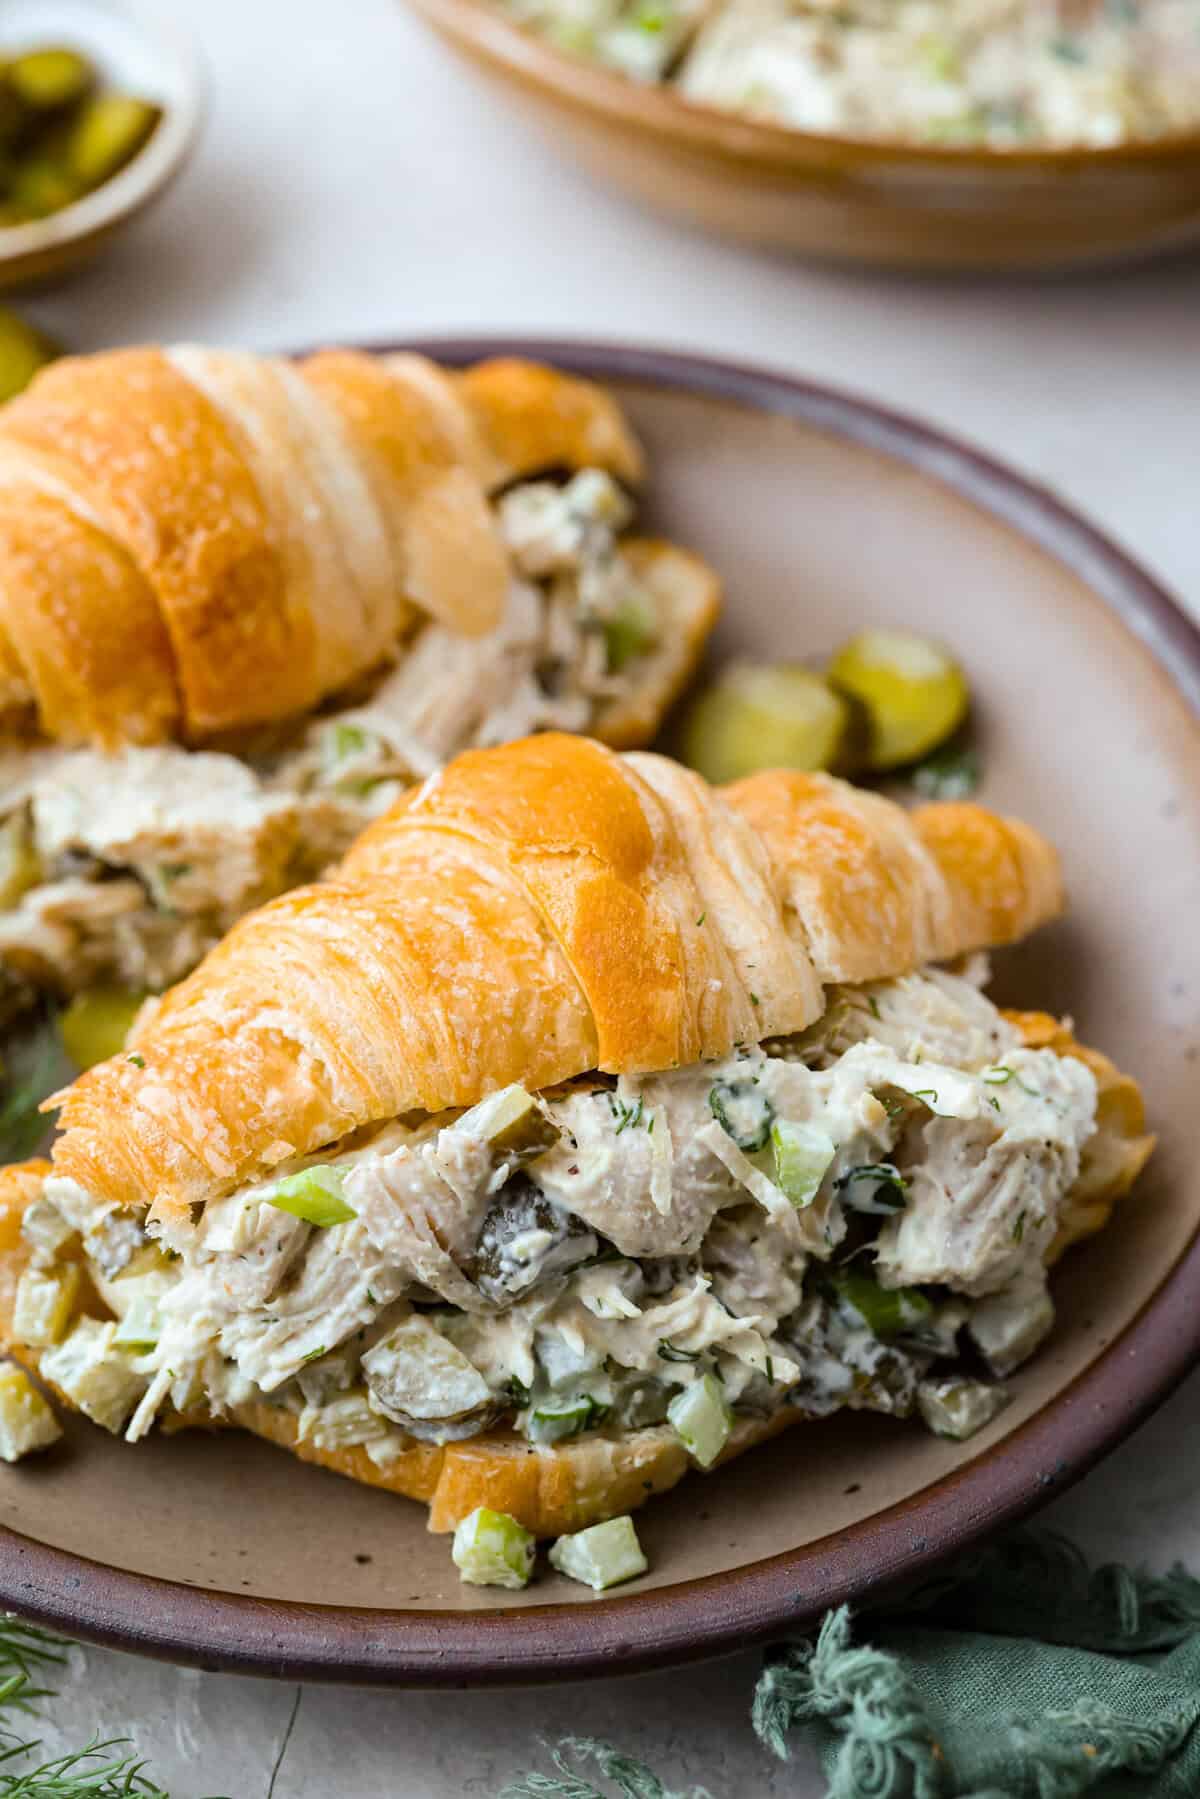
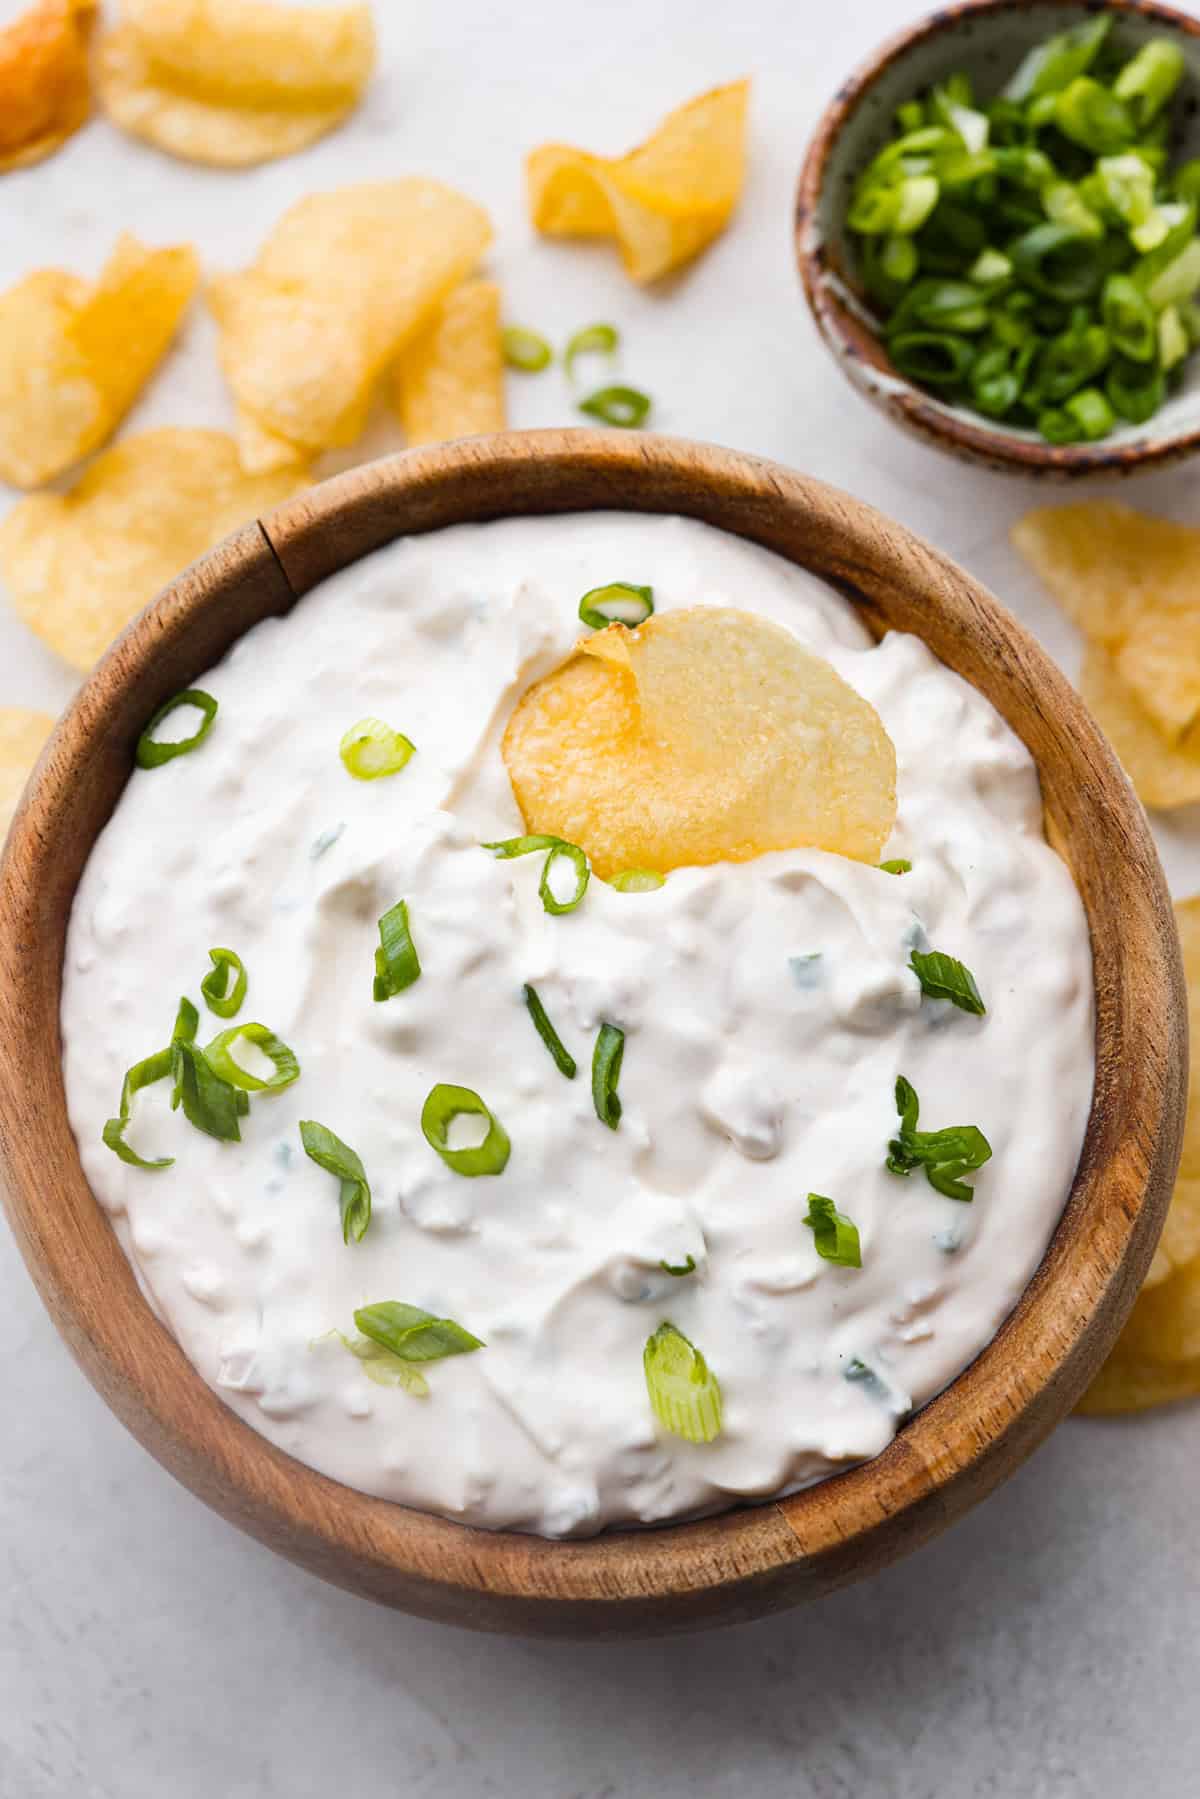
I’m obsessed with dill pickles, and you guys go nuts over my viral chicken salad. So, I made this high protein, super flavorful Dill Pickle Chicken Salad, and it’s amaze!
Pickle Lovers Dream!
Crunchy and Zesty Flavor: Say goodbye to regular chicken salad. This recipe brings your favorite zesty, dill pickle flavor and crunch!
High Protein: I am always on the hunt for high-protein recipes. This one has about 19 grams of protein per serving.
Ridiculously Easy: This recipe is ready in 10 minutes! I know my pickle girlies love their simple “girl dinners” or salty snacks!
Ingredients Needed
Rotisserie Chicken: To save you time, buy pre-shredded rotisserie chicken. Or chop up my quick instant pot chicken breast.
If you want a stronger pickle flavor, simply add more chopped dill pickles. You can use any kind of pickle you prefer.
Swap Out The Mayo: Substitute all or part of the mayo with plain Greek yogurt for a lighter, higher-protein version.
How to Make Dill Pickle Chicken Salad
You’re definitely going to be making this dill pickle chicken salad recipe on repeat! Not only is it packed with protein, but it also satisfies that crunchy, salty craving. What’s more, it takes just 10 minutes to make!
Combine: In a large bowl, combine the cooked, chopped or shredded chicken, diced dill pickles, diced celery, and sliced green onions.
Mix Dressing: In a medium bowl, add mayonnaise, dill pickle juice, garlic powder, dried or fresh dill, Dijon mustard, Kosher salt, and black pepper, then whisk to combine.
Stir and Serve: Pour the dressing over the chicken mixture, then stir well to coat. If you have time to let it chill in the fridge, the pickle flavor will get better as it sits. Serve on croissants, bread, or as a lettuce wrap if you want a low-carb option.
Storing Leftover Dill Pickle Chicken Salad
Follow my tips below for storing dill pickle chicken salad for later! I love to make a big batch for meal prep so lunch time is quick and easy.
In the Refrigerator: Chicken salad is best served chilled. Refrigerate in an airtight container for up to 5 days.
Freezing: I do not recommend freezing this chicken salad. Freezing can cause the vegetables to become mushy.
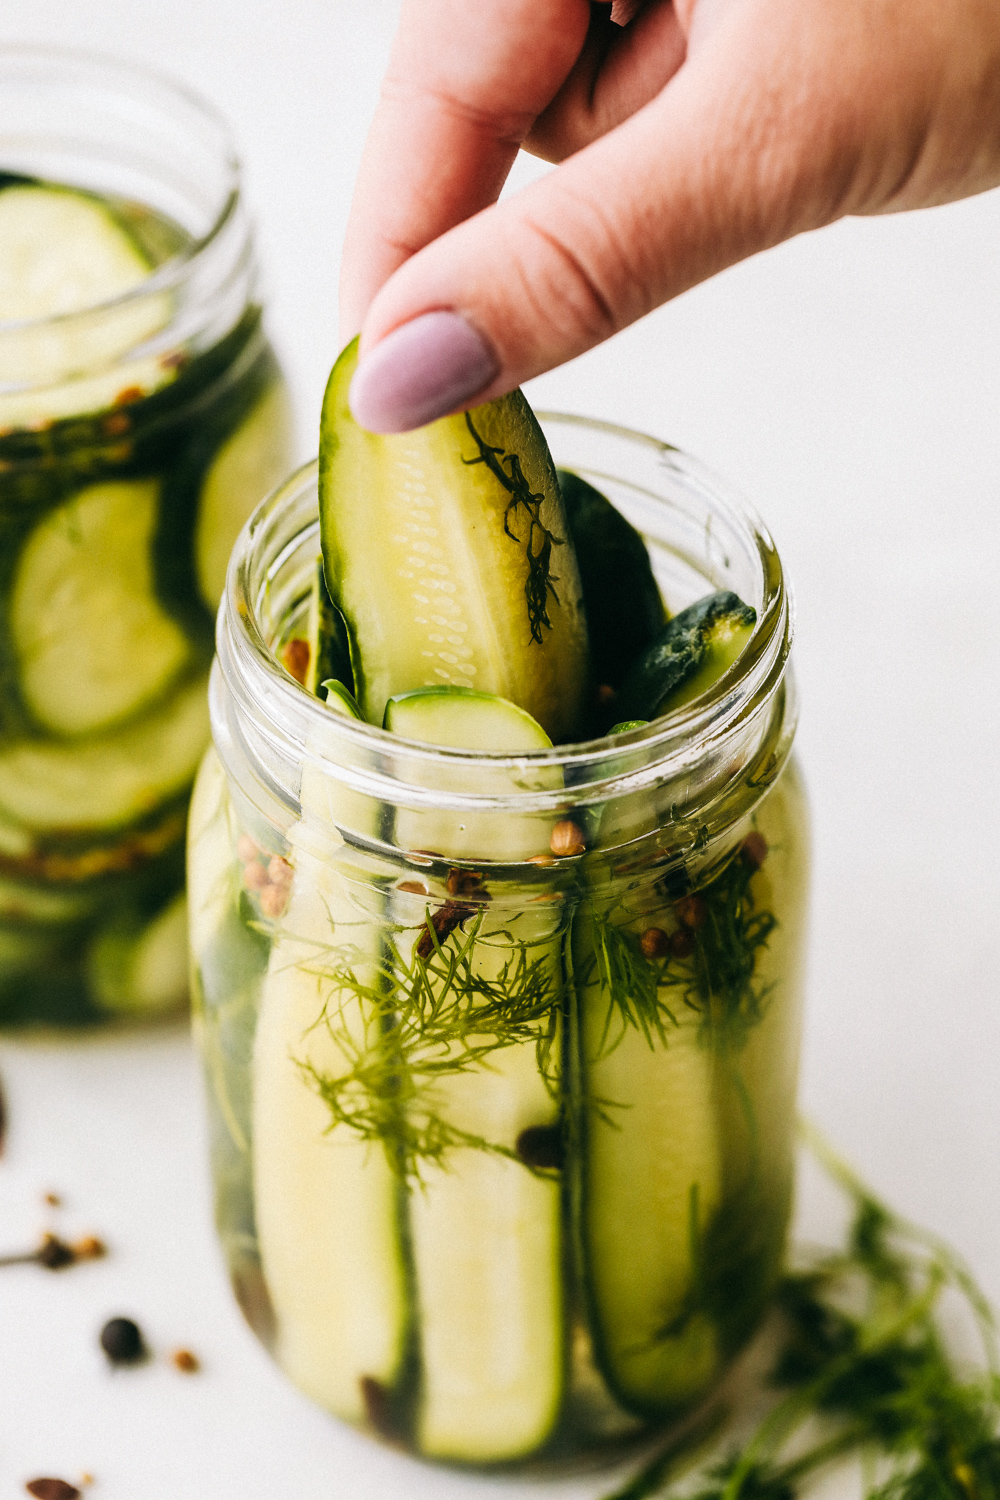
More Delicious Pickle Recipes To Try
If you love pickles as much as I do, I know you will love these pickle recipes. Let me know what other pickle recipes you’d like me to make!
In a large bowl, combine 2 ½ cups shredded or chopped chicken cooked chicken, ¾ cup diced dill pickles, ⅓ cup diced celery, and ⅓ cup sliced green onions.
In a medium bowl, add ½ cup mayonnaise, 2 tablespoons dill pickle juice, ½ teaspoon garlic powder, 1 teaspoon dried dill or fresh dill, 1 tablespoon Dijon mustard, ½ teaspoon Kosher salt, and ¼ teaspoon black pepper. Whisk to combine.
Pour the dressing over the chicken mixture and stir well to coat the ingredients into the dressing.
Enjoy on croissants, bread, or crackers for serving.
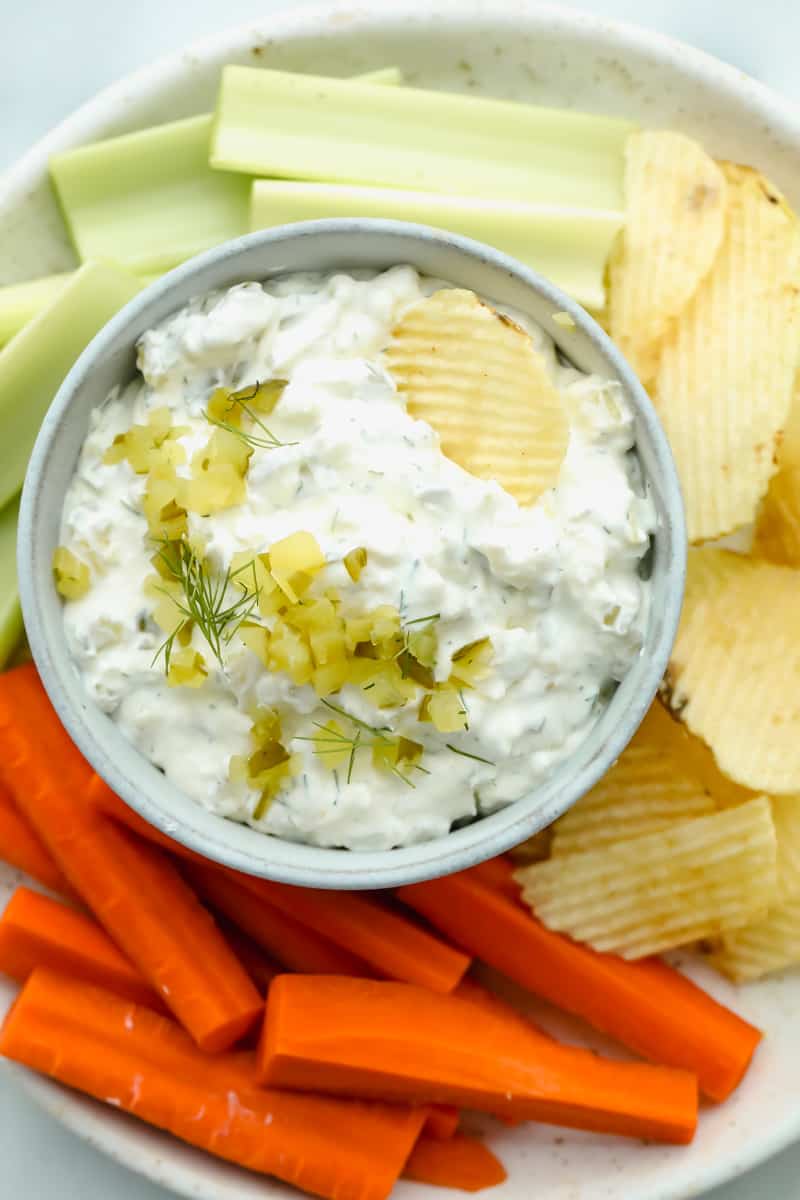
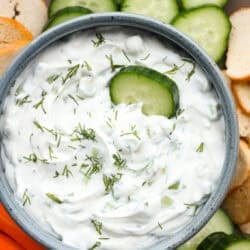
You guys are going to love how refreshing and flavorful this cucumber dip is. It’s the perfect mix of creamy and crunchy and comes together in minutes!
Fresh And Delicious Dip You HAVE to Try
Fan Favorite: You guys LOVE my cucumber sandwich, and this dip is the perfect way to get that same delicious flavor in a convenient snack!
Perfect for Any Occasion: Whether it’s a party appetizer, a snack, or a side to Greek meatballs or chicken souvlaki, this dip is just perfect!
Versatile & Tasty: You can up your snack game by eating this with veggies, crackers, and pita chips. Or spread it on sandwiches and wraps for an extra flavor boost!
Ingredients Needed
Cucumber Dip Ingredient Tips
Sour Cream Alternative: Swap sour cream for creamy Greek yogurt or smooth mayonnaise for a tasty twist!
Cucumbers: I prefer English cucumbers, but feel free to use any type you like. Just peel and seed them to avoid excess moisture. You can use shredded or diced.
Lemon Juice: A splash of lemon juice adds a bright, zesty kick that takes the flavor to the next level!
How to Make Cucumber Dip
This cucumber dip recipe comes together with just a few simple ingredients in three simple steps. Serve it with chips, crackers, or fresh veggies, and watch it disappear!
Combine: In a medium bowl, beat softened cream cheese and sour cream until smooth.
Chill and Serve: Mix in ranch seasoning and fresh dill until combined. Stir in the diced cucumber until evenly mixed. Enjoy right away, or chill for an hour to let the flavors blend and the dip to thicken.
Storing Leftover Cucumber Dip
Refrigerator: Store your cucumber dip in an airtight containerin the fridge for up to 3 days.
Freezer: I don’t recommend freezing this dip, as the cucumbers will release too much liquid when thawed. This dip is best served fresh.
More Easy Dip Recipes
Craving more irresistible dips? You’re in the right place! These are so rich and flavorful, you might want to keep them all to yourself. For even more snack ideas, check out my full list of appetizers!
In a medium-sized bowl, beat 1 (8-ounce) package softened cream cheese and ½ cup sour cream until smooth.
Mix in 2 tablespoons ranch seasoning and 1 tablespoon fresh dill until combined. Stir in 1 finely diced cucumber until evenly mixed.
Stir in the diced cucumber until evenly mixed. Serve immediately or chill for 1 hour to allow the flavors to meld together. Chilling helps the dip to thicken slightly.
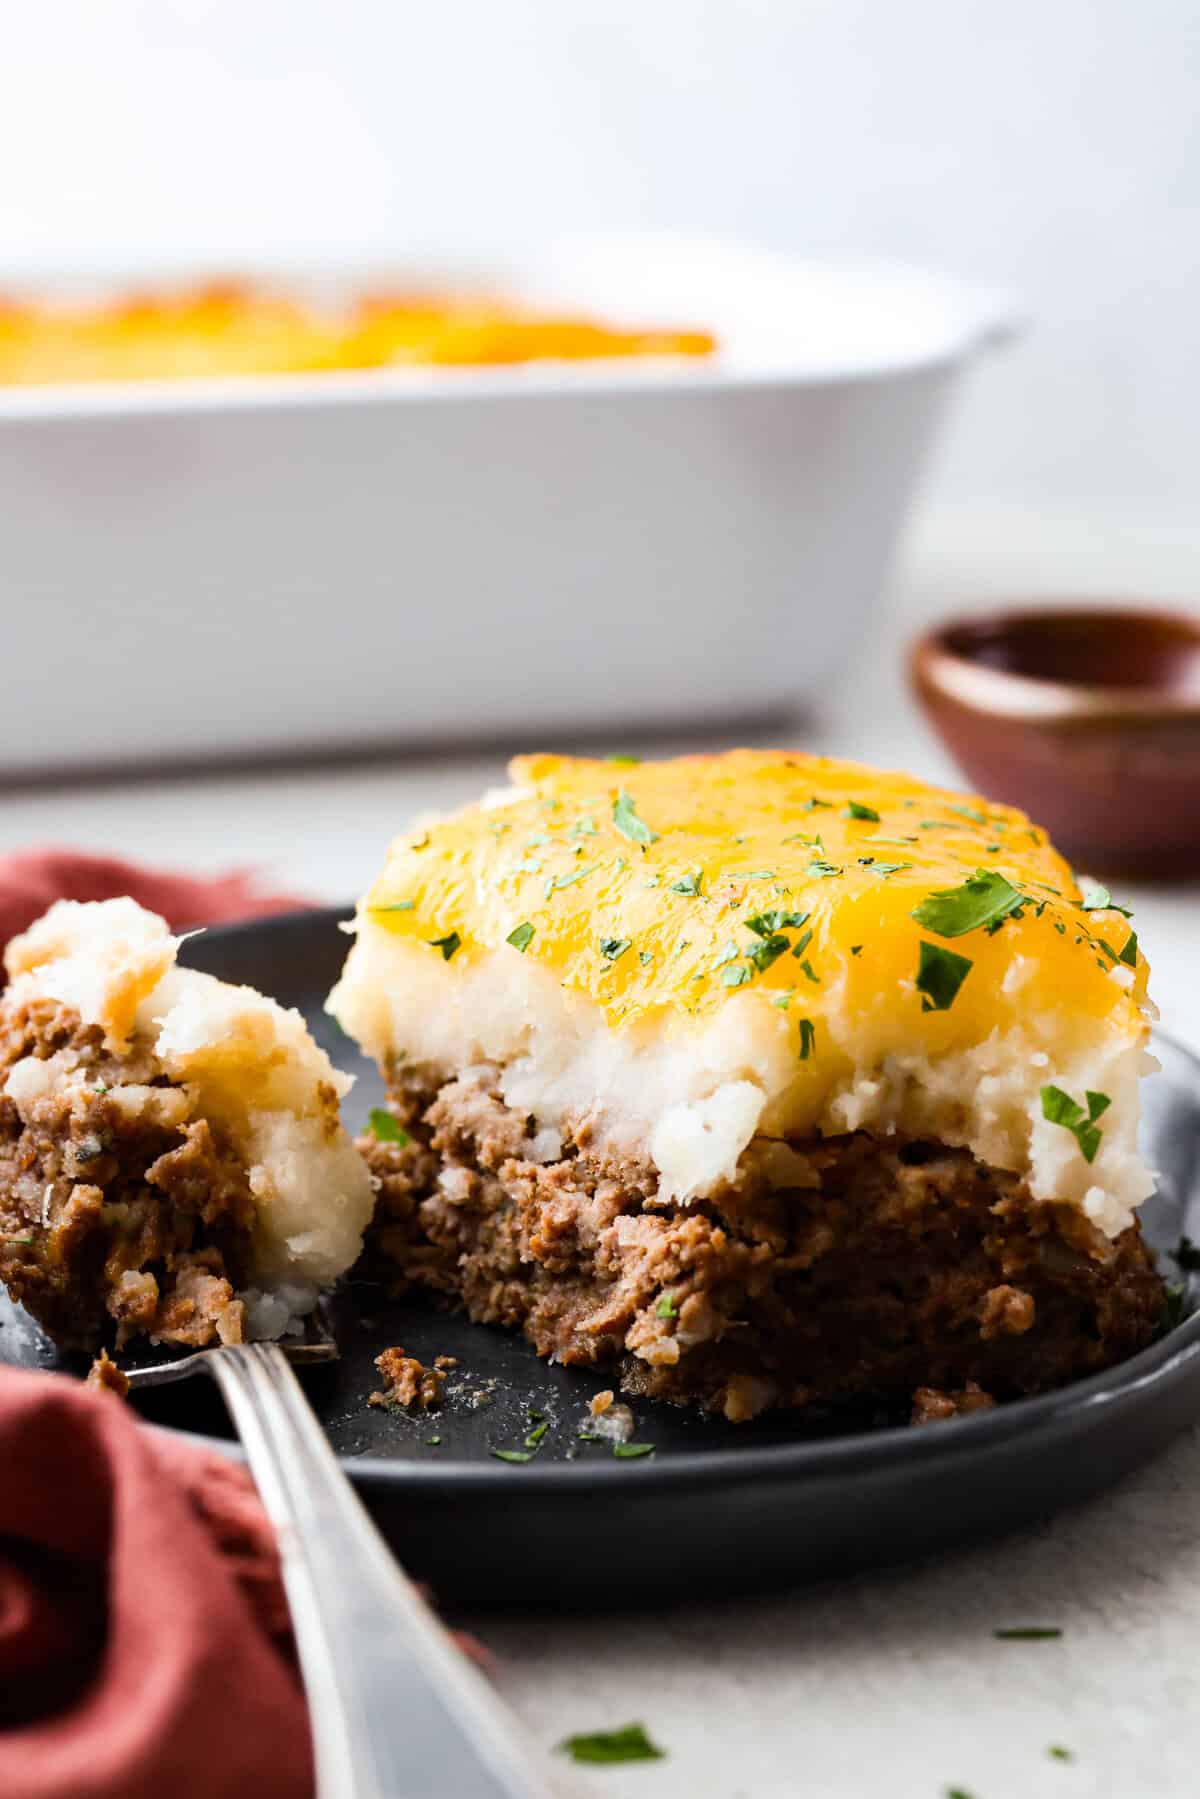
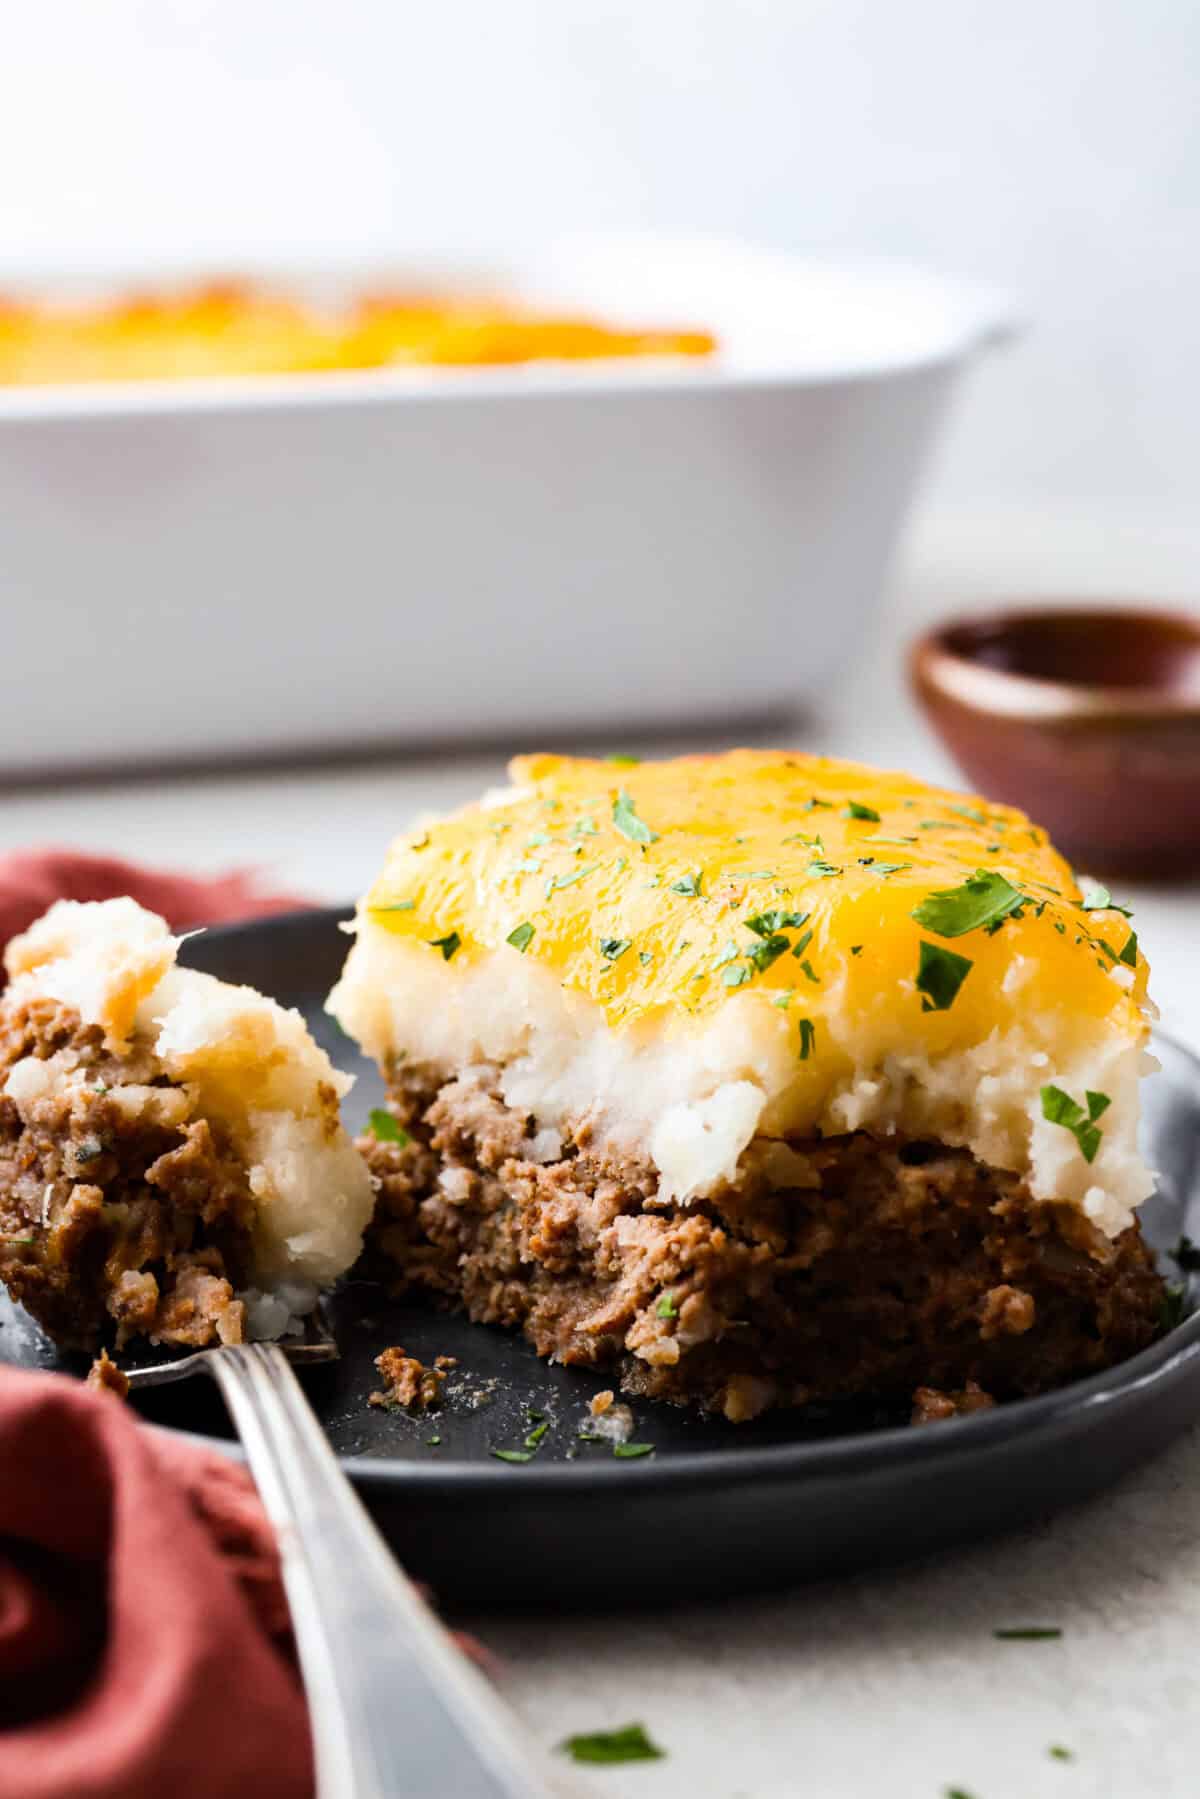
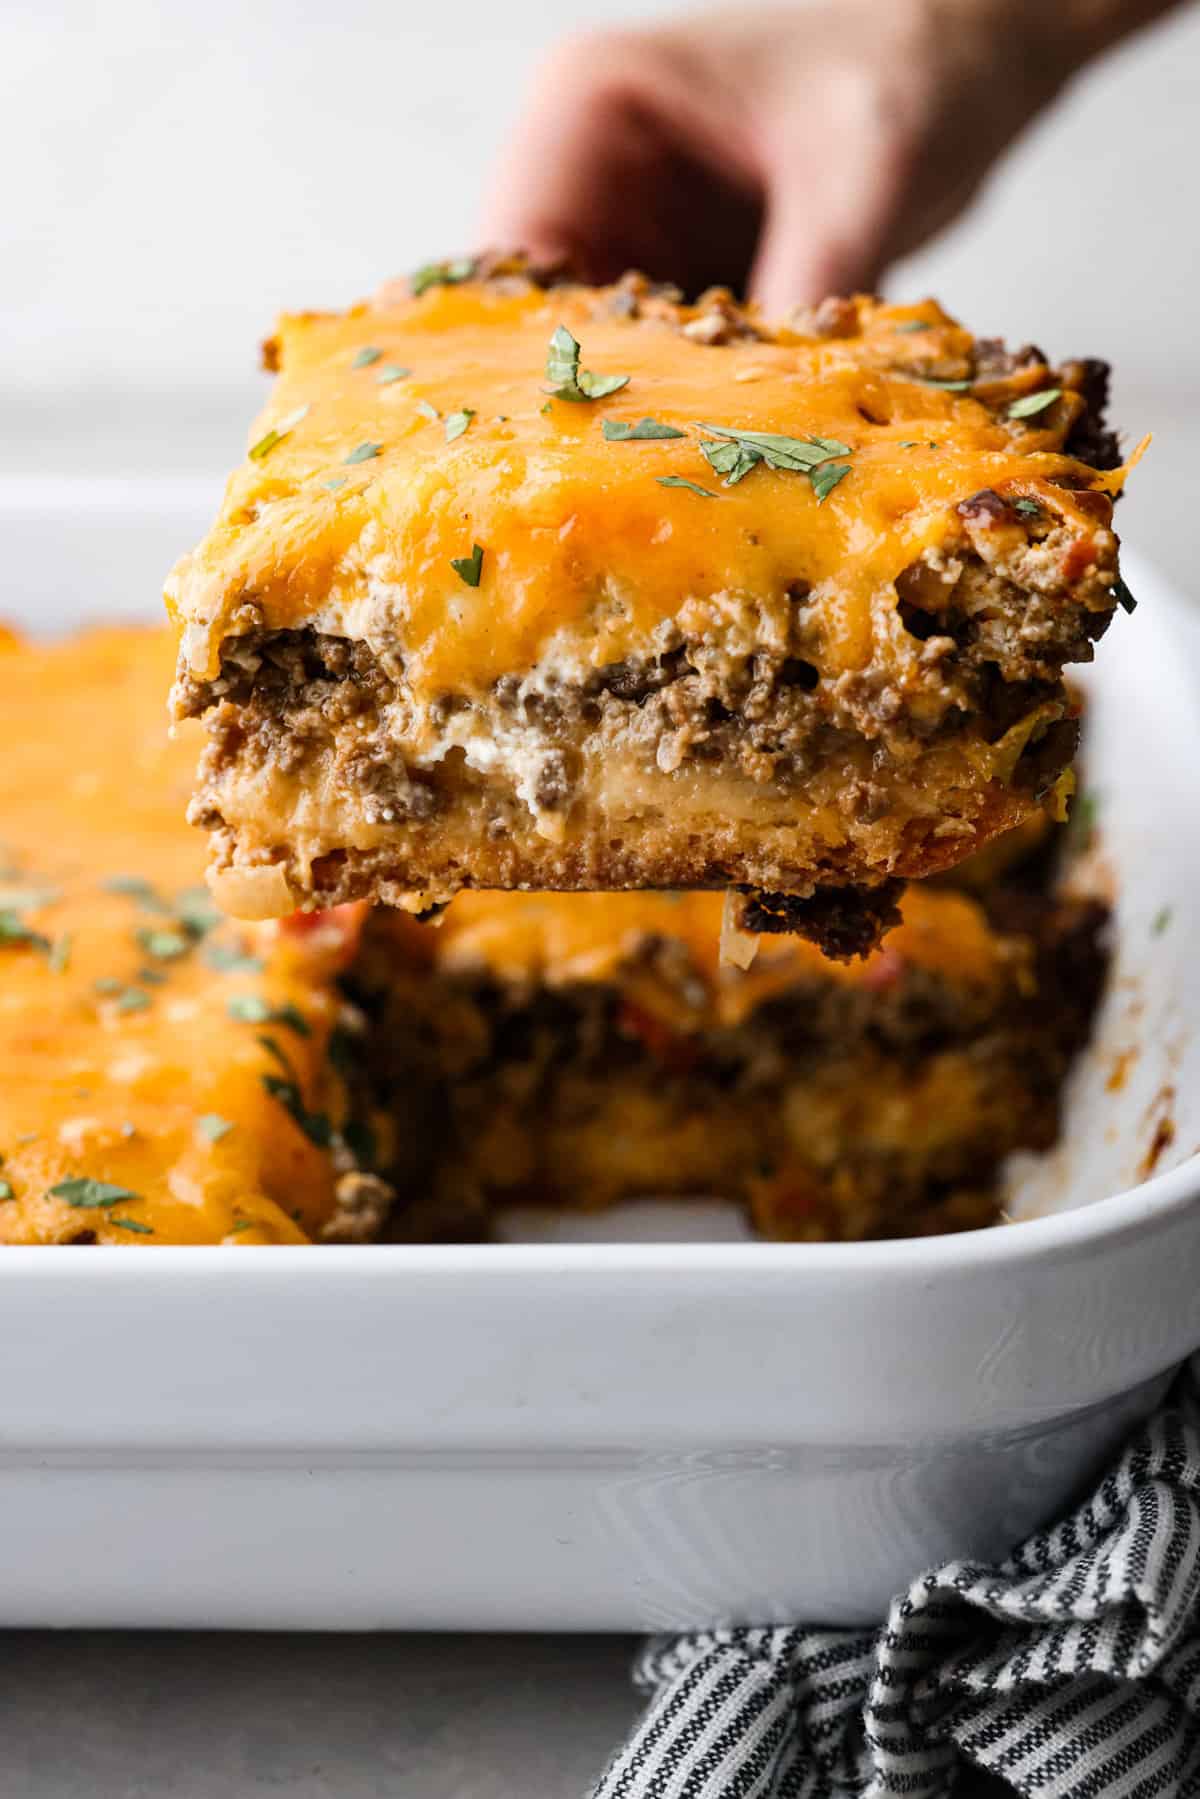
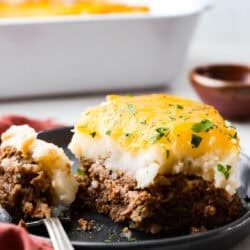
I turned classic meatloaf into the ultimate family-friendly Meatloaf Casserole! The secret? A layer of creamy mashed potatoes on top that keeps it extra juicy and flavorful.
Meatloaf Casserole: Like the Classic, But Better
Budget Friendly: My recipe uses simple, affordable ingredients for a meal that will fill your whole family up, but without any extra cost.
Perfect for Families: With meat and mashed potatoes, this dish is a hit with kids, so no worries about picky eaters!
Easier to Make: No shaping or slicing needed—just layer, bake, and serve!
Ingredients Needed
Mashed Potatoes: I highly recommend homemade mashed potatoes, but if you’re short on time, store bought works too!
Vegetables: I love adding some frozen veggies to my meatloaf casserole. Add 1 cup of frozen peas and carrots to the meat. It’s an easy way to up your veggie game!
How to Make Meatloaf Casserole
Making this meatloaf casserole recipe is so simple! With just a few easy steps, you’ll have this ready to pop in the oven or save to bake later!
Combine: Preheat the oven to 350ºF. Then spray a 13 x 9 x 2-inch baking dish with non-stick cooking spray and set aside. In a large mixing bowl combine ground beef, diced onion, chopped parsley, Italian breadcrumbs, milk, Worcestershire sauce, eggs, garlic powder, salt, and black pepper.
Make the Glaze: In a small bowl, whisk together ketchup, balsamic vinegar, and brown sugar. Then, add the glaze to the meat mixture and stir to combine.
Add to Pan: Press the meat and glaze mixture in an even layer into the prepared baking dish.
Top and Bake: Spread store-bought or homemade mashed potatoes on top of the meat mixture. Then sprinkle shredded cheddar cheese on top. Cover with aluminum foil and bake for 50-60 minutes. Remove the foil and bake the meatloaf casserole for an additional 10 minutes or until the cheese is melted.
Storage and Reheating Leftovers
If you’re looking to meal prep, make a batch at the start of the week. Then you’ll have easy lunches and dinners throughout the week.
In the Refrigerator: Store leftovers in the fridge in an airtight container for up to 3 days.
To Reheat: Reheat portions of this meatloaf casserole in the microwave until warmed through!
Make Ahead: You can make the entire casserole in advance. Simply cover tightly and store in the fridge for up to 3-4 days before baking and serving.
More Easy Casserole Recipes
Casseroles are the best comfort food! Check out my complete list of casserole recipes. Leave a comment to let me know which ones are your favorite!
I turned classic meatloaf into the ultimate family-friendly casserole! The secret? A layer of creamy mashed potatoes on top that keeps it extra juicy and flavorful.
Preheat the oven to 350 degrees Fahrenheit. Spray a 13 x 9 x 2-inch baking dish with non-stick cooking spray and set aside.
In a large bowl combine 2 pounds lean ground beef, ½ cup diced onion, 3 tablespoons fresh parsley chopped, ¾ cup Italian bread crumbs,½ cup milk, 2 tablespoons Worcestershire sauce, 2 large eggs, 1 teaspoon garlic powder, ½ teaspoon salt , and ¼ teaspoon black pepper. Use clean hands to mix well.
In a small bowl, whisk ¾ cup ketchup, 3 tablespoons balsamic vinegar, and 3 tablespoons brown sugar.
Add the glaze mixture into the meat mixture and mix to combine.
Press the meat mixture evenly into the prepared baking dish.
Spread 4 cups store-bought or Homemade mashed potatoes on top of the meat mixture. Top with 1 cup shredded cheddar cheese.
Cover with aluminum foil and bake in the preheated oven for 50-60 minutes. Remove the foil and bake for an additional 10 minutes or until the cheese is melted.
If you’re bringing a dish to the next family reunion, make it these loaded baked beans . Three kinds of meat, two kinds of beans, and a sauce that is smoky, sweet, and full of depth . They disappear every single time. Why These Check Every Box One Pot: Everything comes together in a single pot before going straight into the oven. Less mess, more eating! Make It Your Own: Want more heat? Add extra cayenne. Prefer a different sausage? Go for it. This recipe is easy to customize. Even Better the Next Day: The flavors deepen overnight, making leftovers something to look forward to, and it’s make-ahead friendly! Ingredients for Loaded Baked Beans Bacon: Regular or thick-cut bacon both work great. Use whichever you prefer or have on hand. Serving as an Entree: These beans are hearty enough to serve as a main dish! As an entree, plan on feeding about 7 to 8 people. For Saucier Beans: These baked beans are not as saucy as som...