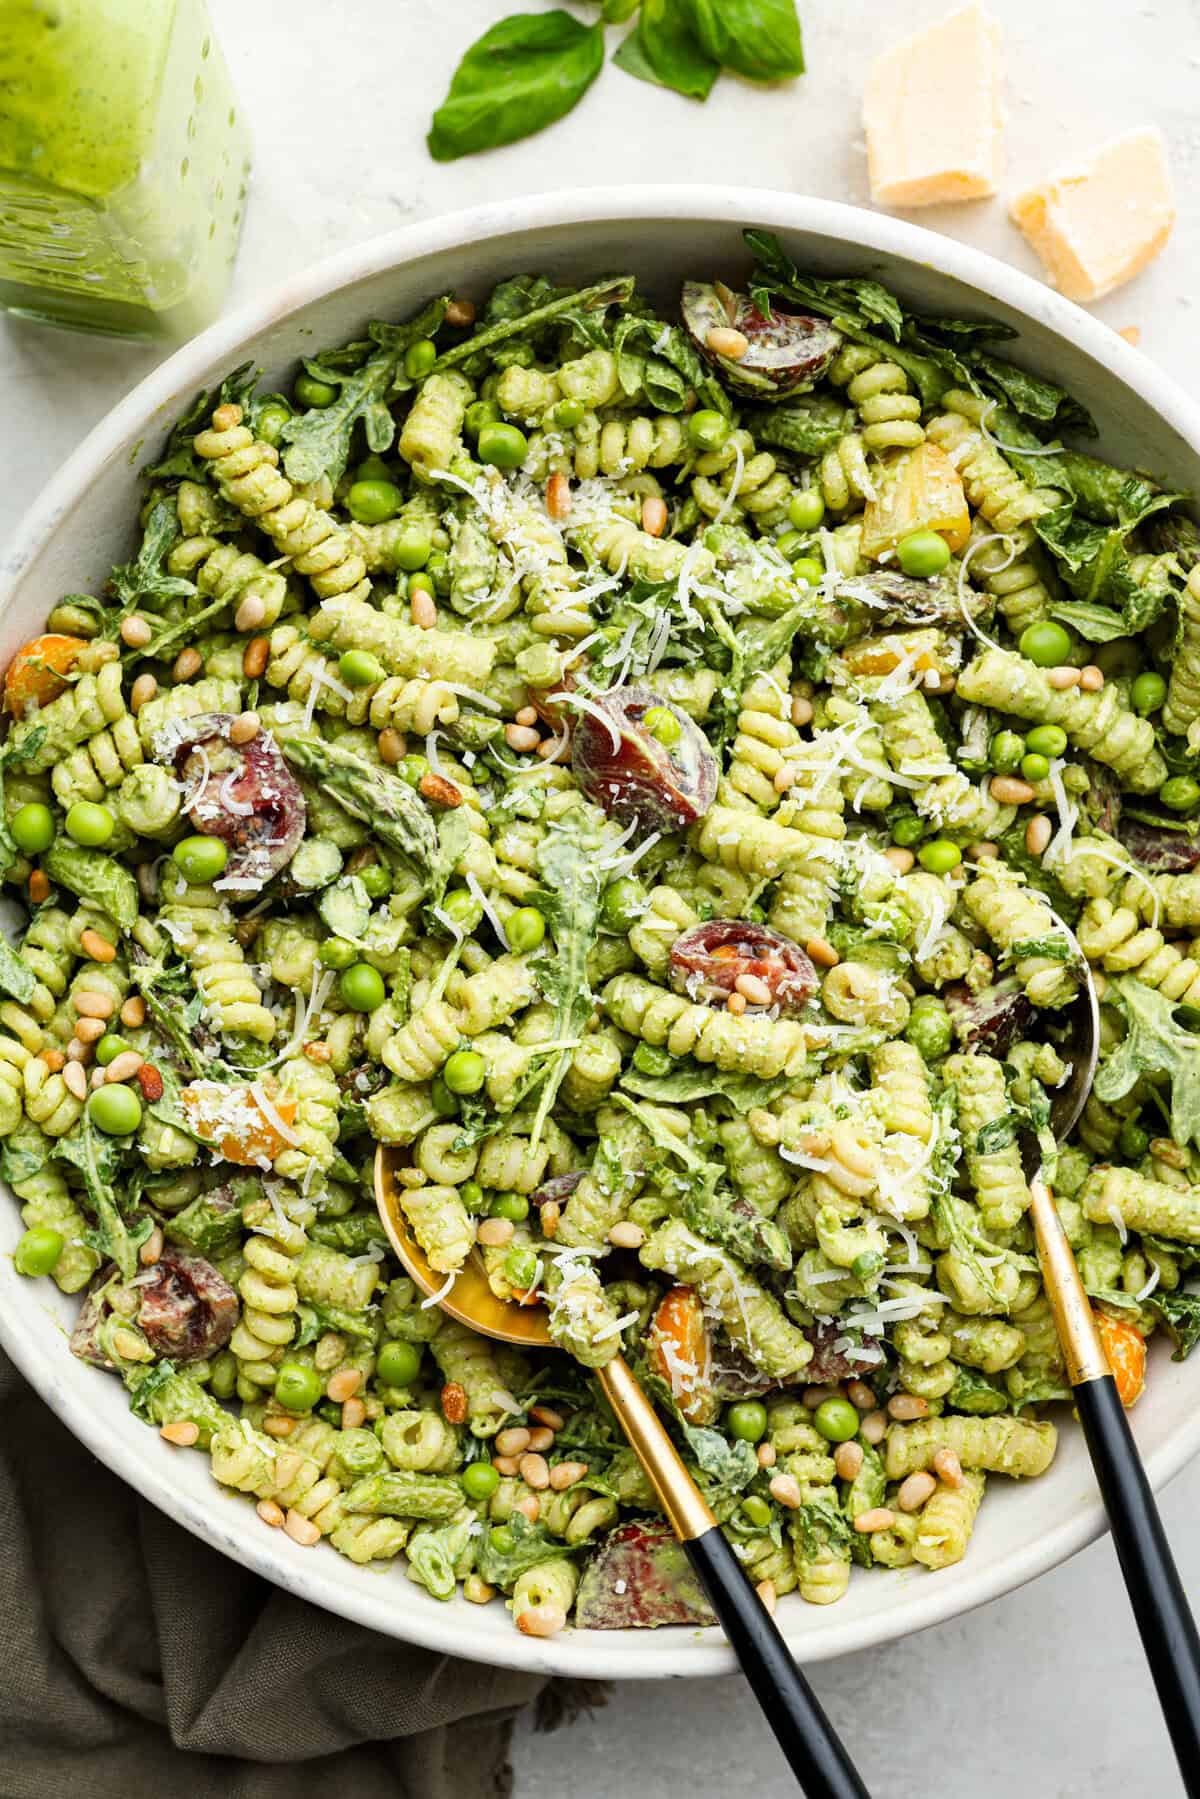
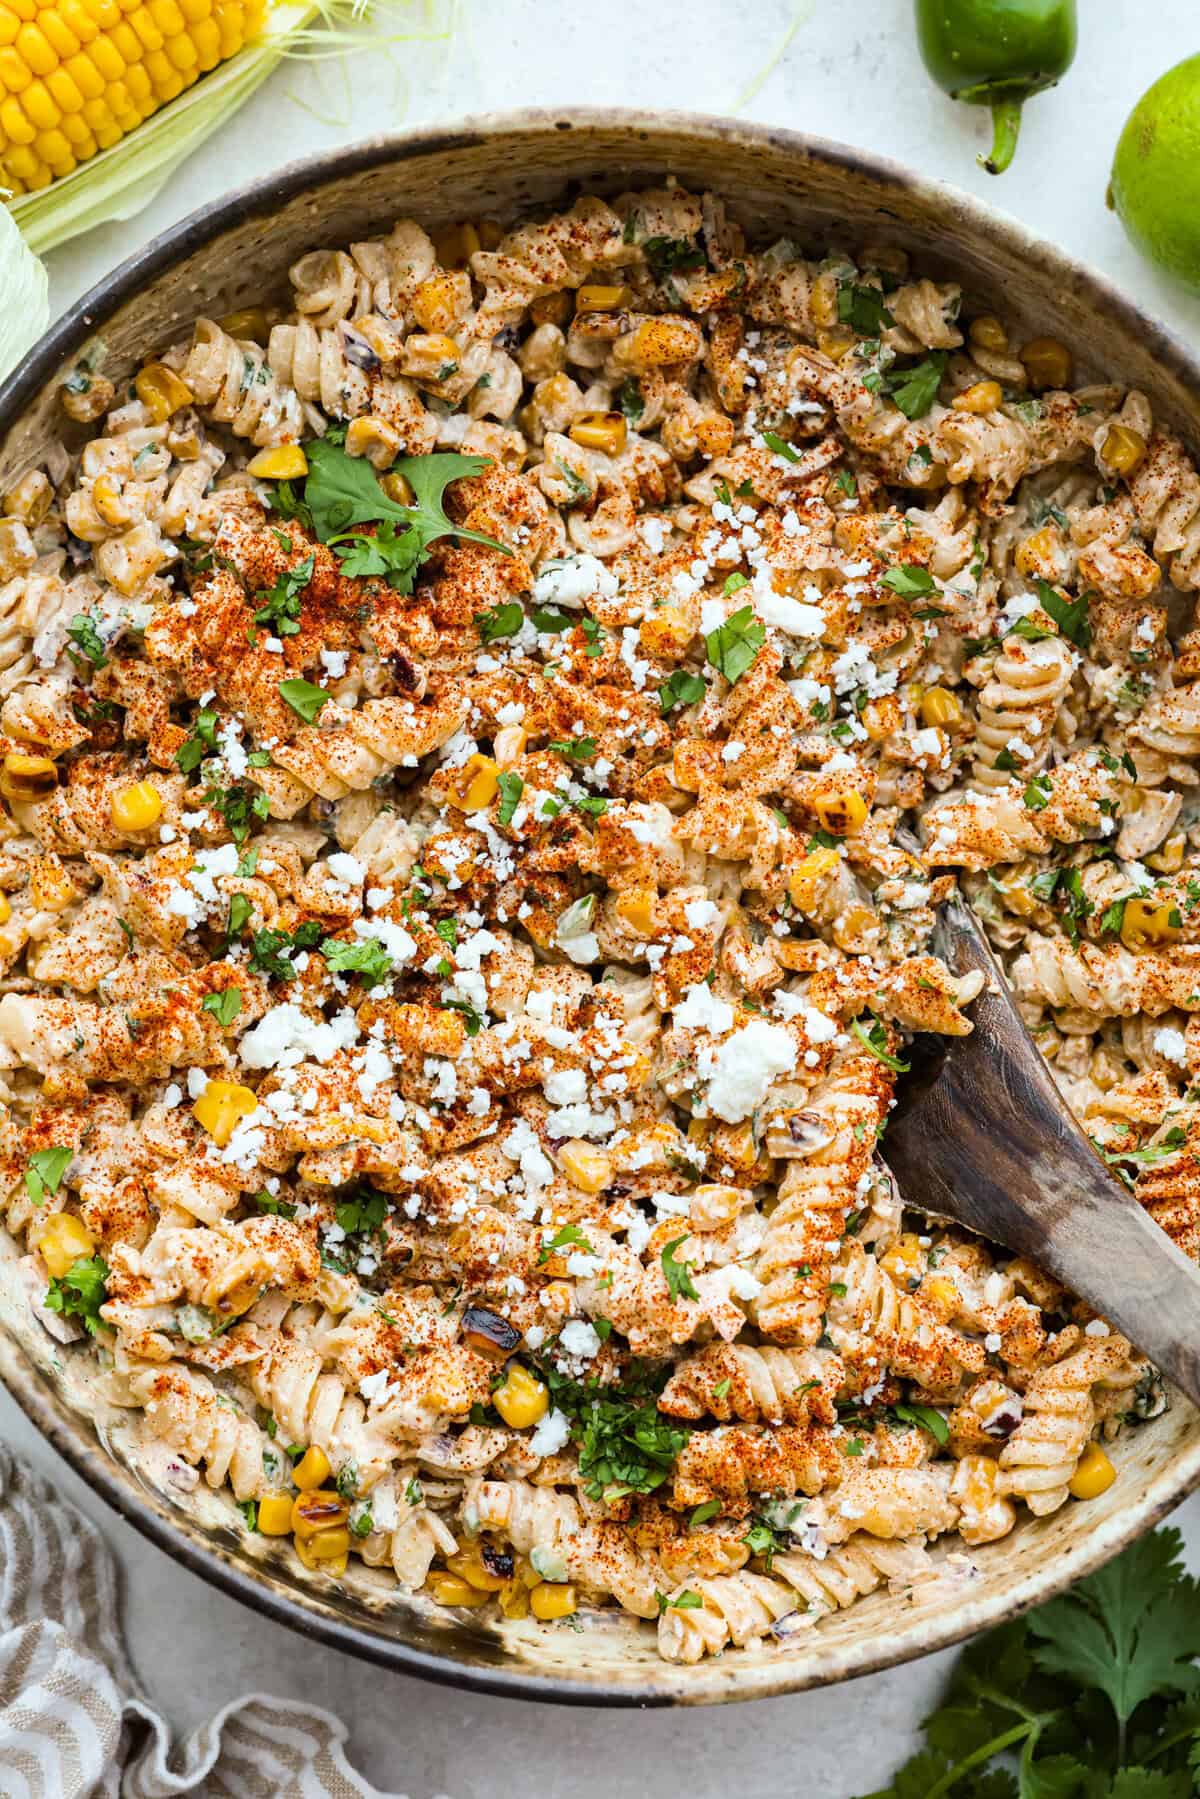
You have to make this Green Goddess Pasta Salad, like, yesterday! It’s creamy, herby, and loaded with fresh veggies. My recipe is made for busy moms who need something quick, healthy, and the best flavor possible!
Why You Need This Pasta Salad in Your Life!
Crazy Easy & Ready in 10 Minutes! No complicated steps. Make your pasta, add your ingredients, give it a quick stir, and you’re good to go!
Trendy to Practical: I wanted to take out the tedious chopping of the original trendy TikTok green goddess salad and make it easier and just as delicious!
For BBQs, Lunches, and Lazy Days! This salad is perfect to take to any gathering. You can also meal prep for yourself and make it a heartier meal by adding grilled chicken or salmon.
Ingredients Needed
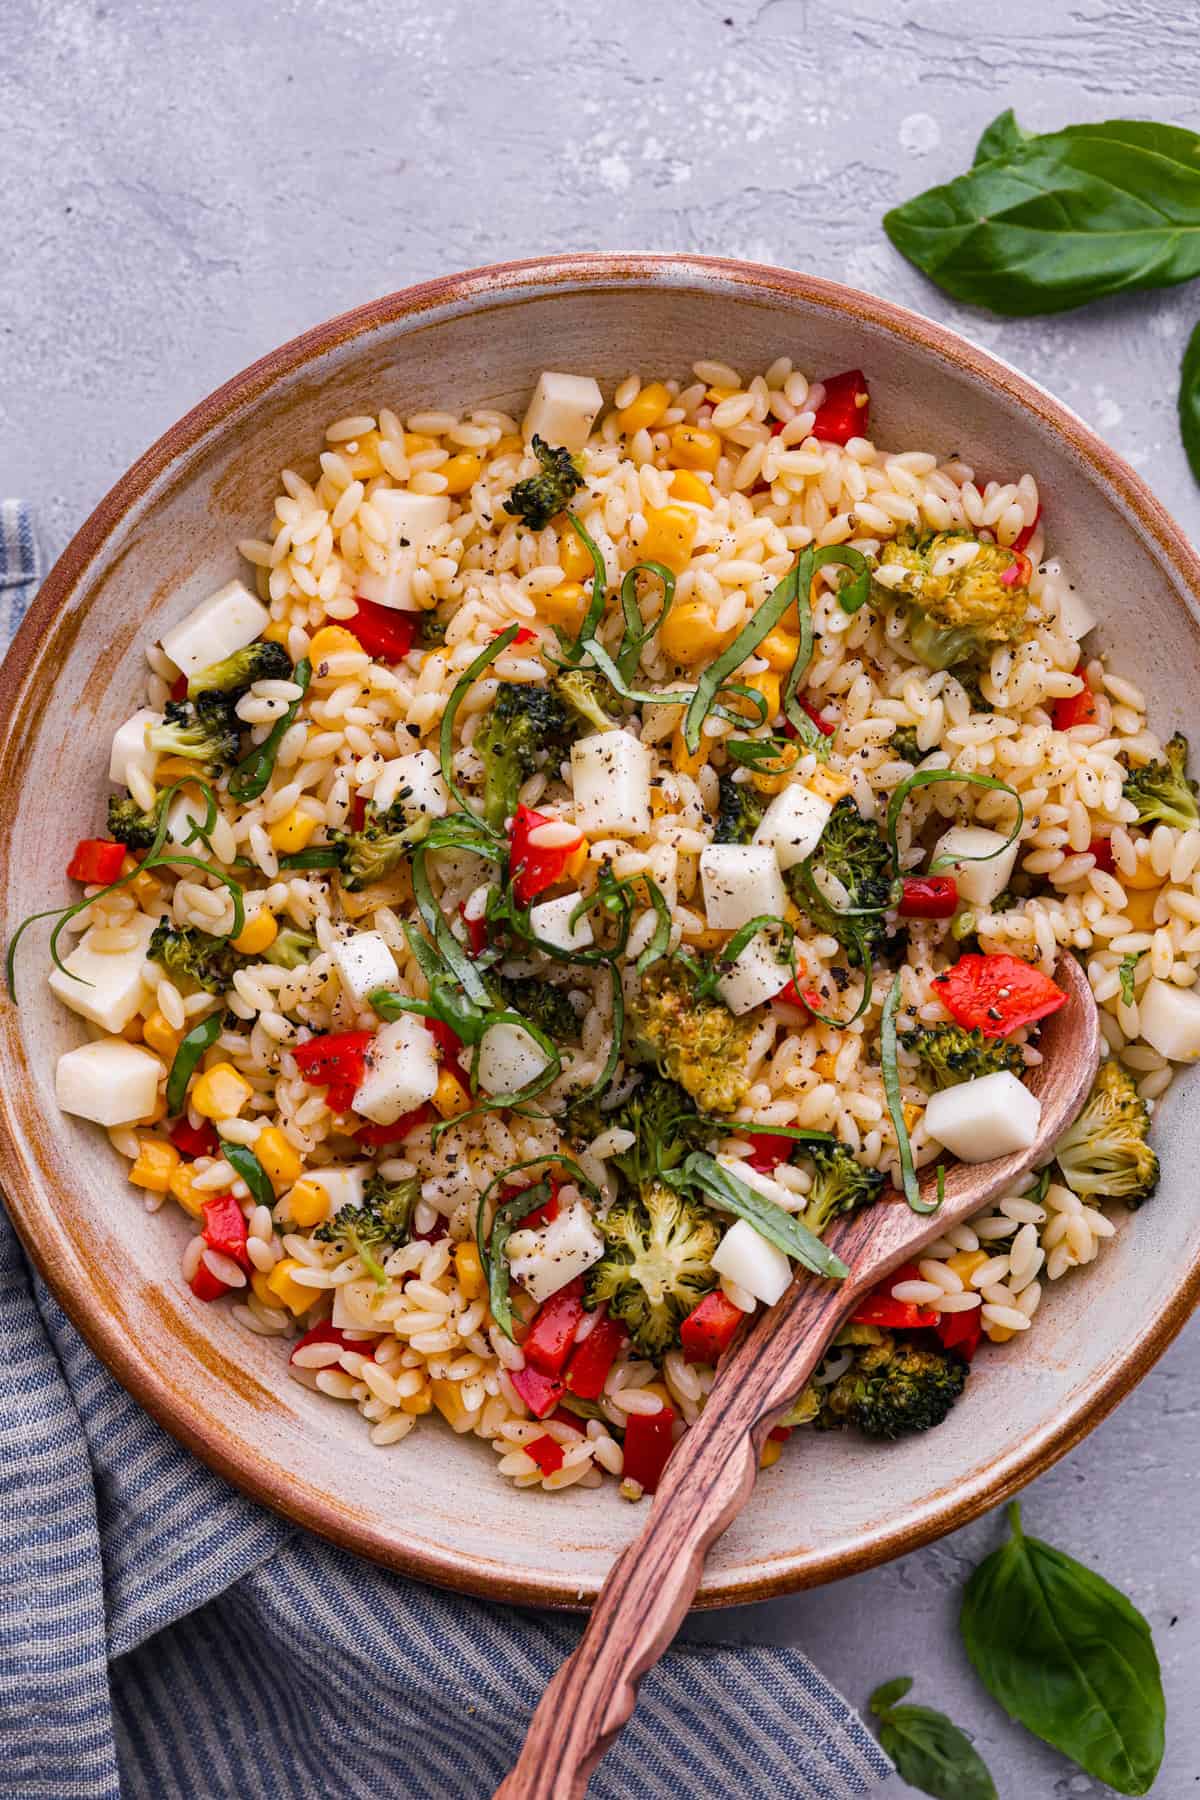
Pick Your Perfect Pasta: I used fusilli, but any short pasta works great! Just be sure to cook it al dente so it stays firm and holds up in the dressing. Here are some pasta ideas: Rotini, Rigatoni, Penne, Farfalle, Shells, Orecchiette, Cavatappi, or whatever you have on hand.
Whipping up this Green Goddess Pasta Salad is quick and effortless! In just a few simple steps and 10 minutes, you’ll have a fresh and delicious dish.
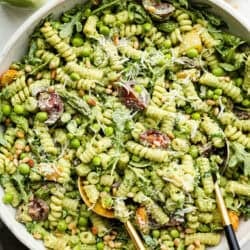
Combine Salad Ingredients: Add the cooked pasta, tomatoes, arugula, peas, asparagus, green onions, pine nuts, and parmesan cheese to a large bowl and then toss to combine.
Toss the Salad with the Dressing: Add the green goddess dressing and toss until evenly coated. Top with fresh basil, if desired, and serve immediately.
How to Store Leftover Green Goddess Pasta Salad
Whether you’re making it ahead of time or saving leftovers, here’s how to store it for the best results!
In the Fridge: Store pasta salad in an airtight container in the fridge for up to 4 days. But the longer the salad sits, the more the arugula will wilt.
Making Ahead: For the freshest bites, I recommend serving this salad right away. If you want to prepare it up to 24 hours in advance, I recommend leaving the arugula and tomatoes on the side. Add them to the salad and toss everything together before serving.
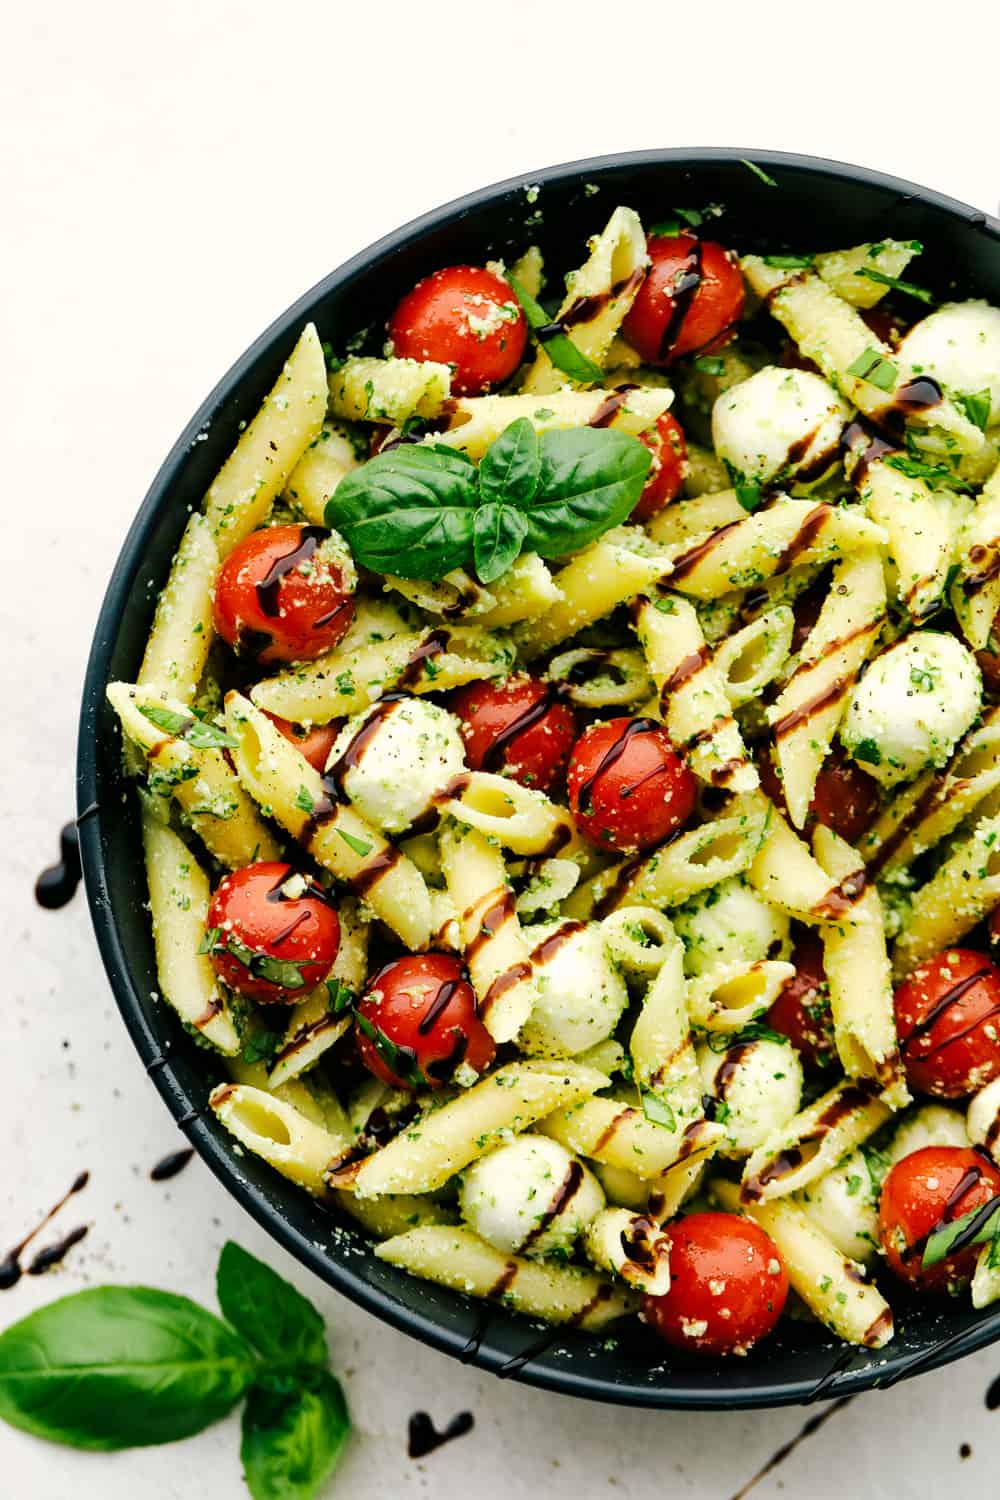
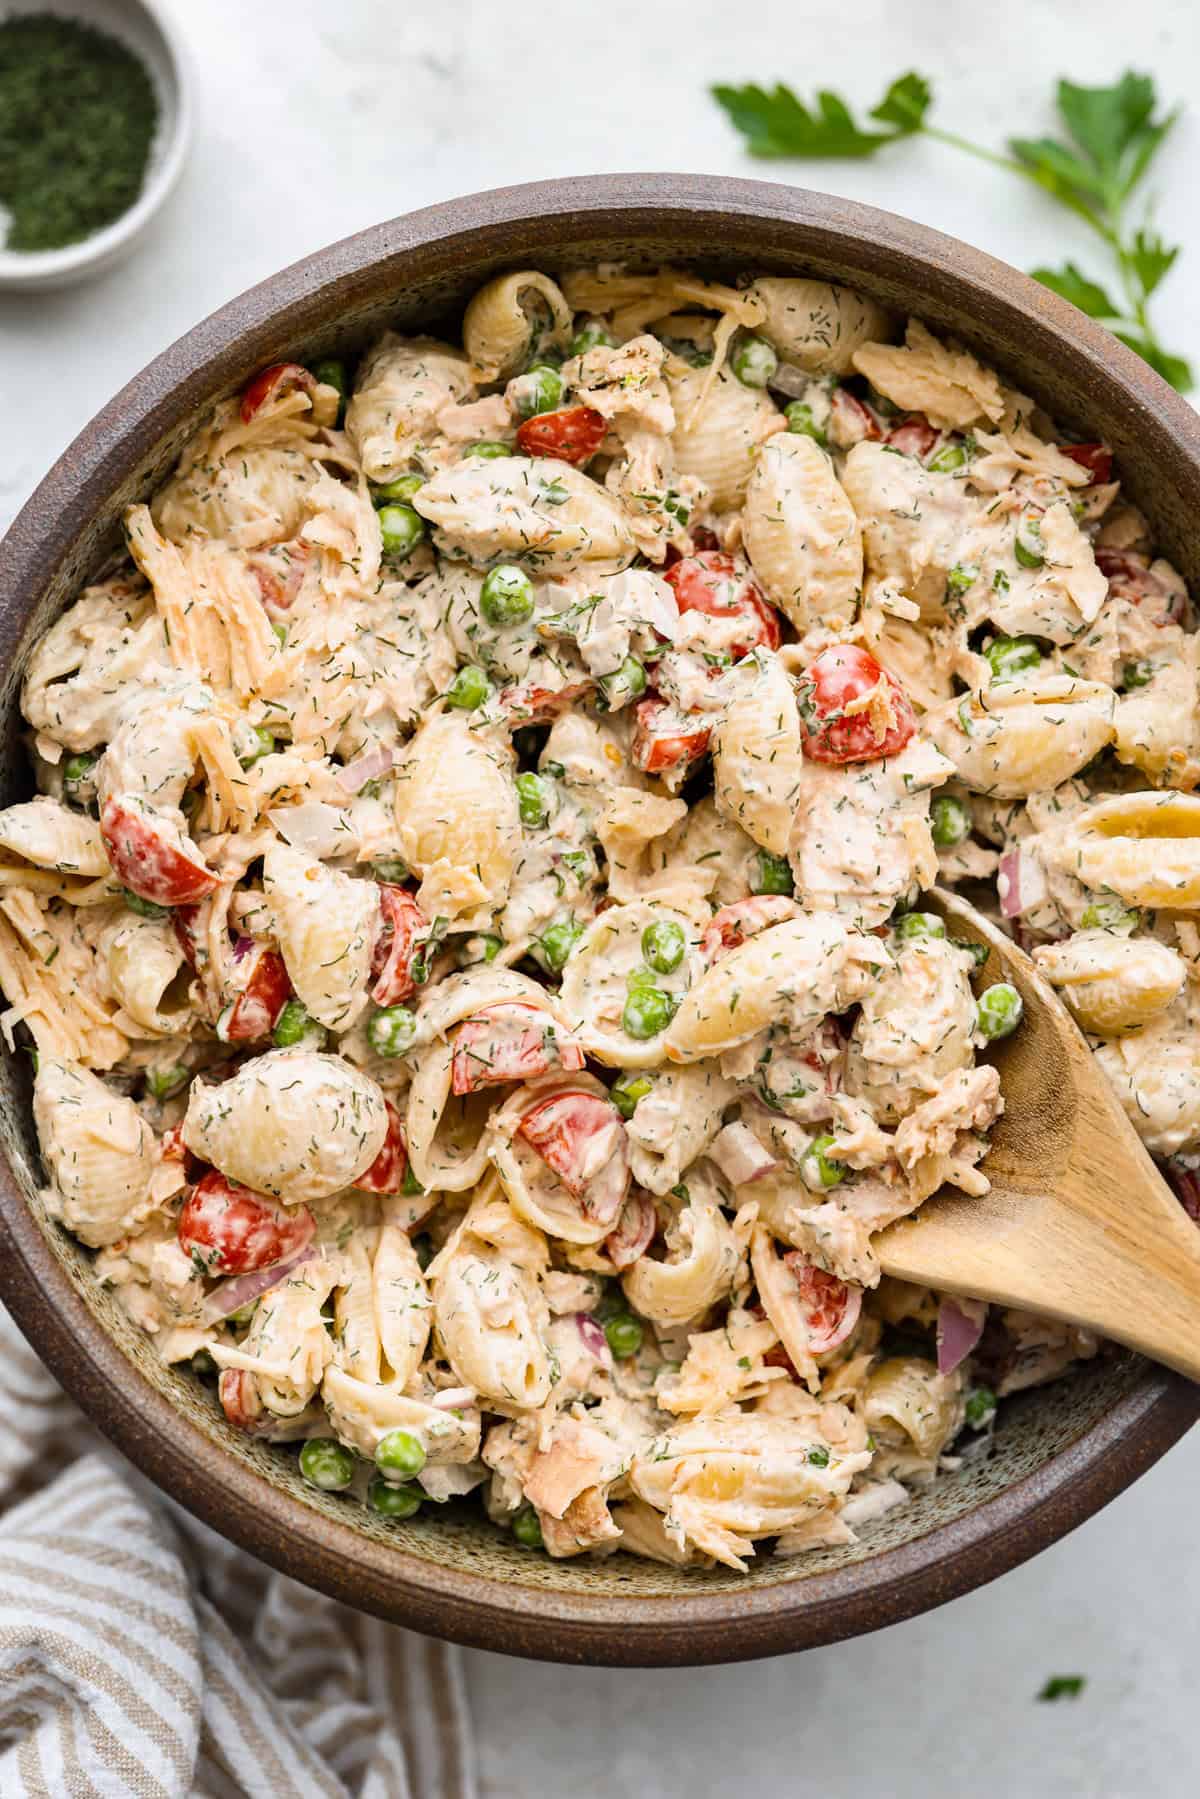
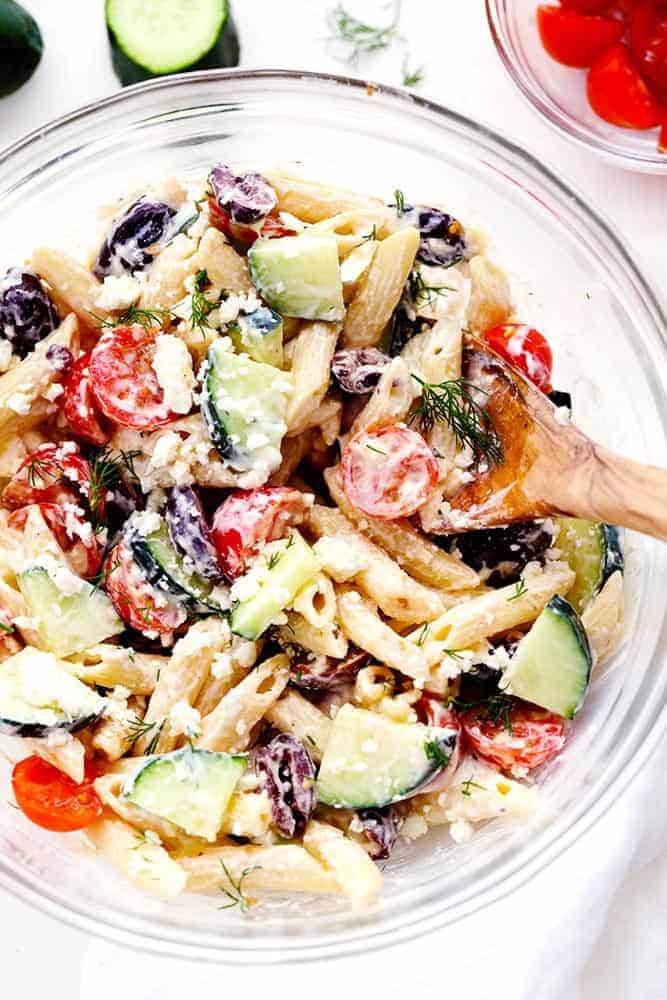
More Delicious Pasta Salad Recipes
There’s always a place for pasta salad on the table! It’s the perfect go-to side dish, especially in the summer. Here are a few of my favorite recipes that I think you’ll enjoy as well!
Quick, healthy, and totally satisfying, this Green Goddess Pasta Salad is packed with fresh veggies, protein-optional, and tossed in a creamy herb dressing
CourseAppetizer, Side Dish
CuisineAmerican
Keywordgreen goddess pasta salad, green goddess pasta salad recipe, green goddess salad, pasta salad recipe, spring pasta salad
Add 1 pound cooked pasta, 1 pint halved cherry tomatoes, 2 cups arugula, 1 cup shelled sugar snap peas, 1 bunch asparagus,¼ cup thinly sliced green onions, 1 cup toasted pine nuts, and ½ cup grated parmesan cheese to a large bowl and toss to combine.
Top with 1 ½ cups green goddess dressing and toss until evenly coated. Top with fresh basil for garnish, if desired, and serve immediately.
I wanted to make this week as delicious and stress-free as possible. This meal plan is packed with easy, comforting recipes that come together quickly but taste like you spent hours in the kitchen. There’s something for everyone!
What’s for Dinner?
This week’s dinners are perfect for those easygoing summer nights when you want something filling and flavorful without spending all evening in the kitchen. These meals come together with minimal effort and fewer dishes, and they let you get back to enjoying the warm weather, good food, and even better company.
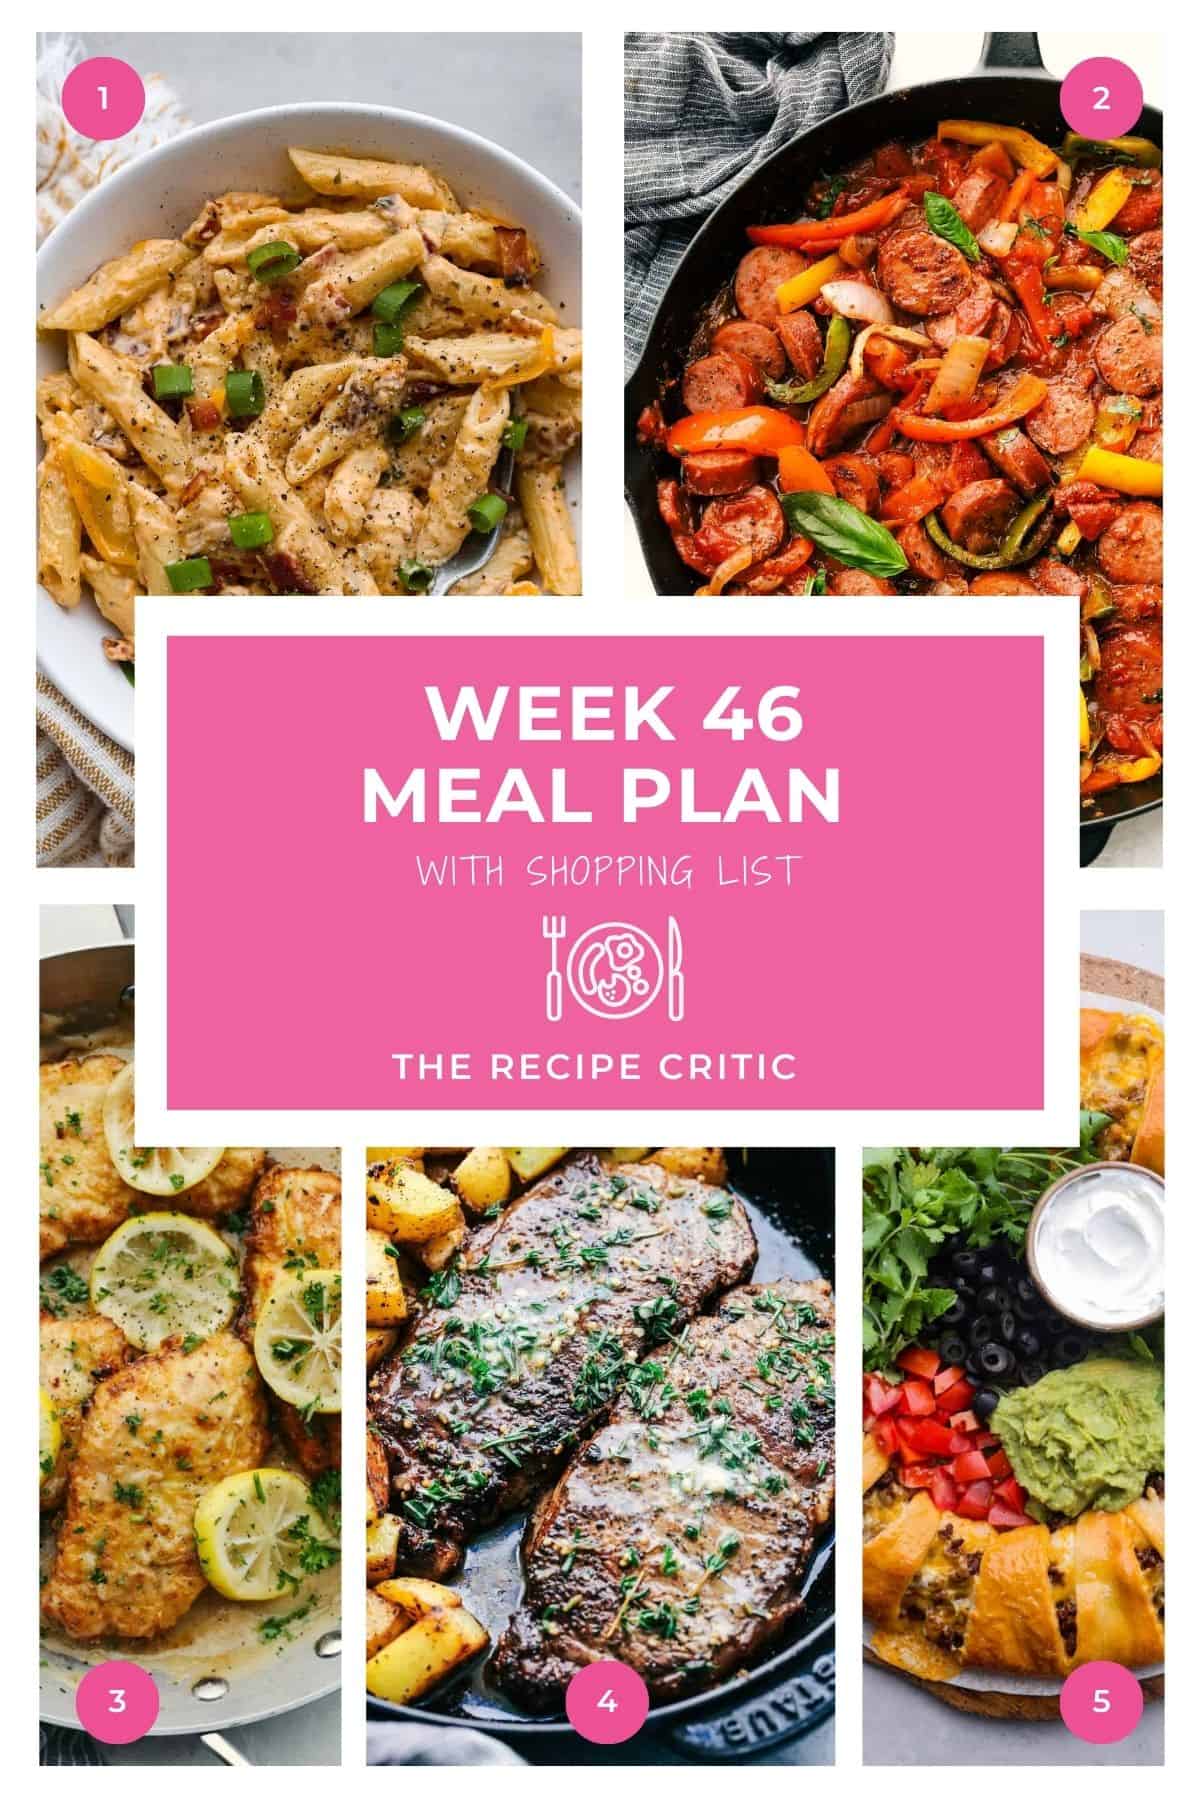
This free meal plan is here to take the stress out of dinner this week. It includes five flavor-packed recipes to feed 4–6, plus a grocery list!
Crack Chicken Pasta
Cheesy, creamy, and loaded with ranch flavor and chunks of juicy chicken, 'Crack Chicken' pasta is a dinner that will have everyone raving! And as if you needed more reason to make it, it's ready in 30 minutes from start to finish!
This taco ring is the easiest, cheesiest dinner. I know your family will love it as much as mine does! All you need is a can of crescent rolls, shredded Colby Jack cheese, some taco seasoning, and your favorite fixings to bring it to life!
If you’re not meal planning yet, let me just say, you’re missing out. I started doing it to save time, but now I swear it saves my sanity too. Here’s why it works:
Save money: Grocery prices are no joke! Planning ahead means fewer impulse buys, smarter shopping, and less food waste.
Save time: No more staring into the fridge at 5 PM wondering what to make. Your plan has your back.
Eat better: When meals are planned and ingredients are ready, you’re way less likely to hit the drive-thru.
Feel more in control: One less thing to think about during a busy week, which means more energy for everything else.
My weekly plans come with a ready-to-go, printable shopping list, measured out and organized to make your grocery trip so much easier. Just print it, shop it, and you’re set for the week!
I only plan dinners Monday through Friday—weekends are our time to relax, get spontaneous, or treat ourselves to something fun! And if you’ve got leftovers from the week, even better. Just store them in an airtight container and enjoy a no-cook night on the couch.
Ever start a recipe, only to realize you’re missing a key ingredient? Don’t worry—it happens to all of us! Whether you’re out of baking powder, avoiding dairy, or need an egg-free swap, I’ve got you covered with this list of substitutions.
This guide gives you easy swaps and substitutions that actually work. Save this list and come back to it anytime you need a quick answer!
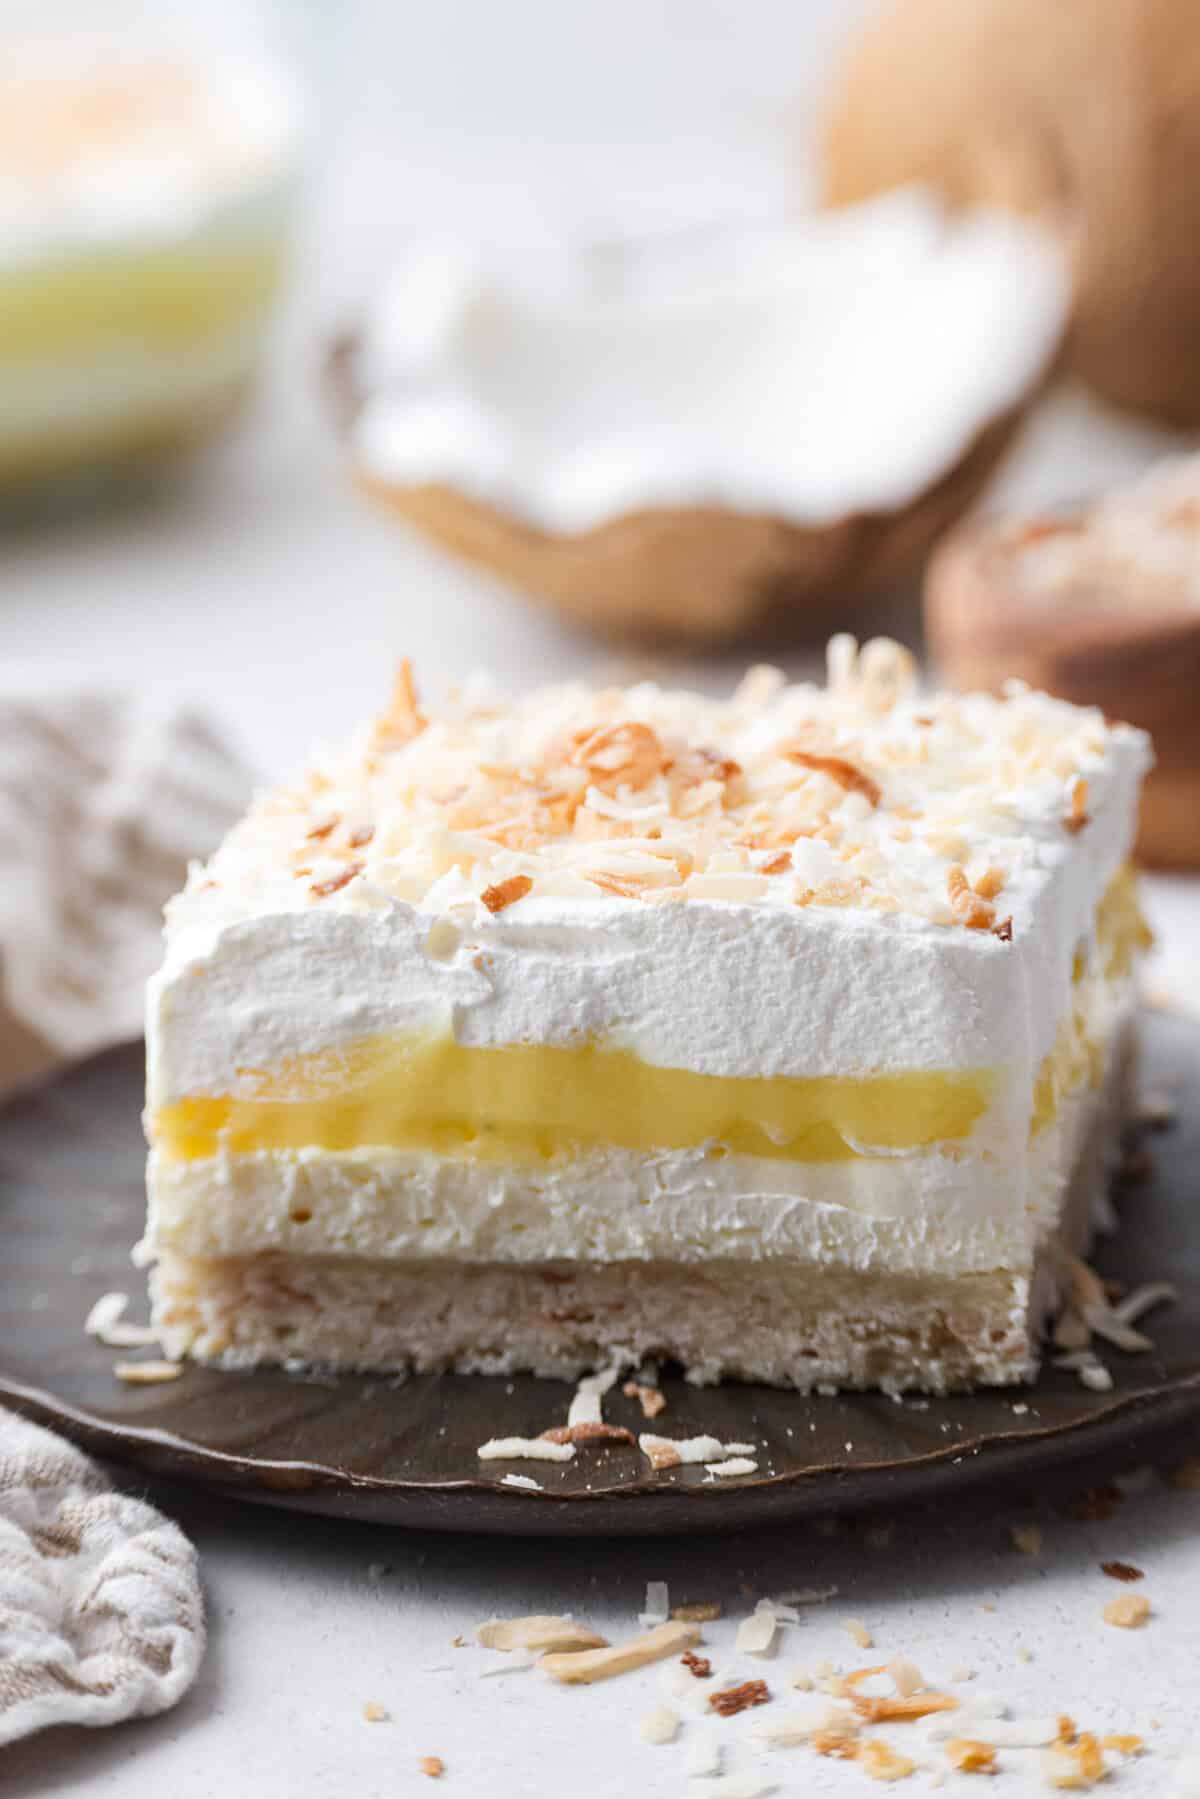
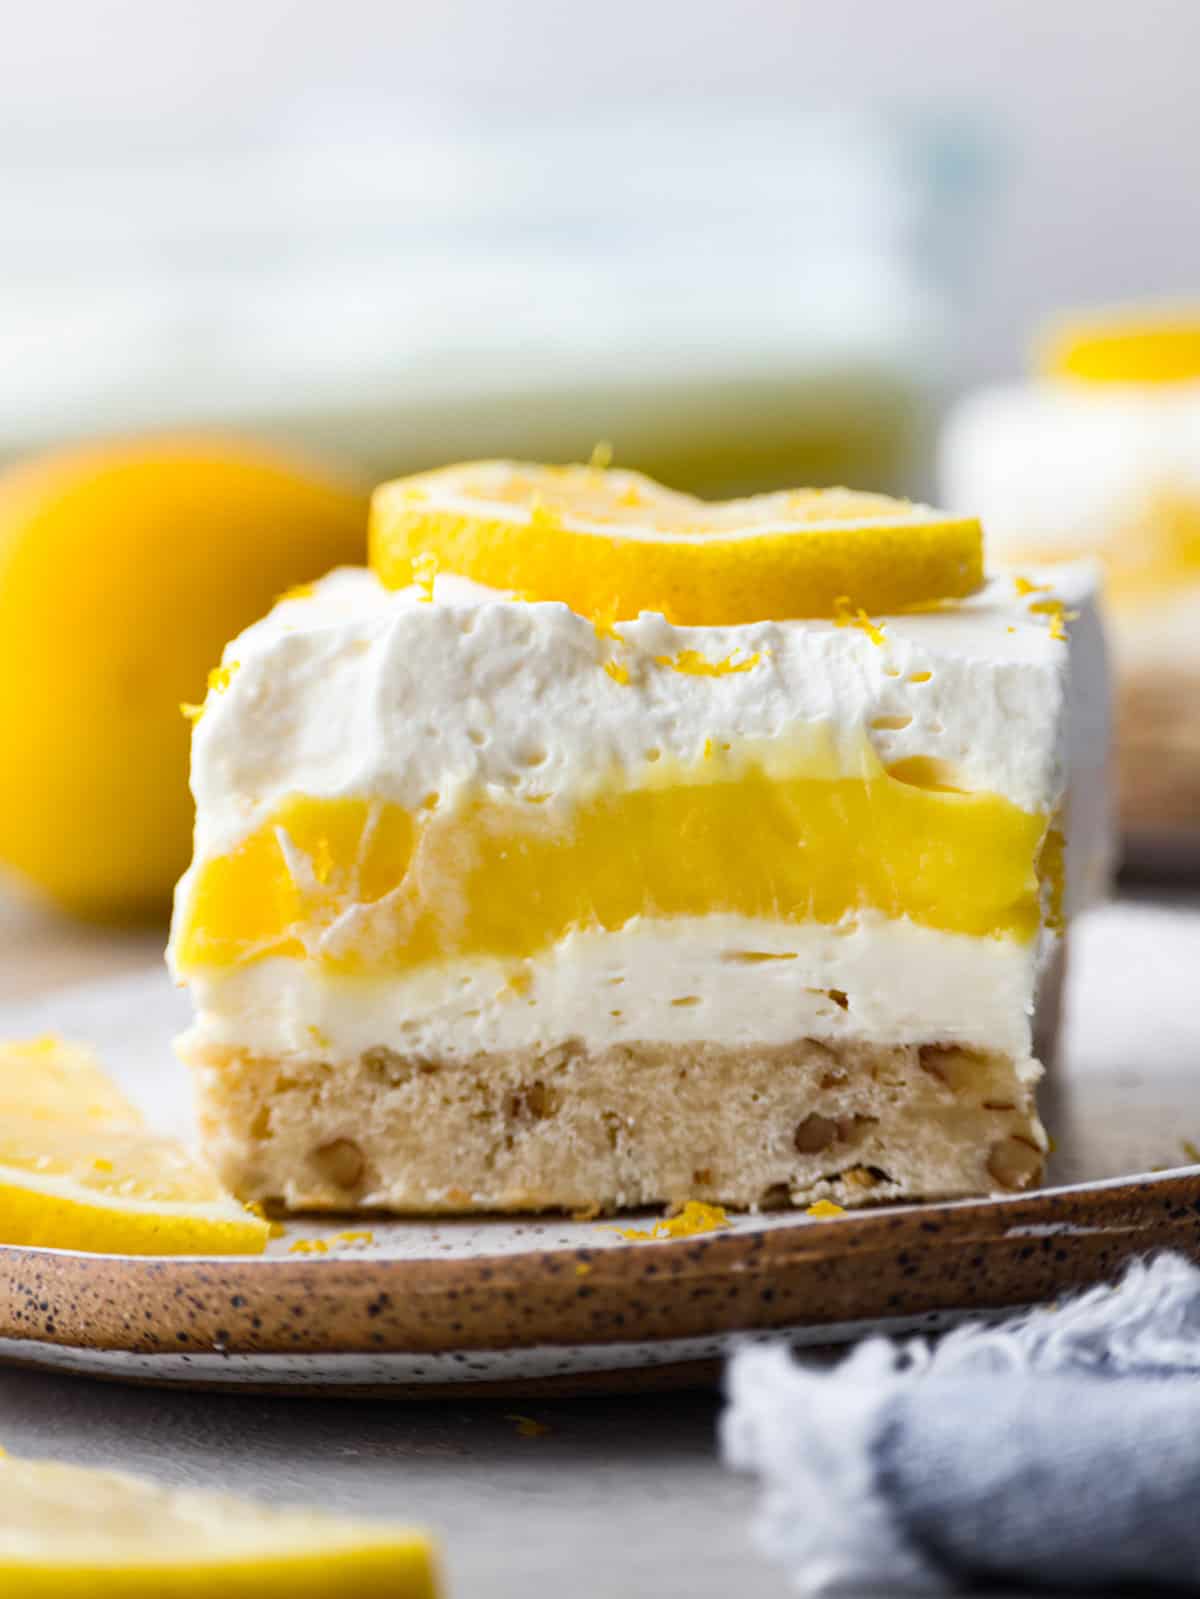
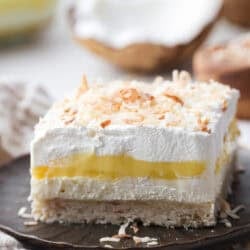
I love coconut cream pie, but let’s be real, I’m not always up for all that work. This Coconut Lush layers on creamy, coconut-filled goodness that disappears fast. It’s my go-to for holidays, potlucks, or any day that needs a little dessert magic.
Why You’ll Love My Luscious Coconut Lush
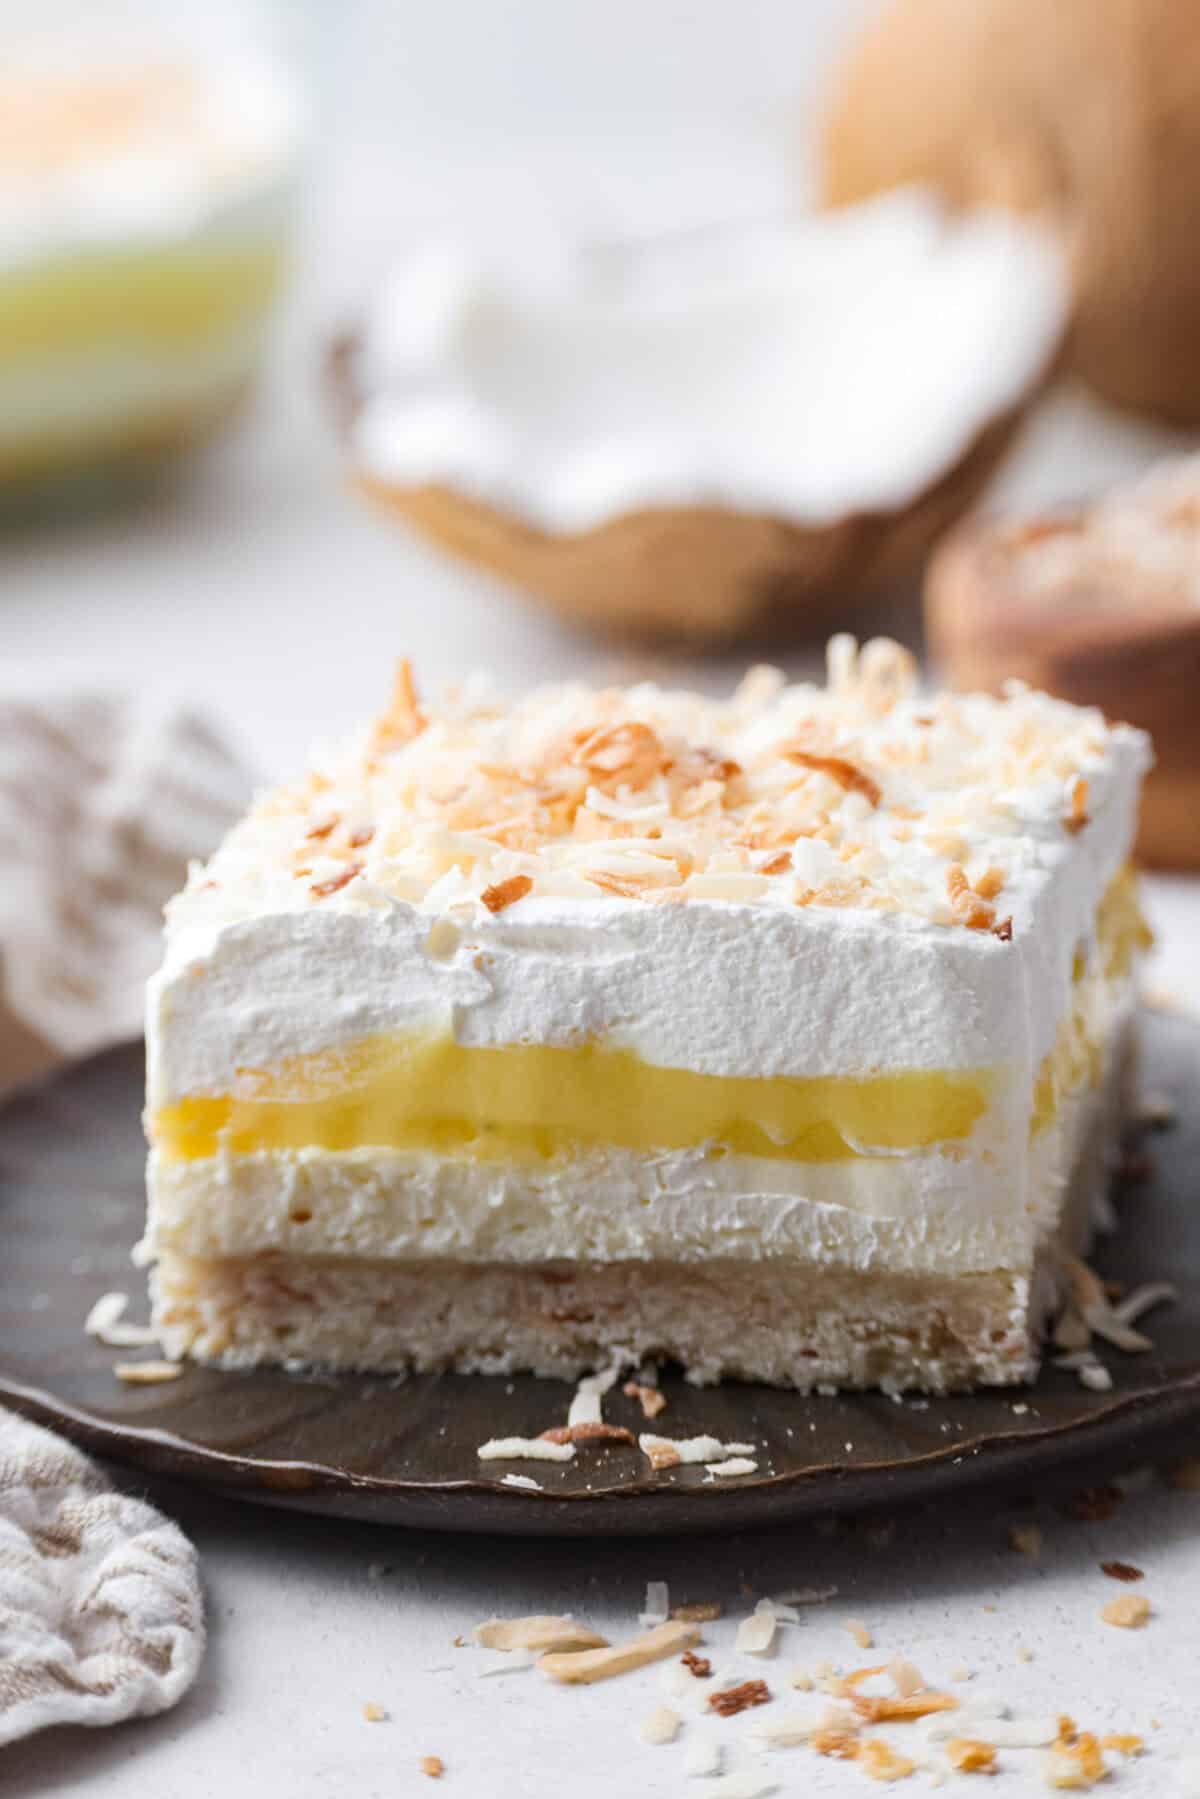
Expert Texture Tips Baked In: No soggy crust or sliding layers, my coconut cream lush slices up clean and holds up beautifully.
Make-Ahead Magic: This Lush is even better the next day, which makes it perfect for parties, holidays, or even fridge-raids at midnight.
Light Bake, Big Flavor: A quick bake on the crust adds a buttery shortbread texture you won’t get from standard no-bake versions.
Coconut Lush Ingredients
Add nuts! You can add ⅓ cup of chopped pecans or macadamia nuts to the crust for added crunch.
Graham Cracker Crust: Swap the coconut crust for a graham cracker crust. Mix 2 cups of graham cracker crumbs with 8 tbsp melted butter and press into the dish. You can also use shortbread or Nilla wafer cookie crumbs.
Use Vanilla Pudding: Can’t find instant coconut cream pudding mix? Substitute with instant vanilla pudding and add 2–3 teaspoons of coconut extract for the same tropical flavor.
Use Homemade Whipped Cream: Swap the whipped topping with homemade whipped cream. Beat 2½ cups cold heavy cream and ⅓ cup powdered sugar to medium-stiff peaks and use as directed.
How to Toast Coconut: Spread coconut flakes on a baking sheet and bake at 375°F, stirring every minute until golden. Let cool completely before using.
How to Make Coconut Cream Lush
Making this Coconut Lush is actually quite simple. Just prepare the layers, then put them all together. The flavors and textures combine to make an incredible dessert!
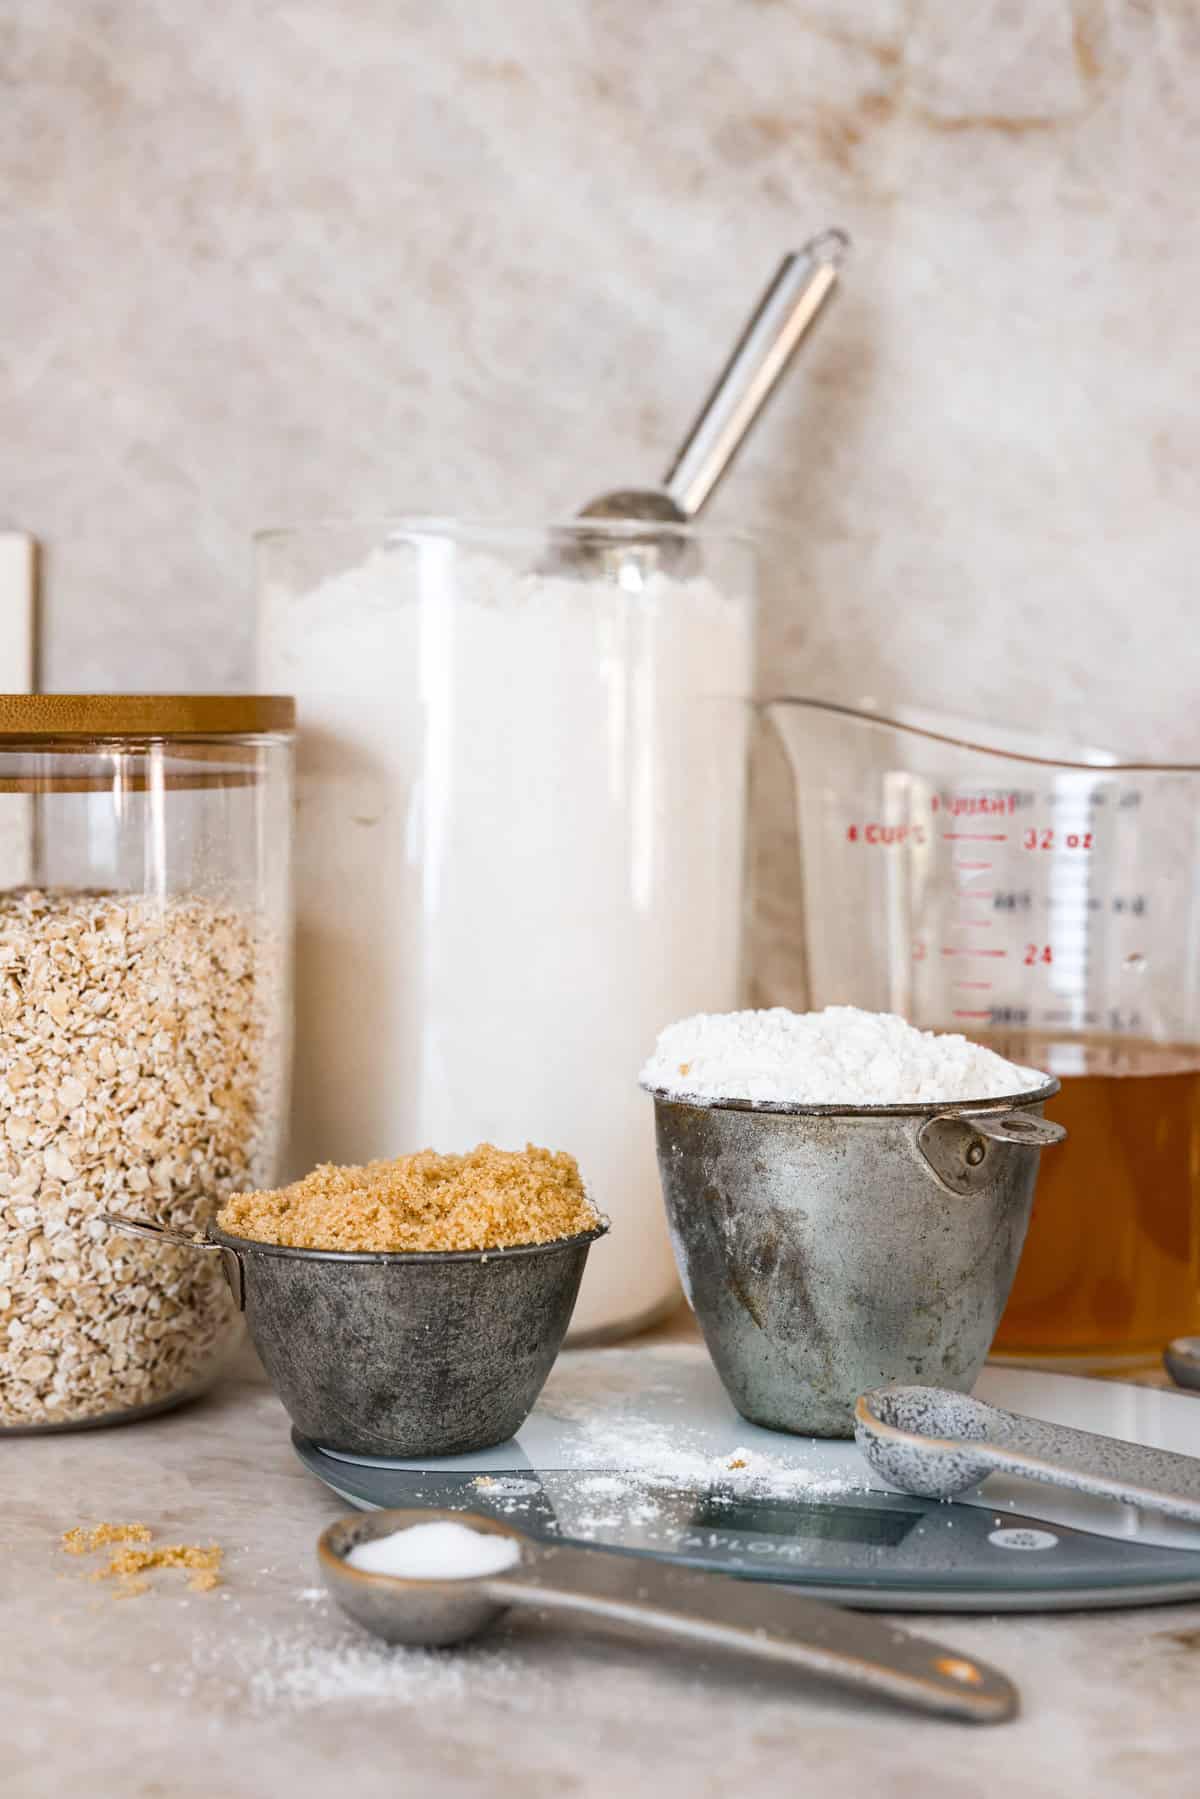
Combine Dry Ingredients: Preheat the oven to 350 degrees Fahrenheit and spray a 9×13 x 2.5-inch baking dish with nonstick cooking spray. Set aside. Whisk together the flour, powdered sugar, coconut, and salt in a large bowl.
Blend Together: Add the butter and cut it in with a fork or pastry blender until crumbly. Use your fingers to rub the butter into the flour mixture. It should form a dough that is still quite dry and crumbly.
Bake Crust Dough: Press the dough into the bottom of the prepared pan and bake for 23-25 minutes. It should be golden brown around the edges and just starting to brown on top. Remove from the oven and let cool completely.
Cream Together: Add the cream cheese, sugar, and vanilla to a large mixing bowl and beat with a hand mixer or stand mixer fitted with the paddle attachment until smooth. Scrape down the sides and bottom of the bowl as needed.
Spread and Chill: Spread the cream cheese mixture evenly over the cooled crust and place in the refrigerator while you prepare the coconut cream layer.
Make Coconut Pudding: Add the coconut cream pudding and milk to a large bowl. Whisk for about 2 minutes, until they begin to thicken.
Pudding Layer: Spread the coconut pudding evenly over the chilled cream cheese layer.
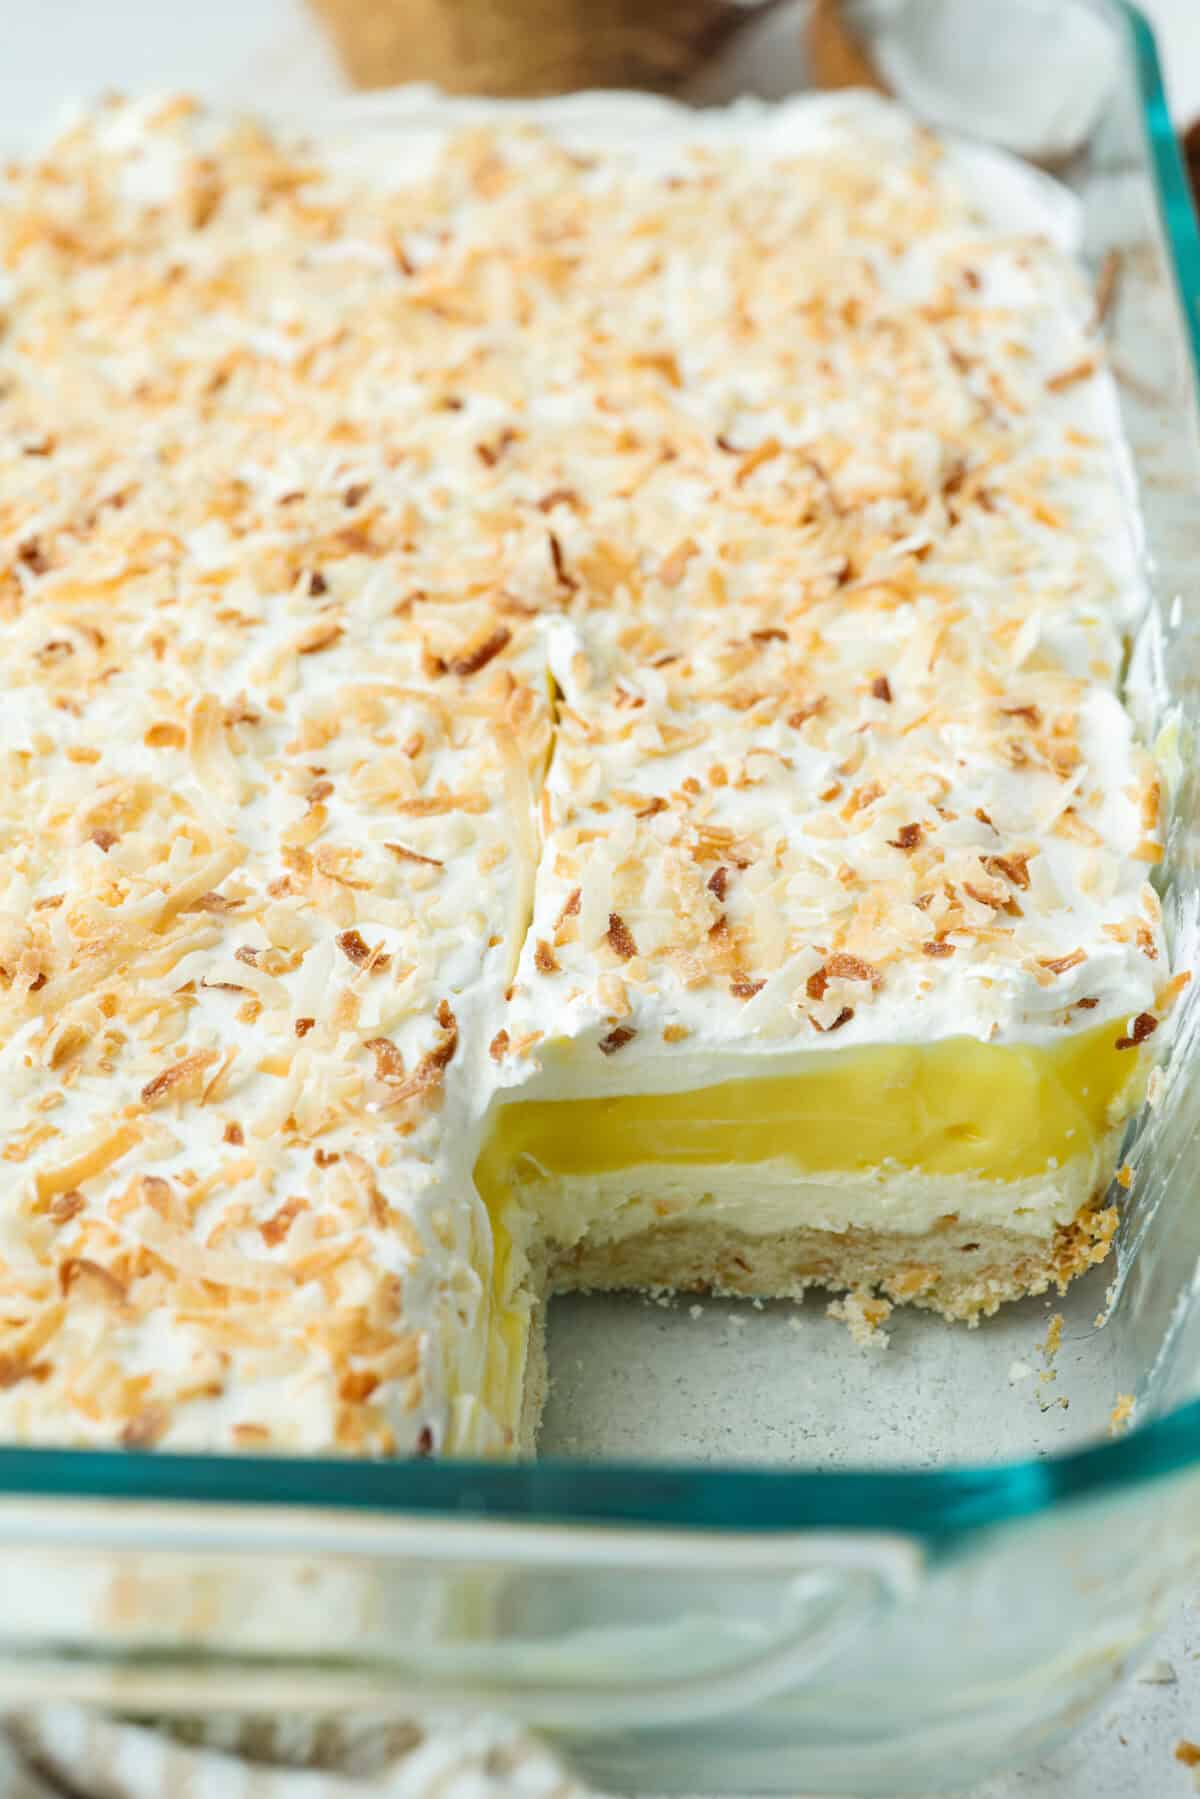
Add Whipped Topping & Chill: Spread the cool whip evenly over the top of the coconut pudding and cover with plastic wrap. Chill for at least 1 hour before serving. When ready to serve, sprinkle toasted coconut on top.
Storage & Make-Ahead Instructions
In the Fridge: Coconut lush leftovers need to be stored in the refrigerator in an airtight container and will keep for 3-4 days. It is best served chilled, so keep it in the fridge until you are ready to serve it.
Make Ahead: The crust portion can be made up to 1 day in advance and can sit at room temperature until the cream cheese layer is added.
Coconut Lush is the ultimate layered dessert, featuring a buttery shortbread crust, cheesecake filling, silky coconut pudding, and a cloud of whipped cream on top.
Preheat the oven to 350 degrees Fahrenheit and spray a 9×13 x 2.5-inch baking dish with nonstick cooking spray. Set aside.
Whisk together 1 ¾ cups all-purpose flour, ⅔ cup powdered sugar, ½ cup toasted coconut, and ½ teaspoon salt in a large bowl. Add 1 cup unsalted butter and cut it in with a fork or pastry blender until crumbly. Use your fingers to rub the butter into the flour mixture until it begins to form a dough, but still quite dry and crumbly.
Press the dough into the bottom of the prepared pan and bake for 23-25 minutes, until golden brown around the edges and just starting to brown on top. Remove from the oven and let cool completely.
Cream Cheese Layer
Add 16 ounces softened cream cheese, ⅔ cup granulated sugar, and 1 teaspoon vanilla extract to a large bowl and beat with a hand mixer or stand mixer fitted with the paddle attachment until smooth. Scrape down the sides and bottom of the bowl as needed.
Spread the cream cheese mixture evenly over the cooled crust and place in the refrigerator while you prepare the coconut cream layer.
Coconut Cream Layer
Add 2 (3.4-ounce) boxes instant coconut cream pudding and 3 cups cold whole milk to a large bowl and whisk it for about 2 minutes, until it begins to thicken.
Spread the coconut pudding evenly over the chilled cream cheese layer.
Whipped Topping layer
Spread 1 (8-ounce) container thawed whipped topping evenly over the top of the coconut pudding and cover with plastic wrap.
Chill for at least 1 hour before serving, then top with 2 cups toasted coconut and serve.
Notes
Storage Instructions: Coconut Lush is best served chilled and keeps in the fridge for 3–4 days. You can prep the crust a day ahead and leave it at room temperature until ready to assemble.
If you’re bringing a dish to the next family reunion, make it these loaded baked beans . Three kinds of meat, two kinds of beans, and a sauce that is smoky, sweet, and full of depth . They disappear every single time. Why These Check Every Box One Pot: Everything comes together in a single pot before going straight into the oven. Less mess, more eating! Make It Your Own: Want more heat? Add extra cayenne. Prefer a different sausage? Go for it. This recipe is easy to customize. Even Better the Next Day: The flavors deepen overnight, making leftovers something to look forward to, and it’s make-ahead friendly! Ingredients for Loaded Baked Beans Bacon: Regular or thick-cut bacon both work great. Use whichever you prefer or have on hand. Serving as an Entree: These beans are hearty enough to serve as a main dish! As an entree, plan on feeding about 7 to 8 people. For Saucier Beans: These baked beans are not as saucy as som...