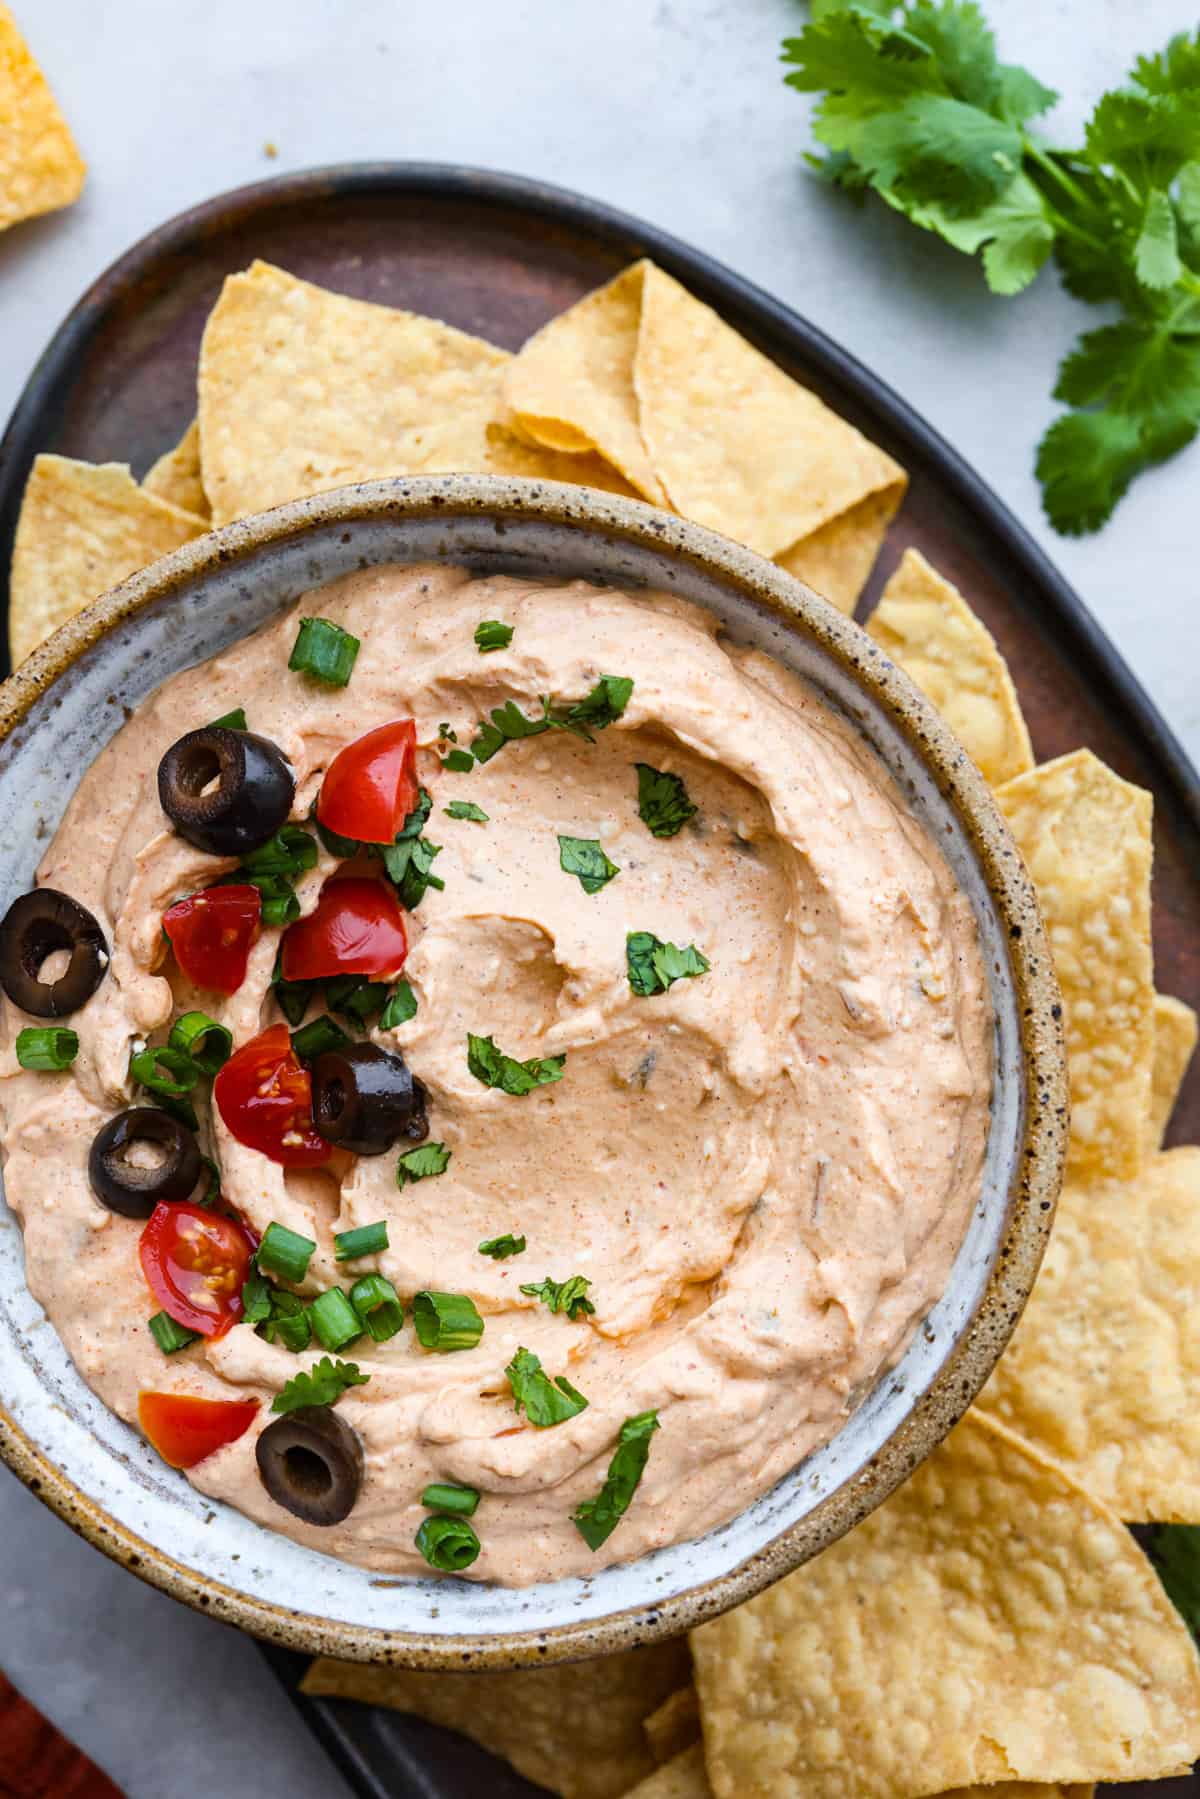
Creamy, cheesy, and loaded with crack dip flavor! This 6-ingredient appetizer is served cold and ready in just 10 minutes. Good luck keeping it on the table.
No Oven Needed: Perfect for hot days or last-minute parties, just mix, chill, and serve!
Bacon Lovers’ Dream: Crispy bacon bits in every bite make this dip totally crave-worthy.
Picnic & BBQ Star: Whether you’re poolside or it’s game day, this cool and creamy ranch dip is the first thing to vanish from the snack table!
Crack Dip Ingredients
Bacon: I love using precooked bacon for convenience. Bacon bits also work, but nothing beats that real, crispy bacon flavor.
Green Onion: A lot of other recipes only use green onions as a garnish. My recipe mixes the green onion into the dip to give it that savory flavor in every bite!
How to Make Crack Dip
Not only is this easy crack dip recipe perfectly creamy, but it’s cheesy and loaded with that irresistible ranch and bacon combo I know you’ll love. If you like this combo, you should try my poolside dip, million-dollar dip, and boat dip.
Mix: In a large bowl, mix together sour cream, softened cream cheese, and ranch dressing mix using an electric hand mixer.
Add the Bacon, Cheese, and Onion: Fold in the crumbled bacon, shredded cheddar cheese, and chopped green onions.
Serve: Enjoy right away or refrigerate for at least 20 minutes before serving to help the flavors meld.
Garnish and Serve: Garnish with additional green onions, cheese, and chopped bacon, if desired. Enjoy with veggies, crackers, or potato chips!
Storage and Make-Ahead Instructions
In the Refrigerator: Store leftover crack dip in an airtight container. Keep in the fridge for up to 4 days. Give it a quick stir before serving again! If needed, stir in a splash of milk if it seems too thick.
Make Ahead: Crack dip gets even better when you make it ahead of time! Prep it the night before and let the flavors mingle overnight.
In a large bowl, mix together 1 (16-ounce) container sour cream, 1 (8-ounce) package softened cream cheese, and 1 (1-ounce) packet ranch dressing mix using an electric hand mixer.
Fold in 1 cup cooked and chopped bacon, 1 ½ cups shredded cheddar cheese, and ¼ cup chopped green onions.
Serve right away or refrigerate for at least 20 minutes before serving to help the flavors meld. Garnish with additional green onions, cheese, and chopped bacon, if desired. Enjoy with crackers or chips!
Notes
Store crack dip in an airtight container in the fridge for up to 4 days. It’s even better made ahead. Prep it the night before and stir before serving (add a splash of milk if it thickens).
These meal plans have been saving my sanity! I’m so grateful to all of you for showing up, making dinner happen, and proving that yes, we can feed our people without losing our minds! This week’s menu has some of my absolute favorites!
This Week’s Meals = Chef’s Kiss
From saucy skillet dinners to crispy chicken that might just earn you a slow clap, this week’s lineup is solid. Meal planning has become my saving grace. With a plan in place, my grocery trips are (mostly) organized, and best of all, I avoid the dreaded 5 p.m. fridge stare-down. So with that, let’s get into it.
Feeding a crew of 4–6? You’re covered. This plan includes five weeknight winnersand a shopping list so you can hit the store once and feel like a total boss all week long. Just click the pink button.
Instant Pot Carnitas
Making carnitas in an Instant Pot is foolproof. With just a few simple ingredients and the magic of pressure cooking, you can have a delicious and satisfying meal ready in no time. Make a batch of this juicy shredded pork for your next taco night, you won't regret it!
Bring a bang to your dinner table with this explosive bang bang chicken! It’s crispy but tender and coated in a thick, creamy sauce that’s savory, spicy, and sweet all at once!
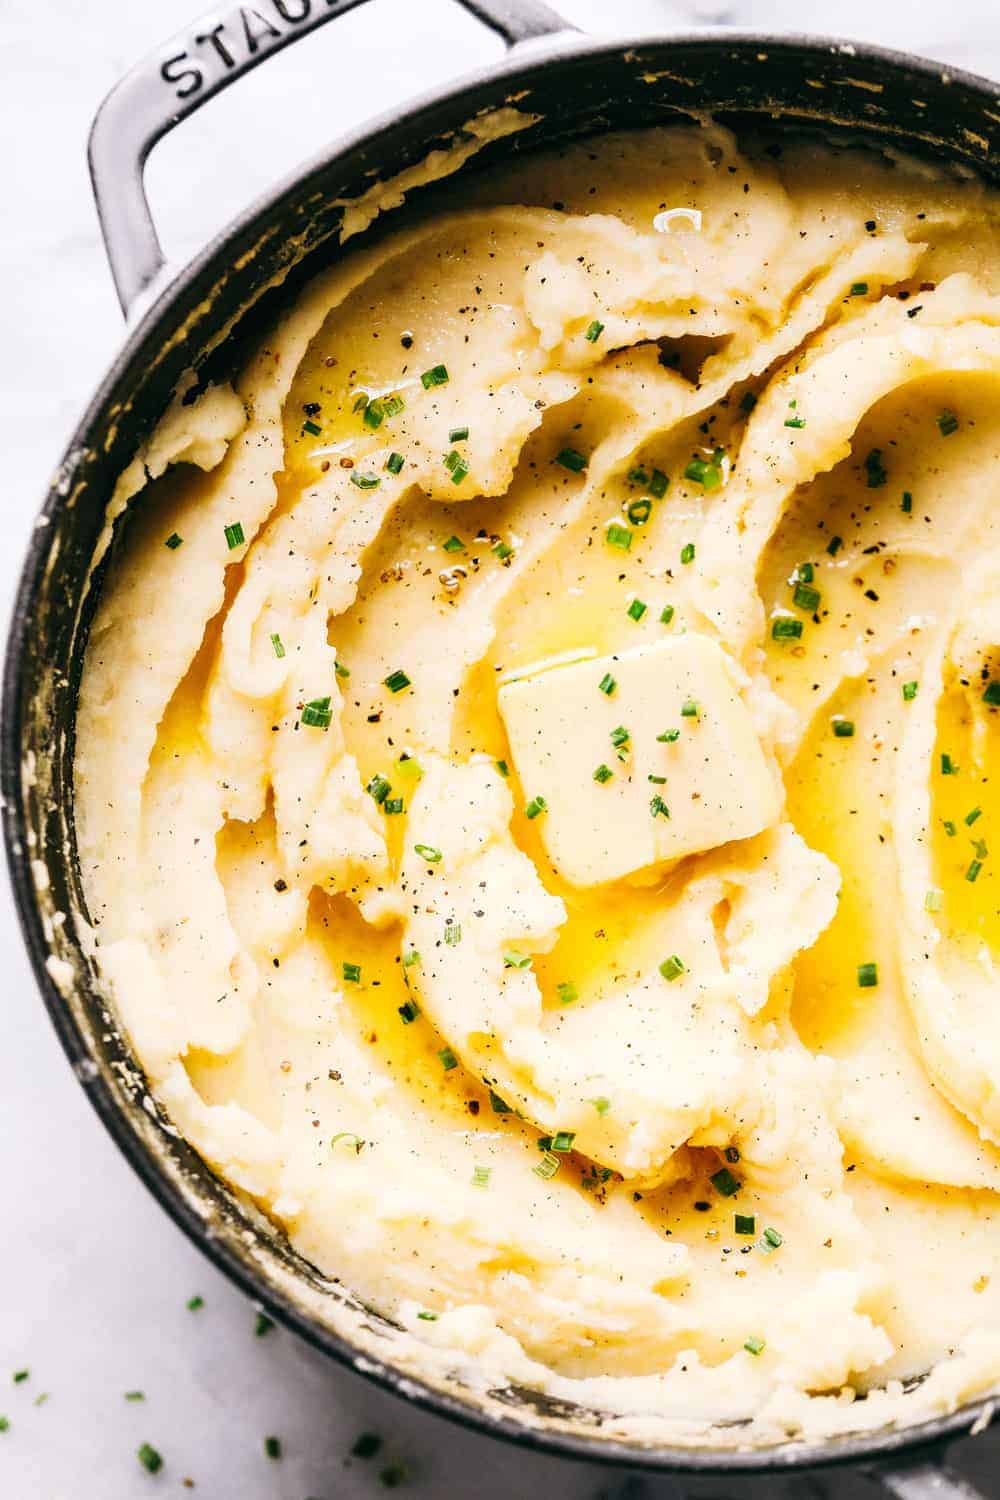
Skillet Salisbury steak is a classic meal with a mouthwatering tender beef patty drowning in a rich homemade brown gravy. Serve it over some mashed potatoes and peas and you have yourself a winner!
Jam-packedwith onions, cilantro, cheese, BBQ sauce, and chicken, this pizza will be a hit with your family! Using a pre-made crust makes this recipe easy and delicious!
This chicken piccata is a light and delicious Italian dish that never disappoints. The juicy breaded chicken is smothered in a fresh lemon-caper sauce that explodes with flavor in every bite.
Meal planning doesn’t make life perfect, but it makes dinner doable, and that’s more than enough for me.
It cuts the grocery bill: I shop with a plan, not vibes. No more wilted spinach graveyard in the crisper drawer.
It saves my sanity: I already made the dinner decision before the chaos hits. That alone deserves a trophy.
It keeps us eating real food: When dinner’s already picked out, I’m way less likely to default to drive-thru mode.
Each weekly plan comes with a free printable grocery list that’s already measured and organized for you. Just print it out, head to the store, and enjoy feeling way more on top of life than you did five minutes ago!
I stick to planning dinners Monday through Friday. Weekends are for winging it, relaxing, or grabbing something fun. If you’ve got leftovers, pop them in an airtight container and save them for when the week gets busy.
from The Recipe Critic https://ift.tt/svU0wNj
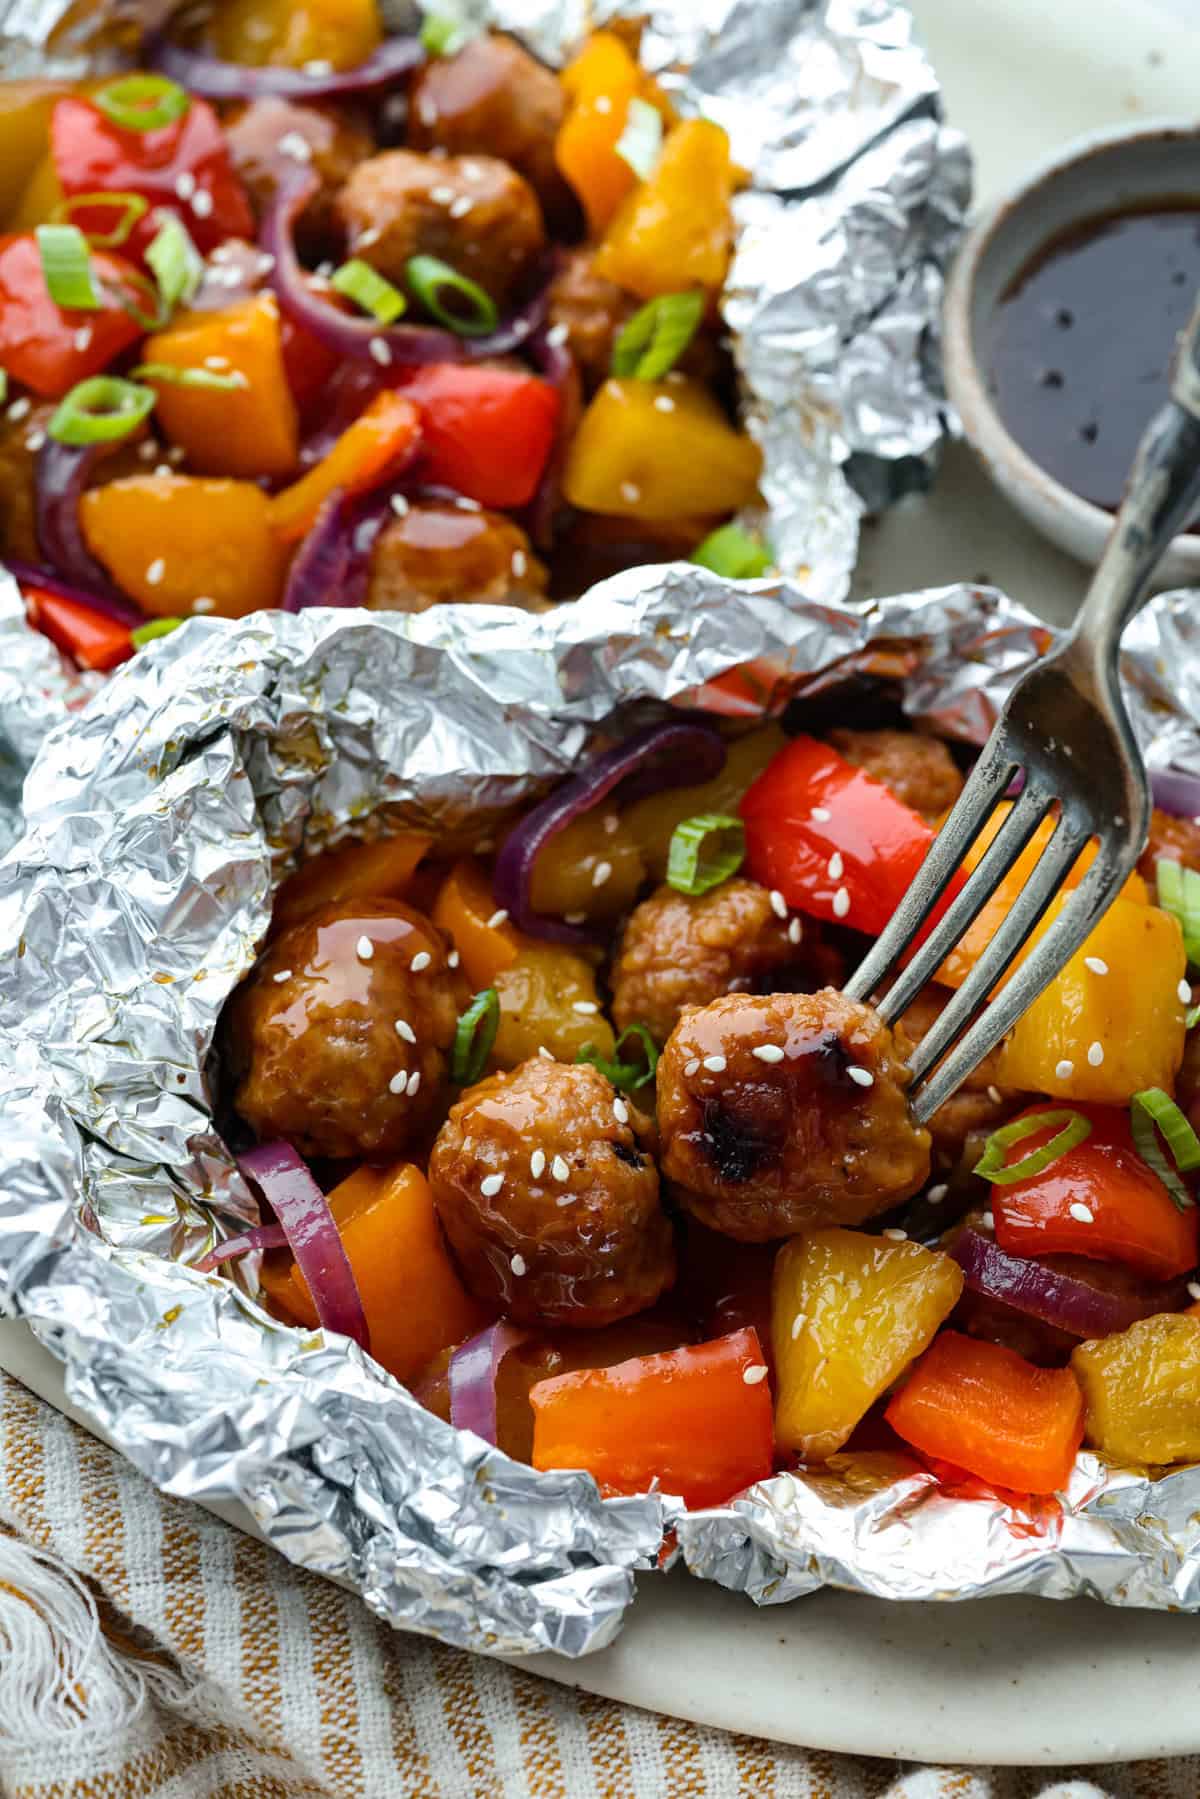
My meatball foil packets have juicy meatballs, sweet pineapple, colorful veggies, covered in sticky teriyaki sauce, and grilled to perfection. Easy to make, fun to eat, and no dishes to wash! Yes, please!
Packet Perfection
Sweet & Savory Combo: Tender meatballs meet caramelized pineapple and teriyaki sauce for bold, irresistible flavor.
Optional Cooking Methods: These are delicious whether you’re grilling at home or cooking under the stars. They work great in the oven, too!
Perfect for Prep or Travel: Make ahead and toss on the grill when you’re ready—ideal for busy nights or weekend getaways.
Teriyaki Meatball Foil Packet Ingredients
Meatballs: I used pre-cooked frozen beef meatballs from Costco to save time, but you can make my homemade meatballrecipes as well!
Teriyaki Sauce: I love using my homemade teriyaki sauce, but you can use store bought if you’re in a time crunch.
Veggies: Cut your veggies into even pieces so they cook at the same rate. Feel free to mix it up; zucchini, mushrooms, and broccoli all work!
Pineapple: Be sure to drain the pineapple well if you’re using canned. Fresh pineapple or pineapple rings are also an option!
How to Make Meatball Foil Packets
Dinner doesn’t get easier than this! With just a few ingredients and zero cleanup, you’ll have a delicious meal on the table (or around the campfire!) in no time.
Prepare and Assemble: Preheat the grill to medium heat, then cut heavy-duty aluminum foil into 4 large pieces, large enough to wrap around the meatballs and veggies. Place 8 meatballs in the center of each sheet of aluminum foil. Divide the pineapple chunks, chopped bell peppers, and the sliced red onion evenly into each packet.
Add the Sauce: Prepare Homemade Teriyaki Sauce or use your favorite store bought sauce. Drizzle ¼ cup of the sauce on top of each meatball and veggie mixture and slightly stir together.
Fold and Seal: Bring the two longer sides of the foil together and seal tightly, then fold in the shorter edges of the foil, making sure there are no openings or gaps.
Cook: Place the packets onto the hot grill and cook for 15-20 minutes or until the meatballs are warmed through. To serve, carefully open packets, then garnish with green onions and sesame seeds. Serve meatball foil packets over cooked rice, if desired!
Alyssa’s Pro Tip
Use heavy-duty foil and seal your meatball foil packets tightly with no gaps. This prevents leaks on the grill and locks in steam for juicy, perfectly cooked meatballs.
Meatball Foil Packet Cooking Methods
Oven: Preheat your oven to 375ºF. Place the sealed foil packets on a baking sheet and bake for 20–25 minutes, or until the meatballs are heated through.
Grill: Preheat the grill to medium high heat. Place the foil packets directly on the grill grates and cook for 15-20 minutes.
Campfire: Place the foil packets over medium hot coals in a campfire or fire pit. Cook for 15–20 minutes, rotating occasionally for even cooking.
Storing and Reheating Leftovers
In the Refrigerator: These meatball foil packets are best served right away! Transfer the cooked meatball packets into an airtight container. Store in the fridge for up to 3 days.
To Reheat: Reheat in the oven at 350°F until warmed through, or toss in the air fryer for a quick option that crisps up the edges.
Preheat the grill to medium-high heat. Cut heavy-duty aluminum foil into 4 large pieces, large enough to wrap around the meatballs and veggies.
Divide the 32 frozen meatballs by placing 8 meatballs in the center of each sheet of aluminum foil. Divide 1 (20-ounce) canned pineapple chunks,1 chopped red bell pepper, 1 chopped orange bell pepper, and 1 small sliced red onion evenly into each packet.
Prepare 1 cup Homemade Teriyaki Sauce or use your favorite store-bought sauce. Drizzle ¼ cup of the sauce on top of each meatball and veggie mixture.
Fold and seal the packets. Bring the two longer sides of the foil together and seal tightly. Next fold in the shorter edges of the foil, making sure there are no openings or gaps.
Place the packets onto the hot grill and cook for 15-20 minutes or until the meatballs are warmed through. To serve, carefully open packets and garnish with green onions and sesame seeds. Serve over cooked rice, if desired!
Notes
Storage: Teriyaki Meatball Foil Packets are best served fresh, but leftovers can be stored in the fridge for up to 3 days. Reheat at 350ºF in the oven or pop them in the air fryer to crisp up!
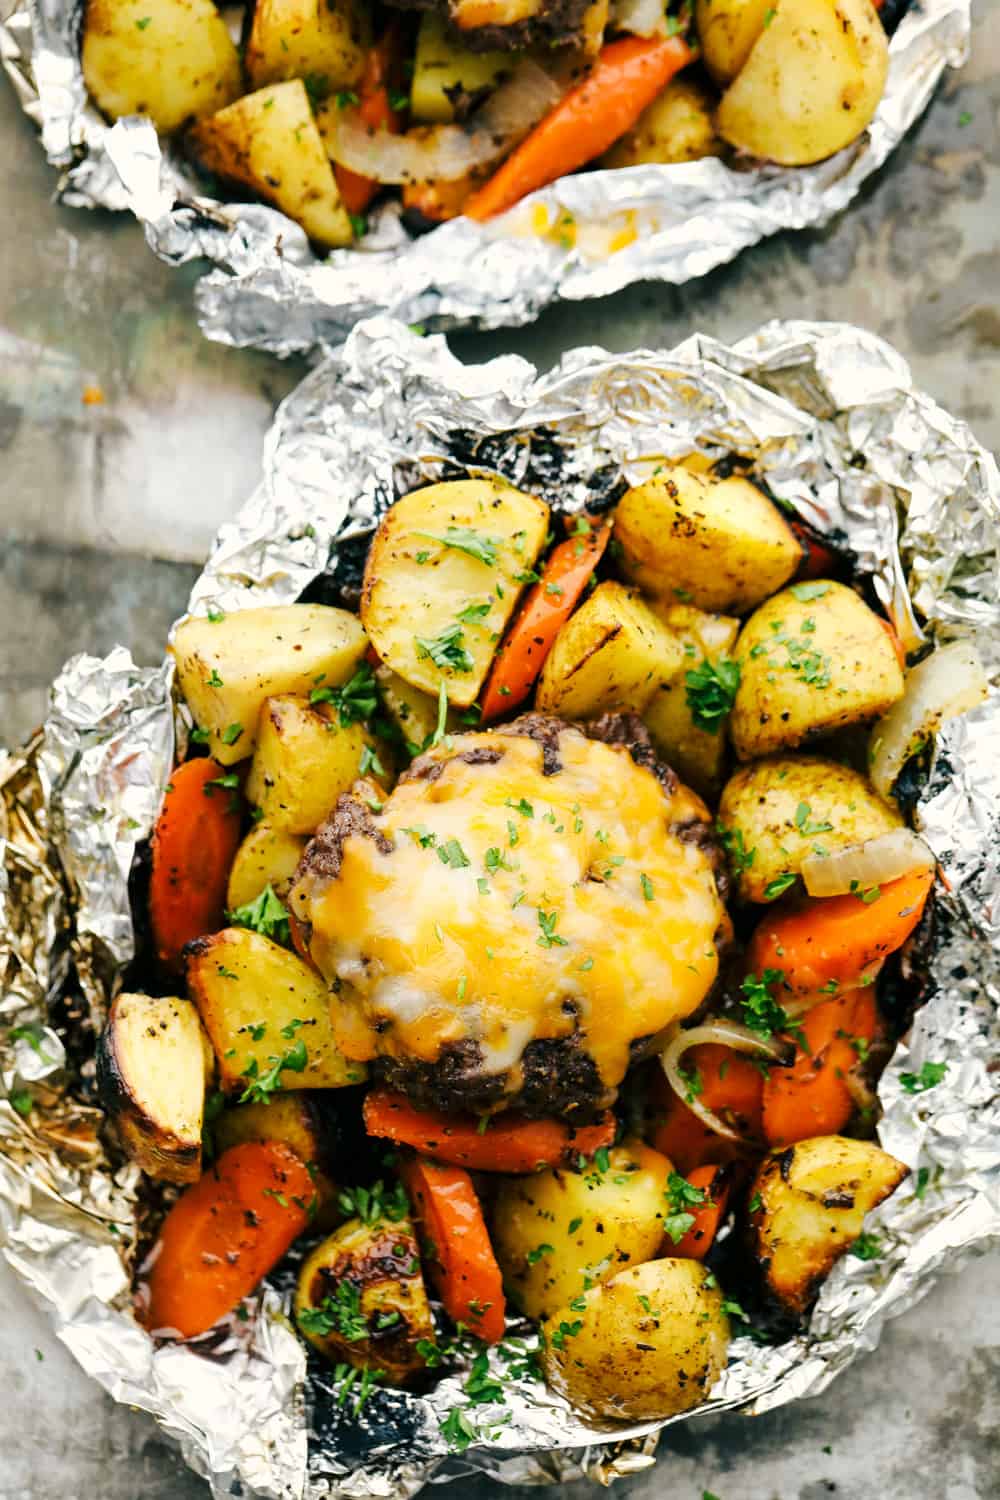
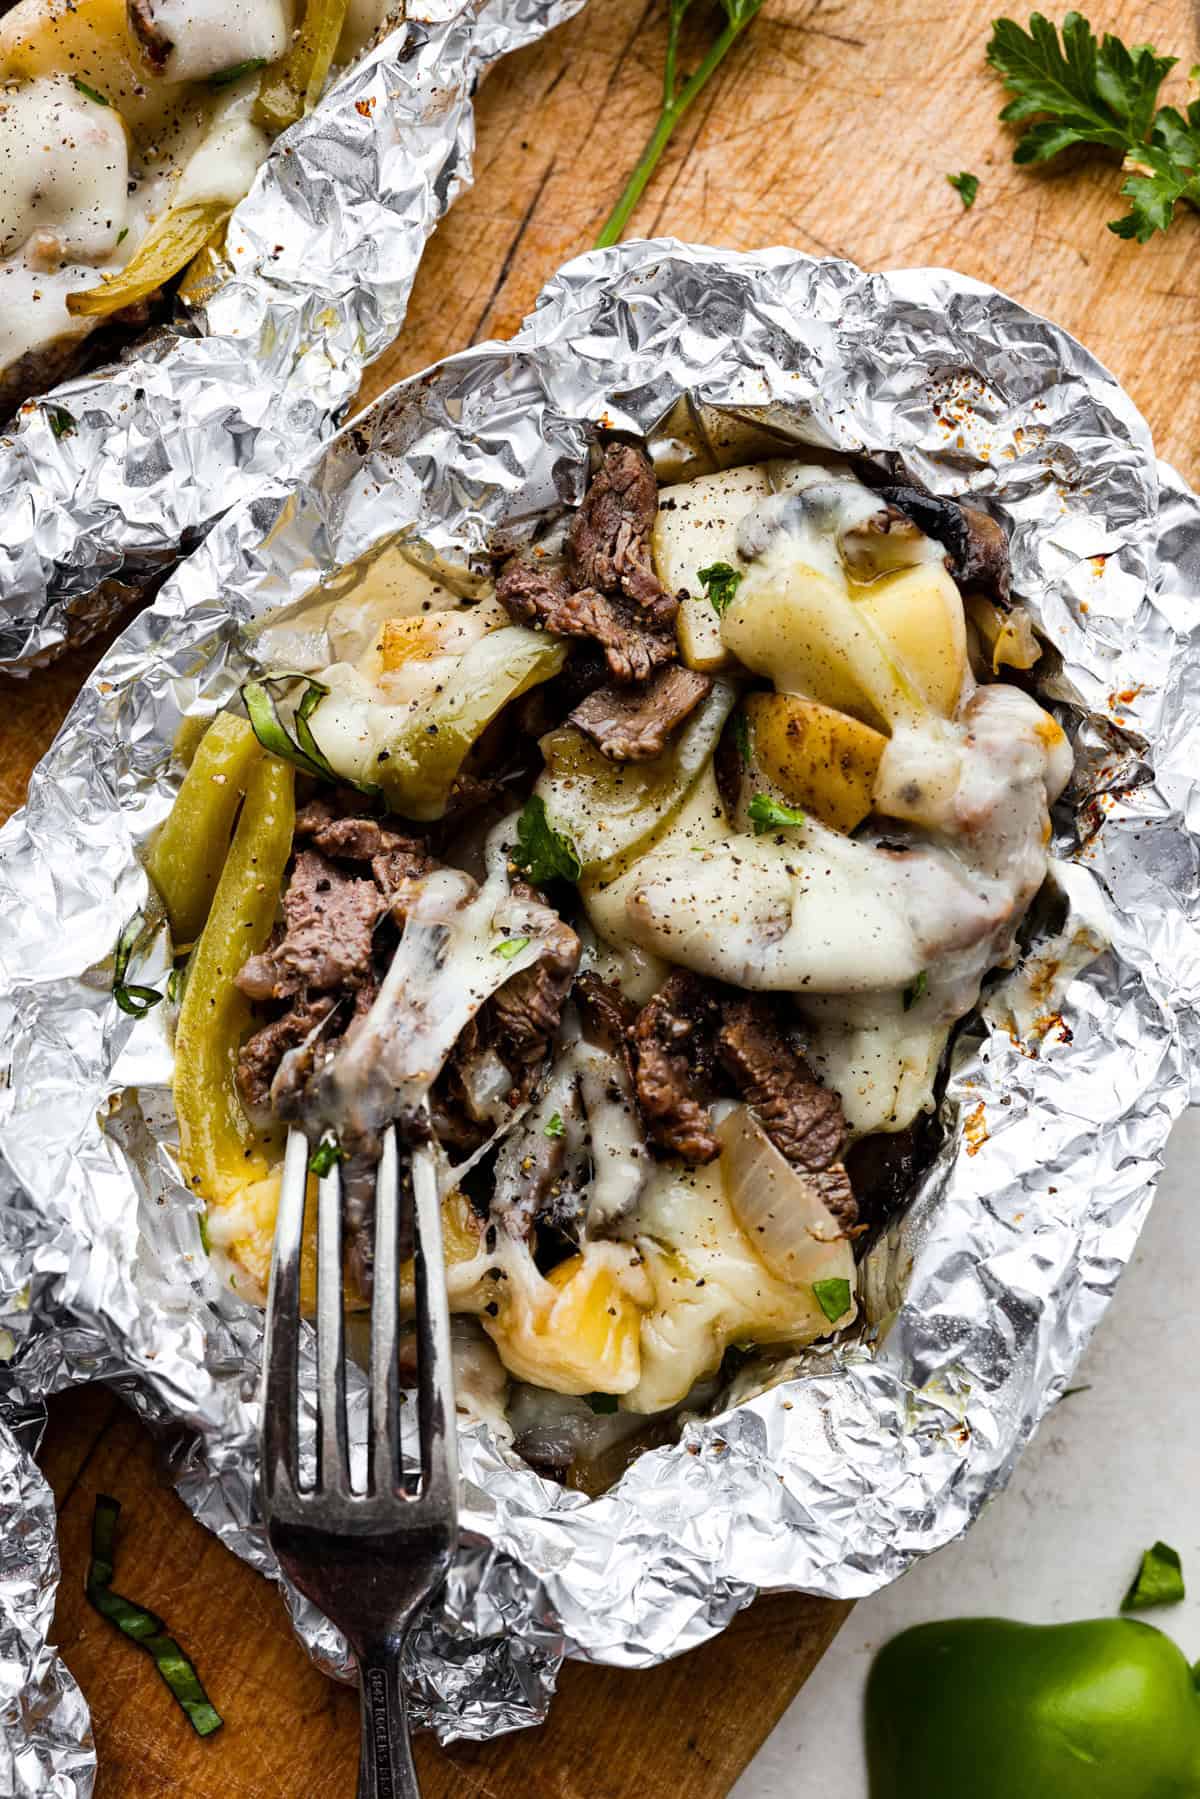
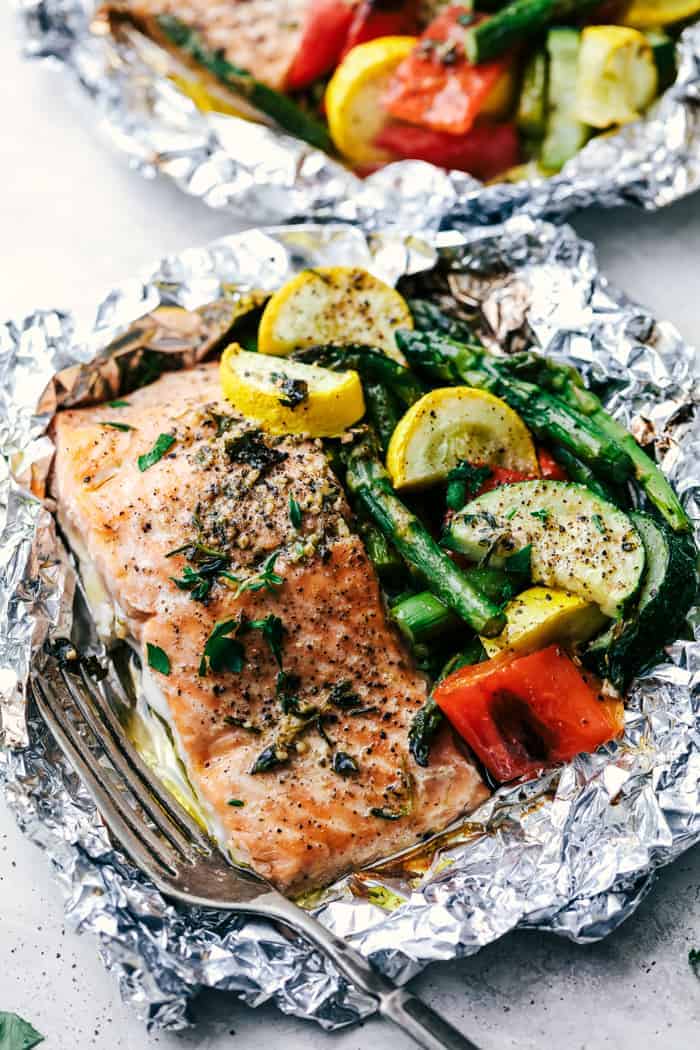
These meatball foil packet dinners are such a game changer! Cleanup is a breeze, they’re packed with flavor, and they cook up quickly. Here are some of our other favorite foil packet meals.
If you’re bringing a dish to the next family reunion, make it these loaded baked beans . Three kinds of meat, two kinds of beans, and a sauce that is smoky, sweet, and full of depth . They disappear every single time. Why These Check Every Box One Pot: Everything comes together in a single pot before going straight into the oven. Less mess, more eating! Make It Your Own: Want more heat? Add extra cayenne. Prefer a different sausage? Go for it. This recipe is easy to customize. Even Better the Next Day: The flavors deepen overnight, making leftovers something to look forward to, and it’s make-ahead friendly! Ingredients for Loaded Baked Beans Bacon: Regular or thick-cut bacon both work great. Use whichever you prefer or have on hand. Serving as an Entree: These beans are hearty enough to serve as a main dish! As an entree, plan on feeding about 7 to 8 people. For Saucier Beans: These baked beans are not as saucy as som...