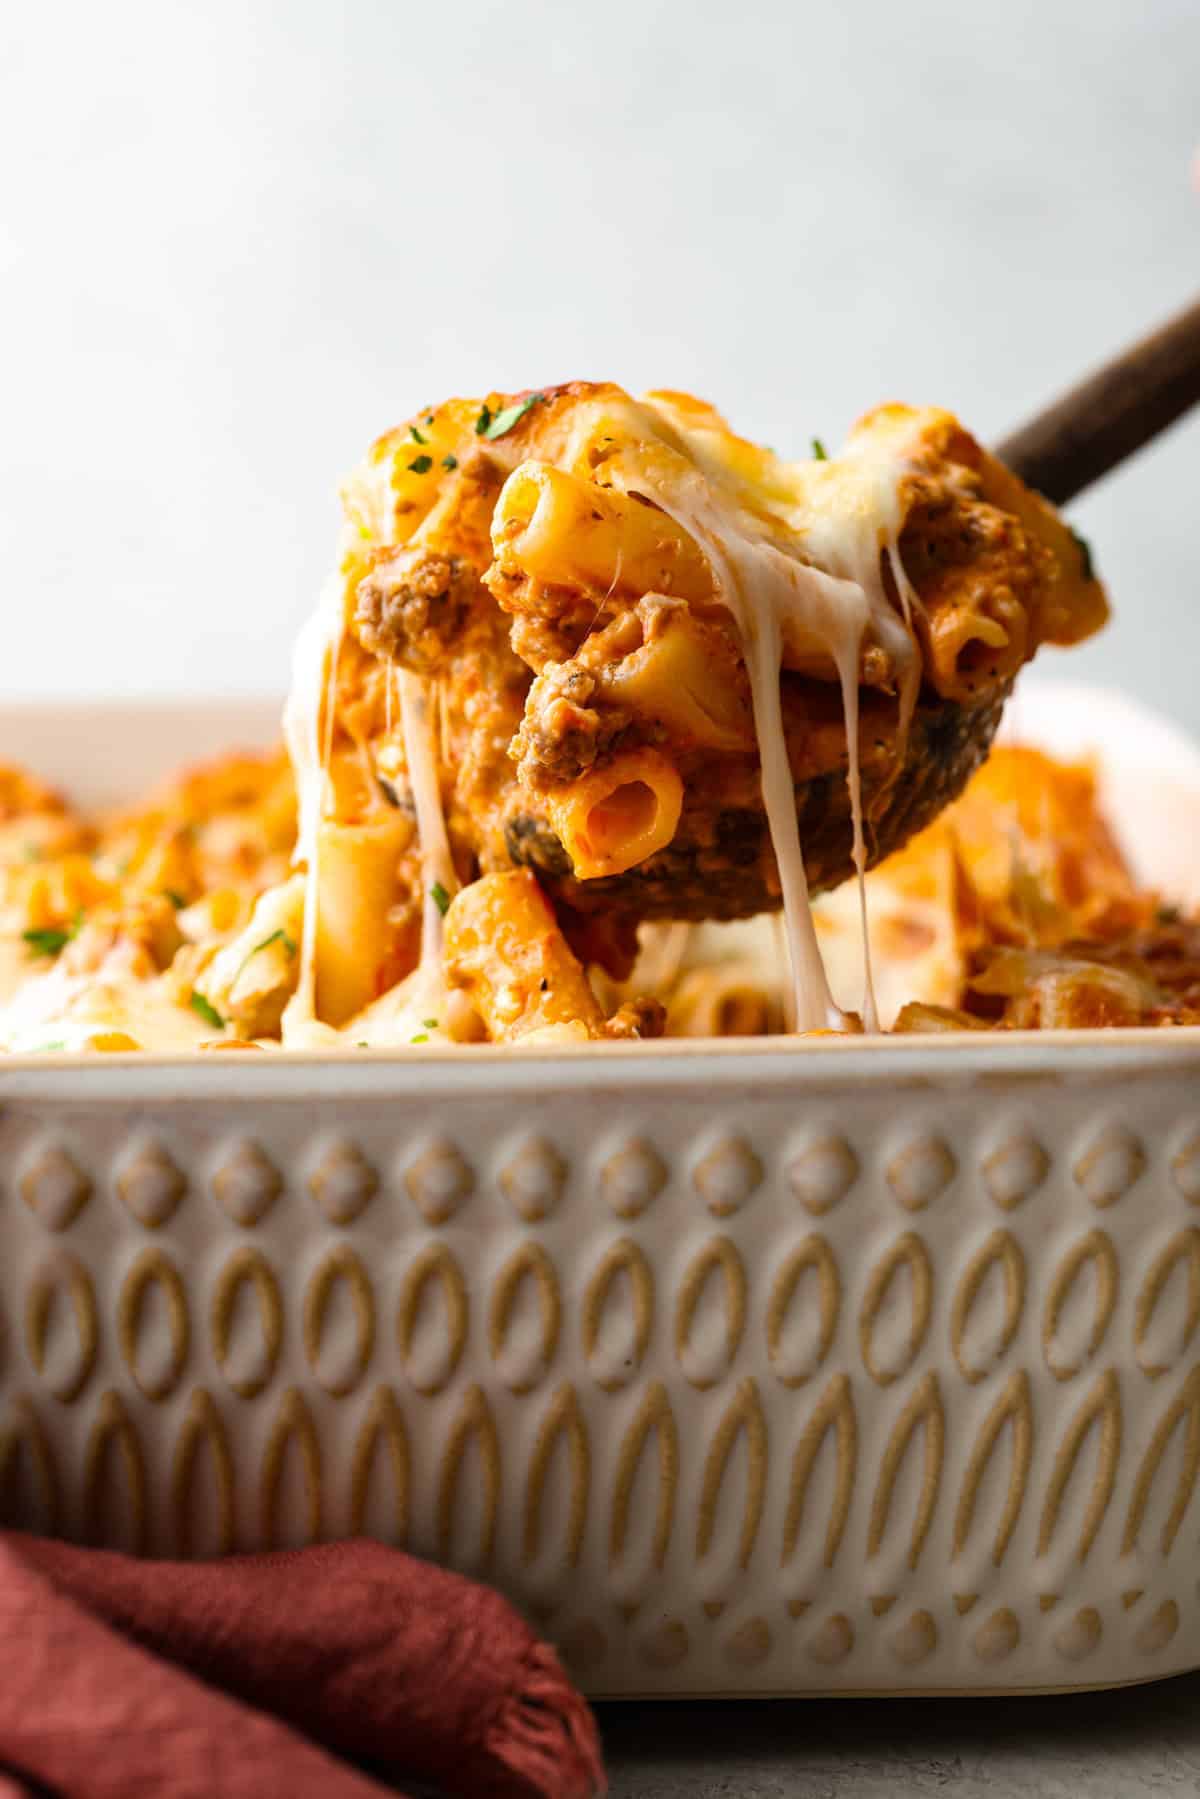
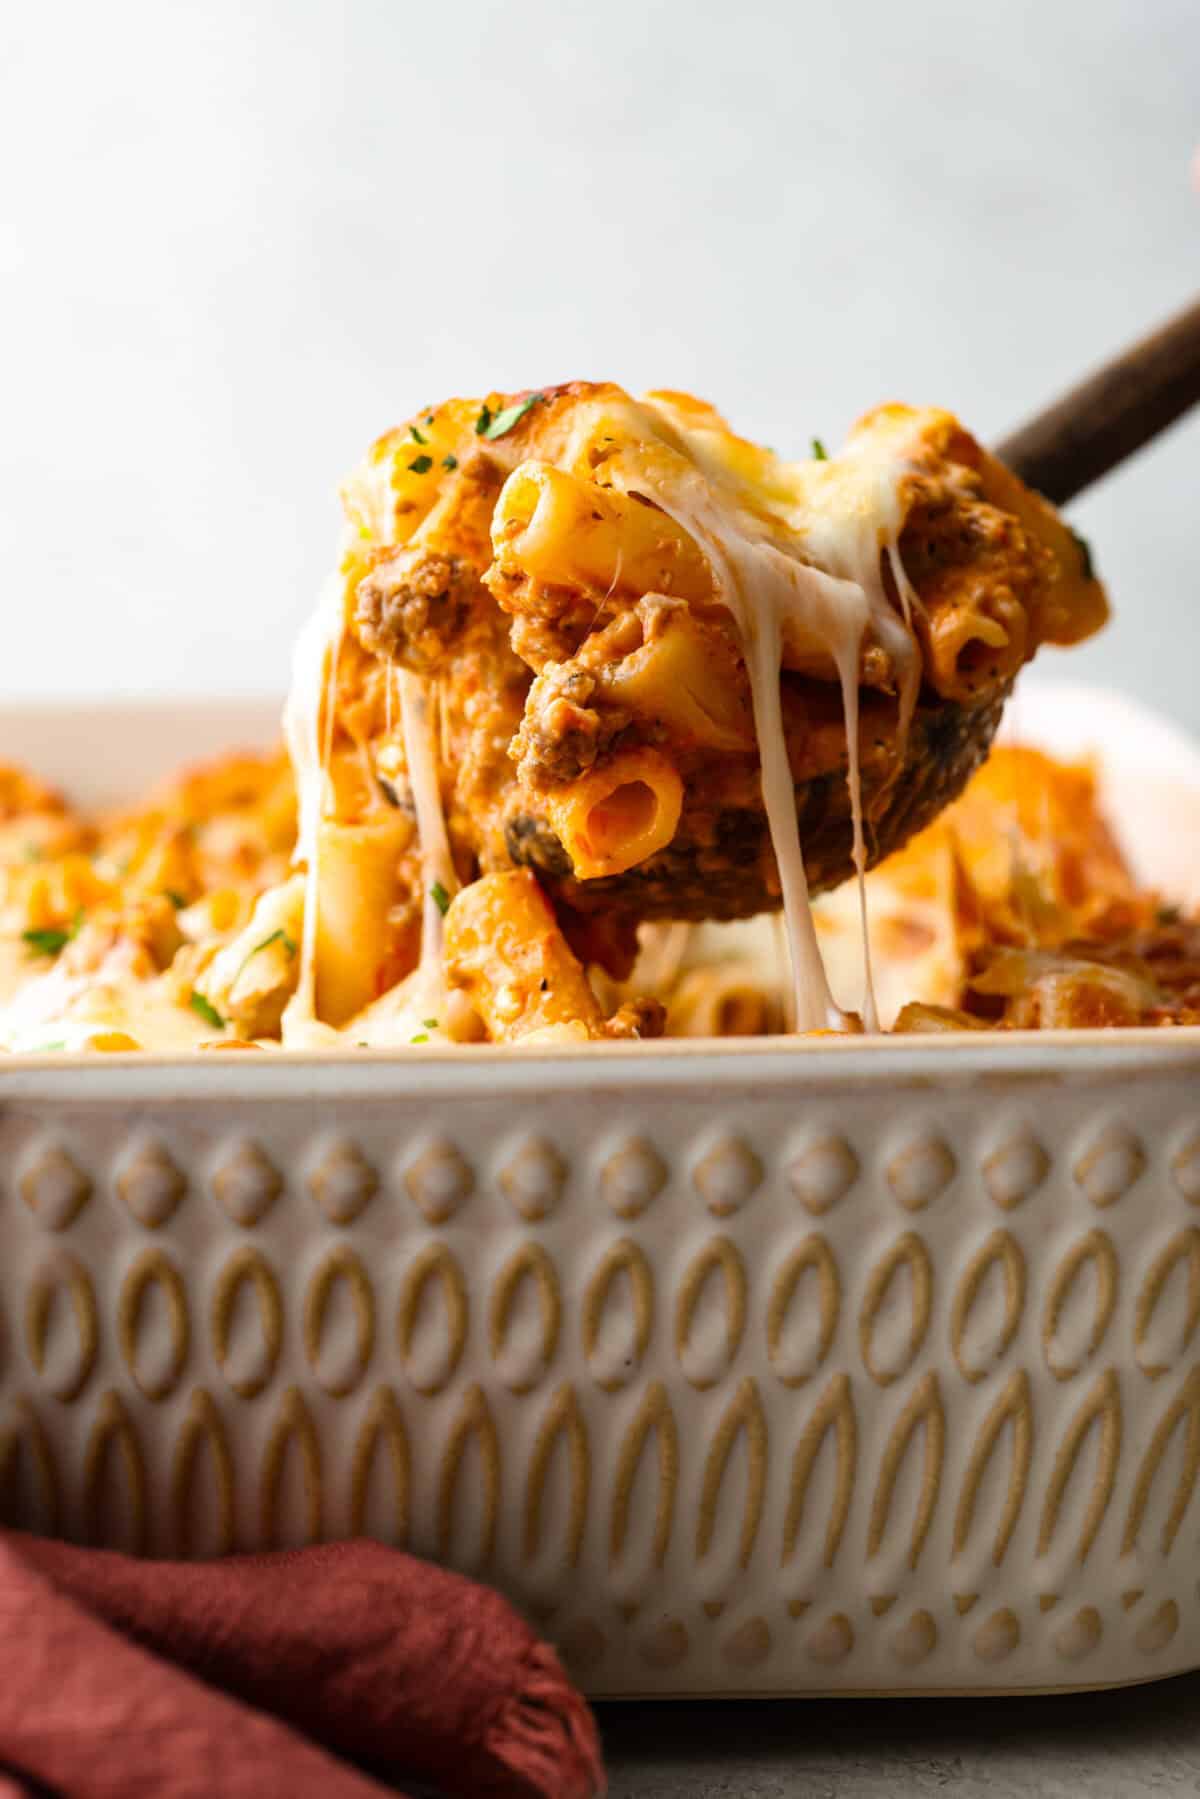
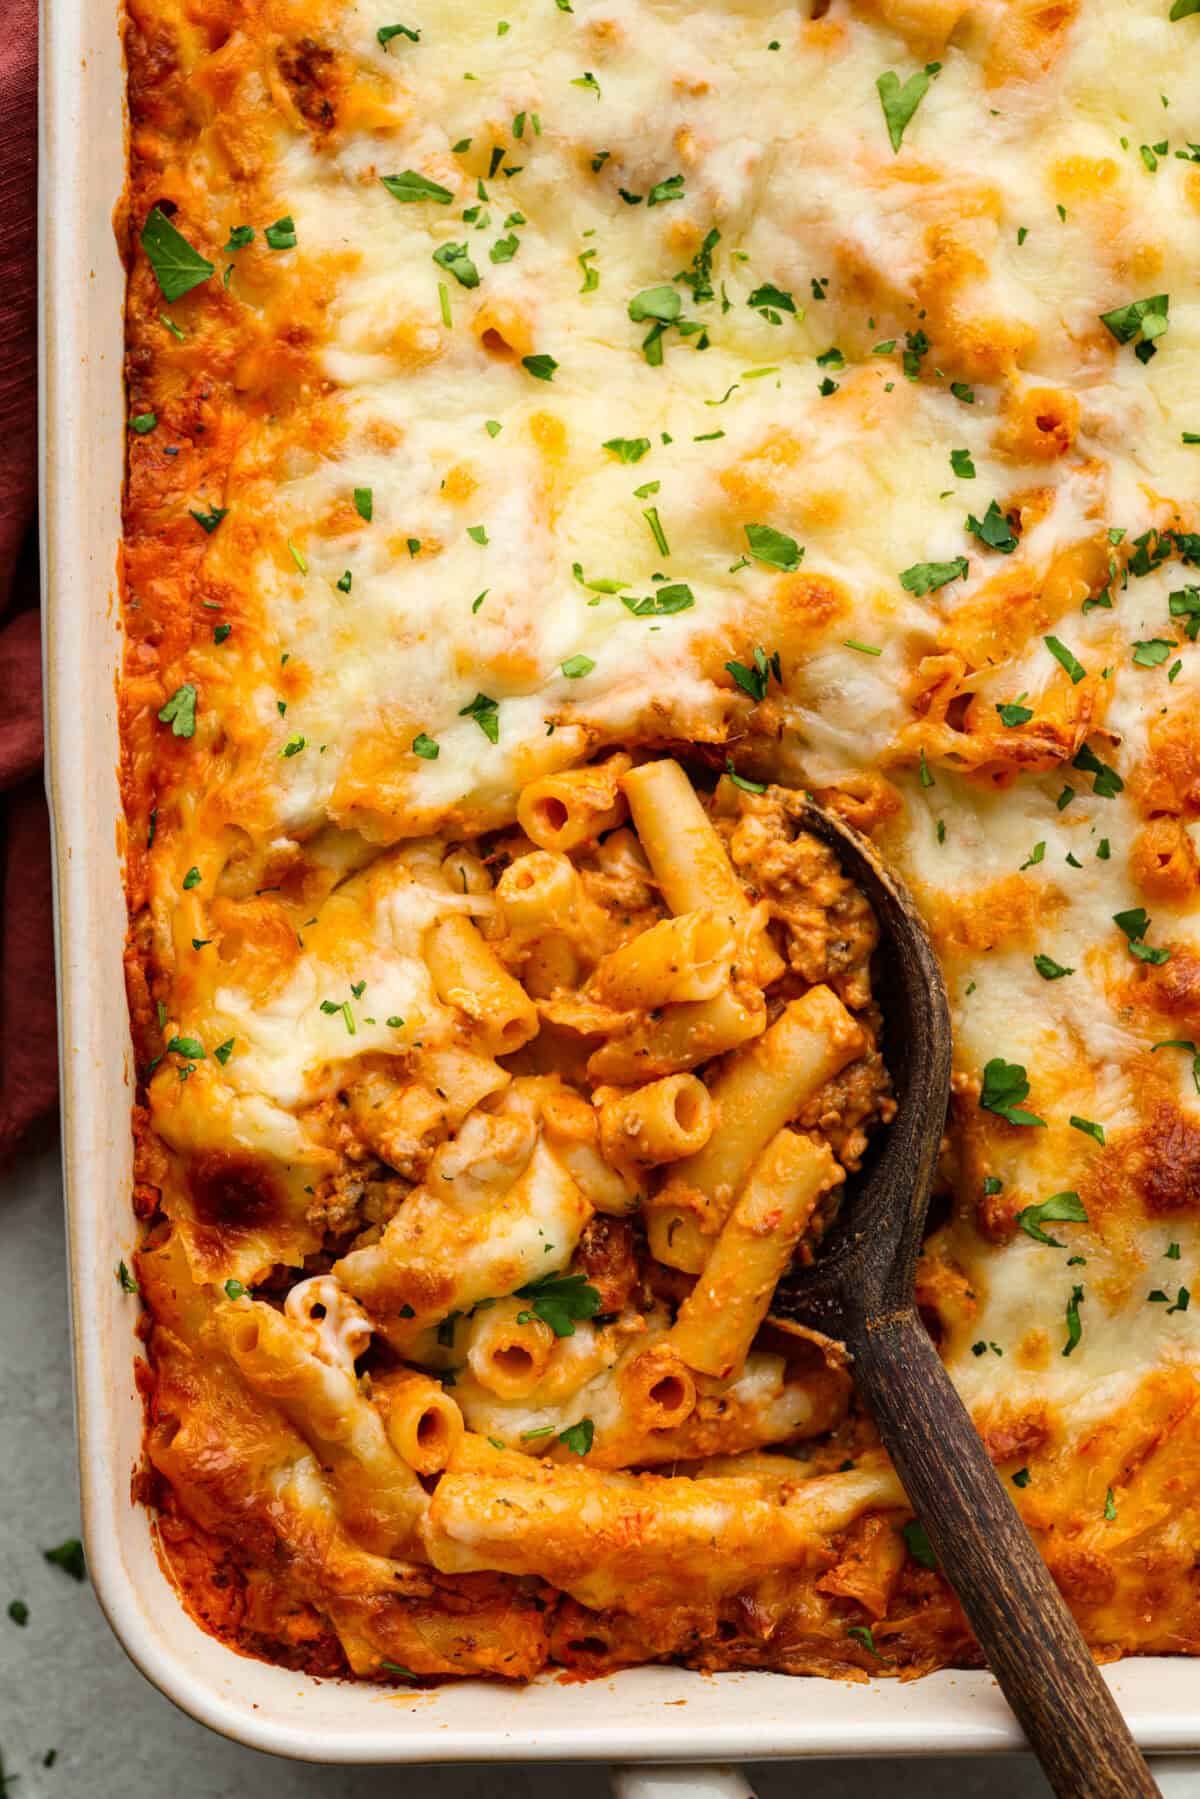
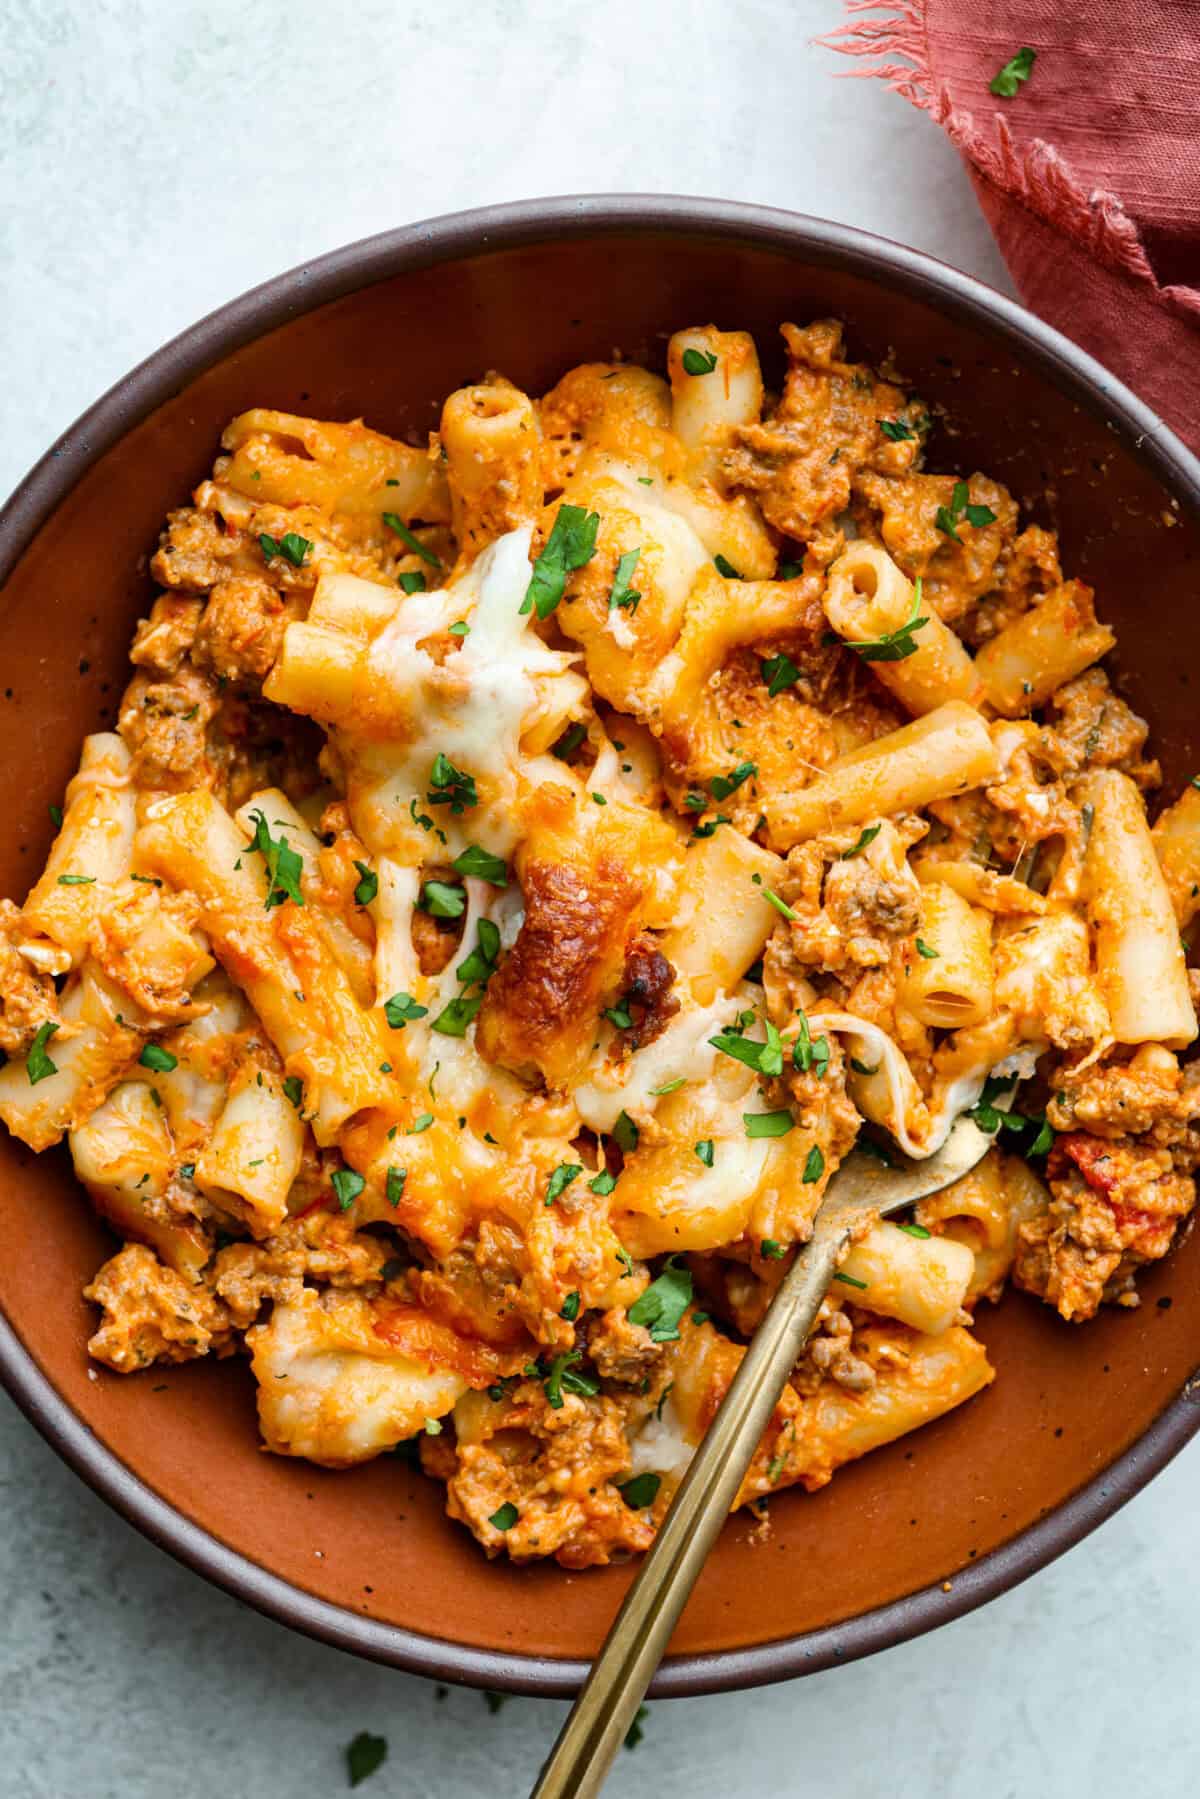
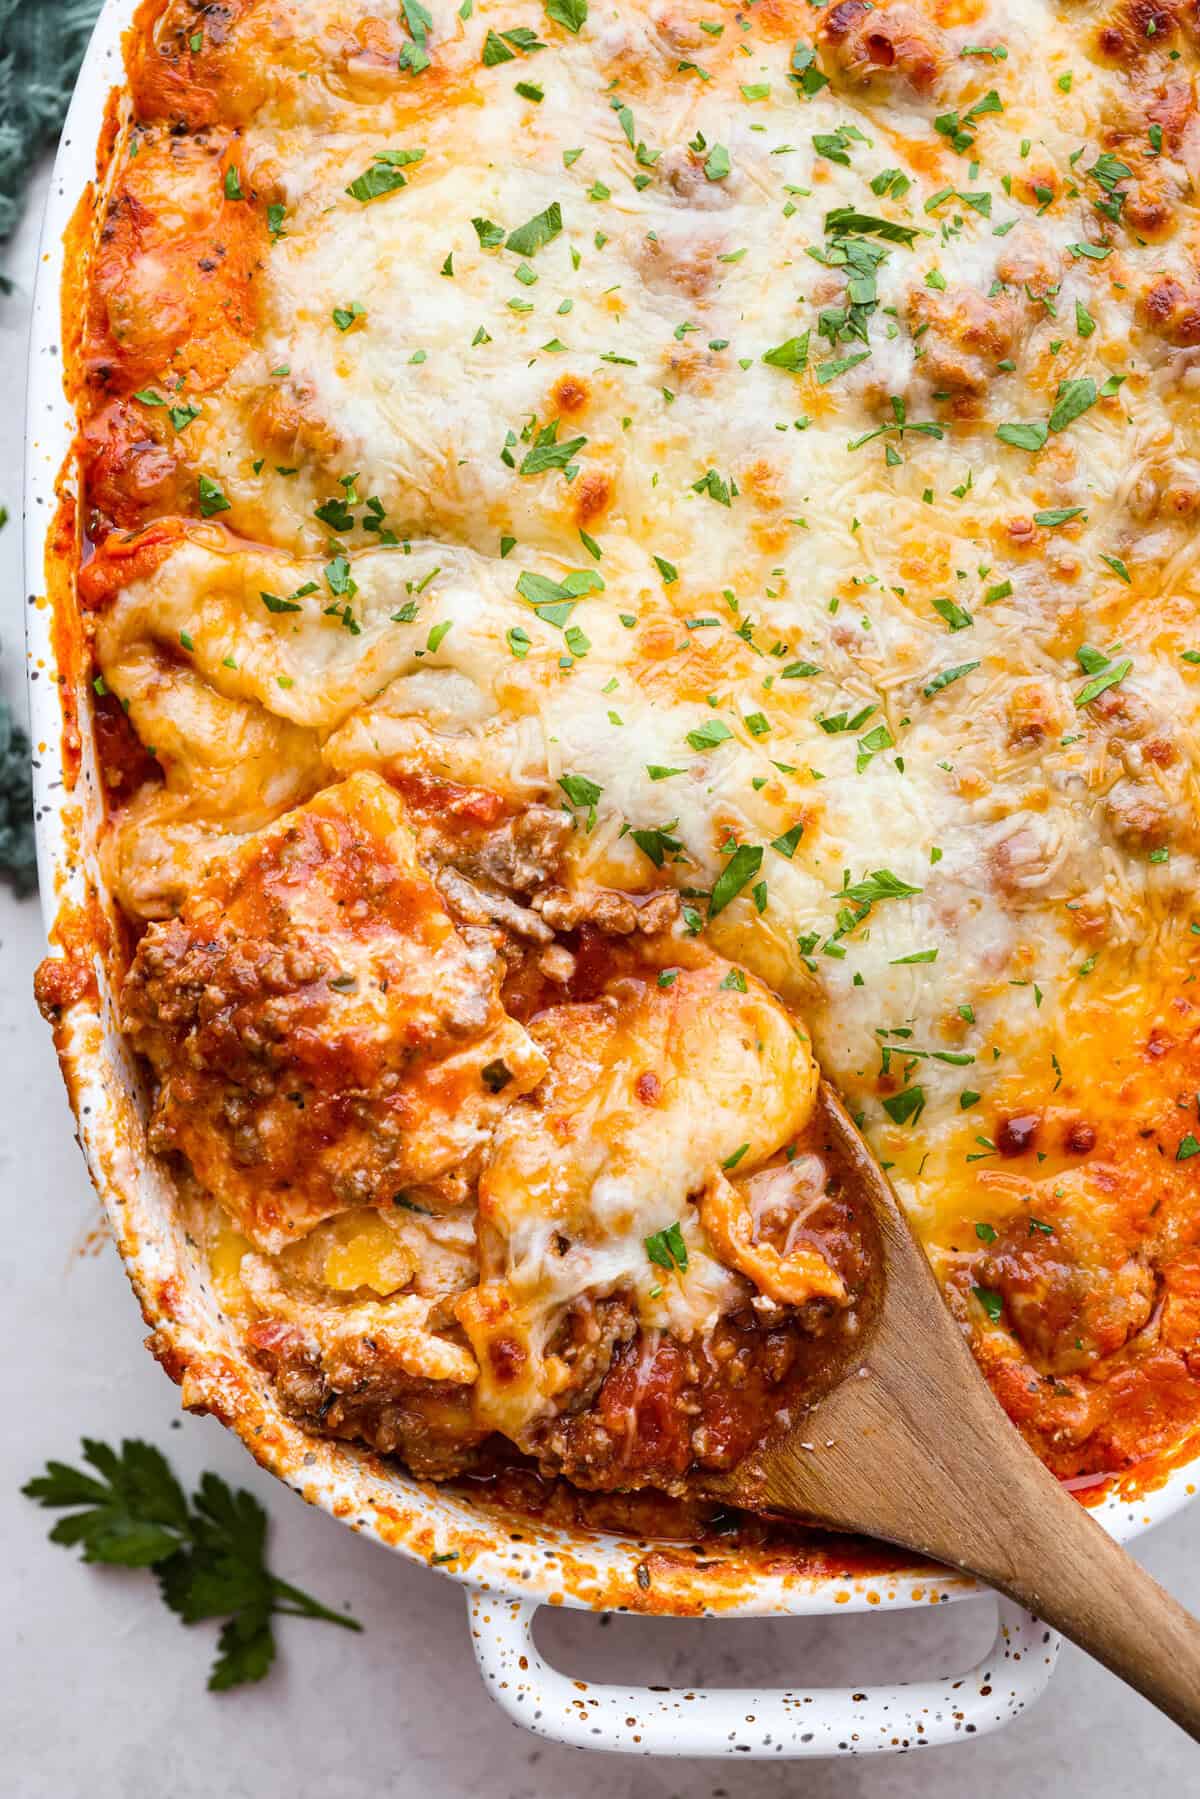
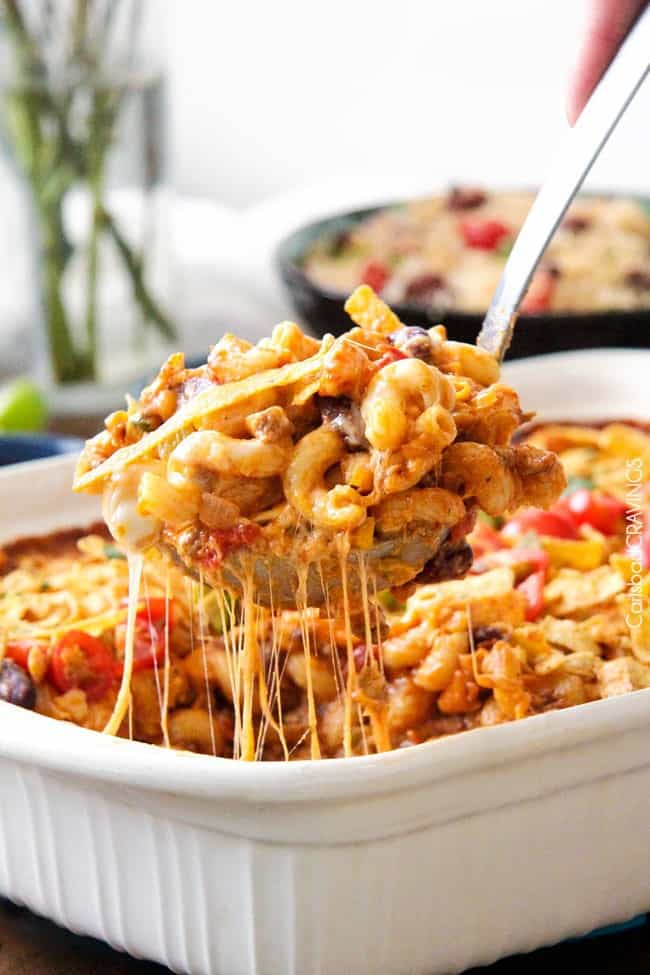
Million Dollar Baked Ziti is the ultimate comfort food that tastes like a million bucks! It’s packed with layers of tender noodles, ground meat, spaghetti sauce, and plenty of cheesy goodness. There is something for the whole family in this hearty, crowd-pleasing dish!
Reasons You’ll Love This Recipe
Easy to Make: Simple ingredients and straightforward steps make this Million Dollar baked ziti recipe a breeze.
Rich & Creamy: A luscious blend of cottage cheese, cream cheese, sour cream, and mozzarella makes every bite irresistible.
Make-Ahead Friendly: Prep it in advance and have a ready-to-go meal. Perfect for busy weeknights or lazy weekends!
Your Kids Will Love It
This million dollar baked Ziti is SO delicious! It’s super kid-friendly because of how creamy it is. I’m so tired of spending time in the kitchen making dinner, and my kids don’t like it. They absolutely loved this recipe! It’s like a super saucy, creamy, cheesy spaghetti, but baked. It’s an easy casserole recipe that you can make ahead or even make into a freezer meal. I have instructions for both below!
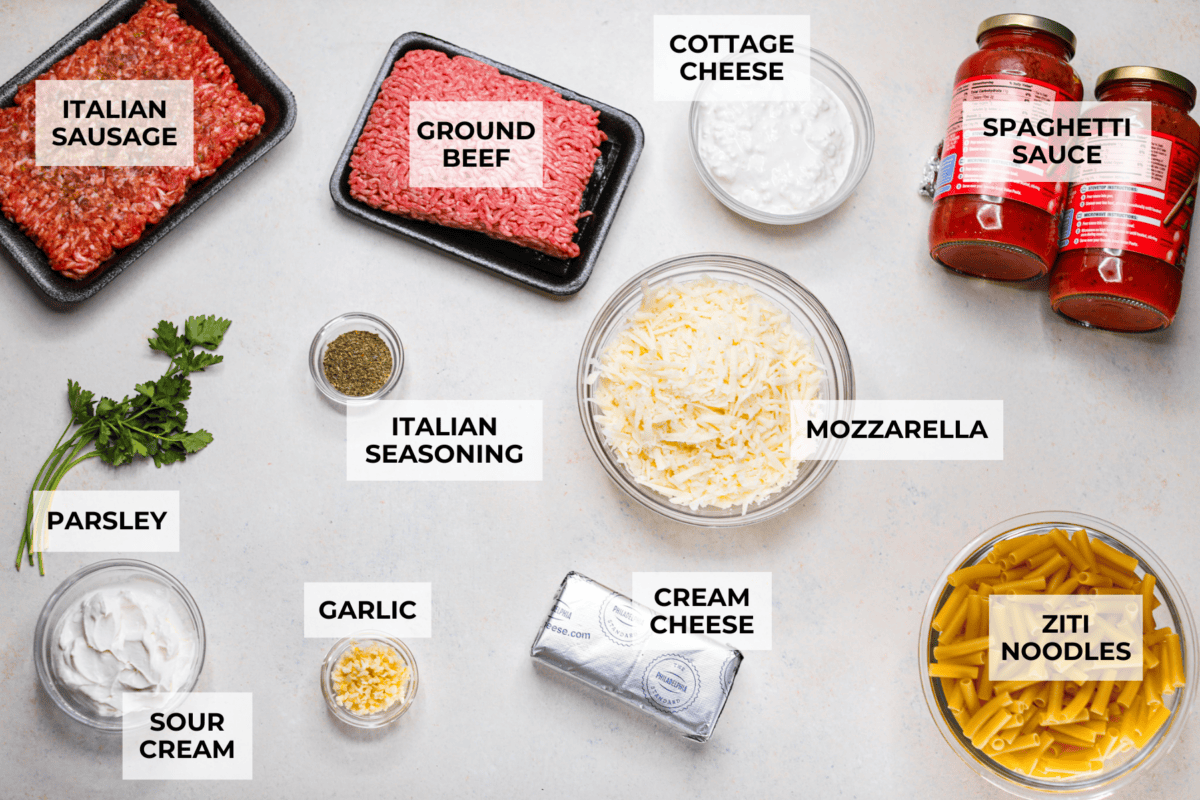
Ingredients for Million Dollar Baked Ziti
How to Make Million Dollar Baked Ziti
Whether you’re hosting guests or just craving a comforting family dinner, this meal is always a hit! As an added plus, it’s very kid-friendly. My kids beg for it on repeat! It’s really a complete meal all on its own, but I love to serve it with a simple caesar salad and garlic bread.
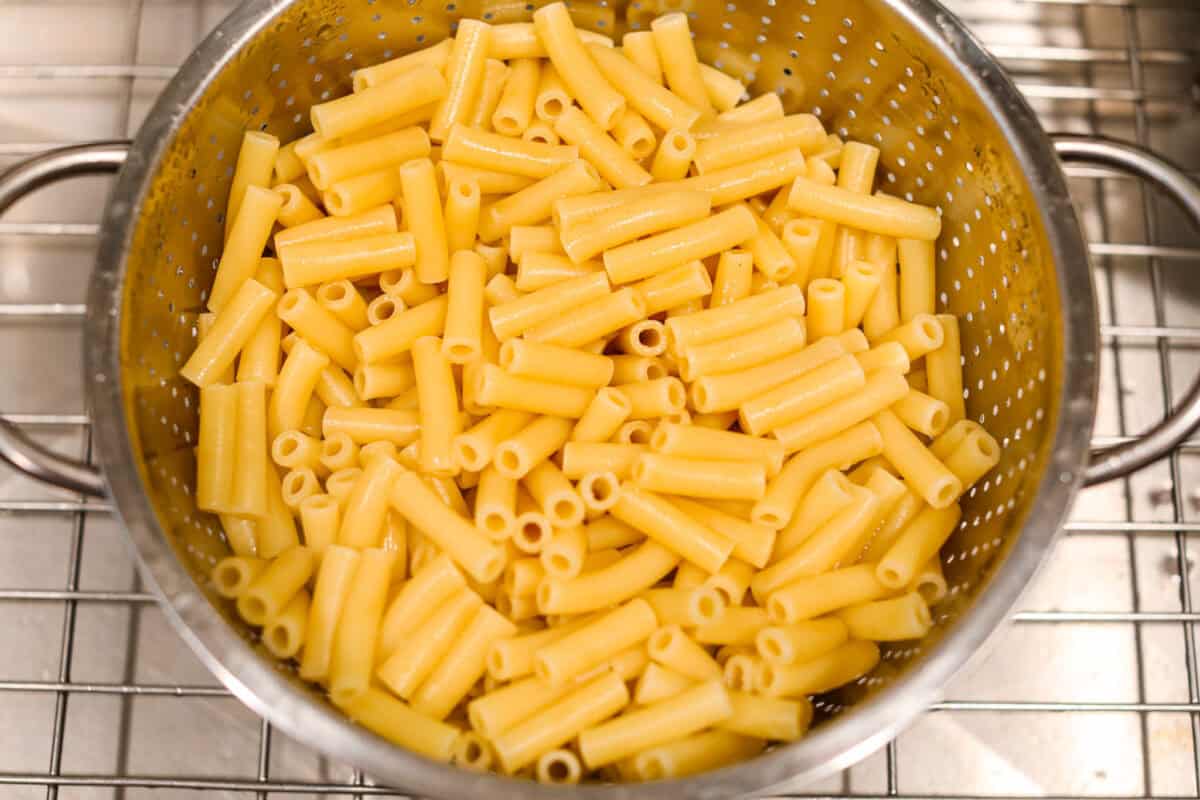
Boil the Pasta: Preheat the oven to 350ºF and spray a 6-quart baking dish with nonstick cooking spray and set aside. Bring a large pot of water to a boil and cook the ziti according to the instructions on the package. Drain and set aside.
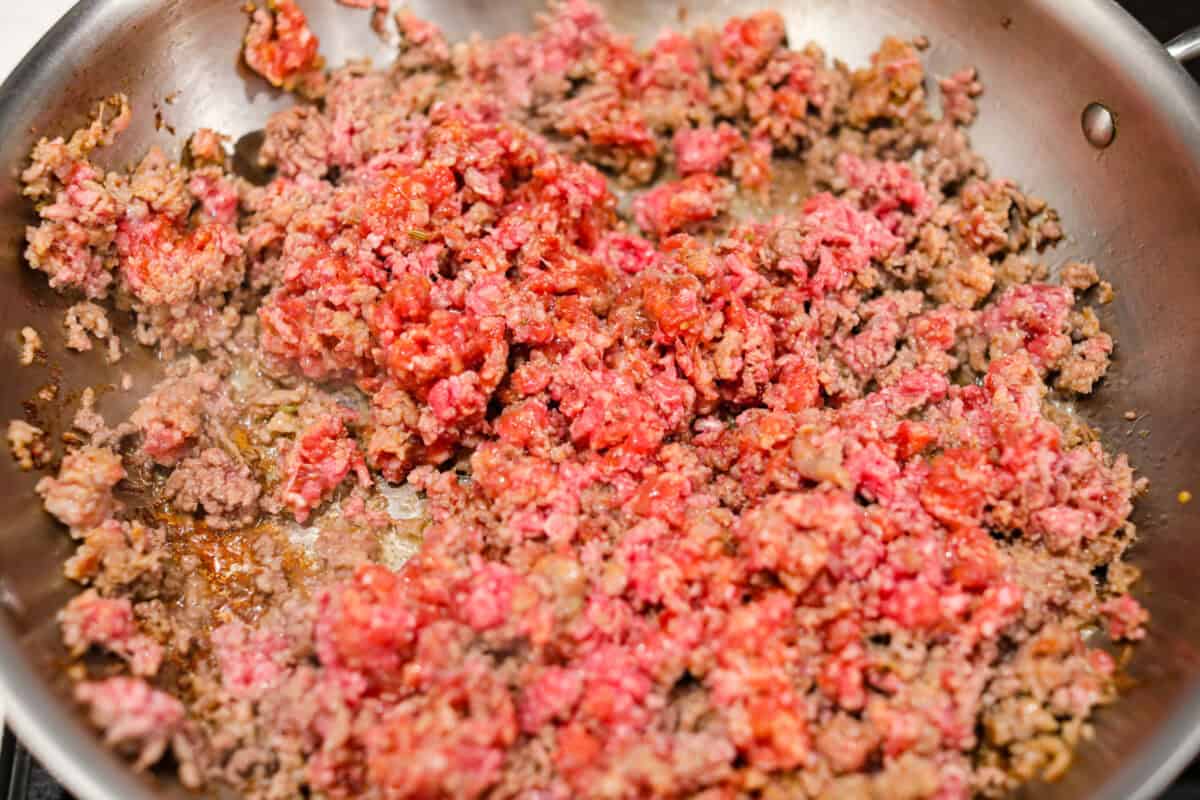
Brown the Meat: Meanwhile, cook the Italian sausage and ground beef in a large, deep skillet over medium-high heat until no pink remains.
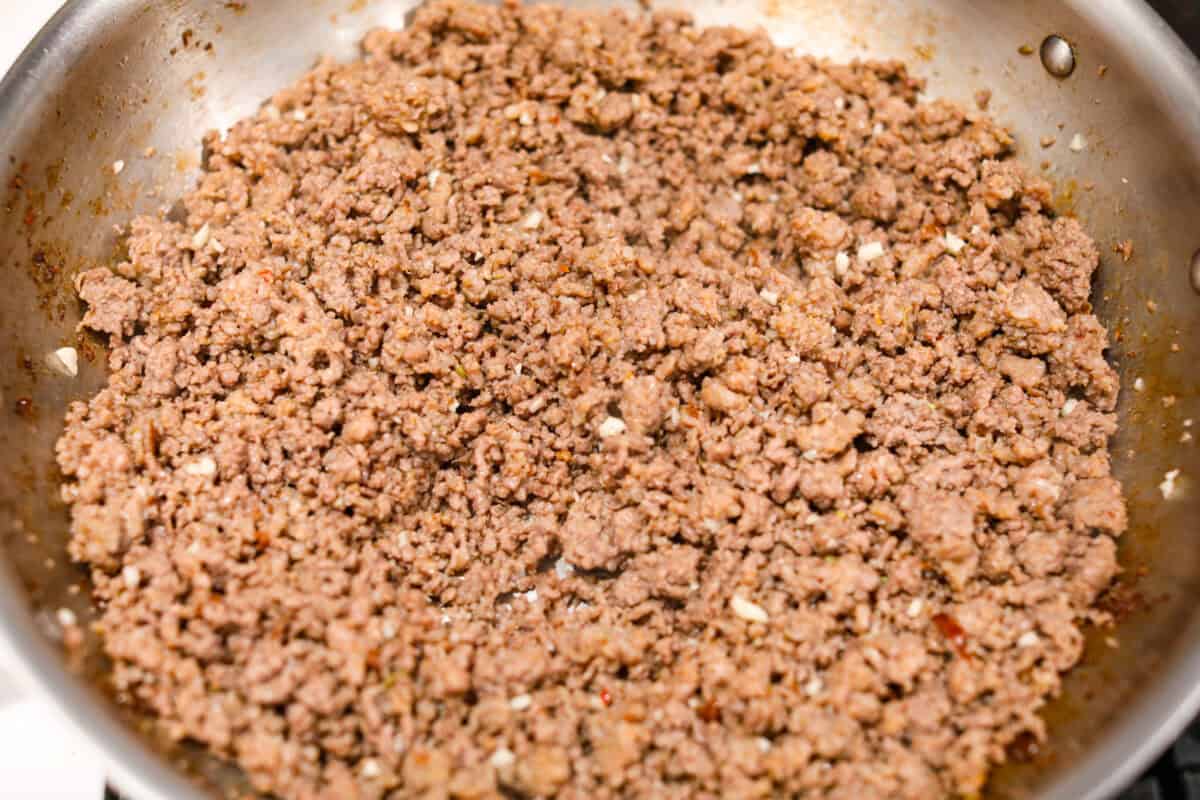
Add Garlic: Drain off the fat and add the garlic. Cook for about 2 minutes.
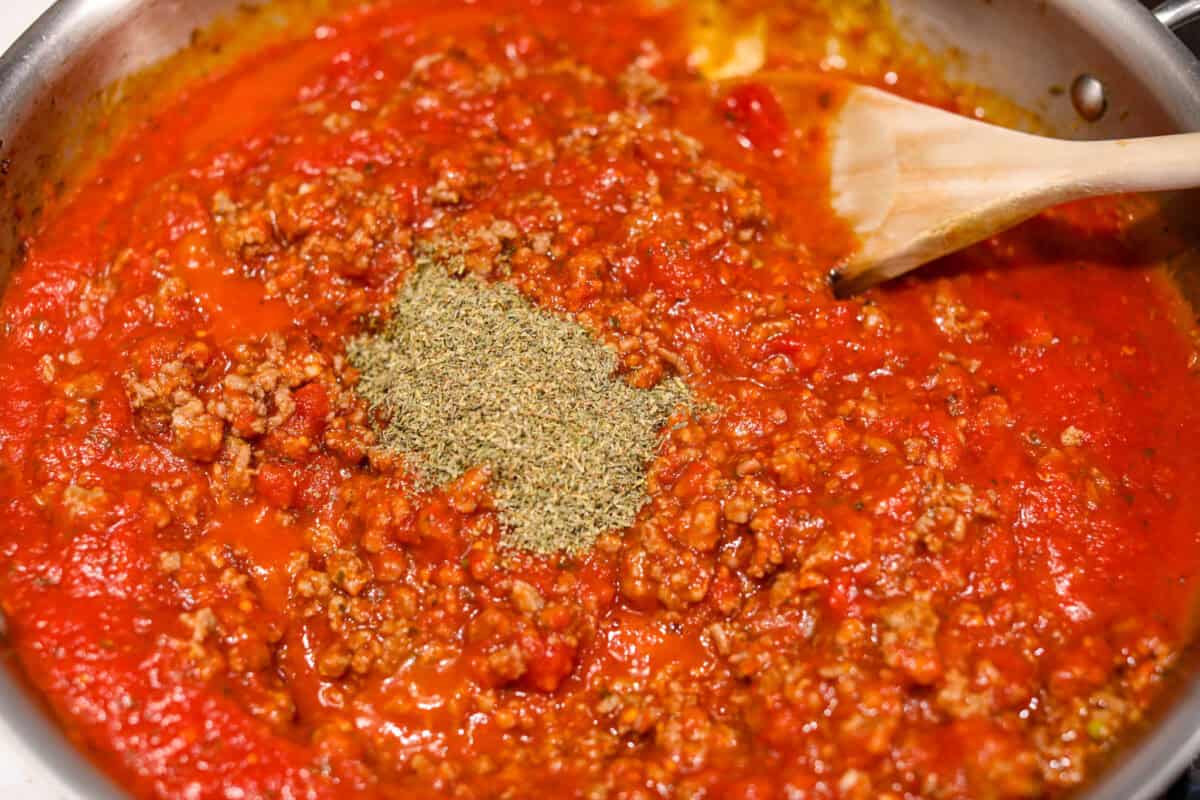
Add Sauce and Simmer: Adding the spaghetti sauce and Italian seasoning. Bring to a simmer over medium heat before reducing the heat to lower and simmering for 10 minutes.
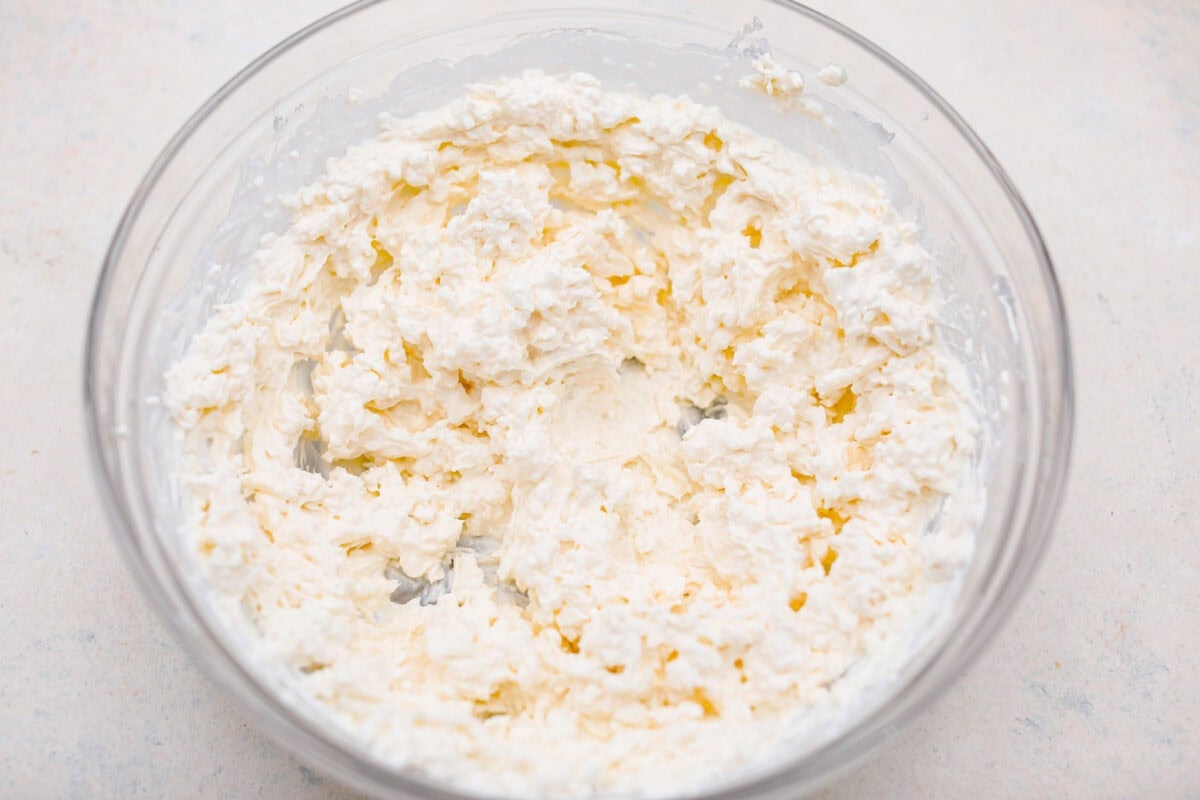
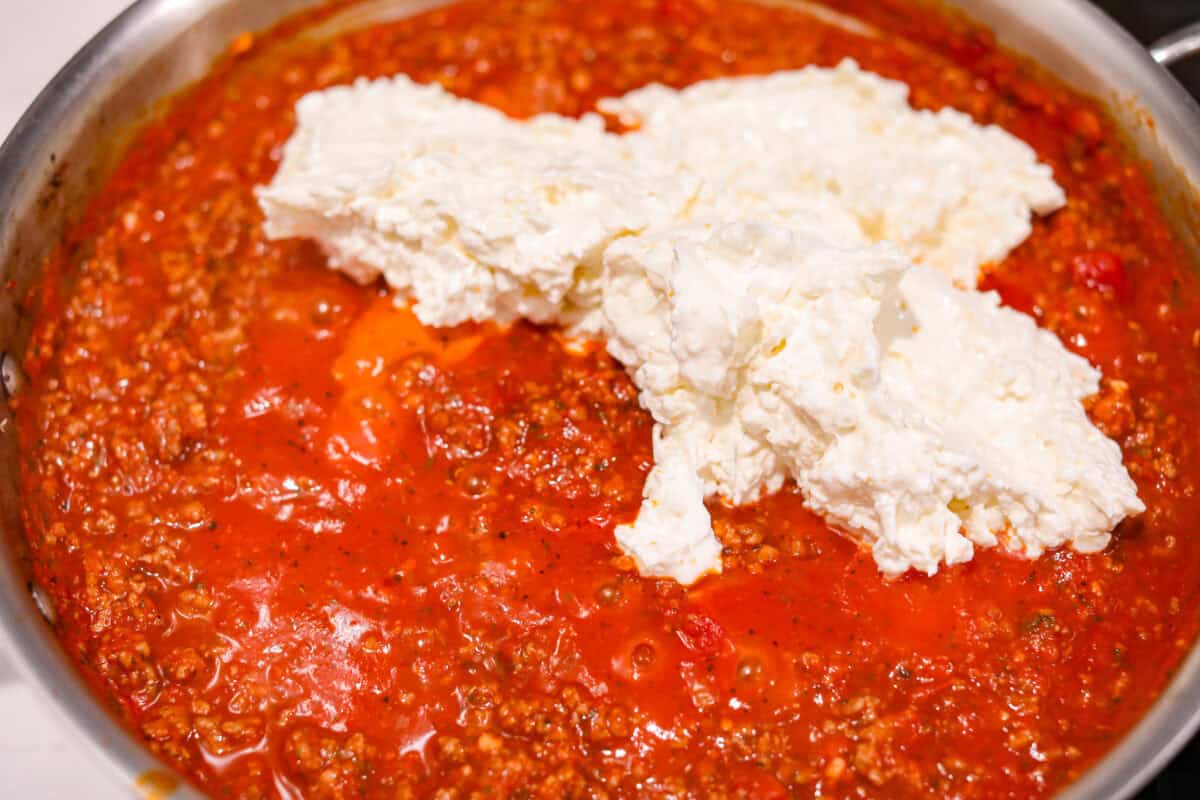
Make the Cheese Mixture: Add the cream cheese, cottage cheese, sour cream, and 1 cup of the mozzarella to a medium bowl. Beat with a hand mixer until combined.
Add Mixture to Sauce: Add the cottage cheese mixture to the meat sauce.
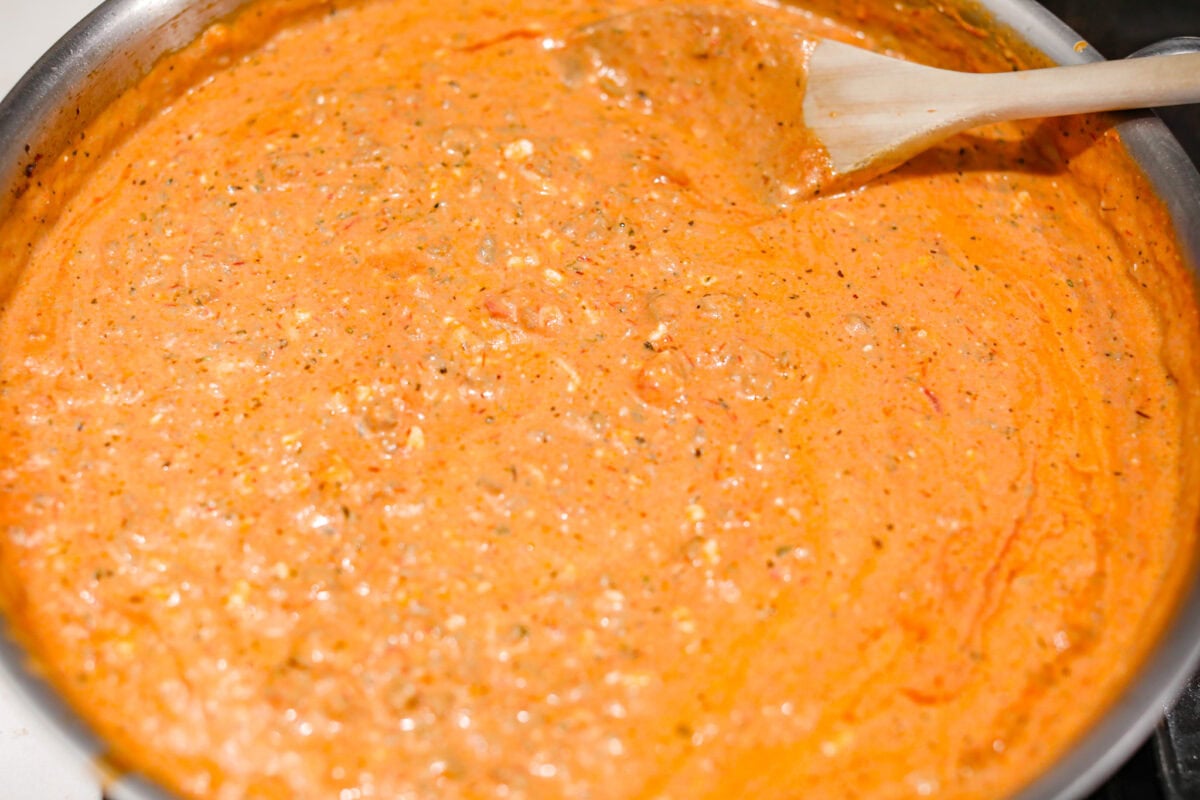
Stir andCombine: Stir until it has all melted and combined.
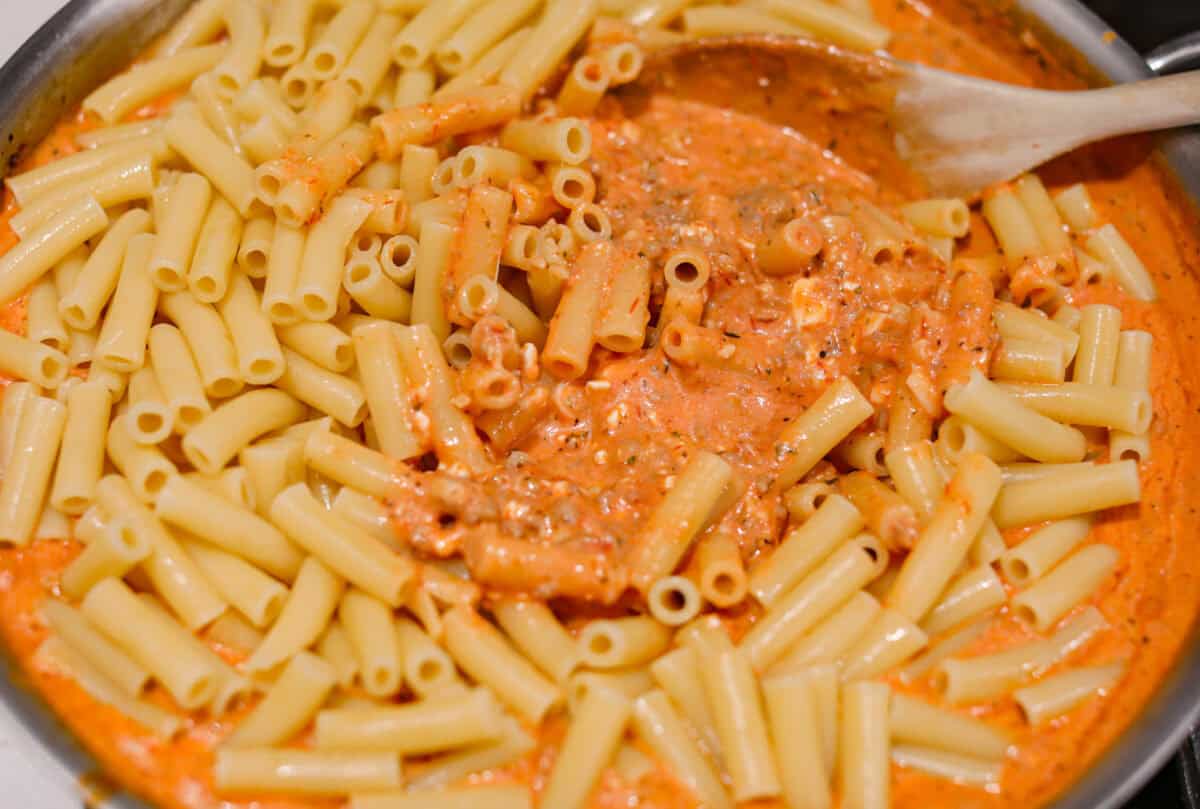
Mix in the Noodles: Stir the cooked ziti noodles into the sauce. Pour everything into the prepared baking dish.
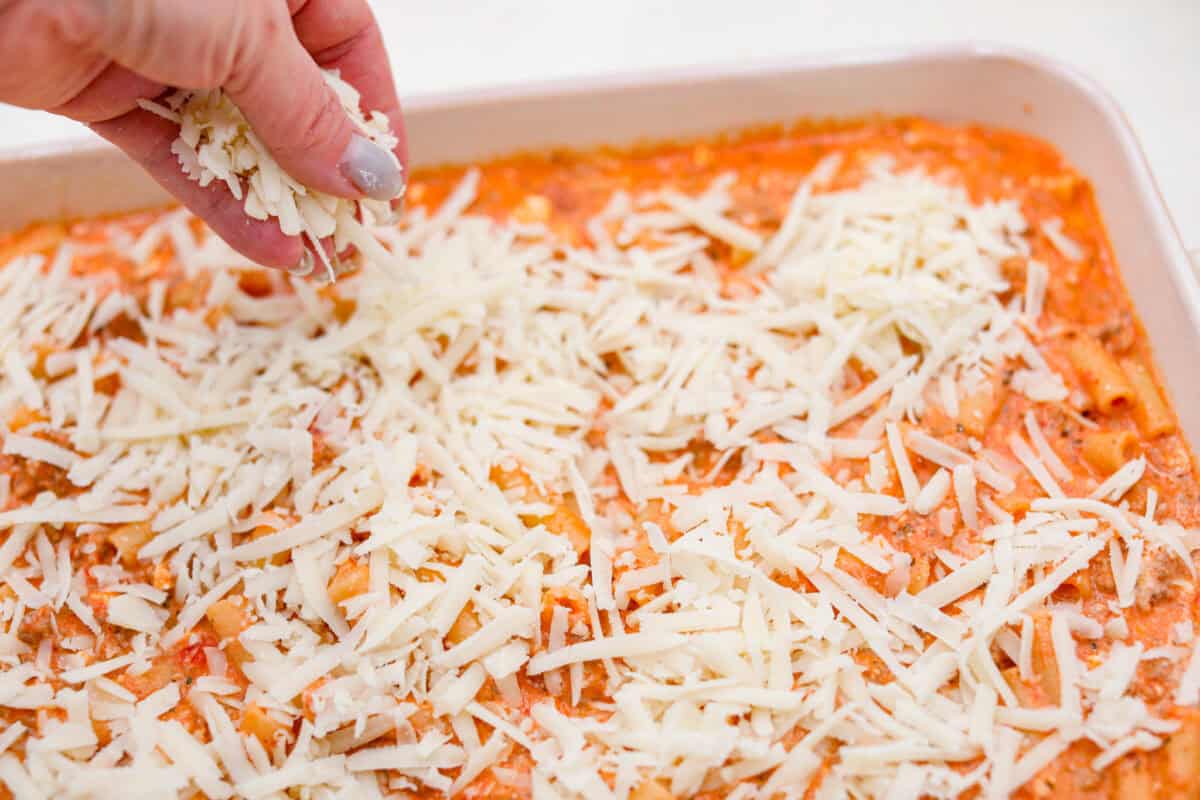
Bake: Top with the remaining 1 ½ cups of mozzarella cheese. Bake for 35-40 minutes, until the cheese is melted and browned on top. Garnish with freshly chopped parsley and serve.
Tips for Perfect Million Dollar Baked Ziti
Million dollar baked ziti is a family favorite you’re sure to love! Here are some tips to ensure the best results when making this easy Italian dish.
Can I cut the recipe in half? If you want to make this recipe for a smaller amount of people (5-6), cut all the ingredients in half and bake it in a 3 or 4-quart baking dish for about 30 minutes until the cheese is melted and browning.
Taste BeforeSeasoning! Taste the sauce before mixing in the noodles. Season with salt and pepper if desired. I didn’t feel it needed any, but you may add salt and pepper to taste if you would like.
Can I switch up the meat? I used 1 pound of Italian sausage and 1 pound of ground beef for this recipe. But you may use ground turkey, ground chicken, or spicy Italian sausage if you would prefer!
Do I have to use cottage cheese? If you don’t like cottage cheese, don’t worry! It melts away completely and adds a delicious tang to the sauce. If you still don’t want to use cottage cheese, you may replace it with plain Greek yogurt or sour cream.
Pasta Perfection! If you prefer your pasta to be more al dente, I recommend cooking it only half of the suggested cooking time on the pasta package. The noodles will continue to cook in the oven as the pasta bakes, so this will prevent them from becoming too soft.
Leftovers and Make Ahead Tips
One of the many things I love about baked ziti is that it’s a great make-ahead and freezer-friendly meal! You can assemble it in advance, store it in the fridge or freezer, and bake it when you’re ready. A delicious, hassle-free option that delivers major flavor!
In the Refrigerator: Store leftover million dollar ziti bake in an airtight container or cover tightly with plastic wrap in the fridge for up to 7 days.
To Reheat: Heat individual portions in the microwave for 1-1 ½ minutes or the whole pan in a preheated oven set to 350ºF for 15-20 minutes until heated through or until the internal temperature reaches 165ºF.
Make Ahead: This recipe can be prepared the day before and stored covered in the fridge until you are ready to bake it. Add 15-20 minutes of cooking time to account for it being cold when it goes in the oven. Make sure the internal temperature reaches 165ºF before serving.
Freezer Meal Instructions
If you are looking to save time and the hassle of deciding what to make for dinner, make a double batch and freeze one to have for later.
Preparation:To prepare this as a freezer meal, follow instructions through step 7 and cover it tightly with plastic wrap and a couple of layers of heavy-duty aluminum foil. Freeze for up to 3 months.
Bake From Thawed: Let it thaw in the fridge for at least 24 hours before baking at 350 degrees Fahrenheit for 45-50 minutes.
Bake from Frozen: Alternatively, bake it directly from frozen by covering it with aluminum foil and baking at 350 degrees Fahrenheit for 60-75 minutes. Then, remove the foil and bake for an additional 5-10 minutes or until the cheese is melted. Make sure the internal temperature reaches 165ºF.
More Baked Pasta Recipes
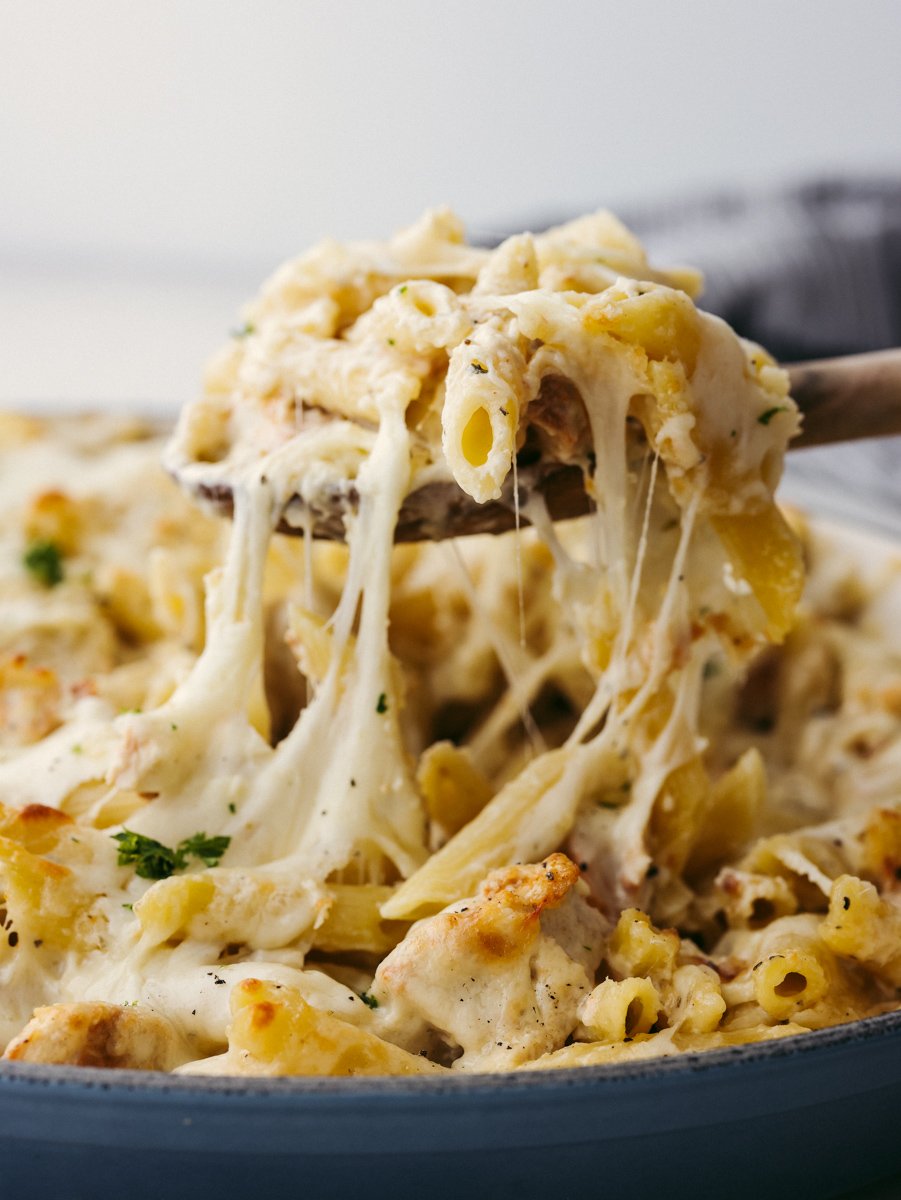
I absolutely love baked pasta! It’s the perfect dish for feeding a crowd, meal prepping, or just a cozy, homemade meal. Here are some of my family’s favorites that you’re sure to love, too!
Million Dollar Baked Ziti is the ultimate comfort food that tastes like a million bucks! It's packed with layers of tender noodles, ground meat, spaghetti sauce, and plenty of cheesy goodness.
CourseDinner, entree, Main Course
CuisineAmerican
Keywordcheesy baked ziti, cream cheese baked ziti, cream cheese pasta sauce, Million Dollar Baked Ziti, Million Dollar Baked Ziti recipe
Preheat the oven to 350 degrees Fahrenheit, and spray a 6-quart baking dish with nonstick cooking spray and set aside.
Bring a large pot of water to a boil and cook the ziti according to the instructions on the package. Drain and set aside.
Meanwhile, cook the Italian sausage and ground beef in a large, deep skillet over medium-high heat until no pink remains.
Drain off the fat and add the garlic. Cook for about 2 minutes before adding the spaghetti sauce and Italian seasoning. Bring to a simmer over medium heat before reducing the heat to lower and simmering for 10 minutes.
Add the cream cheese, cottage cheese, sour cream, and 1 cup of mozzarella to a medium bowl and beat with a hand mixer until combined.
Add the cheese mixture to the sauce and stir until it has all melted and combined.
Stir the cooked ziti noodles into the sauce before pouring it all into the prepared baking dish. Top with the remaining 2 cups of mozzarella.
Bake for 30-35 minutes, until the cheese is melted and browned on top. Garnish with freshly chopped parsley and serve.
Notes
For 6 Servings: To make this recipe for a smaller amount of people, cut all of the ingredients in half and bake it in a 3 or 4-quart baking dish for about 30 minutes, until the cheese is melted and browning.
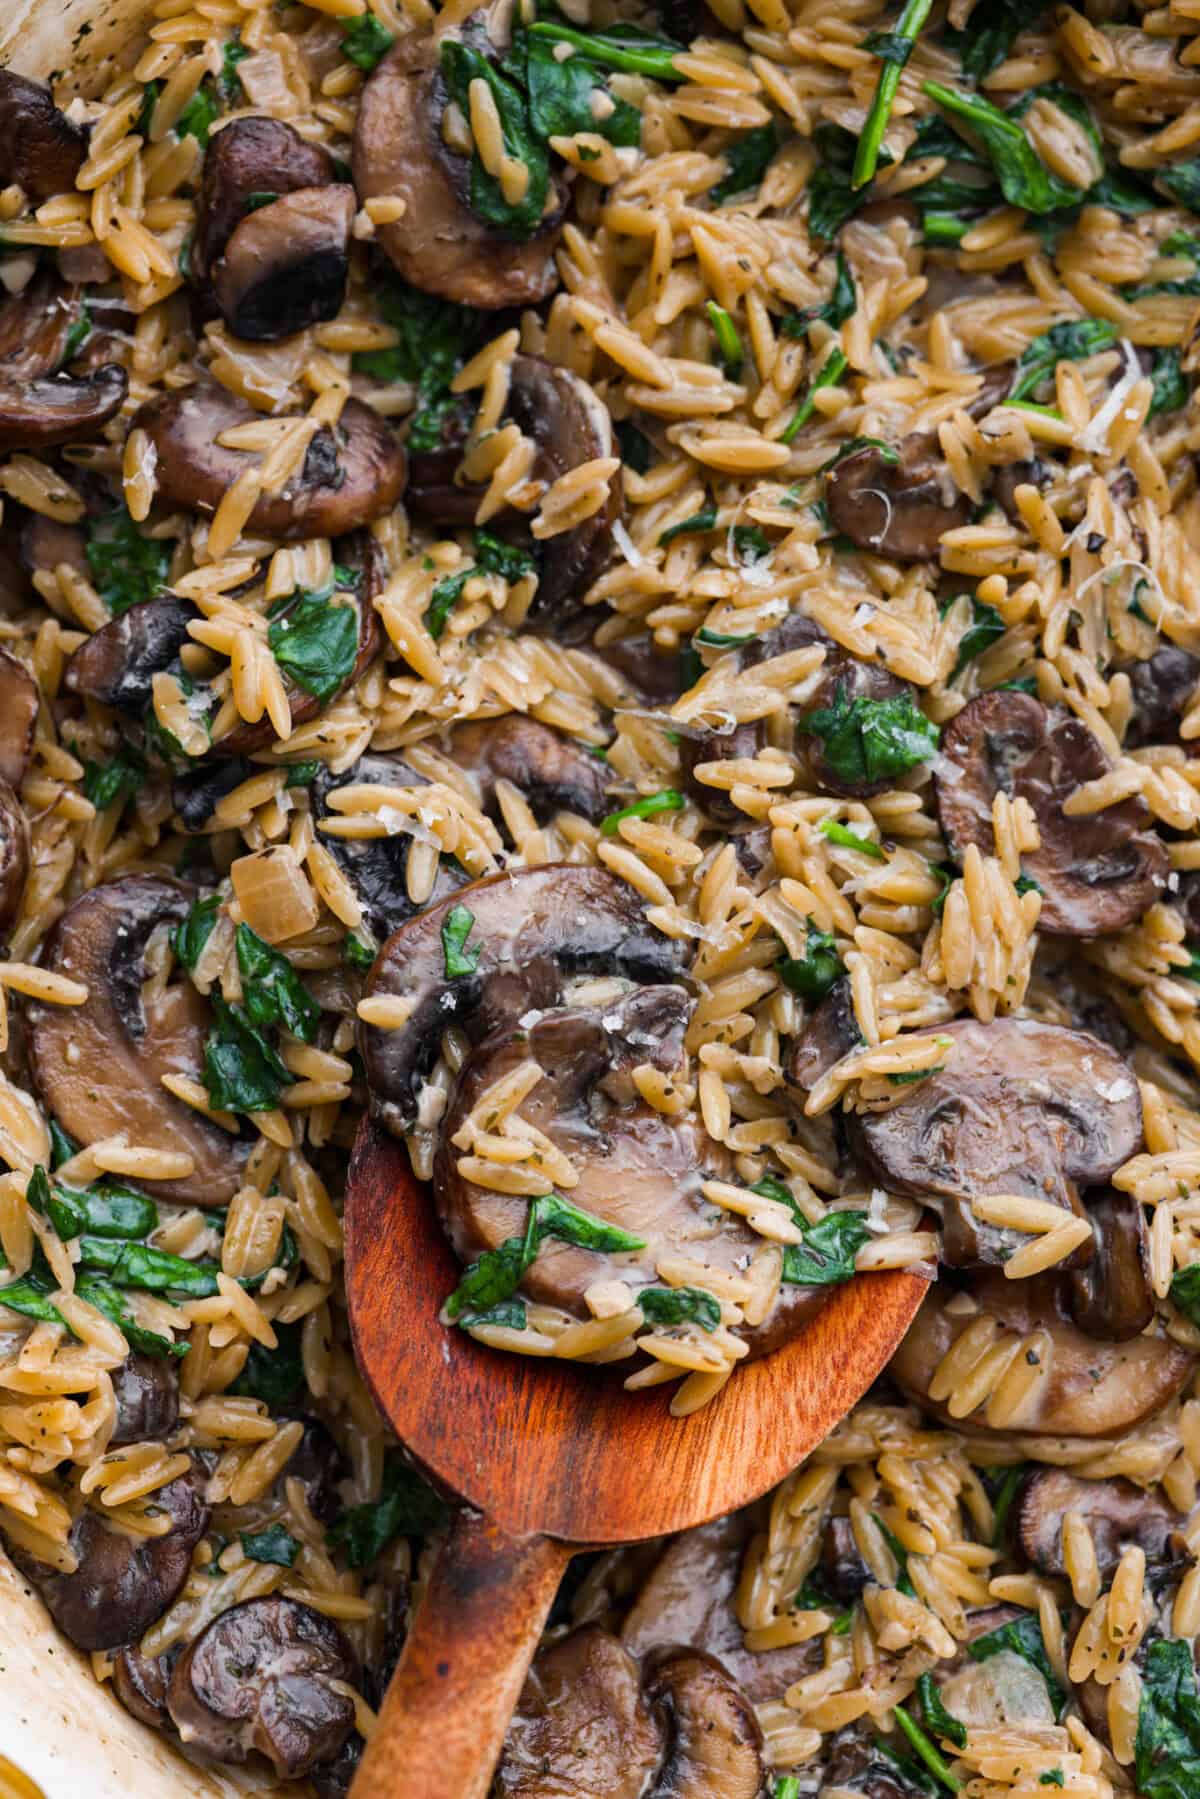
Mushroom orzo is a tasty, comforting side dish! It combines tender orzo pasta with rich, earthy mushrooms in a creamy sauce. It’s easy to make and sure to impress with satisfying texture and savory flavors.
Reasons You’ll Love This Recipe
Incredibly Delicious: This creamy mushroom orzo is full of wonderful flavors and a luscious texture that will leave you craving more.
Comfort Food with a Twist: Enjoy classic comfort food vibes but with a more elevated taste from the mushrooms and herbs.
Versatile Serving Options: Serve this as a main or a side to pair perfectly with any meal. It’s amazing with my air fryer steak or garlic butter chicken. You can even swap the chicken broth for vegetable broth and use plant-based butter to make it vegetarian-friendly.
Delicious Mushrooms
I used to not like mushrooms. As a kid, my mom would make them all the time. I always picked them out of whatever she put them in. Now, I can’t get enough. I love how they absorb the flavors of whatever you cook them in. They bring out a delicious earthiness that complements everything! This orzo with garlic and herbs and yummy parmesan goes perfectly with mushrooms! You have to try it!
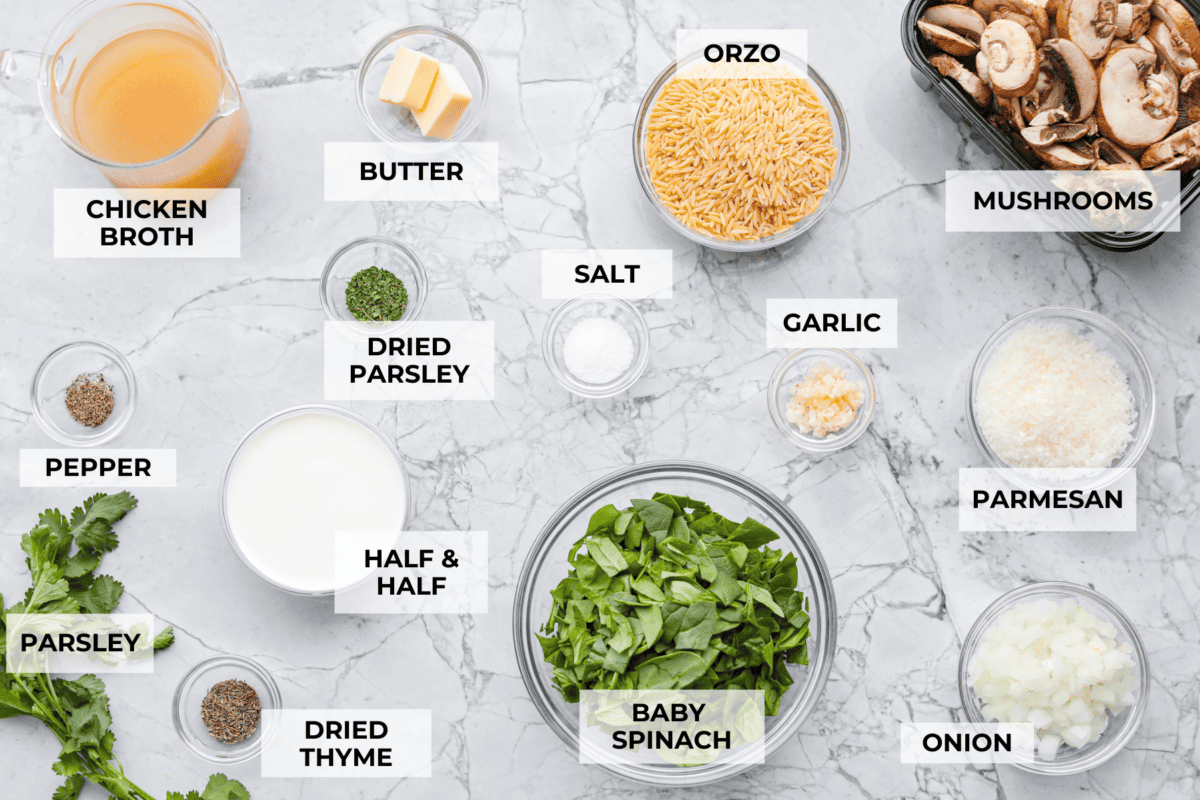
Ingredients Needed
How to Make Mushroom Orzo
Mushroom orzo is incredibly easy to make, with just a few simple steps that result in a dish full of flavor. You’ll sauté the veggies, cook the orzo, and combine them with a creamy sauce all in the same pan. It’s a satisfying side that comes together with very little effort, making it perfect for when you want a hearty dish without the hassle.
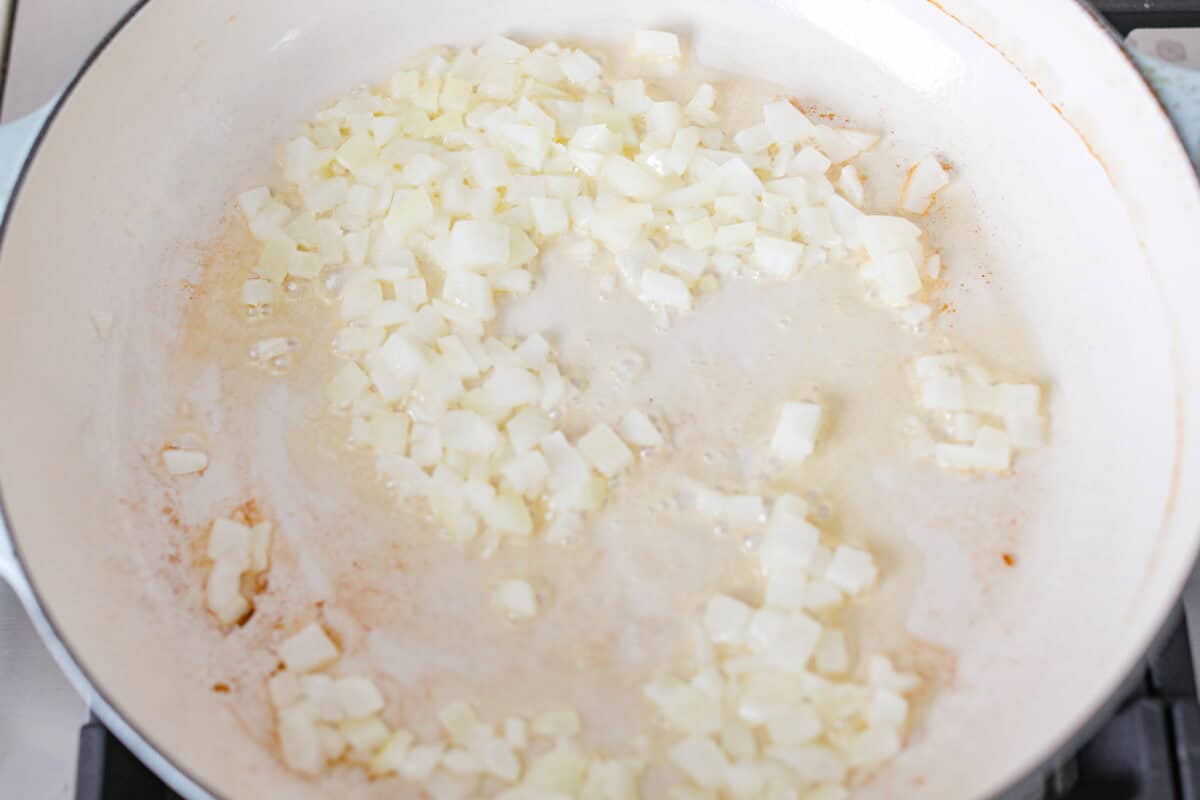
Sauté the Onion: Add the butter to a large skillet and melt over medium heat. Add the onion and cook until it turns translucent and soft, about 2-3 minutes.
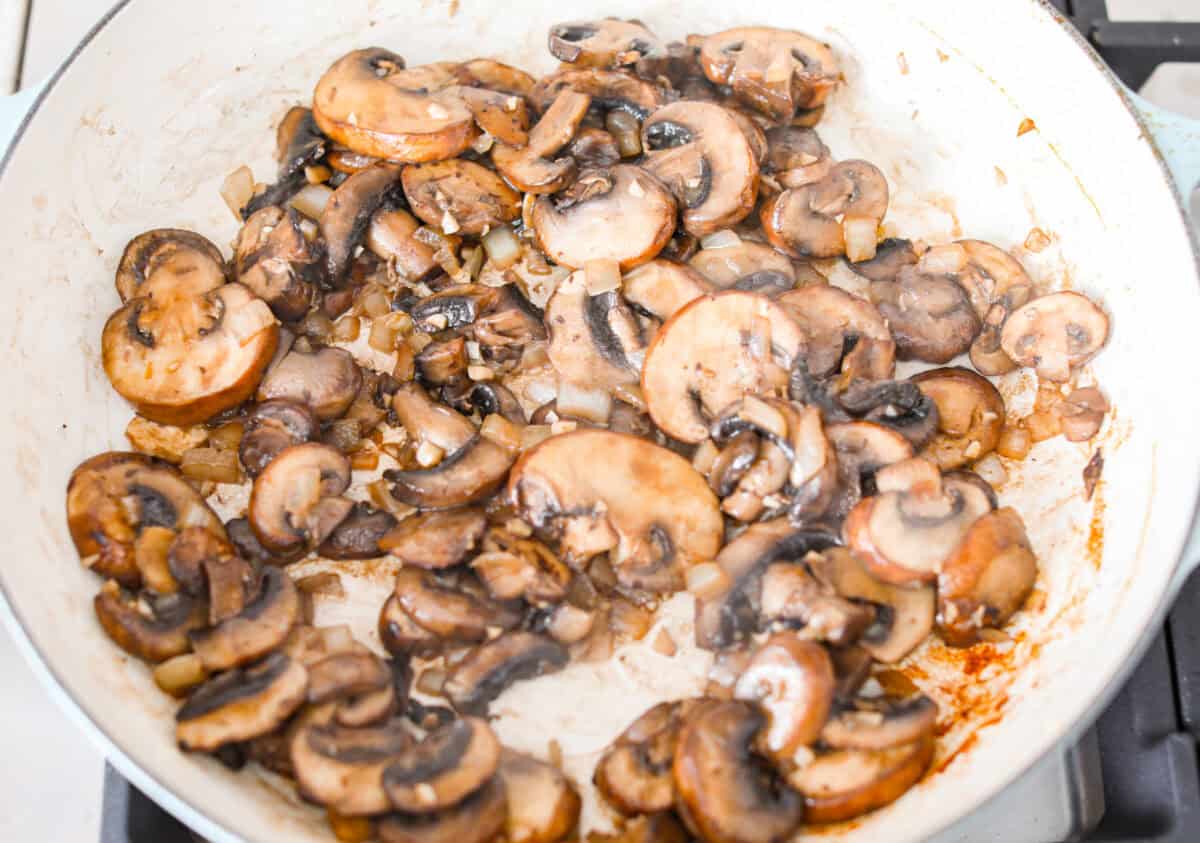
Cook the Mushrooms: Add the garlic and mushrooms and cook over medium heat for about 6-8 minutes, until the mushrooms release their liquid and it reduces by half.
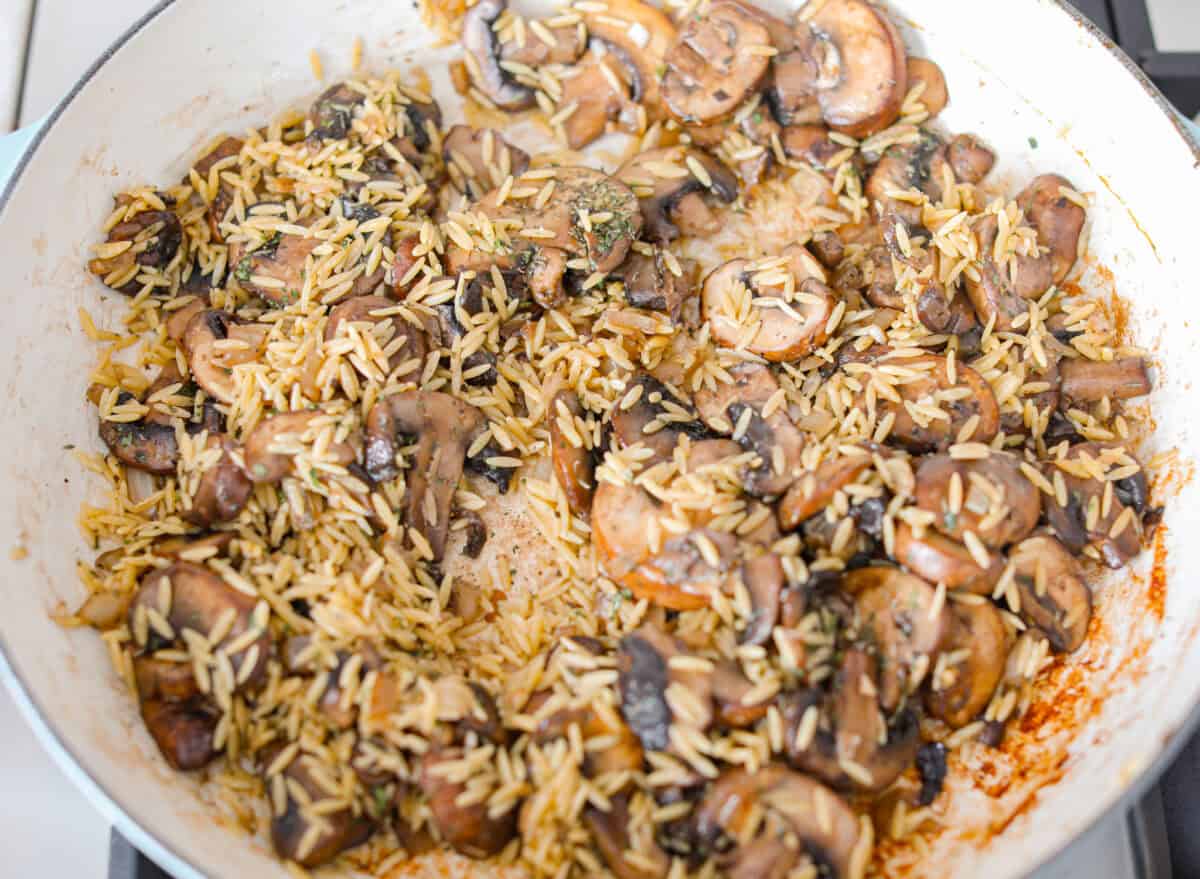
Add the Seasonings and Orzo: Add the salt, thyme, parsley, pepper, and orzo to the skillet and stir until combined.
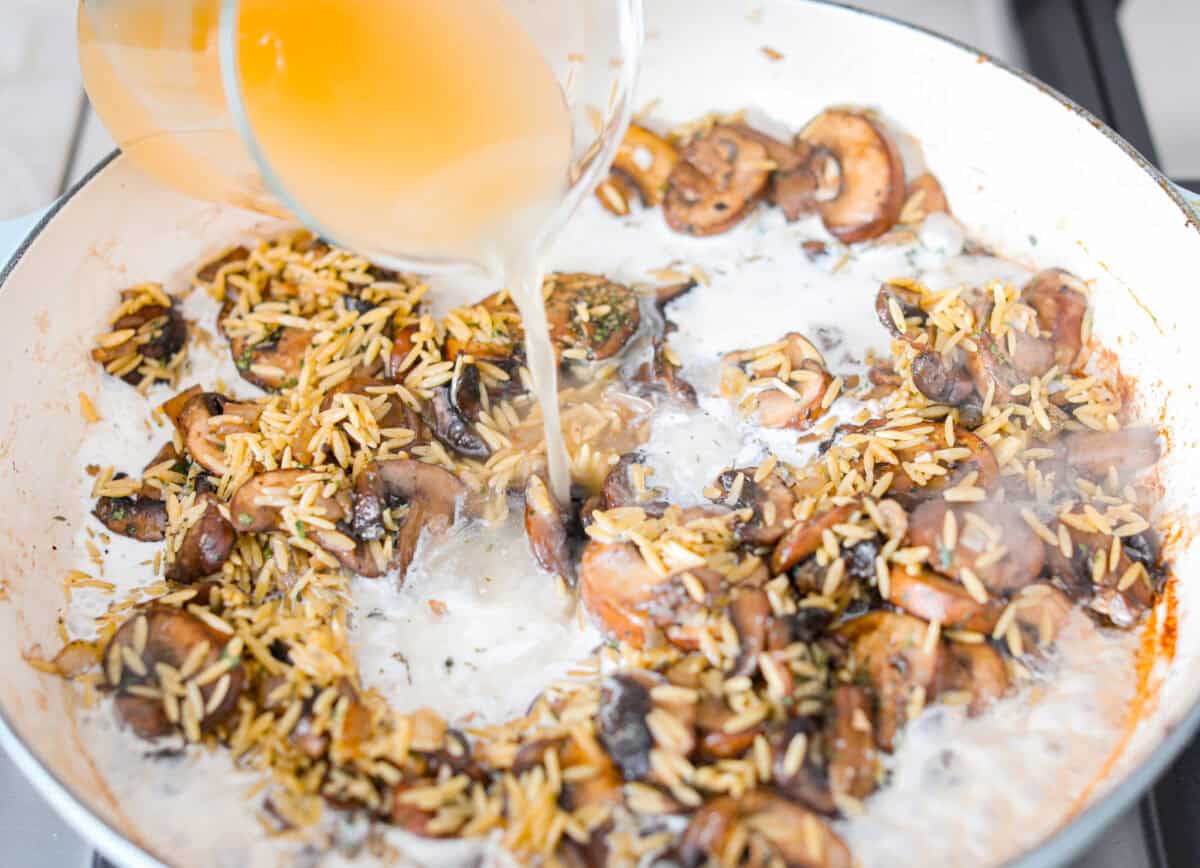
Simmer: Add the chicken broth and half and half, then reduce the heat to medium-low. Cover and cook for 10-11 minutes, stirring occasionally to help the orzo cook evenly and to prevent it from sticking to the pan.
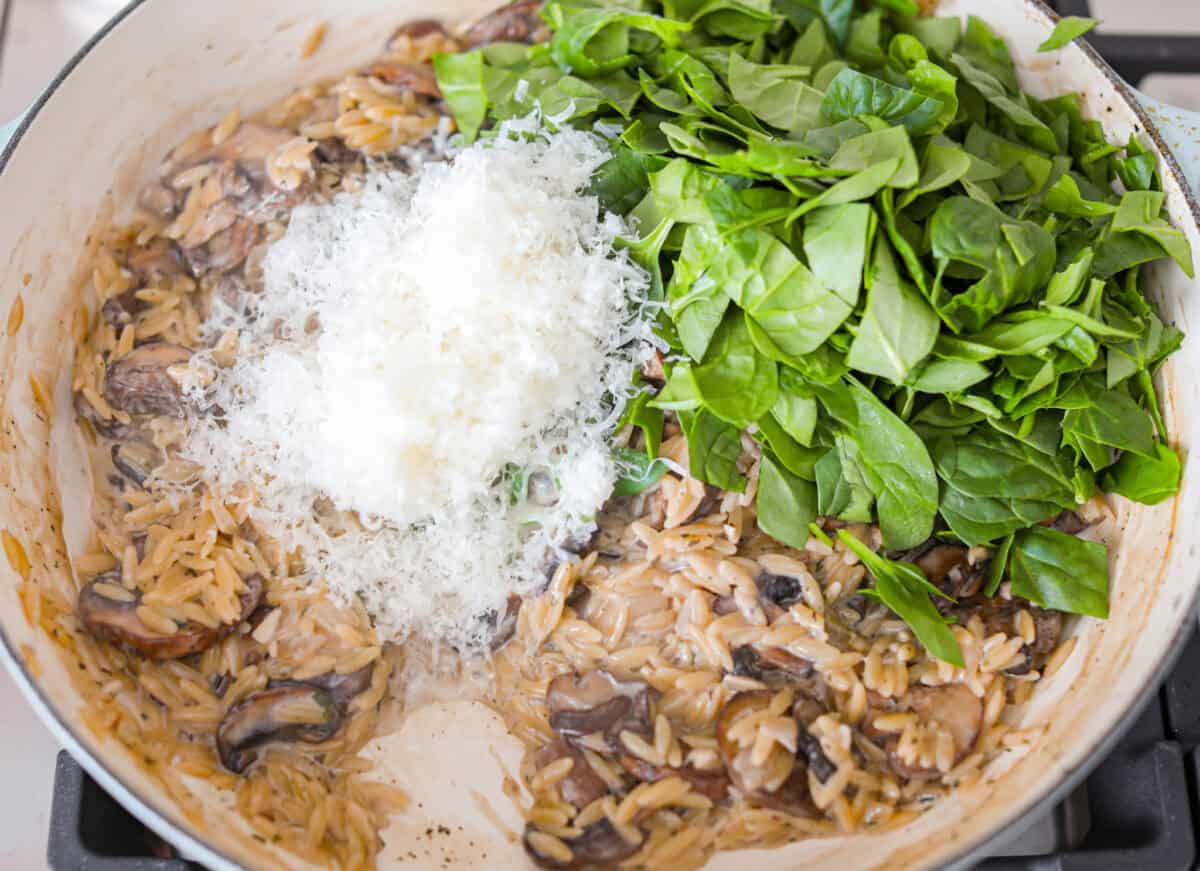
Serve: Once the orzo is cooked through, add the spinach and parmesan to the skillet. Stir and continue to cook until the spinach wilts. Top with fresh parsley and serve.
Mushroom Orzo Tips and Variations
Use these simple tips and tricks to make sure your mushroom orzo turns out perfectly!
Give the mushrooms space while cooking! Make sure you give the mushrooms enough time and room to cook. Sometimes, it can take a while for them to release their water, but this is essential to avoid having watery orzo. Use a 12 or 14-inch skillet to give them enough space to spread out and avoid stirring them around too much.
Can I toast my Orzo? If you would like to toast the orzo, remove the mushrooms from the pan and add the orzo. Stir it around in the pan for a few minutes until it smells toasted and nutty, then resume adding the remaining ingredients in step 3.
How do I know when the orzo is done? After the orzo cooks for 8 or 9 minutes, test it for doneness. Continue to test and cook it until it reaches the desired doneness, typically about 10-11 minutes.
Can I use fresh herbs? To replace the dried herbs with fresh herbs, use 1 ½ teaspoon of the fresh minced herbs for every ½ teaspoon of dried herbs.
Make it cheesy! You may add more parmesan cheese if you like your pasta dish extra cheesy!
Mushroom Orzo Leftovers
Mushroom orzo is great heated up for lunch the next day! Add some grilled chicken and make it a meal!
Fridge: Store leftover mushroom orzo in the refrigerator in an airtight container for up to 5 days. Reheat in the microwave in 30-second increments, stirring between increments, until heated through.
Make Ahead: I don’t recommend preparing this ahead of time. It is best served fresh!
More Amazing Mushroom Recipes
Mushrooms are super versatile and add a rich, earthy flavor to dishes like pasta, risotto, and soup. Give these recipes a try! They’re so good, they’re bound to turn you into a mushroom lover!
Mushroom orzo is a tasty, comforting side dish! It combines tender orzo pasta with rich, earthy mushrooms in a creamy sauce. It’s easy to make and sure to impress!
Add 2 tablespoons unsalted butter to a large skillet and melt over medium heat. Add ½ cup diced onion, and cook until it turns translucent and soft about 2-3 minutes.
Add 2 teaspoons minced garlic and 16 ounces sliced mushrooms and cook over medium heat for about 6-8 minutes, until the mushrooms release their liquid and it reduces by half.
Add 1 teaspoon salt, ½ teaspoon dried thyme, ½ teaspoon dried parsley, ¼ teaspoon ground black pepper, and 1 cup dried orzo pasta to the skillet and stir until combined. Add 1 ½ cups chicken broth and ⅔ cup half & half, reducing the heat to medium-low. Cover and cook for 10-11 minutes, stirring occasionally to help the orzo cook evenly and to prevent it from sticking to the pan.
Once the orzo is cooked through, add 2 cups chopped baby spinach and ½ cup grated parmesan cheese to the skillet. Stir and continue to cook until the spinach wilts. Top with fresh parsley, and serve.
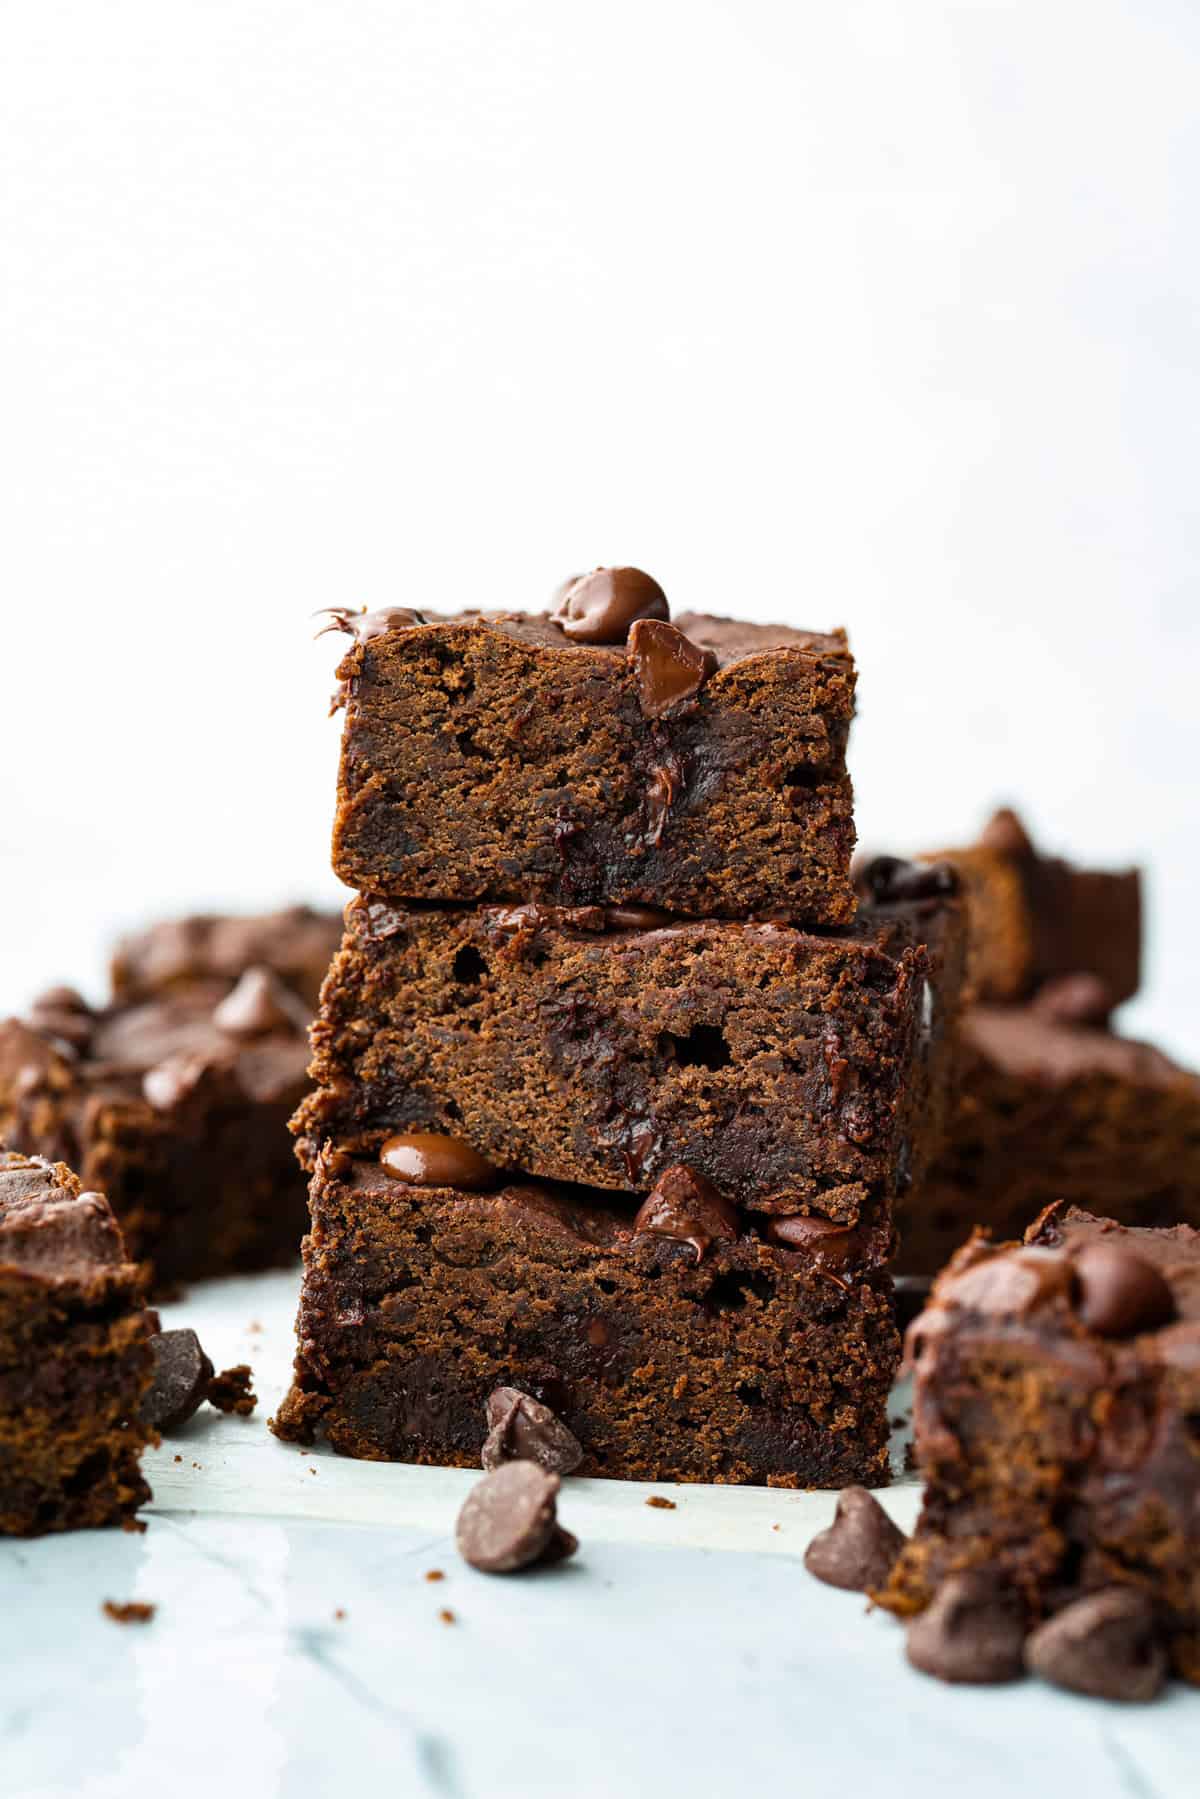
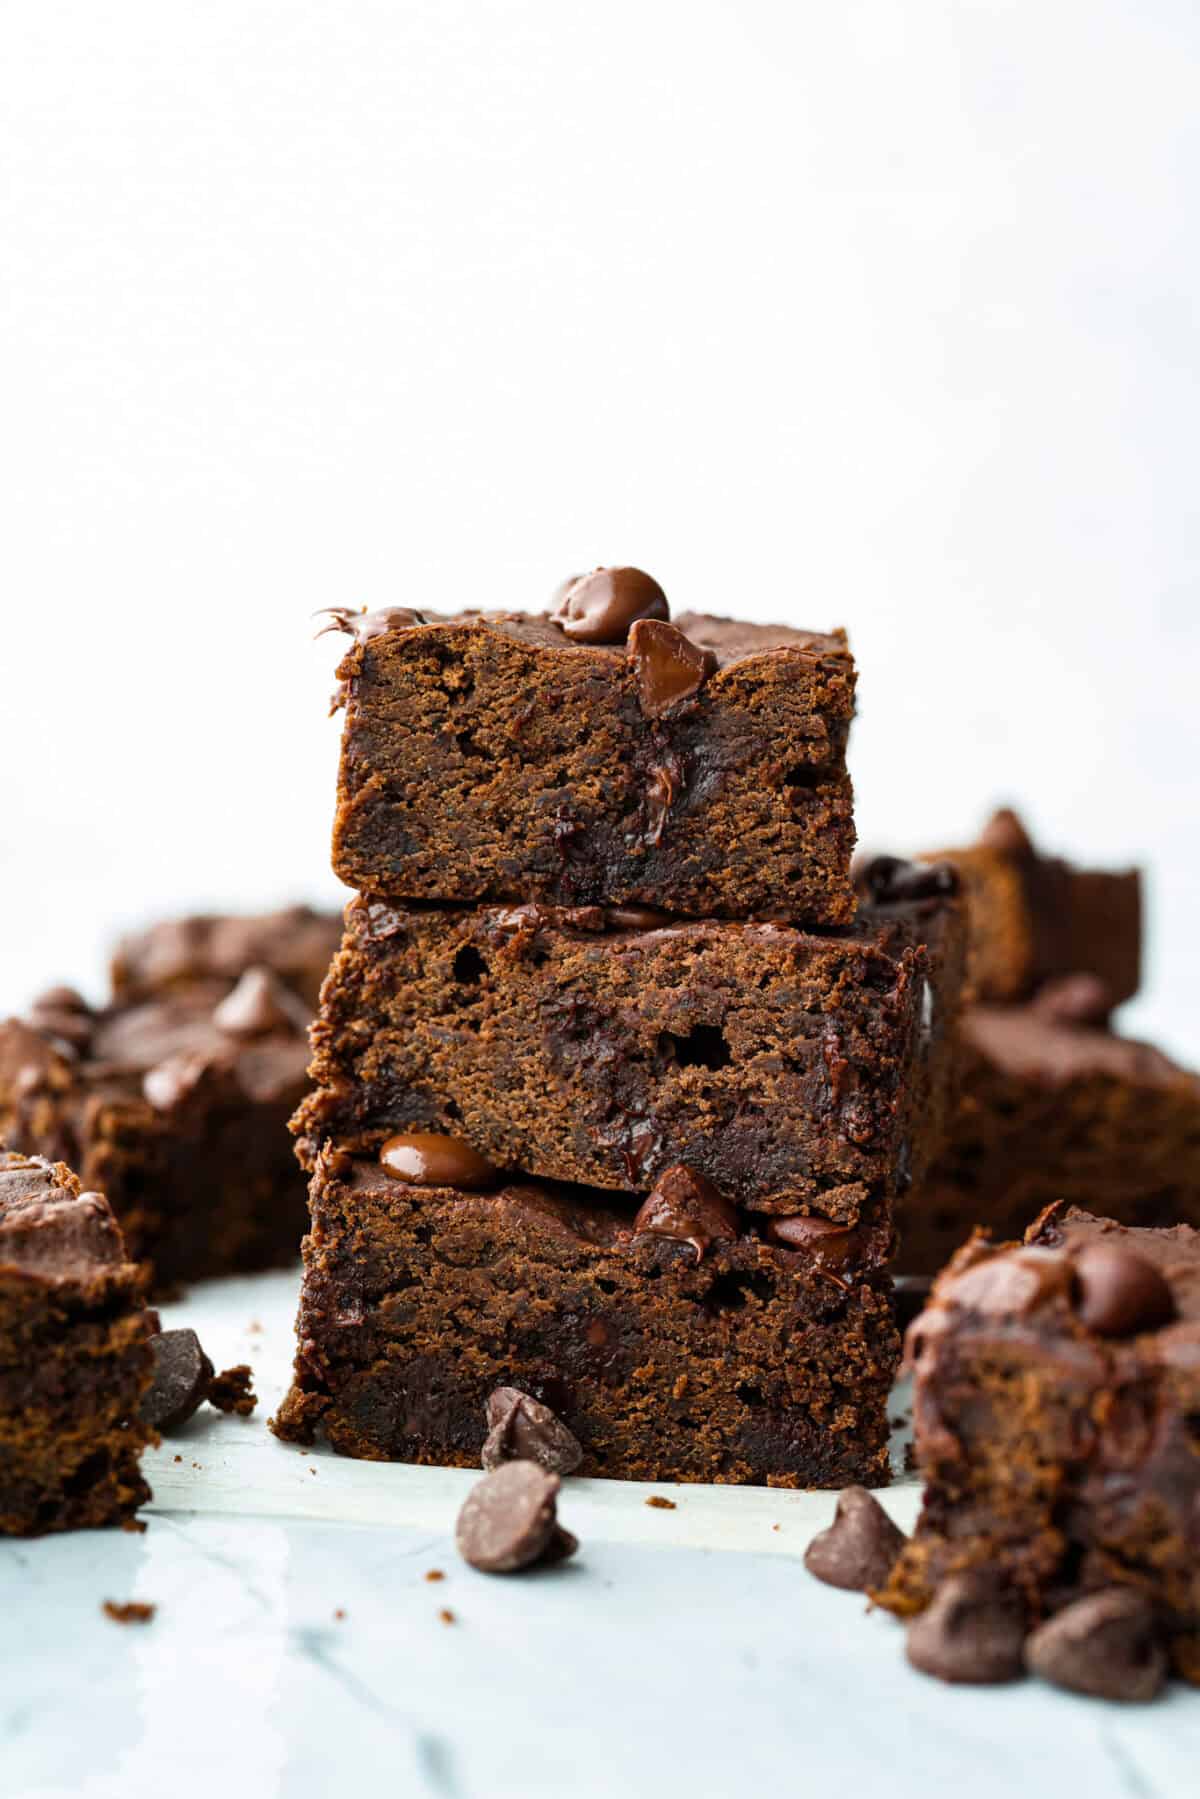
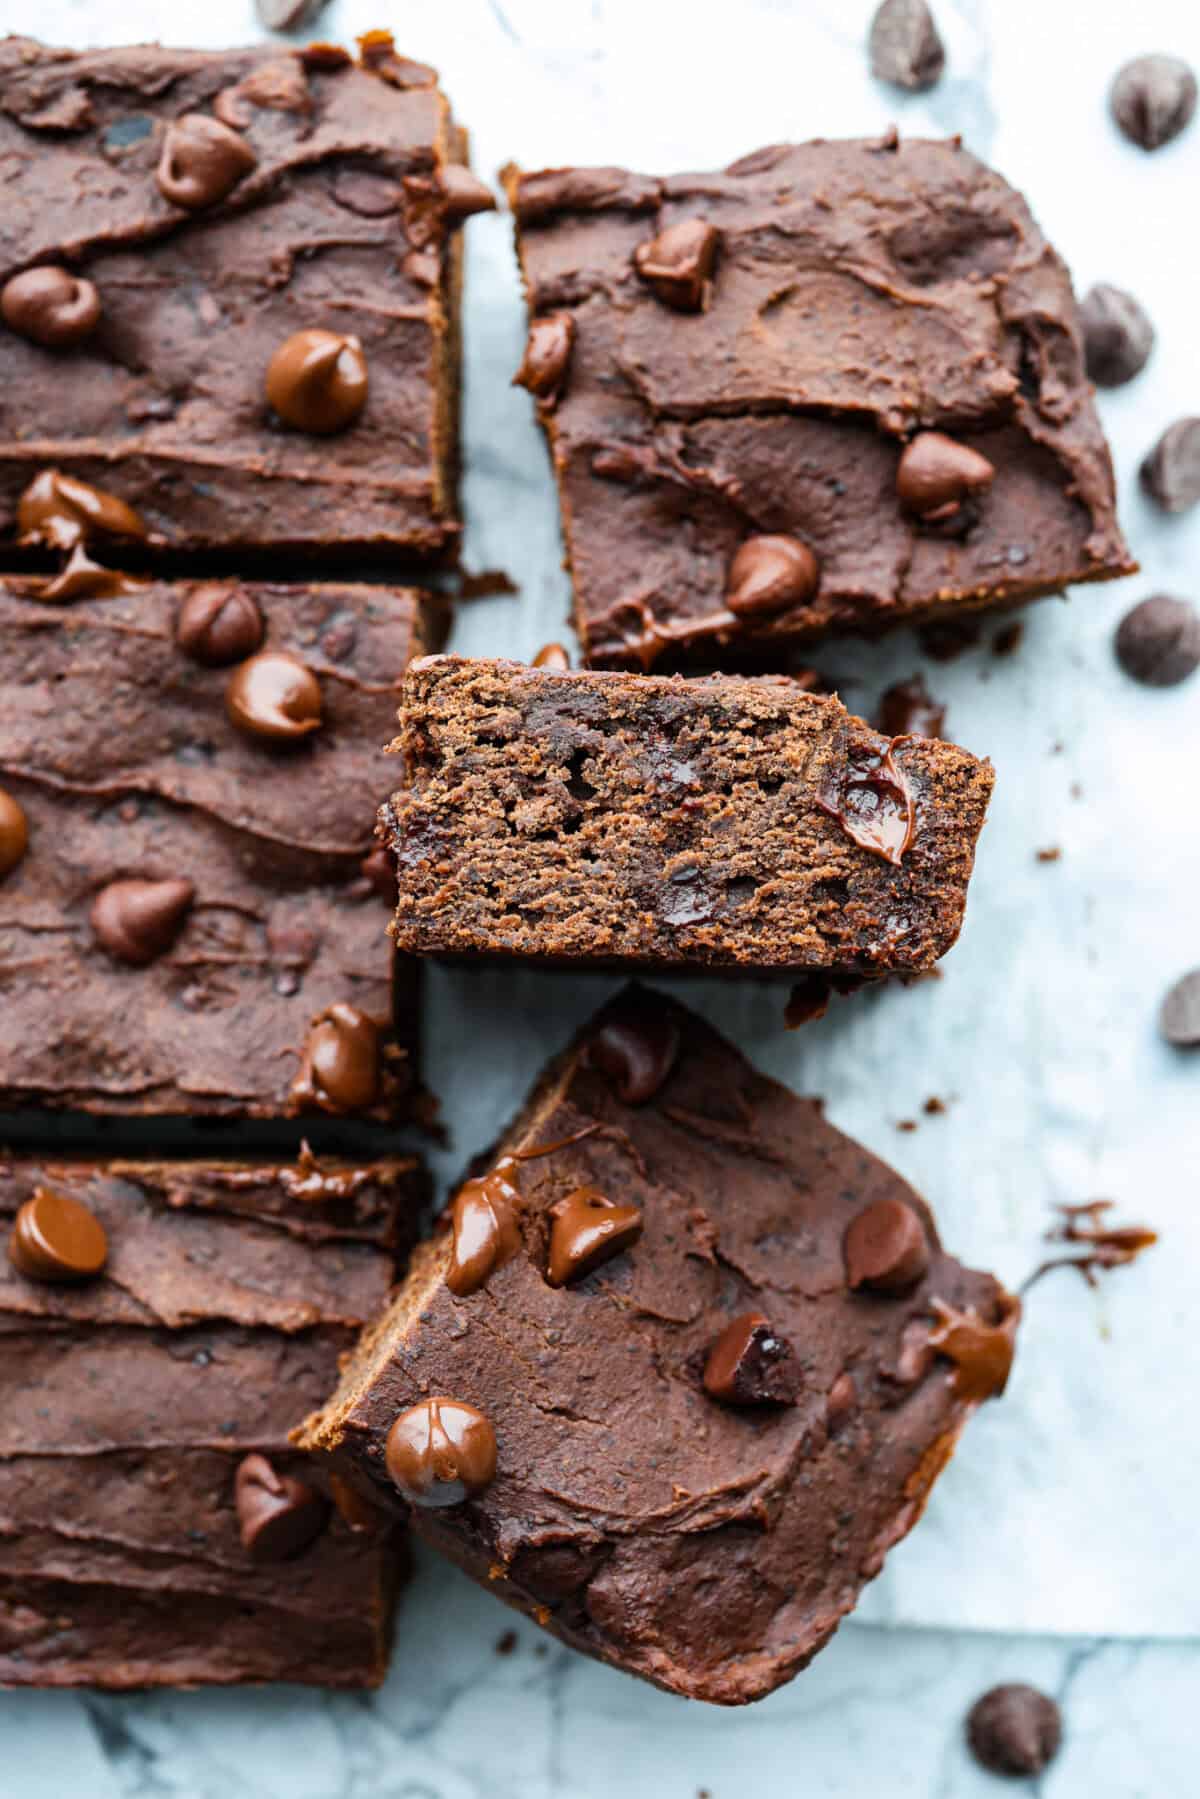
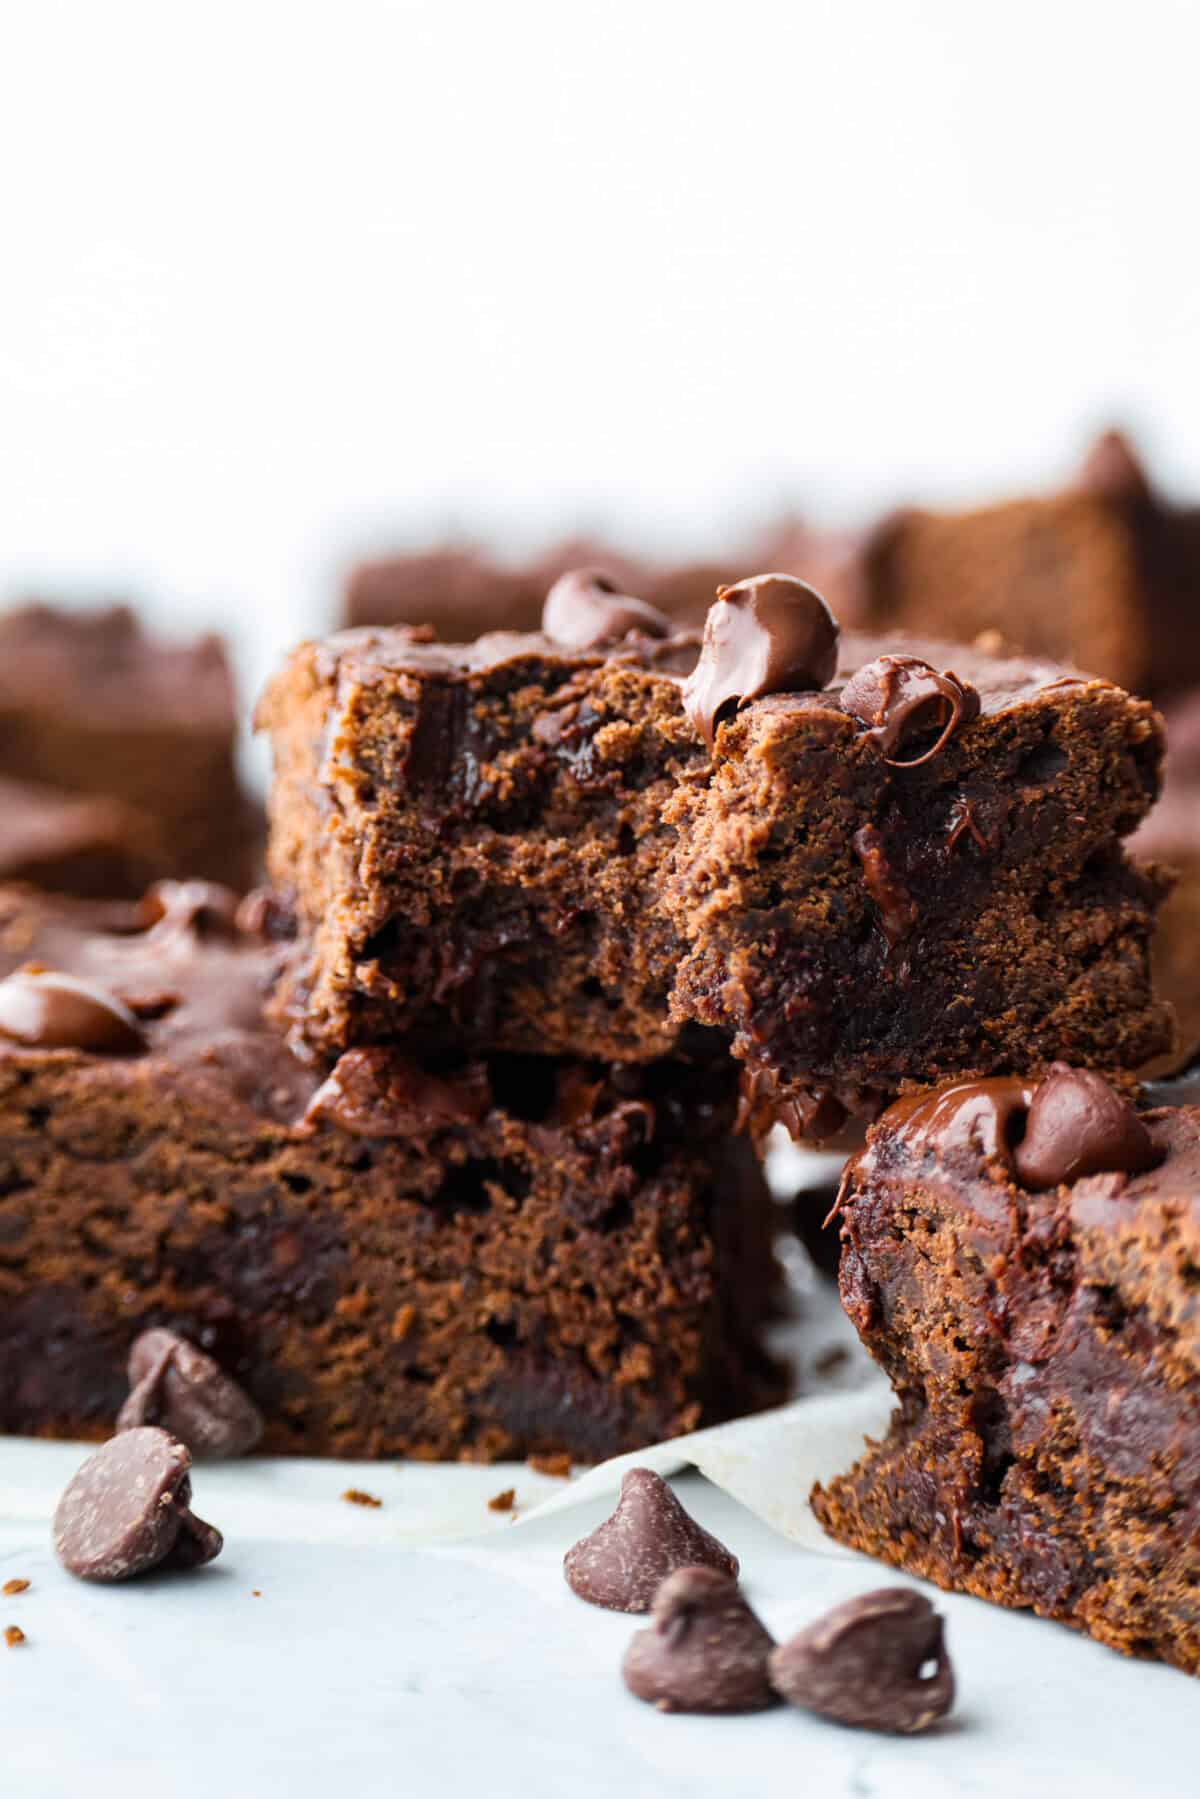
Black bean brownies are rich, fudgy, and packed with chocolatey goodness! They have a slightly denser texture, similar to a protein bar, but still satisfy that brownie craving. While adults may notice a slight difference from traditional brownies, kids won’t be able to tell!
Reasons You’ll Love This Recipe
Rich & Fudgy: These black bean brownies have a dense, chocolatey texture that satisfies any sweet tooth. Even better, most people won’t taste the black beans at all.
Better-For-You Dessert: Thanks to black beans, this sweet treat offers a nutritious boost of extra protein and fiber.
Kid-Approved: Most kids won’t even notice the difference from regular brownies. I love sneaking nutritious ingredients into treats like this chocolate hummus and chickpea cookie dough!
Sweet and Satisfying
This black bean brownie recipe is my new go-to when I’m craving something sweet. I love being able to satisfy my sweet tooth while also getting some of my fiber for the day! I don’t feel as guilty eating more than one! The texture the black beans add to these brownies makes them perfectly dense and fudgy. You guys are going to love them!
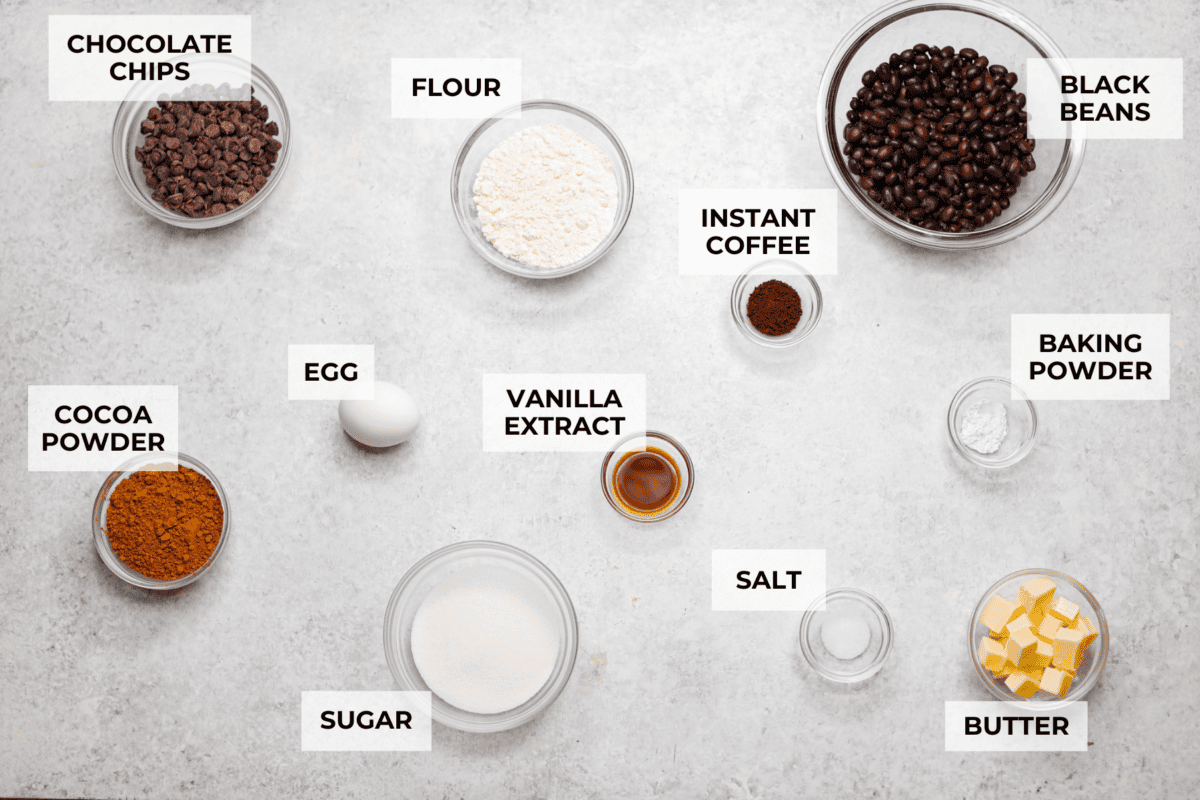
Black Bean Brownie Ingredients
How to Make Black Bean Brownies
Black bean brownies are a breeze to make with simple ingredients and a food processor! Just mix, bake, and enjoy! I love seeing my kids enjoy these, raving about how they’re the best they’ve ever had—completely unaware that they’re packed with a whole can of black beans!
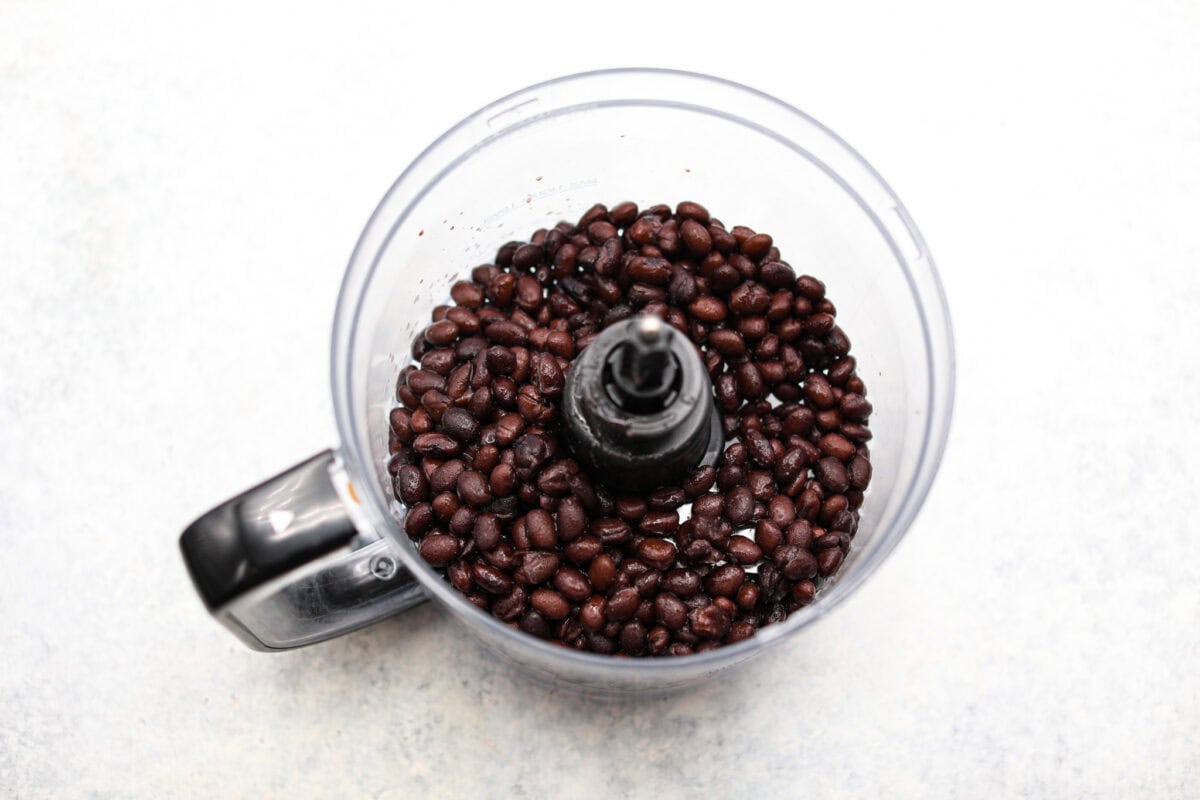
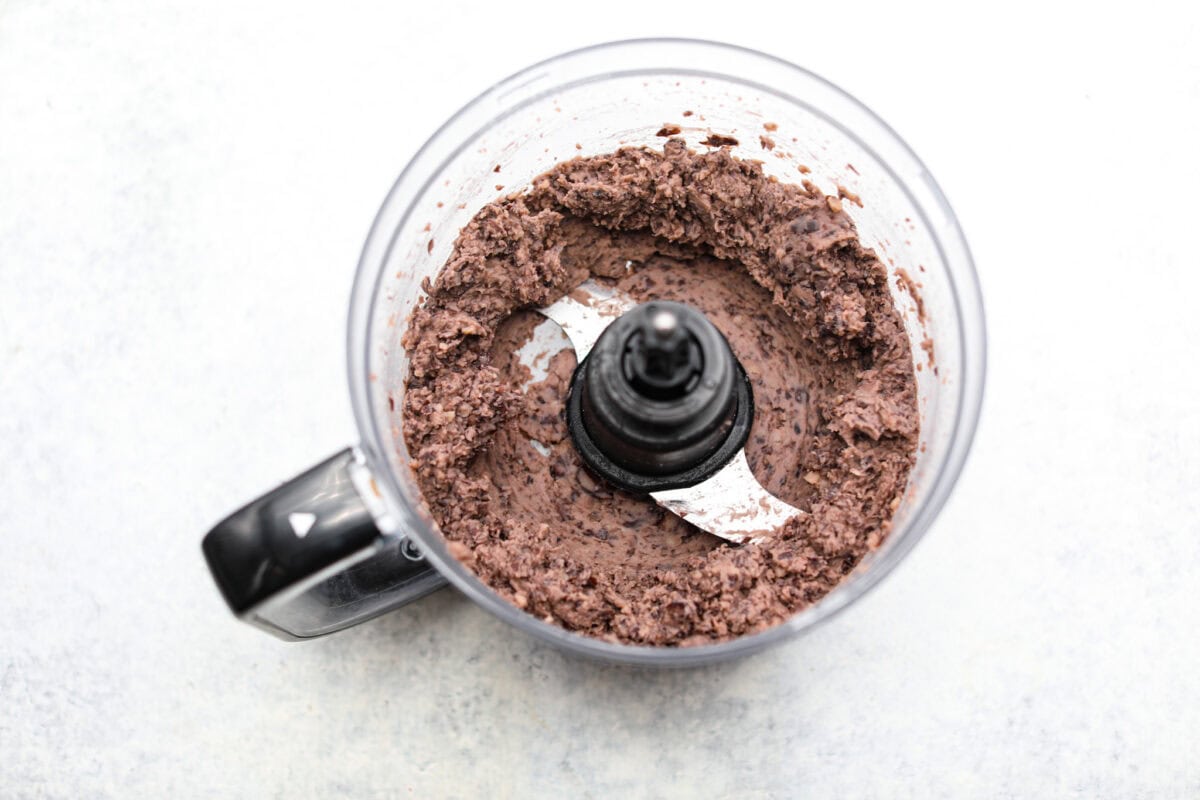
Prep: Preheat the oven to 350ºF and spray an 8x8x2-inch baking pan with nonstick cooking spray. Add the rinsed black beans to a food processor.
Process Beans: Blend the beans until smooth, scraping down the sides and bottom of the processor as needed.
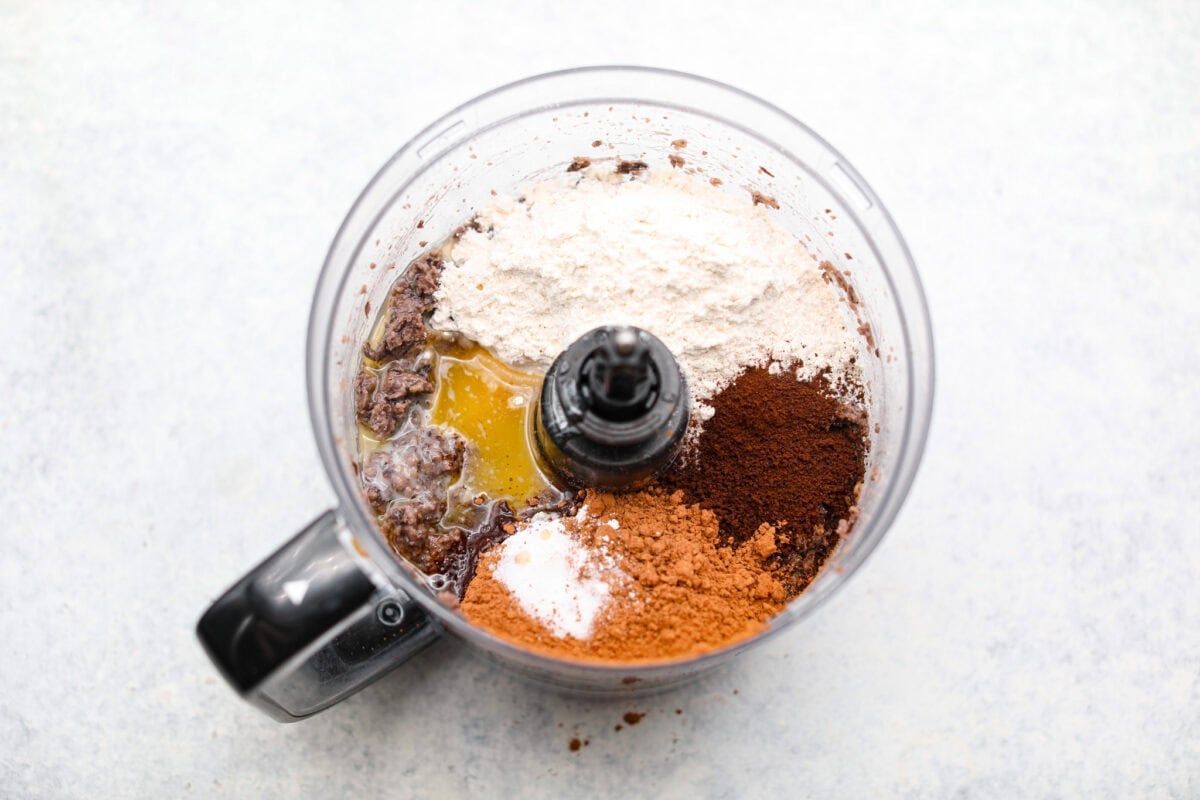
Add the Other Ingredients: Add the cocoa powder, flour, sugar, melted butter, egg, salt, instant coffee, vanilla extract, and baking powder to the food processor.
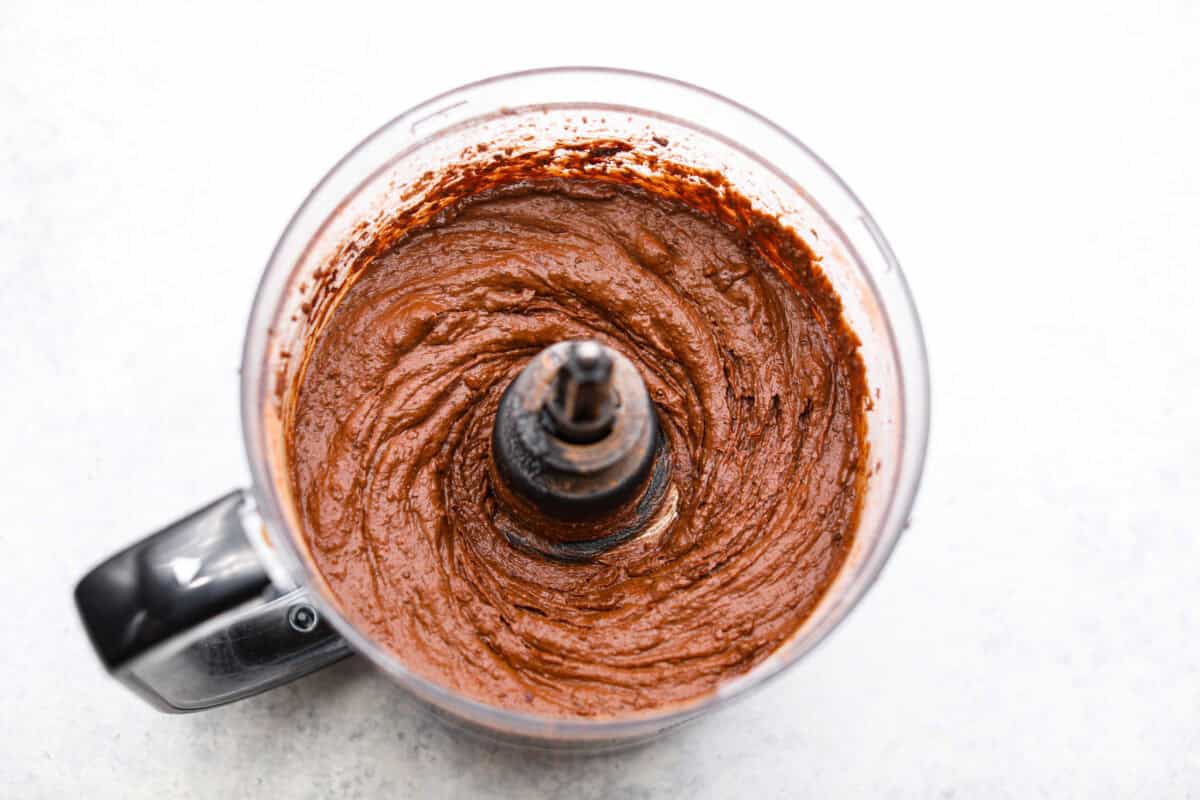
Combine: Blend until combined. Scrape down the sides and bottom of the food processor and blend for a few more seconds to ensure the batter is fully combined.
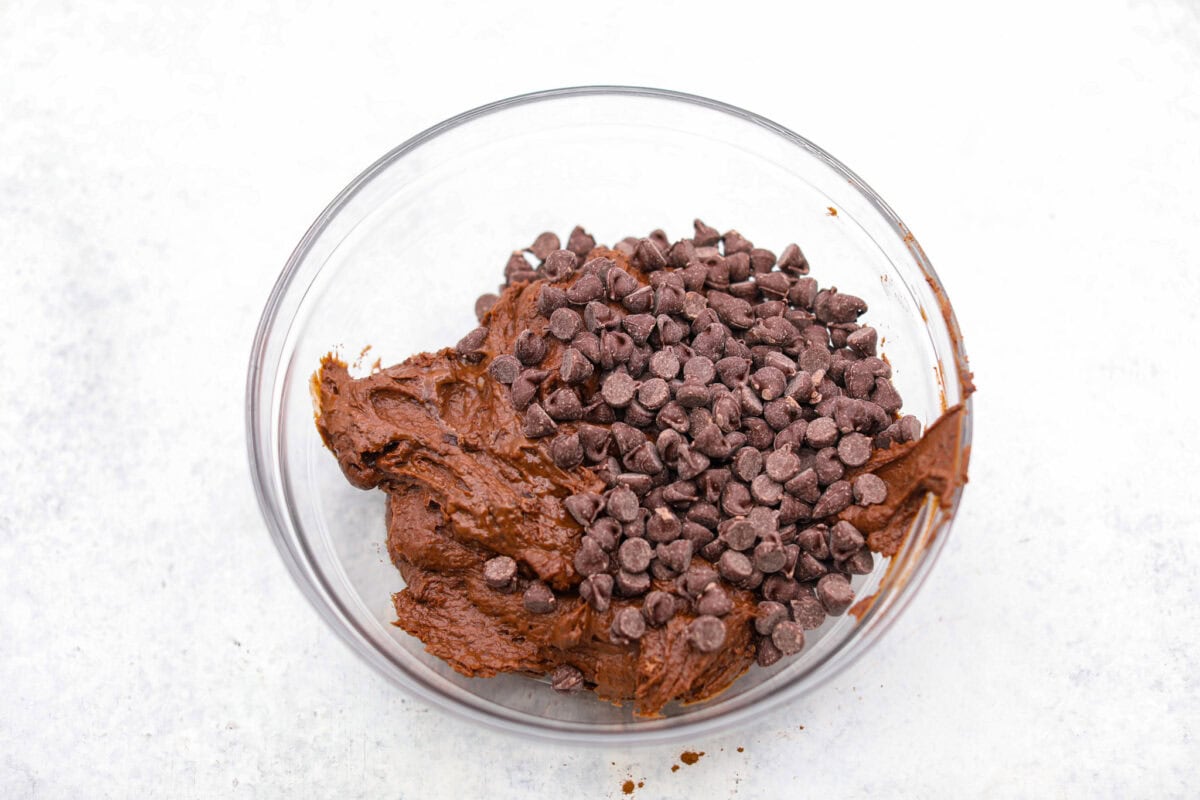
Stir in Chocolate Chips: Transfer the batter to a medium bowl and stir in the chocolate chips.
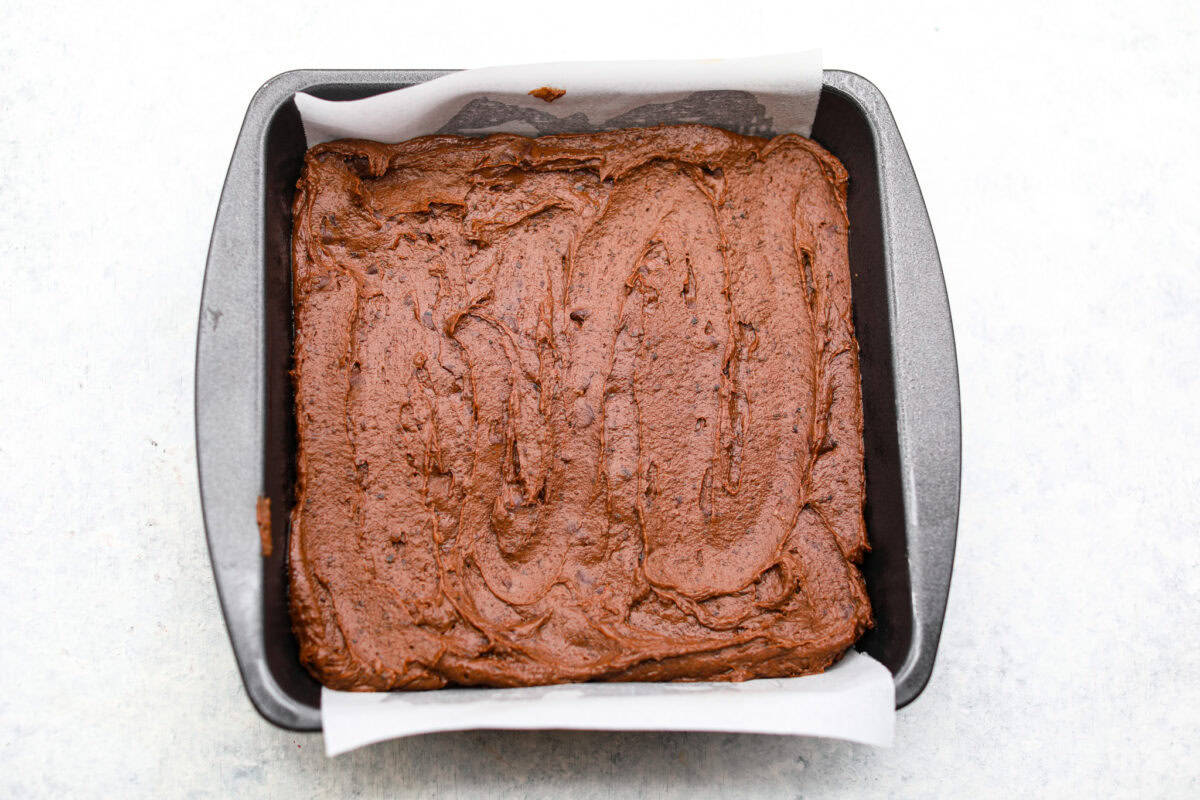
Bake: Pour the batter into the prepared baking pan. Sprinkle a few extra chocolate chips on top, if desired, and bake for 21-24 minutes. They are done when a toothpick comes out clean from the center. Let the brownies cool for at least 10 minutes before serving.
Tips for Making Black Bean Brownies
Check out these helpful tips and variations for your black bean brownies! They are sure to turn out perfect every time you make them.
Make sure youblend until smooth! When blending the black beans, make sure to blend them completely smooth! If you leave them a little bit chunky, then the texture of the brownies will be a little lumpy and could have more of a bean flavor to them.
Do I have to use the instant coffee? You don’t have to use instant coffee, but I swear it’s the secret ingredient that makes these taste amazing! I recommend leaving it in if possible!
Richer Brownies: For a richer, darker chocolate brownie, you may substitute Dutch cocoa powder for the regular cocoa powder.
Chocolate Chips: Try switching up the flavor with different kinds of chocolate chips! My favorites are peanut butter or mint chips.
Using a Blender: I’ve seen black bean brownies made in a Magic Bullet or regular blender. I’ve never tried it myself, but I believe these options would work, provided they are at least 1 quart in capacity.
How to Store Leftovers
These black bean brownies make great leftovers! Here’s how to store them to keep them moist and fudgy for days.
Room Temp: Store leftover black bean brownies in an airtight container at room temperature for up to 5 days.
In the Freezer: You can freeze these brownies in an airtight freezer-safe container for up to 3 months. Let the brownies thaw at room temperature before serving.
More Brownie Recipes
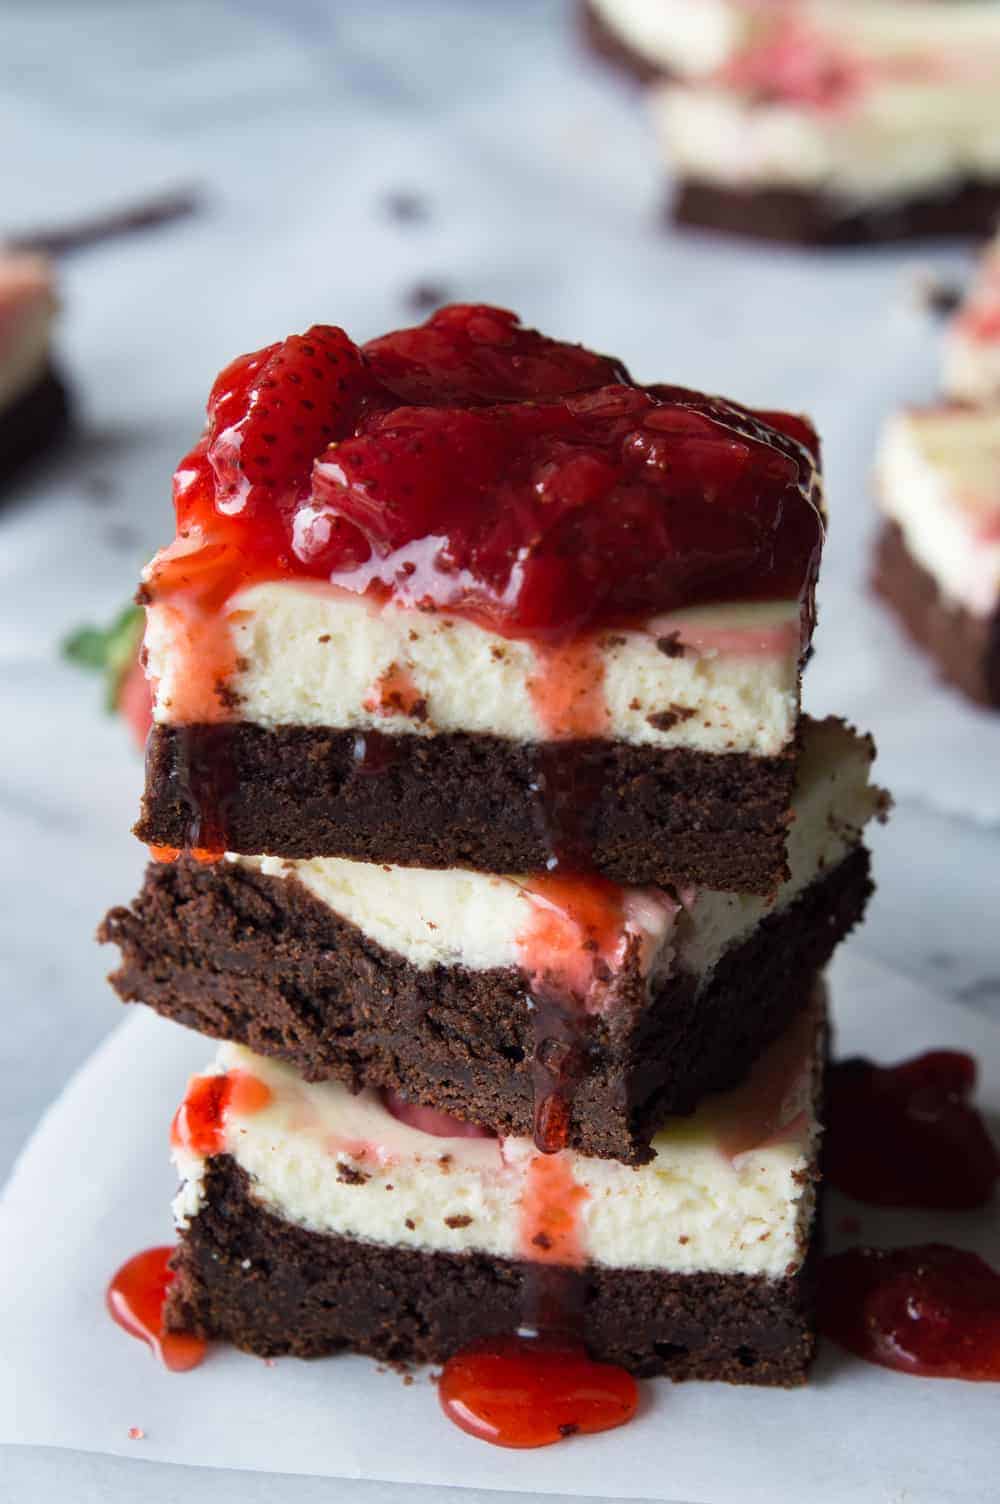
If you’re craving more brownies, you have to try these other favorites! Each one has a unique flavor, but they all have one thing in common—they disappear fast because they’re so delicious! Check out my full collection of brownies!
Black bean brownies are rich, fudgy, and packed with chocolatey goodness! They have a slightly denser texture, similar to a protein bar, but still satisfy that brownie craving.
CourseDessert
CuisineAmerican
Keywordblack bean brownie batter, Black Bean Brownies, Black Bean Brownies Recipe, Easy black bean brownies, recipe for brownies using black beans
Preheat the oven to 350 degrees Fahrenheit and spray an 8 x 8 x 2-inch baking pan with nonstick cooking spray.
Add 1 (15-ounce) can black beans, to a food processor and blend until smooth.
Add ⅓ cup unsweetened cocoa powder, ½ cup all-purpose flour, ½ cup granulated sugar, ¼ cup melted salted butter, 1 large egg, ¼ teaspoon salt, 1 teaspoon instant coffee, 2 teaspoons vanilla extract, and ½ teaspoon baking powder and blend until combined. Scrape down the sides and bottom of the food processor and blend for a few more seconds to ensure the batter is fully combined.
Transfer the batter to a medium bowl and stir in ¾ cup semi-sweet chocolate chips.
Pour the batter into the prepared baking pan. Sprinkle a few extra chocolate chips on top, if desired, and bake for 21-24 minutes, until a toothpick comes out clean from the center.
Let the brownies cool for at least 10 minutes before serving.
Air Fryer Egg Rolls are everything you love about your favorite takeout appetizer, made right at home! They’re crispy, crunchy , loaded with flavorful chicken filling , and cooked without the hassle of deep frying. The Egg Roll Upgrade You’ll Love Perfectly Crispy Without Deep Frying: The air fryer gives these egg rolls an irresistibly crunchy exterior while keeping the filling juicy and tender. Better Than Takeout: Loaded with seasoned chicken, crunchy veggies, and bold Asian-inspired flavors, they’re fresh, flavorful, and made right in your own kitchen. Great for Dinner or Appetizers: Serve them with a good sweet chili sauce or sweet and sour sauce s for an easy weeknight meal, game day snack, or party appetizer everyone will devour. A Reader’s Review These are delicious!! So much healthier than store bought or take-out. Pretty easy to make. – Janice Ingredients For Air Fryer Egg Rolls Gr...