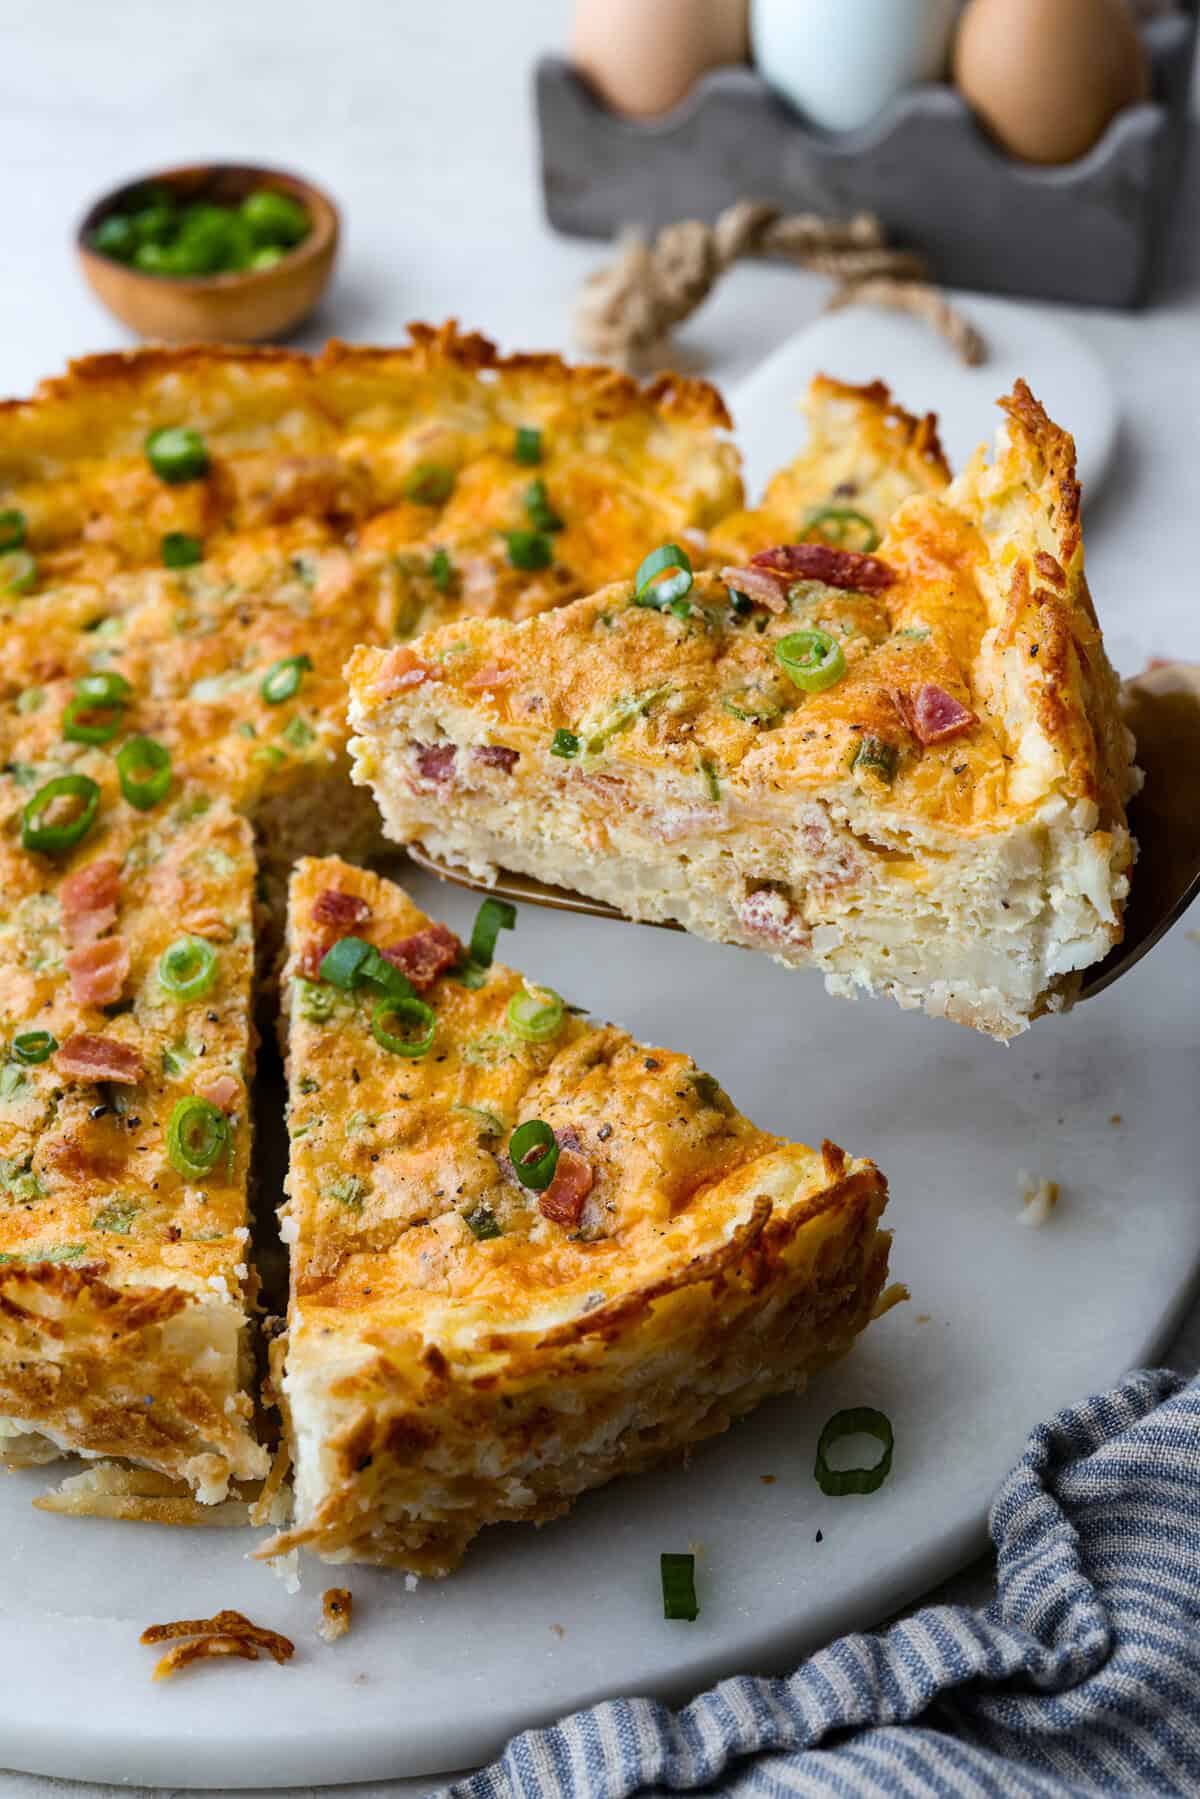
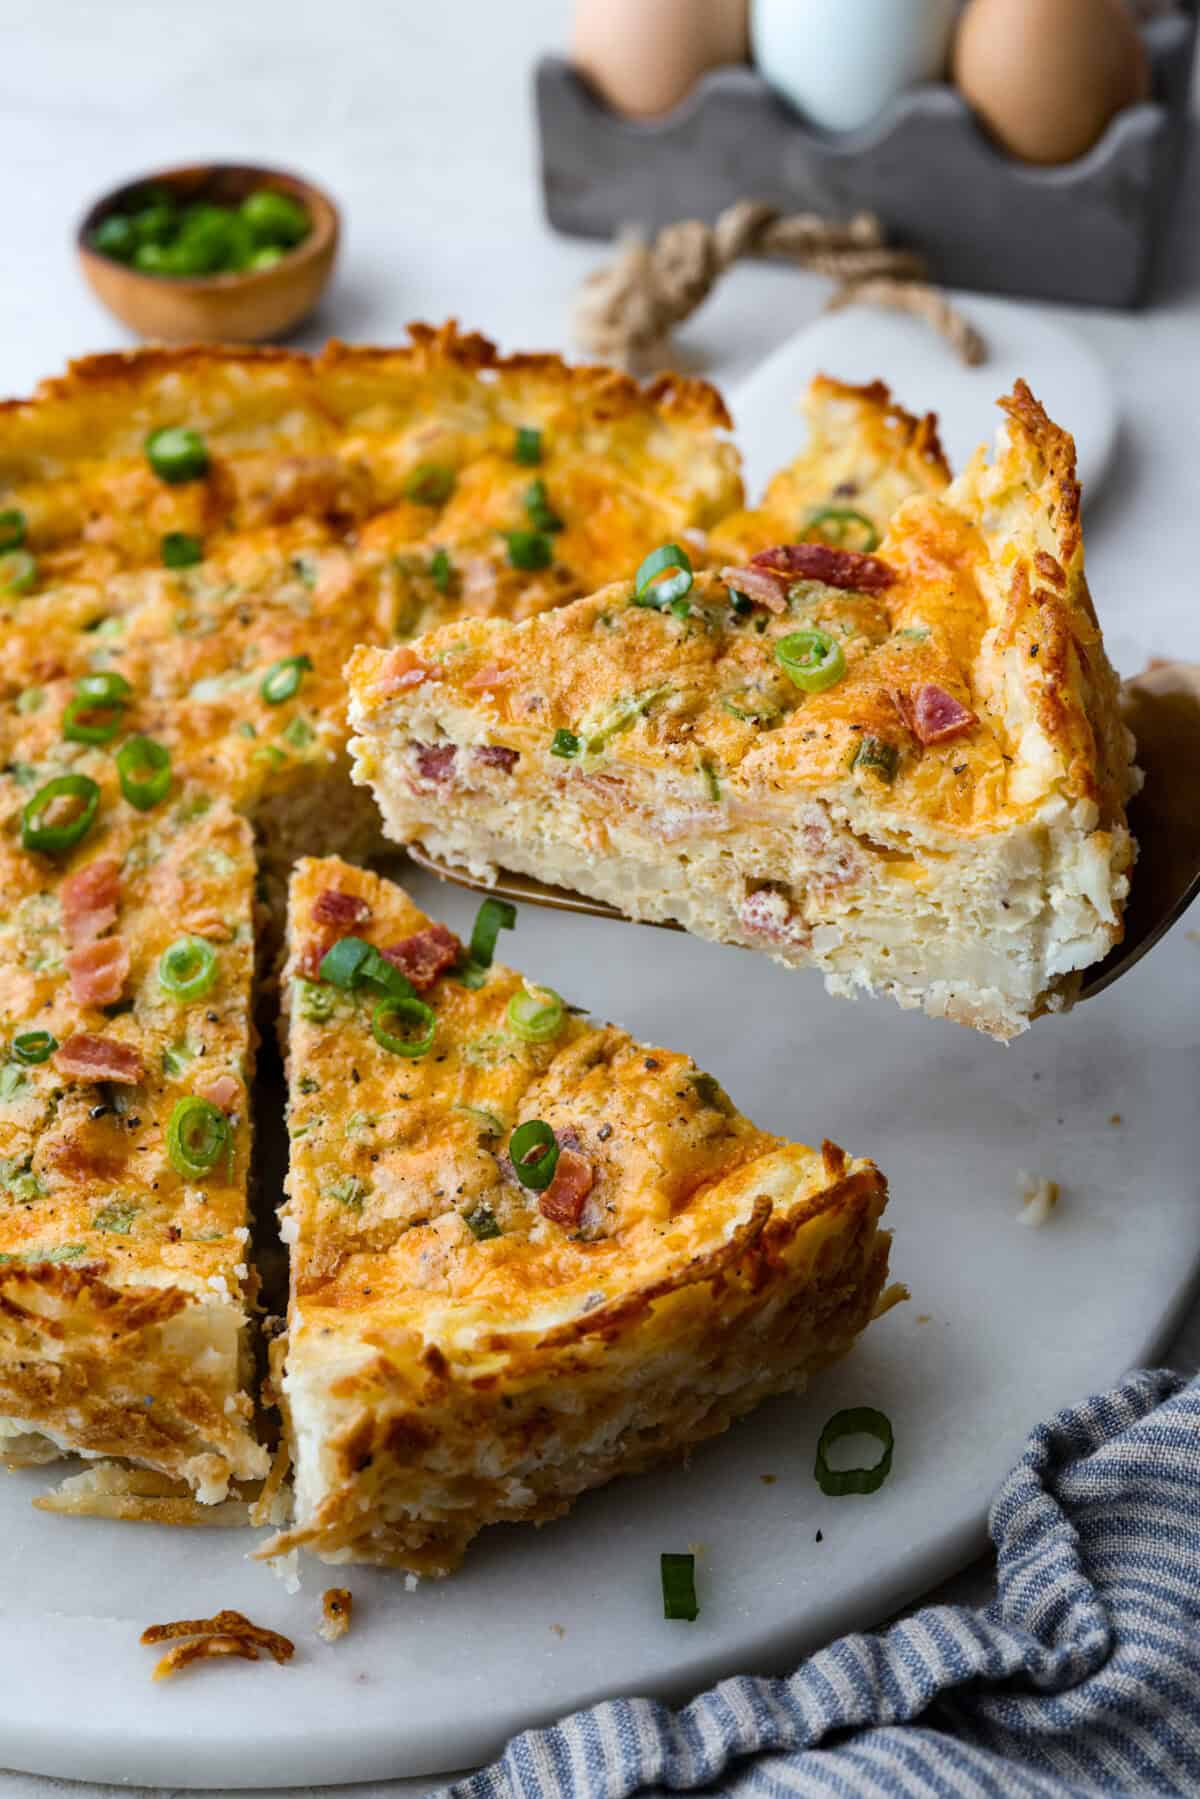
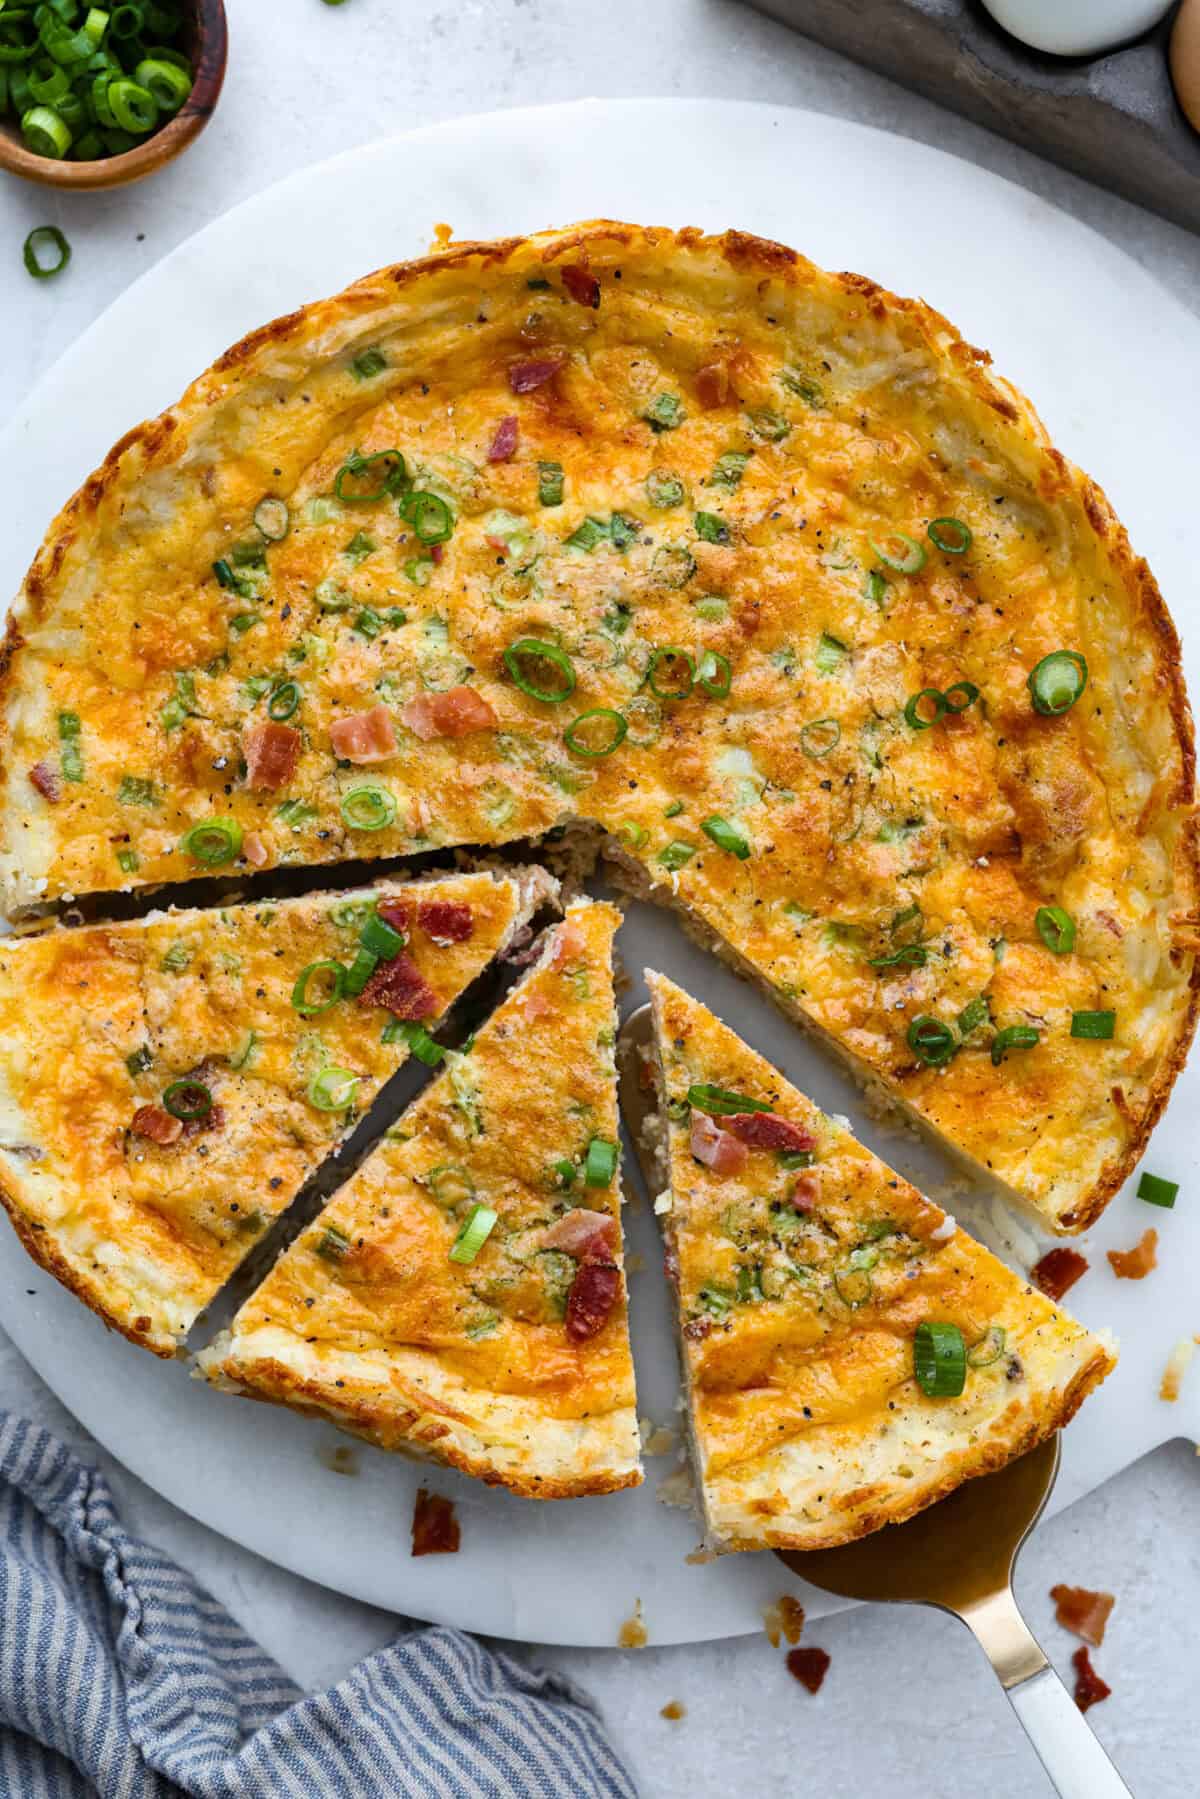
My Hash Brown Crust Quiche is a gluten-free twist on a classic! Crispy, golden potatoes wrap around a rich, savory custard filling. Brunch just got an upgrade!
Why You Need This for Your Next Brunch
Crispy Crust Goodness: The hash browns adds a crispy, golden twist to the traditional quiche, giving it extra texture and flavor that’s impossible to resist.
Meal Prep Perfection! This quiche is easy to make ahead, making it an ideal option for breakfast, brunch, or even dinner throughout the week.
Gluten Free Option: Hash brown crust quiche is naturally gluten-free, making it a delicious and safe option for those with dietary restrictions.
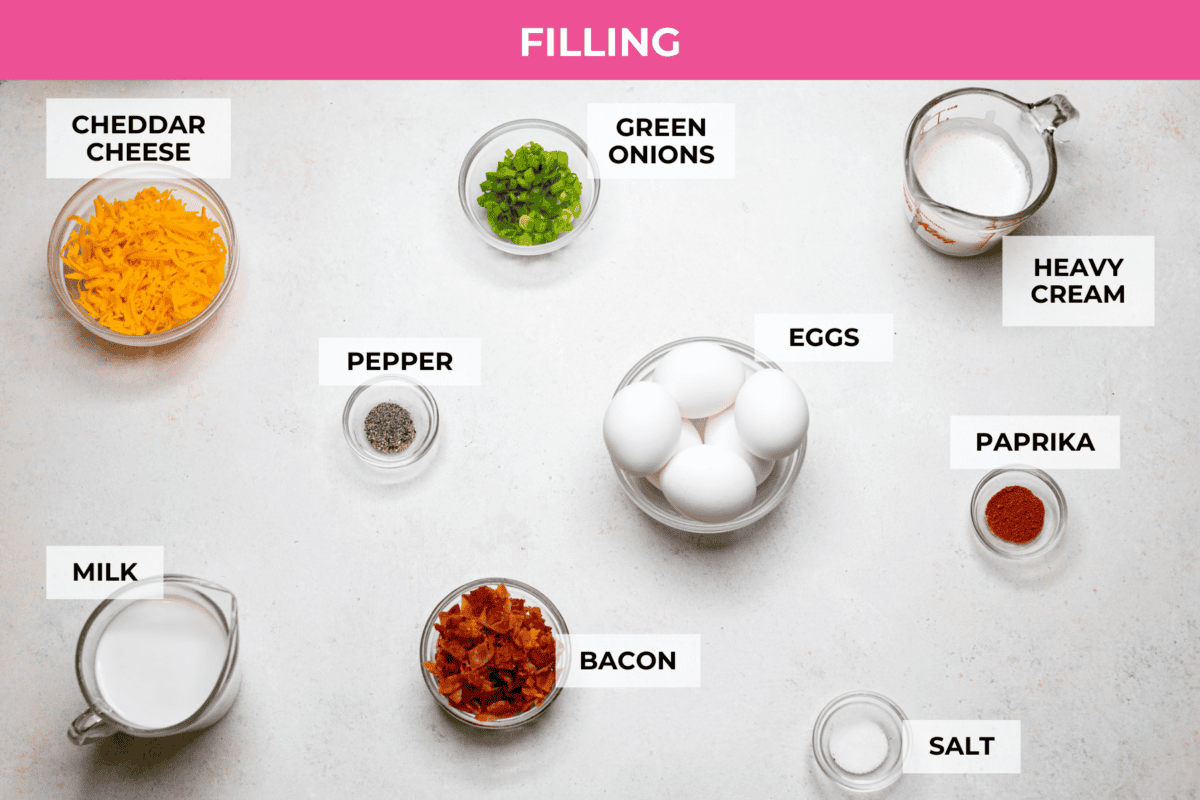
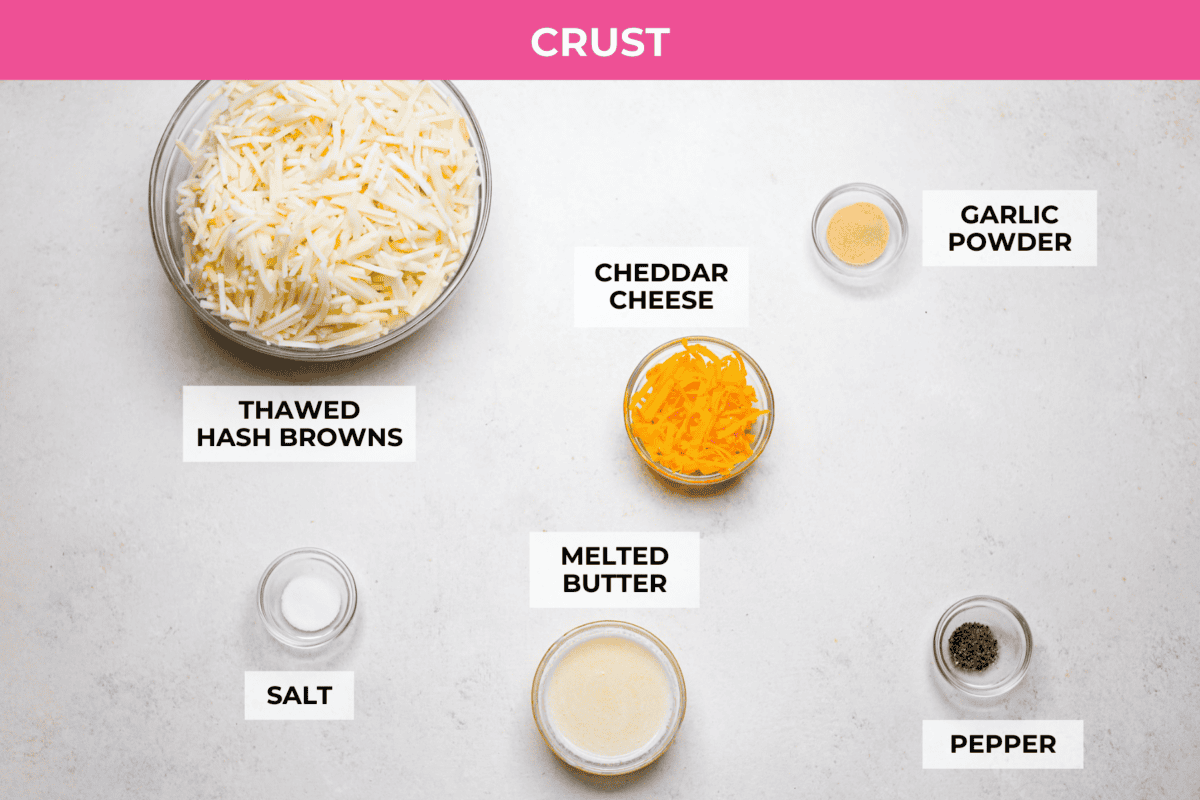
Hash Brown Crust Quiche Ingredients
Get creative with mix-ins! If you want to add veggies, I suggest mushrooms, spinach, onions, or peppers. Switch the meat with sausage, chorizo, or ham, and add your favorite cheese!
Instead of Hashbrowns, UseFresh Potatoes: For a homemade touch, shred about 5 cups of russet or Yukon Gold potatoes. Rinse them well and squeeze out the moisture. Bake the crust for 25–30 minutes before adding the filling. It’s a simple swap that adds extra flavor!
How to Make Hash Brown Crust Quiche
You’re definitely going to want to add this fun twist on the classic quiche to your next brunch menu! It’s packed with protein, tastes amazing, and is naturally gluten-free.
Hash Brown Crust
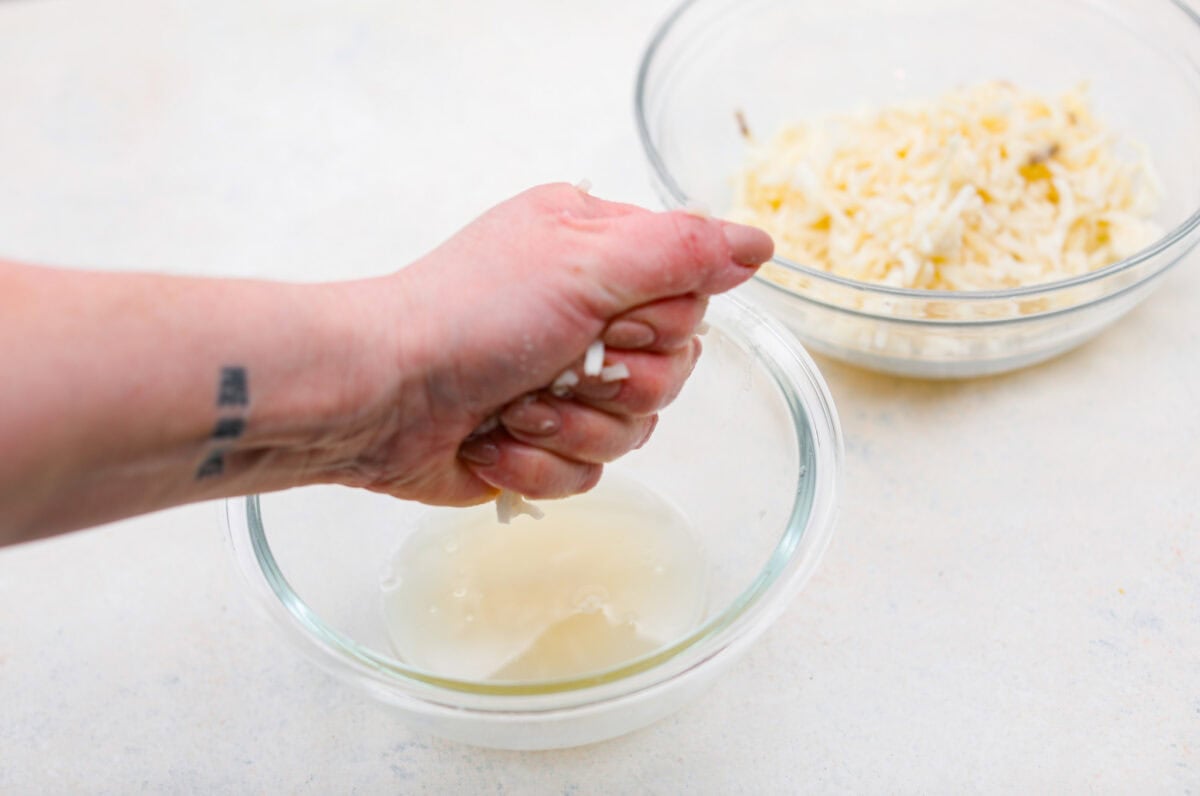
Drain Water From Hash Browns: Spray a 10-inch spring-form pan with nonstick cooking spray and then set aside. Squeeze as much of the water from the hash browns as possible. Add the squeezed hash browns, cheese (if using), garlic powder, salt, pepper, and melted butter to a large bowl, then toss until the potatoes are evenly seasoned.
Freeze and Bake Crust: Press the hash browns into the bottom and halfway up the sides of the prepared springform pan. Really press it together to ensure there are no holes or gaps for the egg filling to leak out. Place the crust in the freezer for at least 1 hour. Once the crust is frozen, then preheat the oven to 425ºF. Bake for 18-20 minutes or until the edges of the hash browns begin to brown.
Don’t Have A Springform Pan?
Regular Pie Dish: Use a 9 or 10-inch DEEP DISH pie pan for best results. Grease it well, and consider using a metal pan for a crispier crust.
Filling
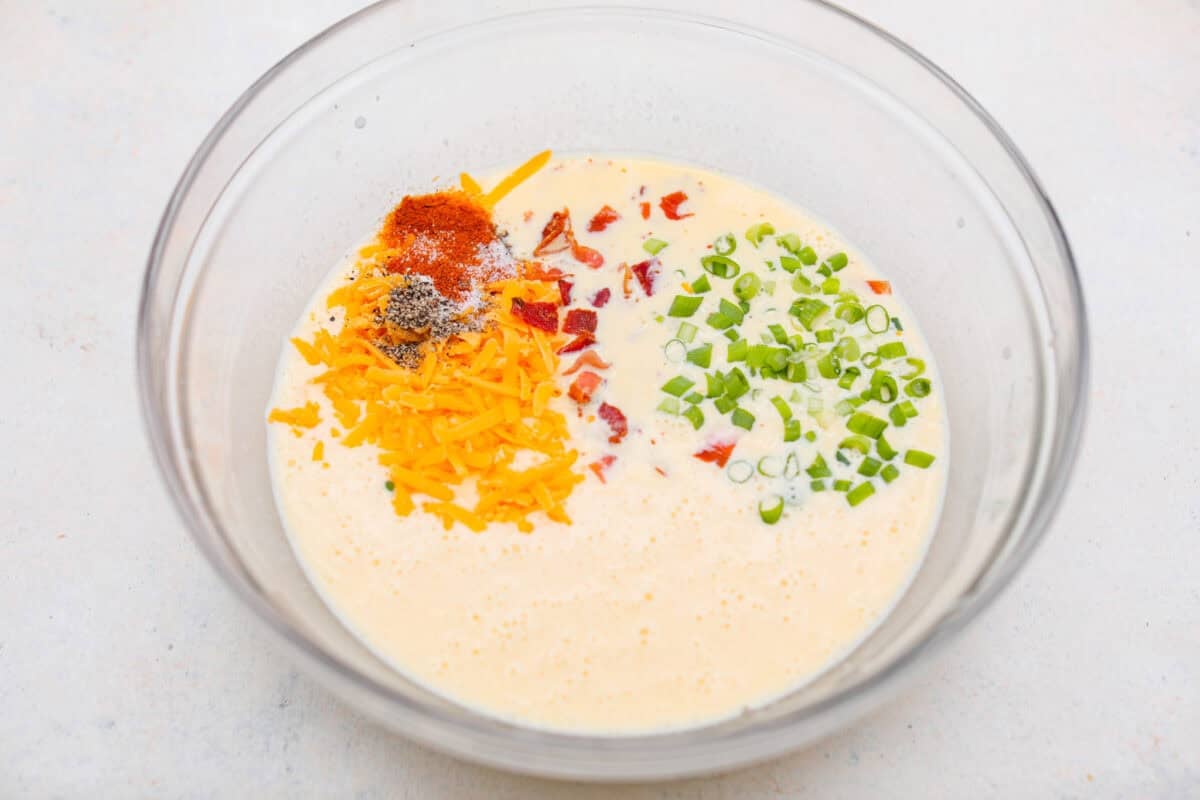
Make the Filling: While the crust is in the oven, prepare the filling. Whisk together the eggs, milk, and cream, then, add the cheese, bacon, green onions, salt, pepper, and paprika to the egg mixture and mix to combine.
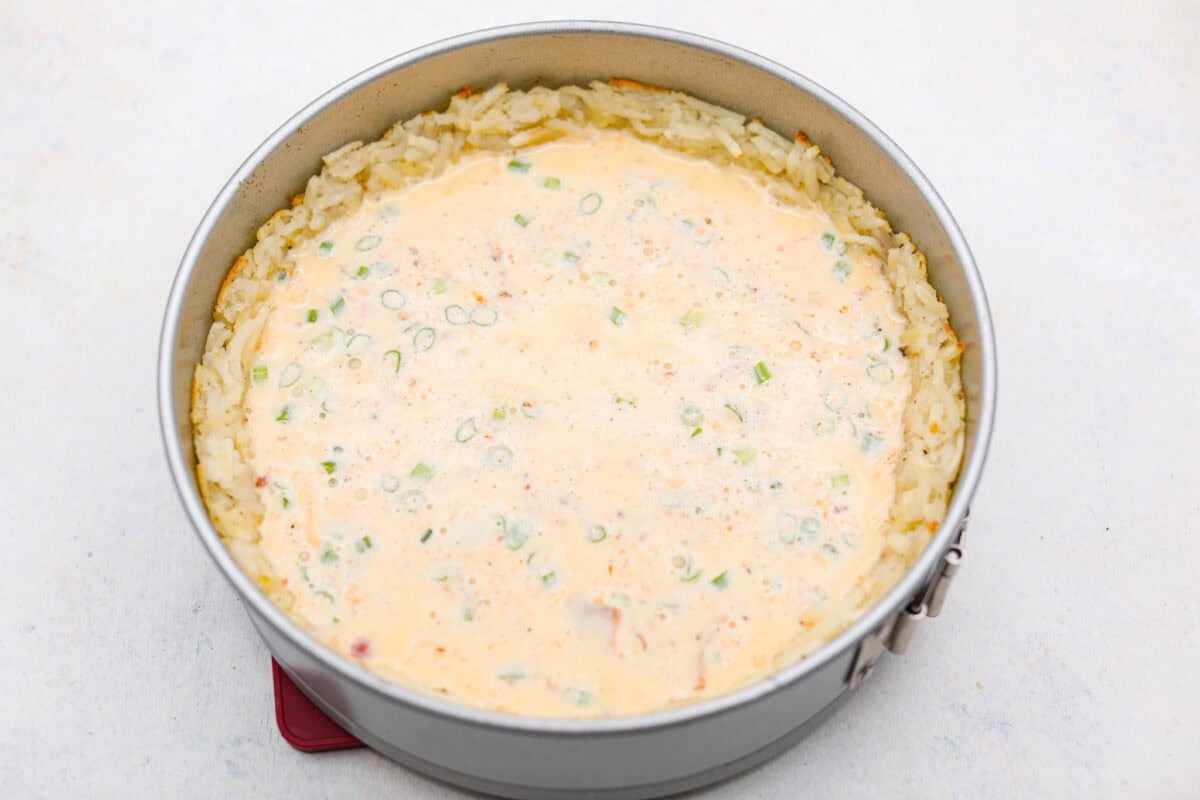
Bake the Quiche: Pour the filling into the partially baked crust. Turn the preheated oven down to 375ºF and bake for 35-40 minutes or until the center no longer wobbles. Let the quiche cool for 10 minutes before opening the springform pan, slicing, and serving.
Storing And Reheating Leftovers
In the Refrigerator: Store leftovers in an airtight container or covered tightly with plastic wrap in the refrigerator for up to 5 days. To reheat, place in the microwave for 30-45 seconds, in the oven at 350ºF for 15 minutes, or in the air fryer at 300ºF for 3-4 minutes.
In the Freezer: Freeze leftover baked quiche for up to 3 months. Remove it from the springform pan, then wrap it in 2-3 layers of plastic wrap followed by a layer of heavy-duty aluminum foil. To
Reheat Thawed: Thaw overnight in the fridge, then bake at 350ºF for 15-20 minutes, until the center reaches 165ºF.
Reheat From Frozen: Cover with foil and bake at 350ºF for 35-40 minutes or until the center reaches 165ºF.
Complete Your Brunch Menu
Breakfast foods are my absolute favorite! Here are a few more ideas you could use for a fun holiday, ladies’ lunch, brunch or family get-together.
My gluten-free Hash Brown Crust Quiche features a crispy potato crust, rich custard filling, and endless mix-in possibilities!
CourseBreakfast, brunch
CuisineAmerican, French American
Keywordgluten free quiche, hash brown crust quiche, hash brown crust quiche recipe, hash brown crusted quiche, hash brown potato crust quiche, hashbrown crust quiche, quiche with hash brown crust
Prep Time20 minutesminutes
Cook Time1 hourhour
chill time1 hourhour
Total Time2 hourshours20 minutesminutes
Servings8servings
Calories302kcal
AuthorAlyssa Rivers
Equipment
1 10-inch springform pan
Ingredients
Crust
20ouncesthawed shredded hash brownsabout 4 ½ cups after pressing
Spray a 10-inch spring-form pan with nonstick cooking spray and set aside.
Use your hands to squeeze as much of the water from 20 ounces thawed shredded hash browns as possible.
Add the squeezed hash browns, ¼ cup shredded cheddar (if using), ½ teaspoon garlic powder, ½ teaspoon salt, ¼ teaspoon ground black pepper, and ¼ cup melted unsalted butter to a large bowl and toss until the potatoes are evenly seasoned.
Press the hash browns into the bottom and halfway up the sides of the prepared springform pan. Really press it together to ensure there are no holes or gaps for the egg filling to leak out.
Place the crust in the freezer and let it freeze for at least 1 hour.
Once the crust is frozen, preheat the oven to 425 degrees Fahrenheit. Bake for 18-20 minutes, until the edges of the hash browns begin to brown.
FIlling
While the crust is in the oven, prepare the filling by whisking together 6 large eggs, 1 cup whole milk, and ½ cup heavy whipping cream.
Add ⅔ cup shredded cheddar cheese, ⅓ cup chopped crisp bacon, ¼ cup sliced green onions, ½ teaspoon salt, ¼ teaspoon ground black pepper, and ¼ teaspoon paprika. Pour the filling into the crust once it is partially baked.
Turn the oven down to 375 degrees Fahrenheit and bake for 35-40 minutes, until the center no longer wobbles.
Let the quiche cool for 10 minutes before opening the springform pan, slicing, and serving.
Easter is one of my favorite holidays to cook for—ham, veggies, and all the fun egg dishes! This menu plan makes it super easy, so you can enjoy the day without the stress.
Put Those Expensive Eggs to Use!
Stress-Free Vibes – No more last-minute panic! Your Easter menu plan has everything sorted so you can actually enjoy the day (and maybe sneak an extra chocolate bunny).
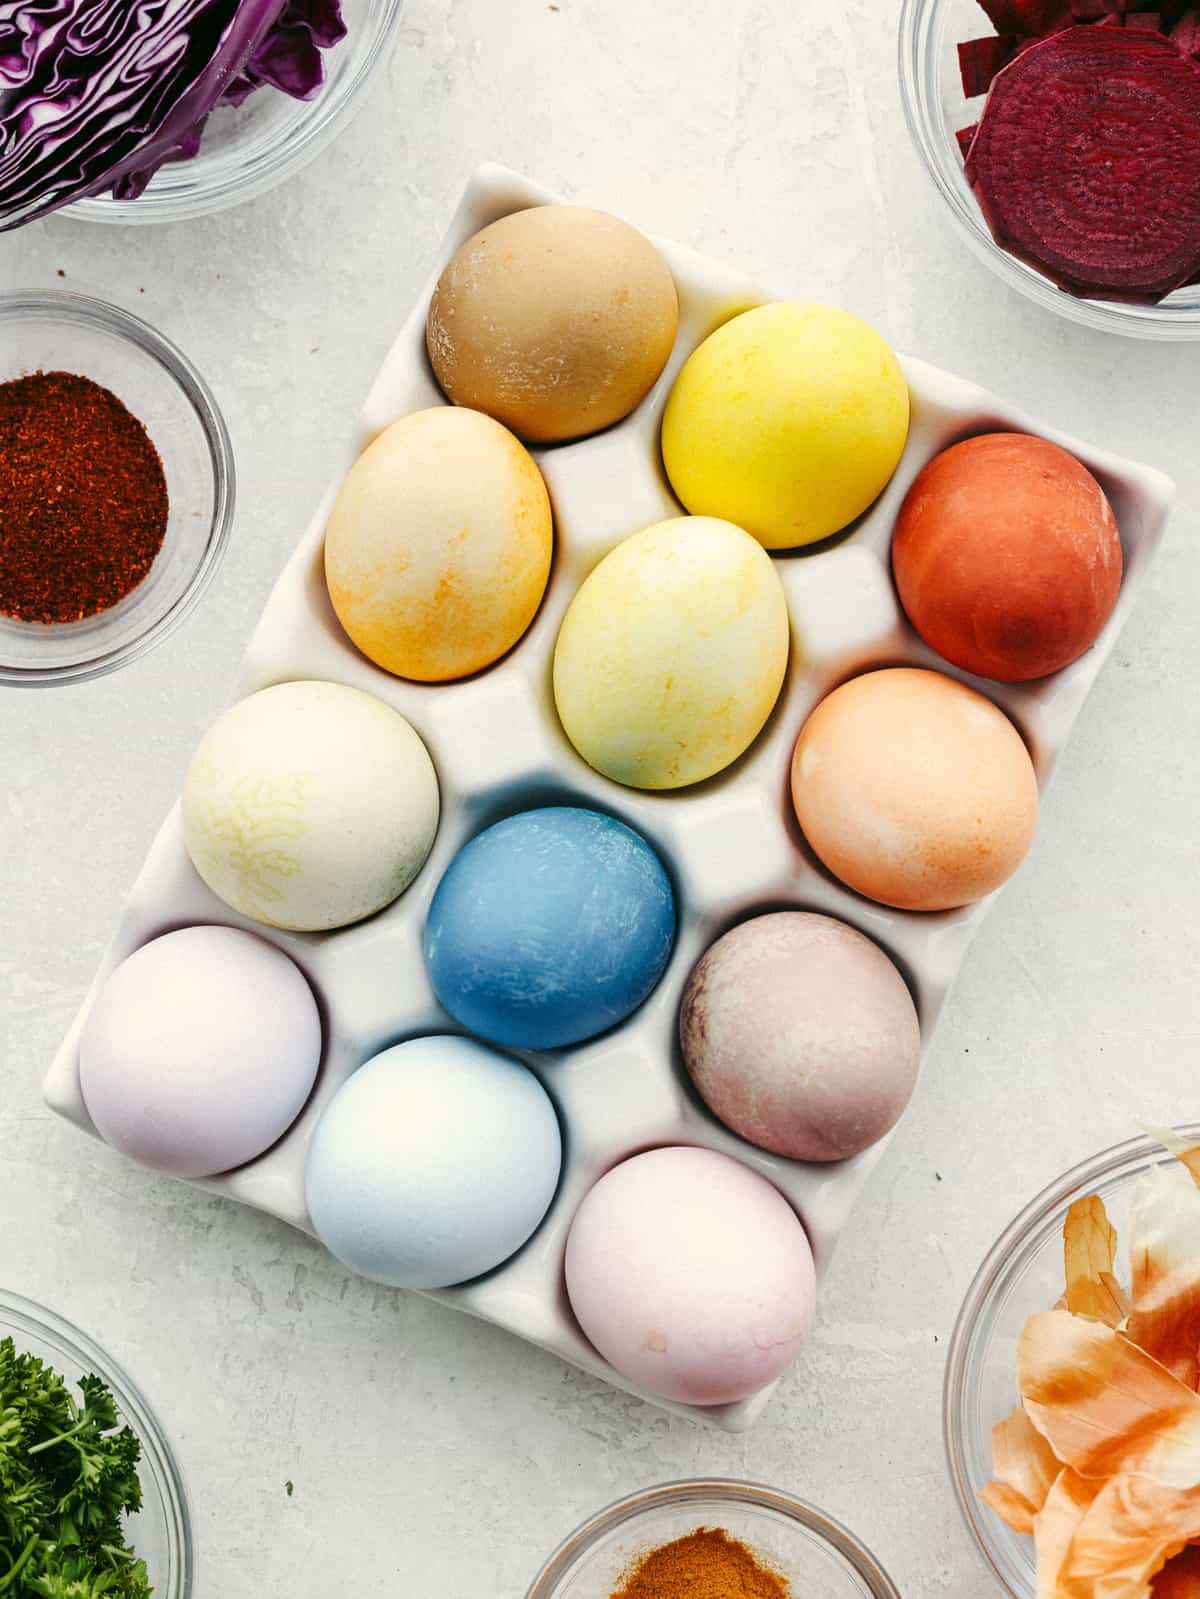
Savings + Egg-cellent Ideas – Shop smart by grabbing deals on holiday sales, and use your colorful Easter eggs in your recipes. If you’re going to spend a small fortune on eggs this year, make them worth it!
Picky Eater Approved: Trust me, I’ve hosted enough family holiday dinners to know exactly what the kids love! These recipes are the perfect combo that will have adults and kids eating it up!
Easter Menu Planning Ideas
I know that hosting any holidays can be stressful, but if you do it my way, they can actually be enjoyable! Not to mention delicious. This Easter menu can be made ahead of time and the recipes are perfect for a large group!
This honey-glazed ham is coated with delicious brown sugar and sweet honey glaze! It’s tender and juicy and goes with everything which makes it ideal for any holiday meal!
Roasted brown butter honey garlic carrots make the perfect side dish. Roasted to tender perfection in the most incredible sauce, these will instantly become a new favorite!
There’s nothing better than a buttery shortbread crust topped with a juicy lemon filling and a sprinkling of powder sugar. This classic recipe for lemon bars is the only one you’ll ever need! It’s happiness in bite-sized pieces.
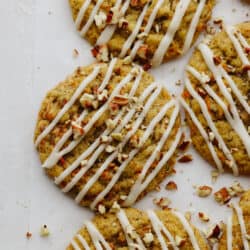
Carrot cake cookies are chewy and sweet with the best hint of warm spice! Drizzled with tangy cream cheese icing, you won't be able to get enough of this sweet treat!
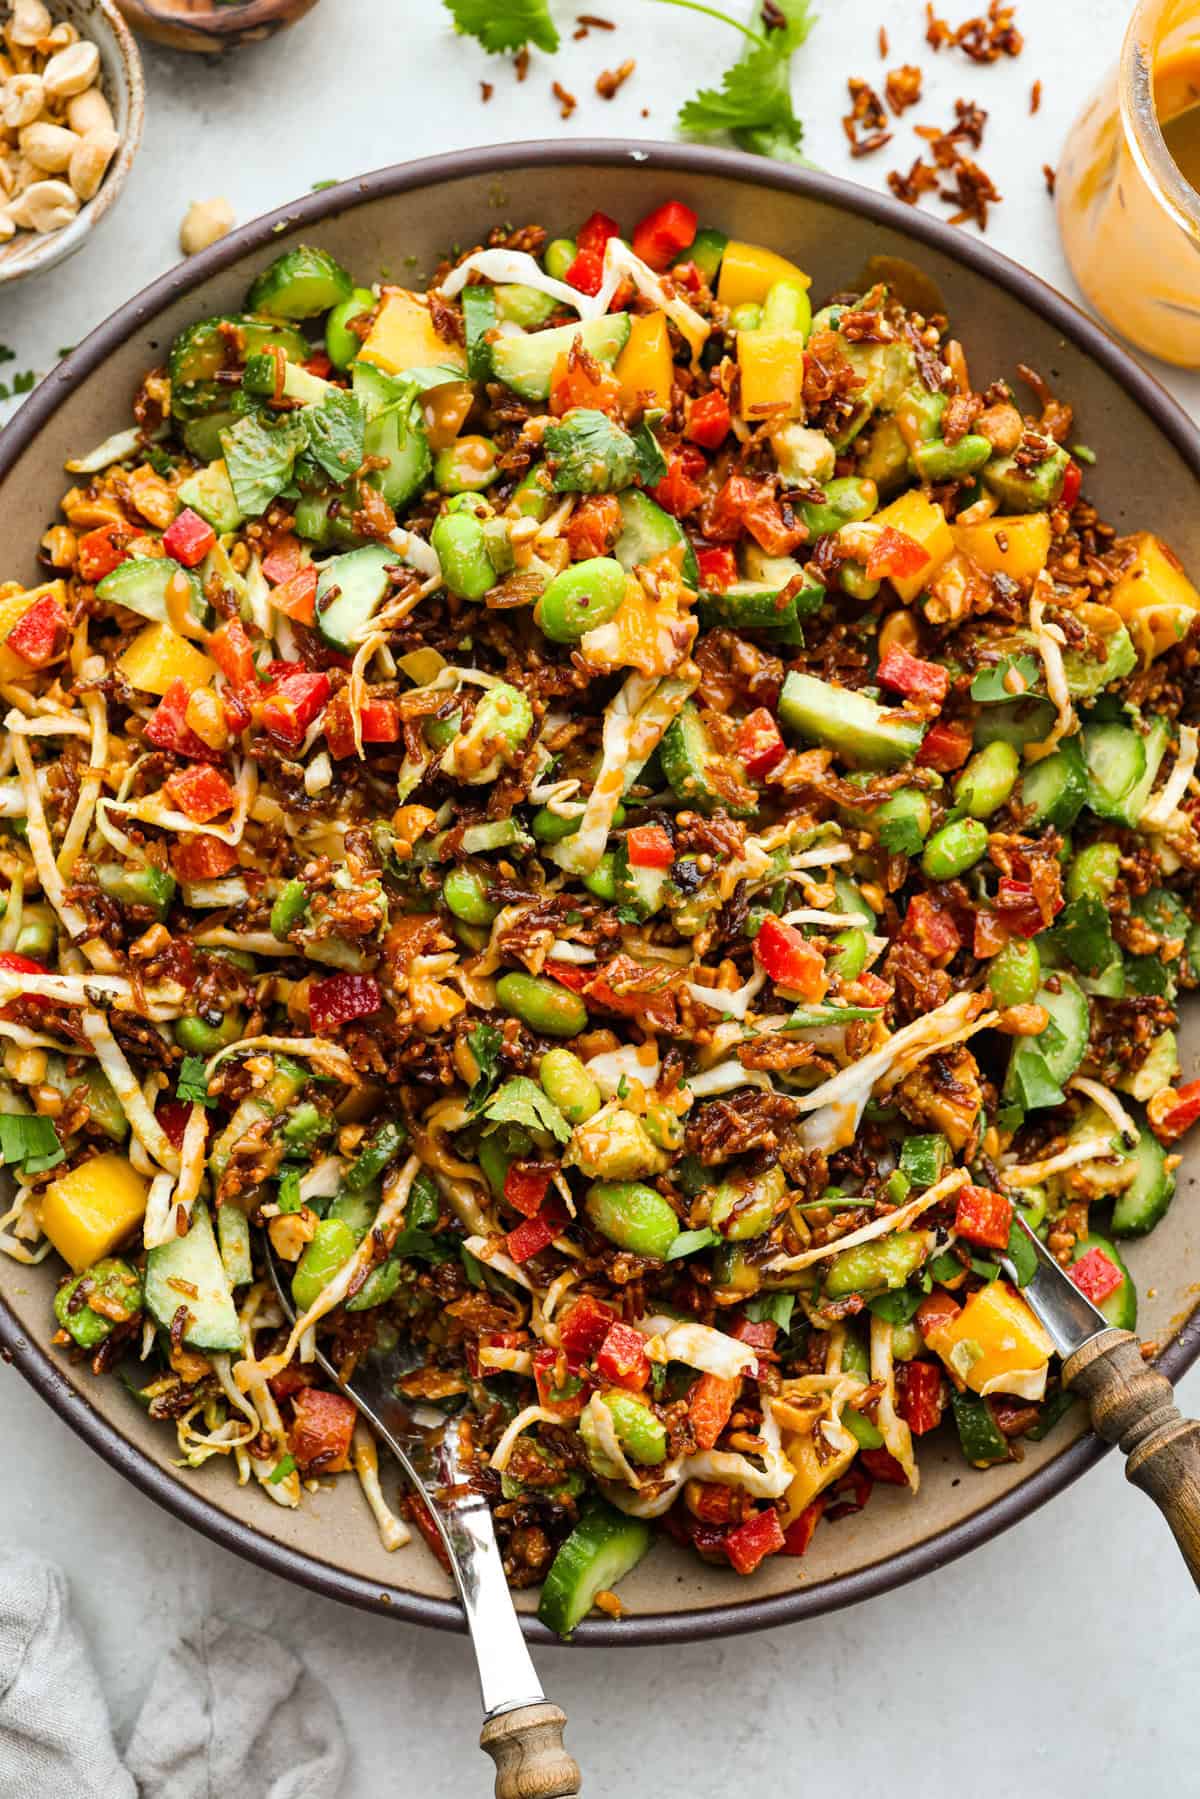
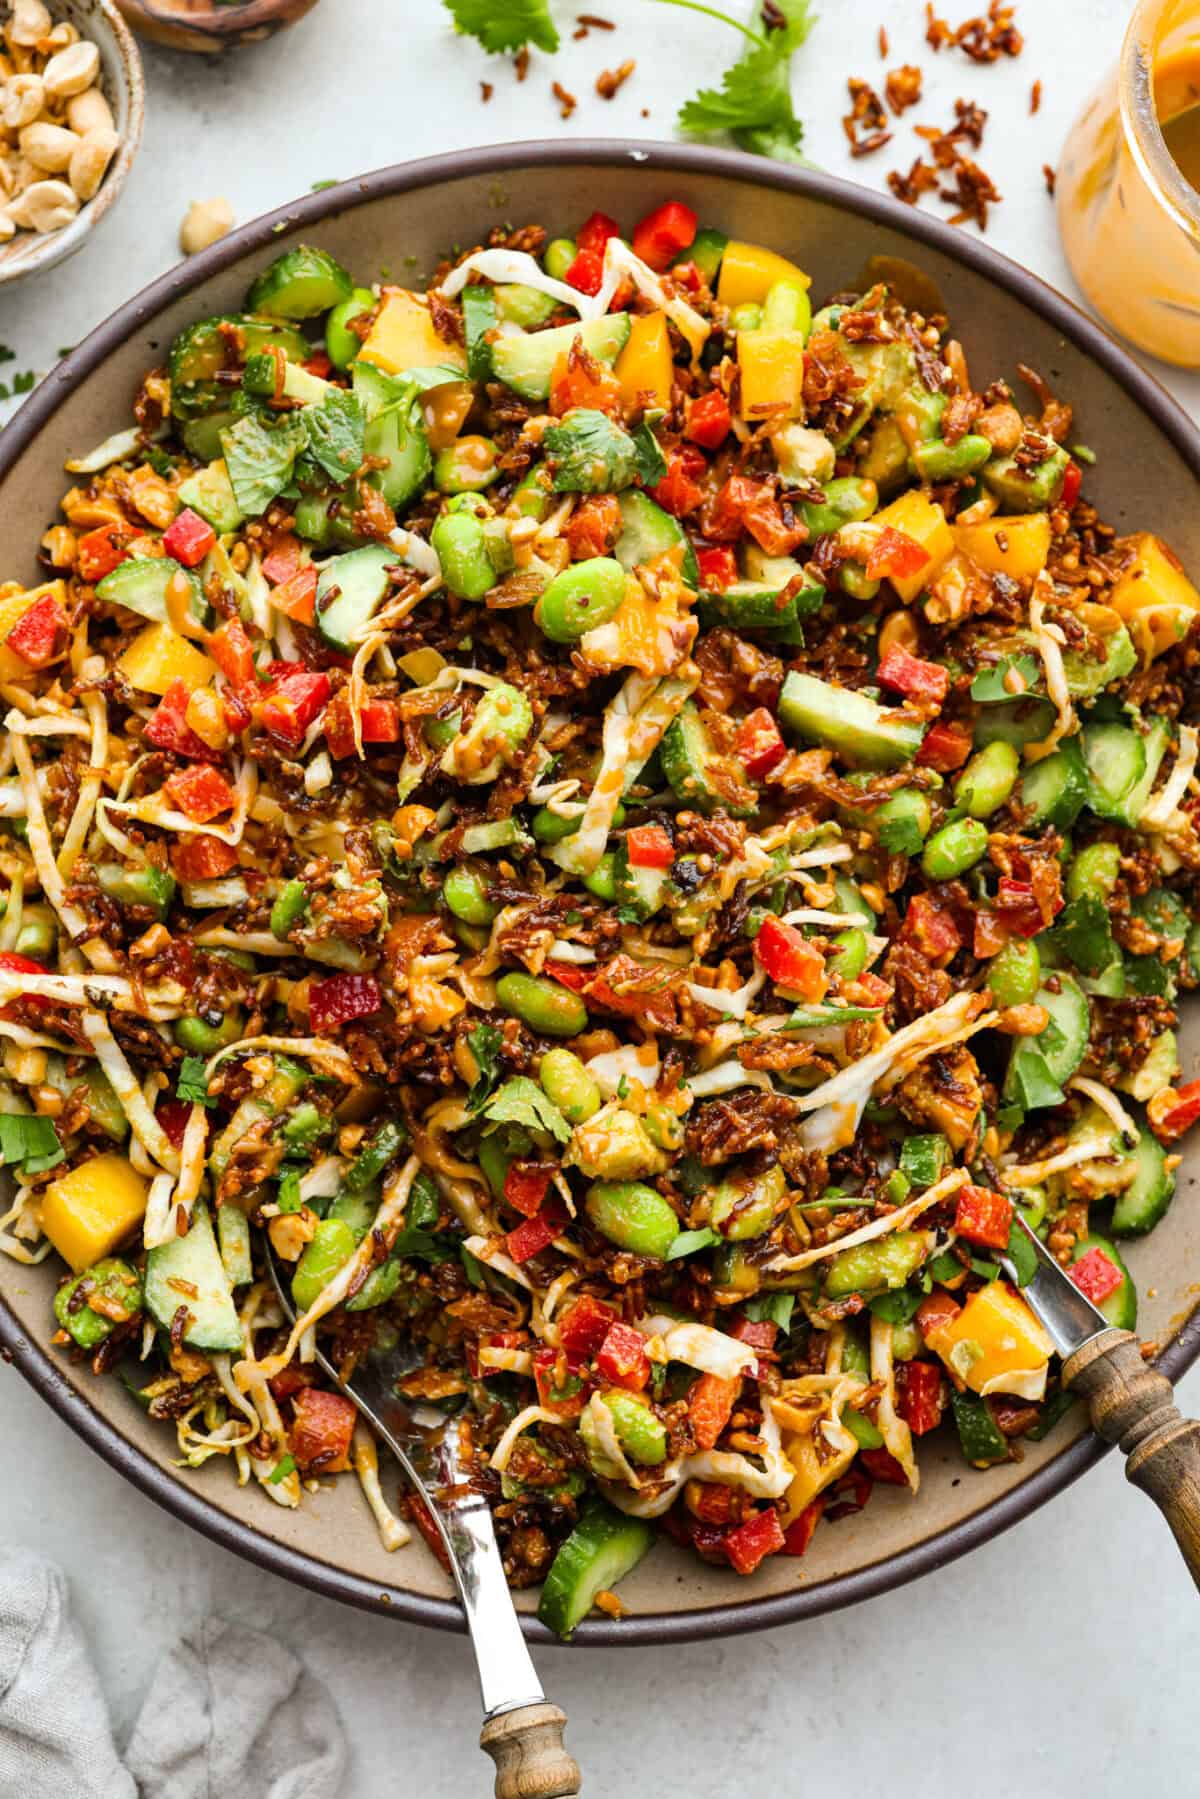
I’ve seen this trendy crispy rice salad all over social media, so I had to try it… and it lives up to the hype! Crunchy, fresh, and packed with flavor.
Crunchy, Flavor-Packed Perfection
Crunchy & Satisfying! Crispy rice is the latest viral trend, and it’s a good one! It adds the perfect texture and makes every bite delicious!
Make It Your Own: The best part of this salad is how customizable it is! Add grilled chicken, steak, purple cabbage, mushrooms, chickpeas, or feta!
Fresh and Flavorful! With crispy rice, crunchy veggies, juicy mango, and creamy dressing, every bite of this salad is full of flavor and freshness!
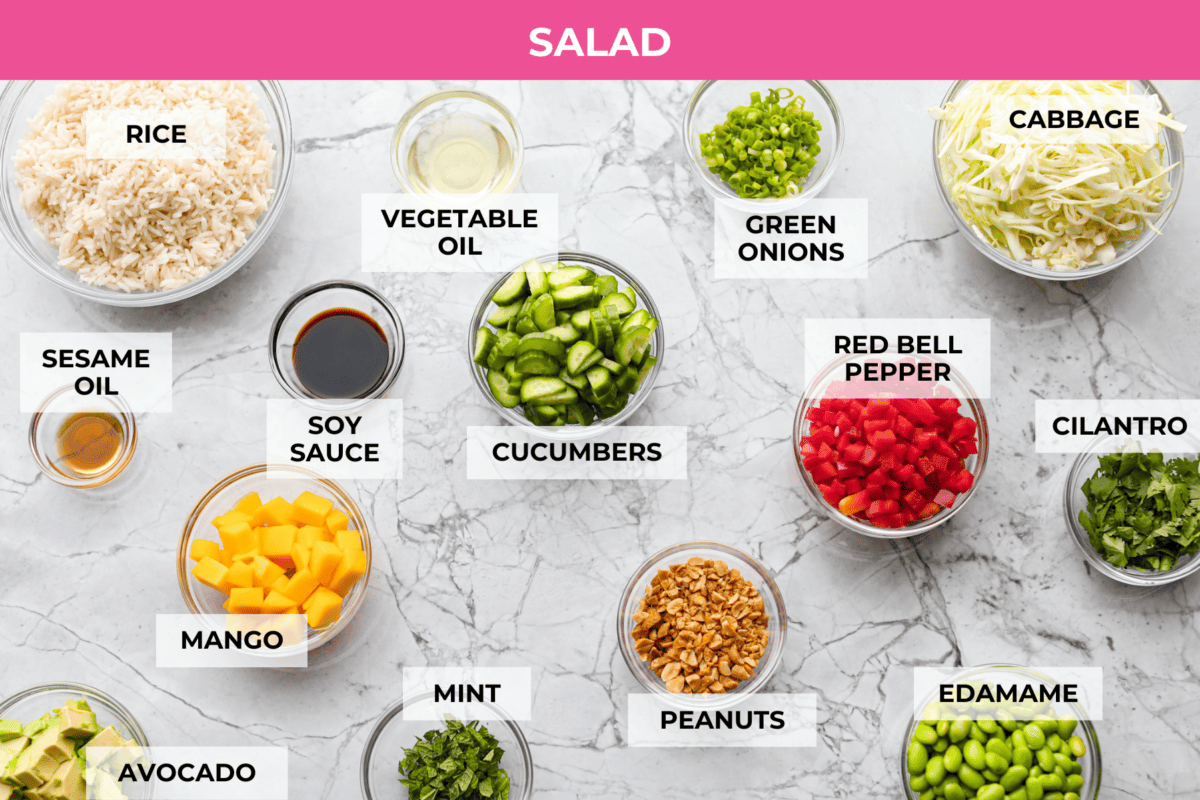
Ingredients You’ll Need
Rice Options: All types of rice will work in this recipe, except for wild rice. You can even use leftover rice to make this tasty salad!
Spice It Up! Swap vegetable oil for chili crisp oil to add heat and flavor while helping the rice crisp up perfectly.
Tahini Tip! Tahini can seize up if there is too much water. If it does, add ½-1 teaspoon of sesame oil and whisk until smooth.
The secret to this dish is getting that perfectly golden, crunchy rice while keeping everything else fresh and vibrant. Toss it all together with tahini dressing, and you’ve got a winning salad!
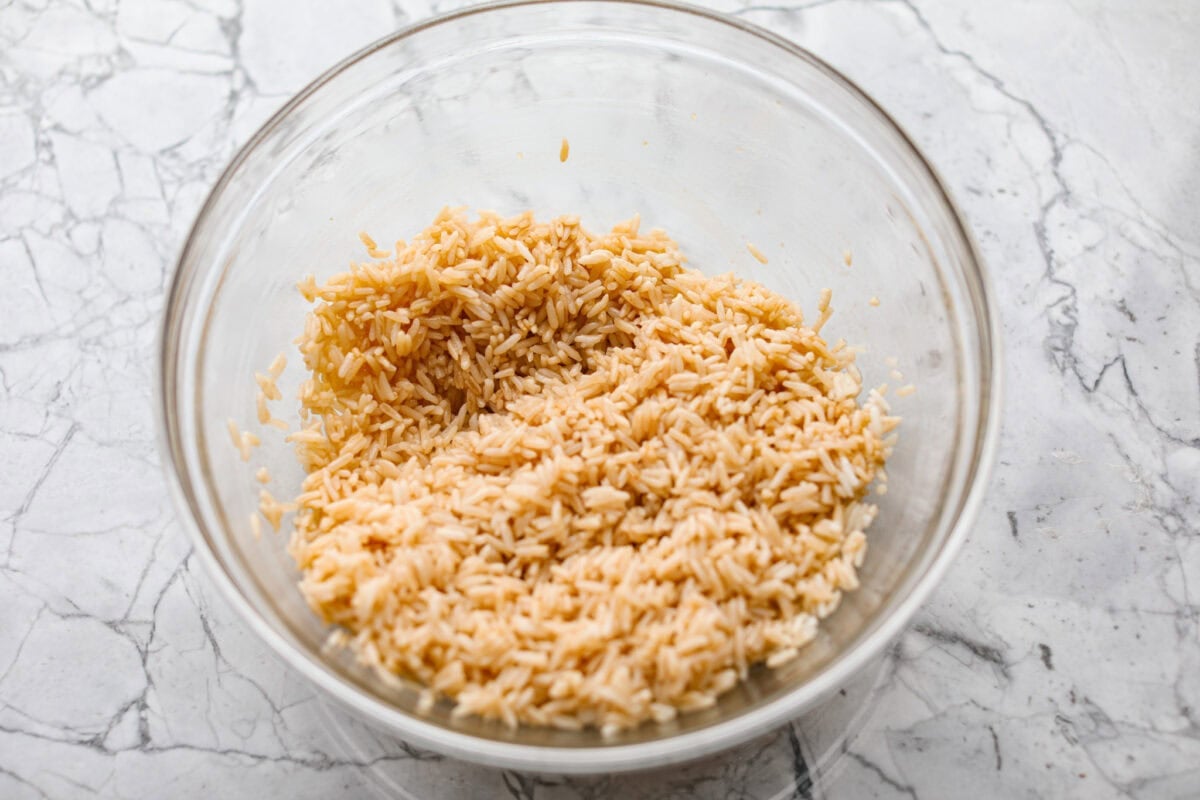
Prep the Rice: Preheat the oven to 400ºF. Add the rice to a large bowl and toss it with the vegetable oil, sesame oil, and soy sauce.
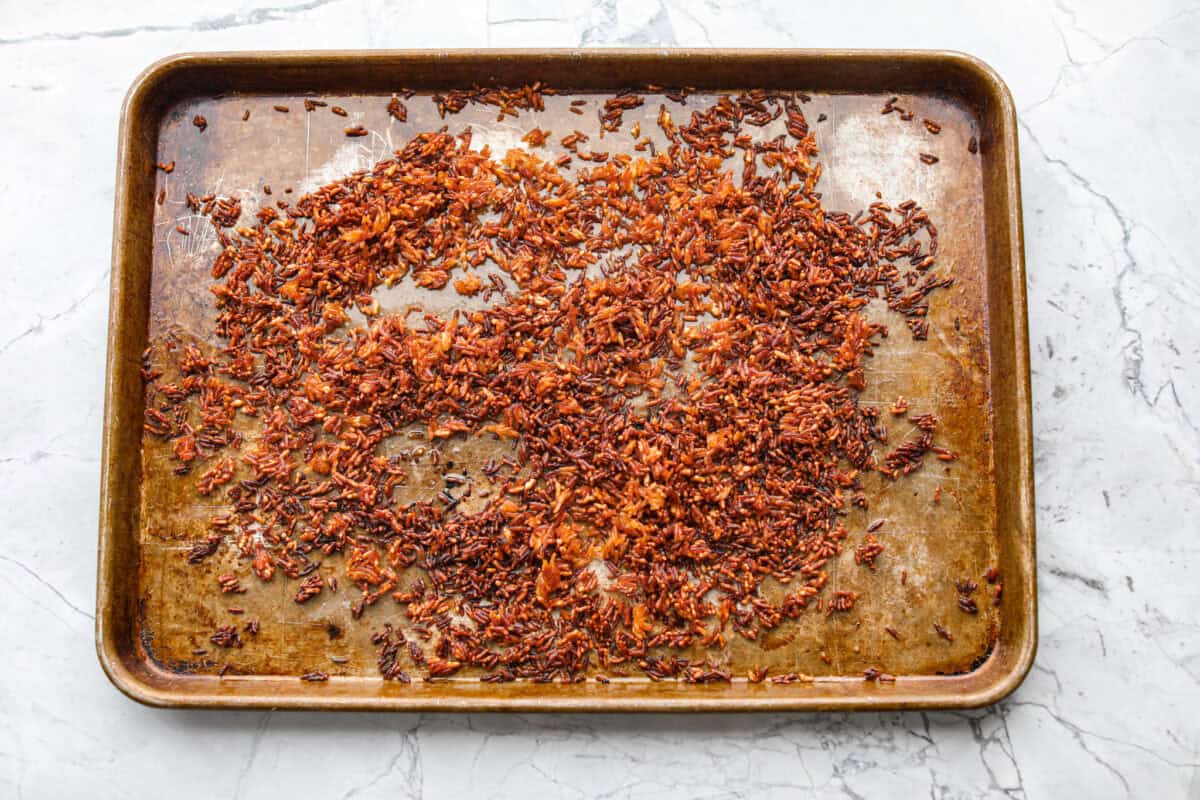
Cook the Rice: Spread the rice out on a baking sheet, then bake for 25-30 minutes. Stir halfway through, until the rice is golden and crispy. Let it cool completely, then break it apart as much as desired.
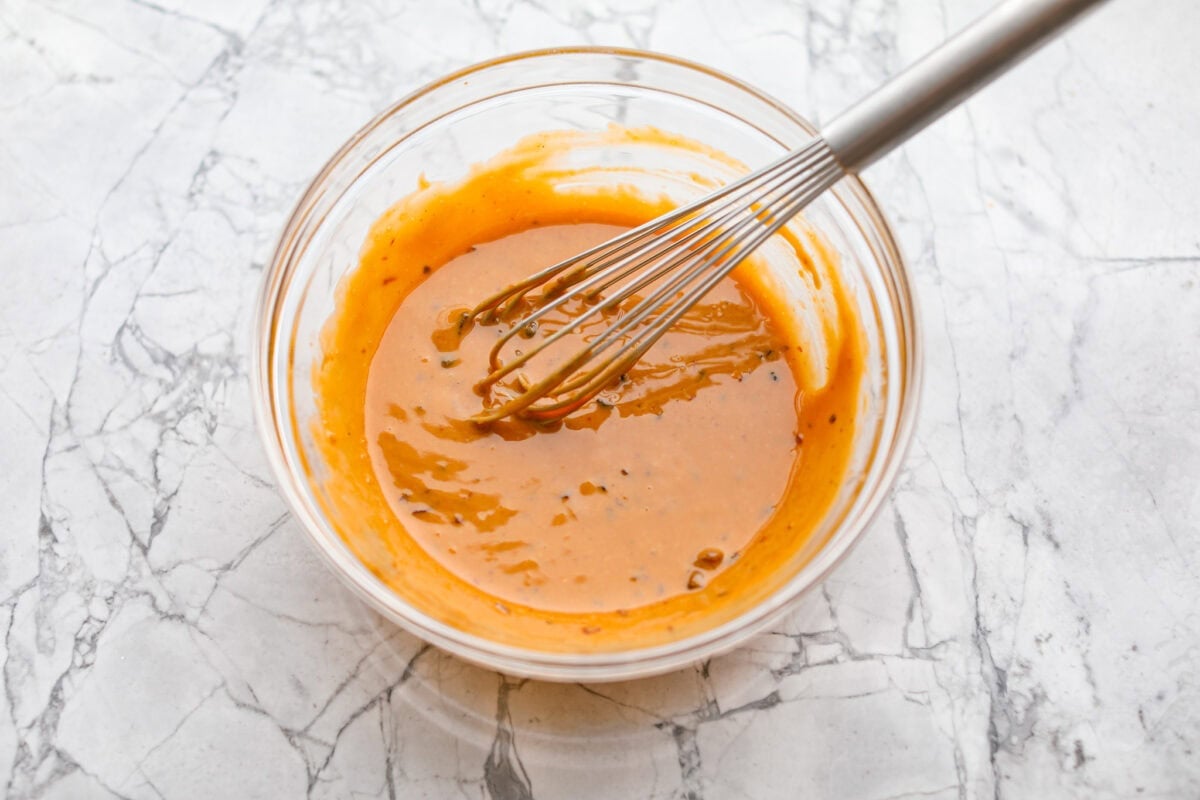
Make the Dressing: Whisk the tahini, chili crisp oil, minced garlic, soy sauce, brown sugar, and sesame oil together in a small bowl.
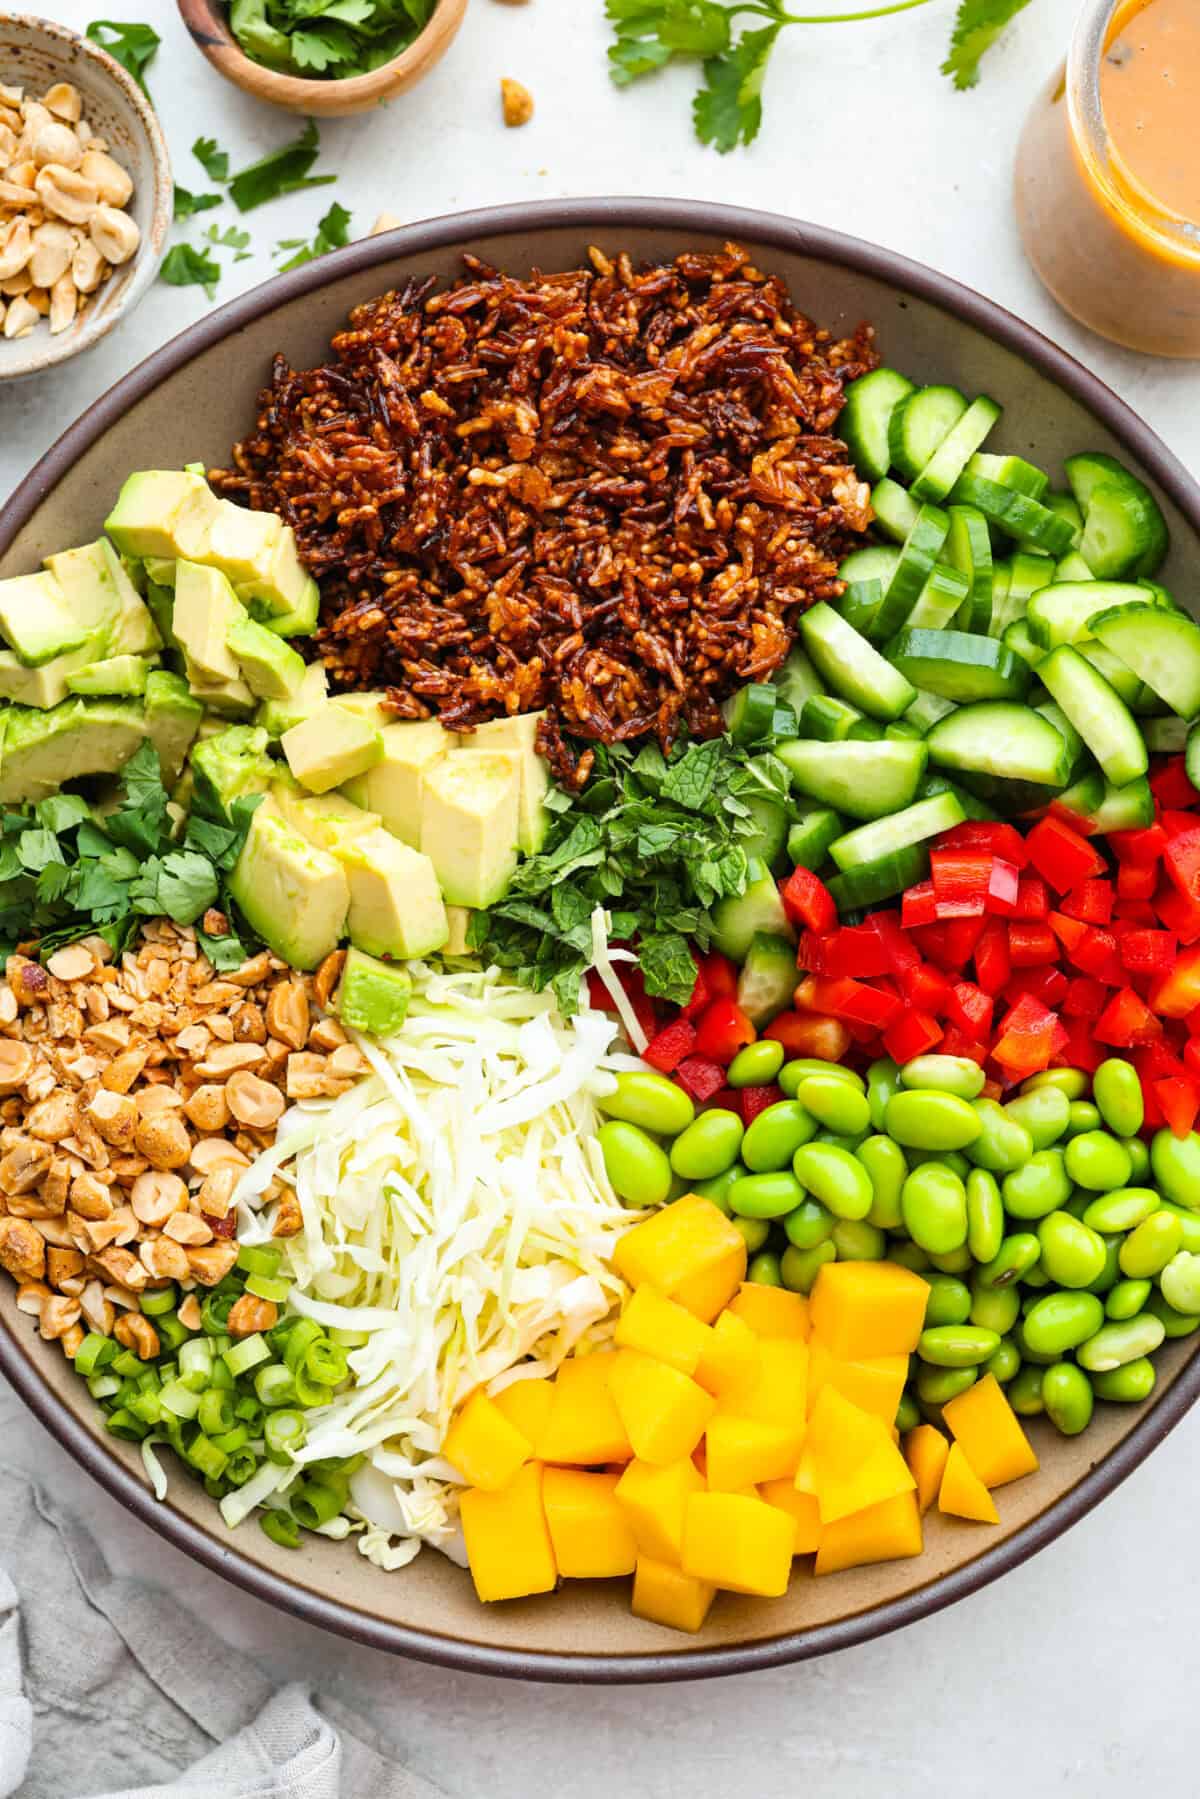
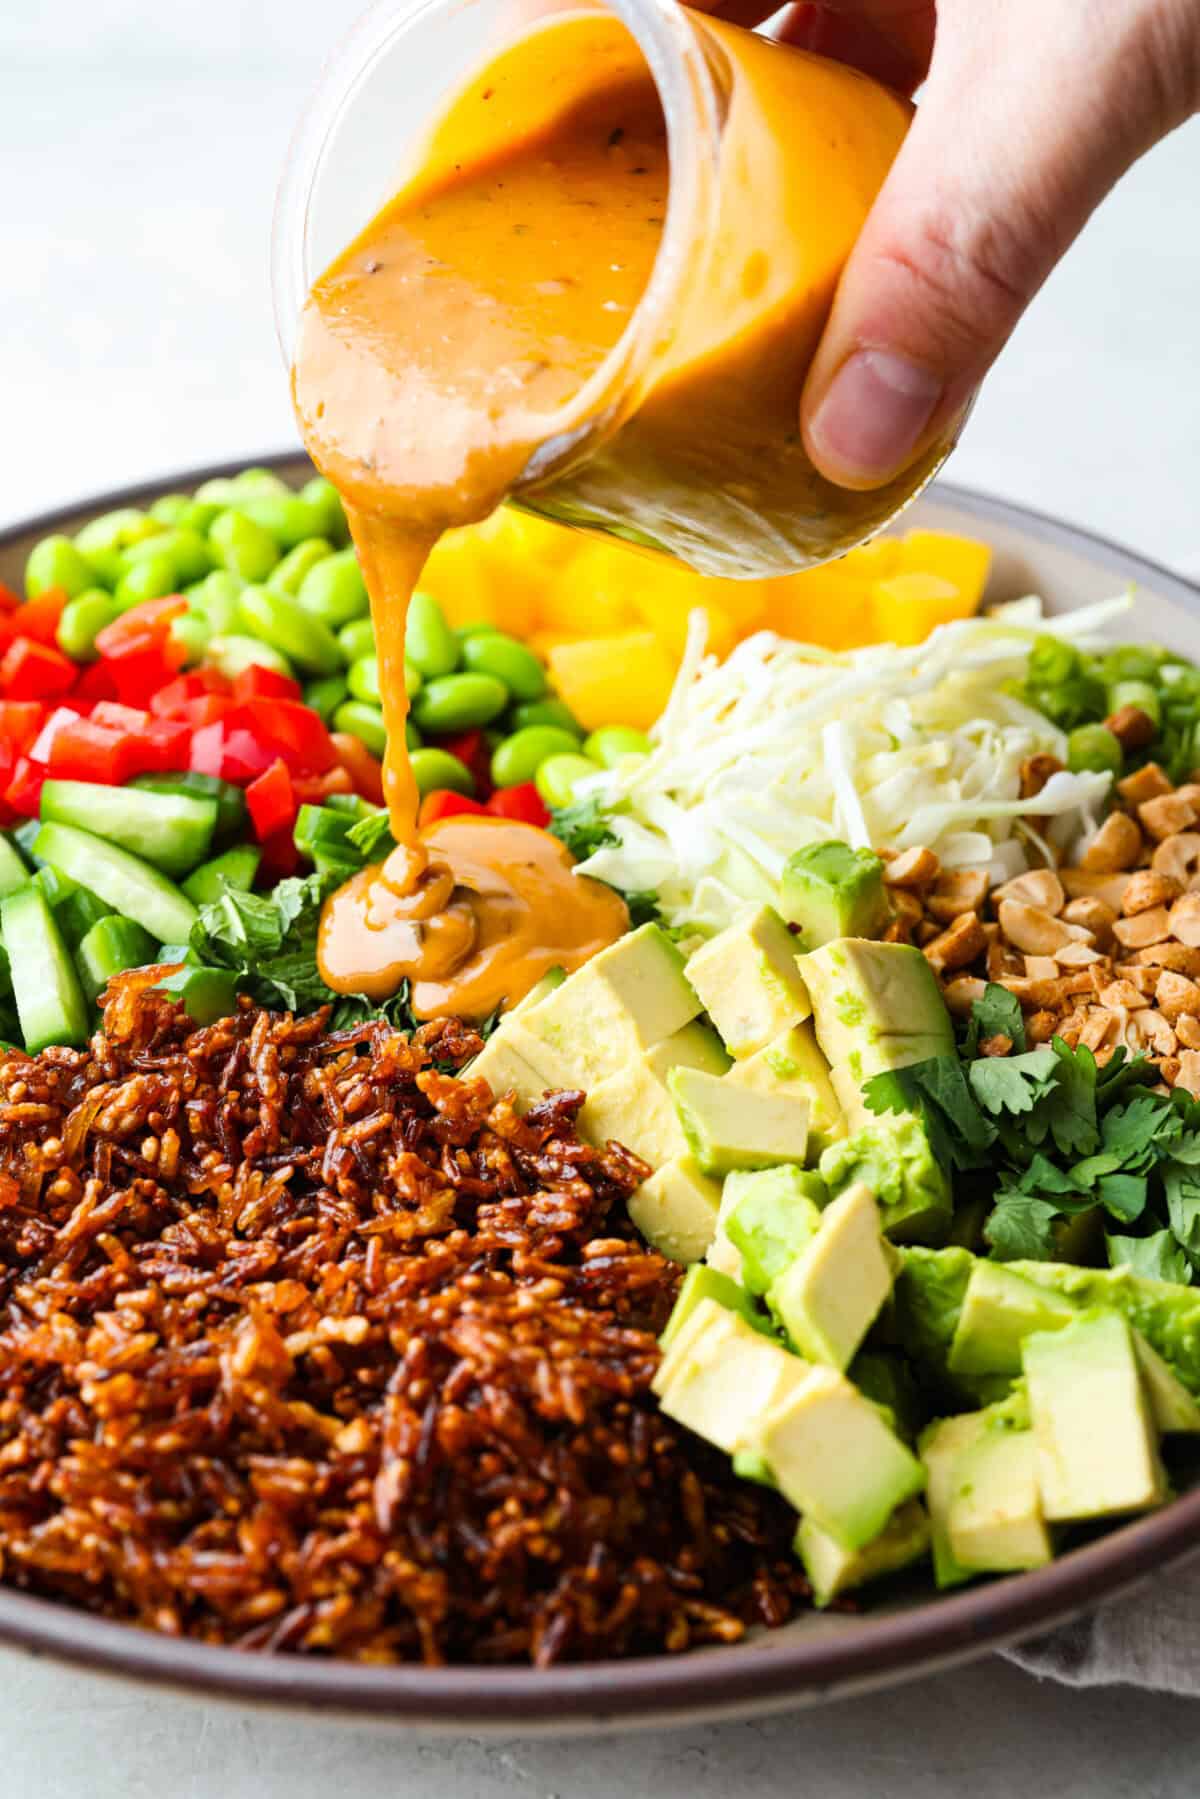
Assemble the Salad: Add the cooled, crispy rice, shredded cabbage, red bell pepper, Persian (mini) cucumbers, avocado, edamame, mango, cilantro, peanuts, green onions, and mint to a large serving bowl. Drizzle with the dressing and toss to combine. Serve immediately
Other Crispy Rice Cooking Options
Air Fryer: Toss the rice with 1 tablespoon vegetable oil instead of 2, the sesame oil, and soy sauce, and cook the rice in an even layer in a preheated air fryer at 375ºF for 10-15 minutes, shaking the basket halfway through.
Nonstick Skillet: Toss the rice with vegetable oil, sesame oil, and soy sauce, then add to a skillet. Cook over medium-high heat for 6-8 minutes until browned and crispy. Flip and cook a few more minutes for a golden brown second side, if desired.
How to Store Leftover Crispy Rice Salad
Make Ahead: The crispy rice can be prepared up to 5 days in advance, then stored in an airtight container in the fridge until you’re ready to make your salad.
Storing Leftovers: Once tossed together, the salad is best served immediately. Over time it will get soggy, but you can store leftovers for a day or so.
I've seen this trendy crispy rice salad all over social media, so I had to try it… and it lives up to the hype! Crunchy, fresh, and packed with flavor.
CourseDinner, entree, lunch, Main Course, Salad, Side Dish
CuisineAmerican, Asian American
Keywordcrispy rice, crispy rice recipe, crispy rice salad, crispy rice salad recipe, crispy rice salad with tahini dressing, how to make crispy rice, tahini dressing, tahini dressing recipe
Add 3 cups cooked white rice to a large bowl and toss with 2 tablespoons vegetable oil, 1 teaspoon sesame oil, and 1 tablespoon soy sauce until evenly coated. Spread the rice out on an ungreased baking sheet and bake for 25-30 minutes, stirring halfway through, until the rice is golden and crispy. Let it cool completely, then break it apart as much as desired.
Make the dressing by whisking ½ cup tahini, 1 tablespoon chili crisp oil, ½ teaspoon minced garlic, ½ teaspoon soy sauce, 1 teaspoon brown sugar, and ½ teaspoon sesame oil together in a small bowl. Set aside.
Assemble the salad by adding the cooled, crispy rice, 2 cups shredded cabbage, 1 cup diced red bell pepper, 1 cup sliced Persian cucumbers, 1 cup diced avocado, ½ cup shelled edamame, ½ cup diced mango, ¼ cup roughly chopped fresh cilantro, ¼ cup chopped peanuts, ¼ cup sliced green onions, and 2 tablespoons roughly chopped fresh mint to a large serving bowl.
Drizzle with the dressing and toss to combine. Serve immediately.
Air Fryer Egg Rolls are everything you love about your favorite takeout appetizer, made right at home! They’re crispy, crunchy , loaded with flavorful chicken filling , and cooked without the hassle of deep frying. The Egg Roll Upgrade You’ll Love Perfectly Crispy Without Deep Frying: The air fryer gives these egg rolls an irresistibly crunchy exterior while keeping the filling juicy and tender. Better Than Takeout: Loaded with seasoned chicken, crunchy veggies, and bold Asian-inspired flavors, they’re fresh, flavorful, and made right in your own kitchen. Great for Dinner or Appetizers: Serve them with a good sweet chili sauce or sweet and sour sauce s for an easy weeknight meal, game day snack, or party appetizer everyone will devour. A Reader’s Review These are delicious!! So much healthier than store bought or take-out. Pretty easy to make. – Janice Ingredients For Air Fryer Egg Rolls Gr...