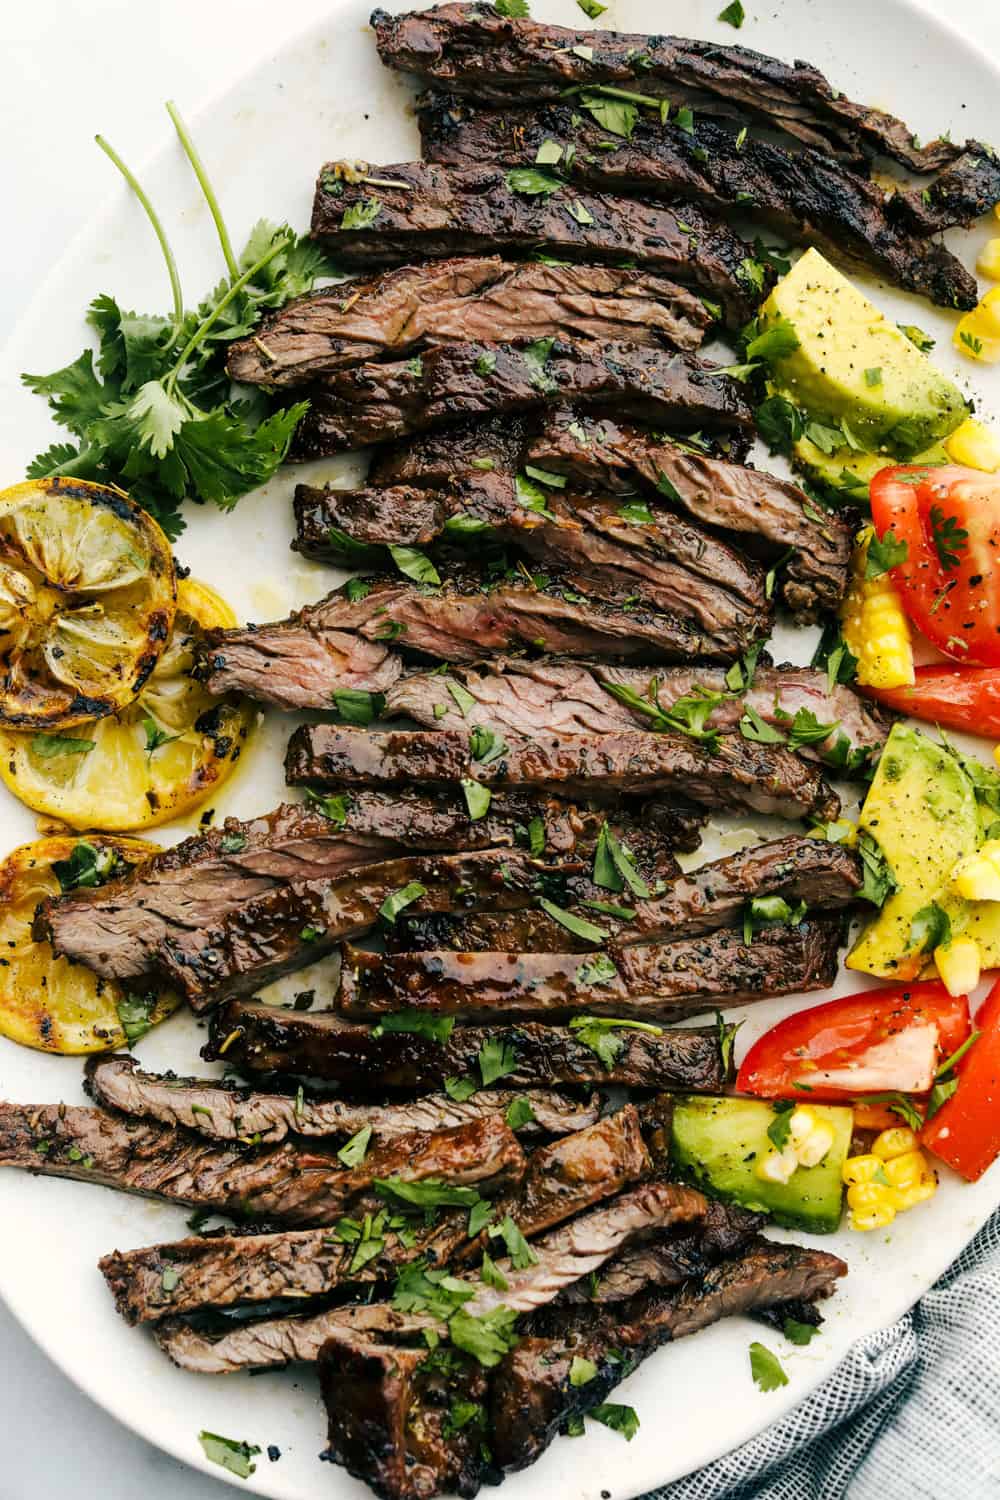
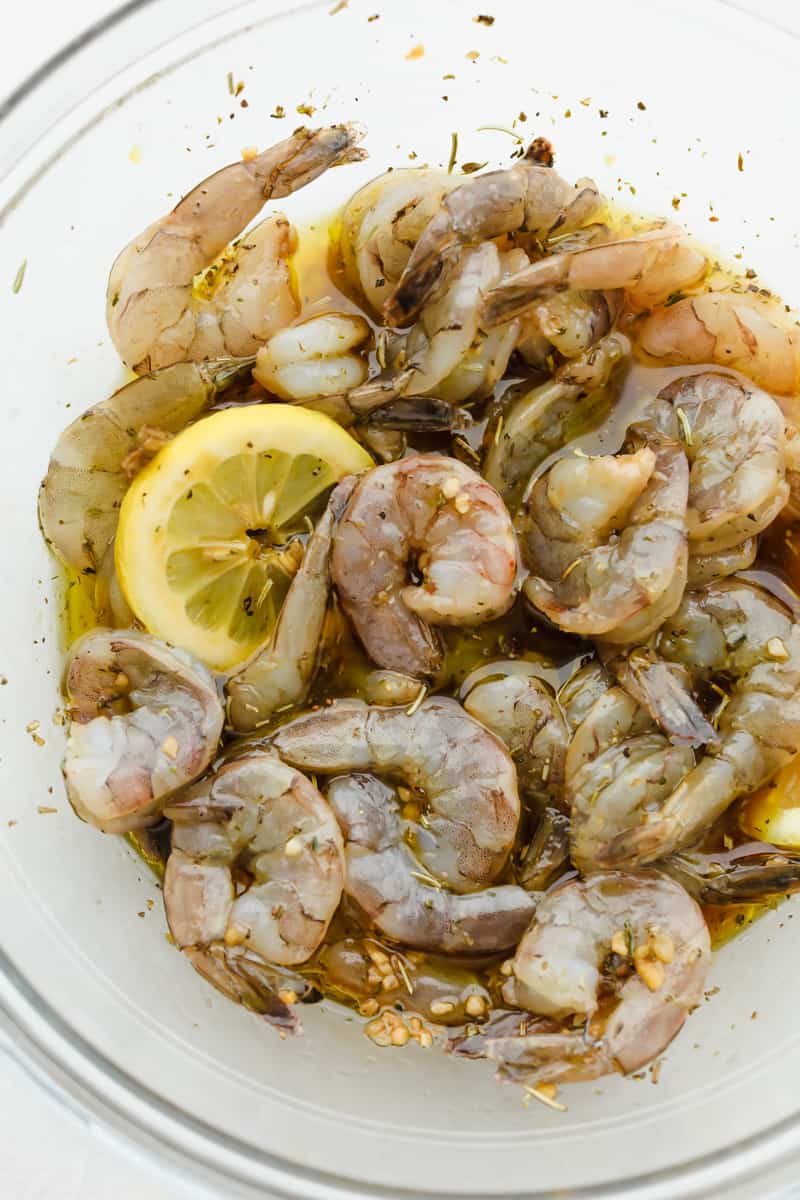
This week, we’re trading kitchen counters for picnic tables and stovetops for open flames. Whether you’re camping deep in the woods or just backyard glamping, this camp menu is filled with simple, comforting favorites.
What’s On the Camp Menu
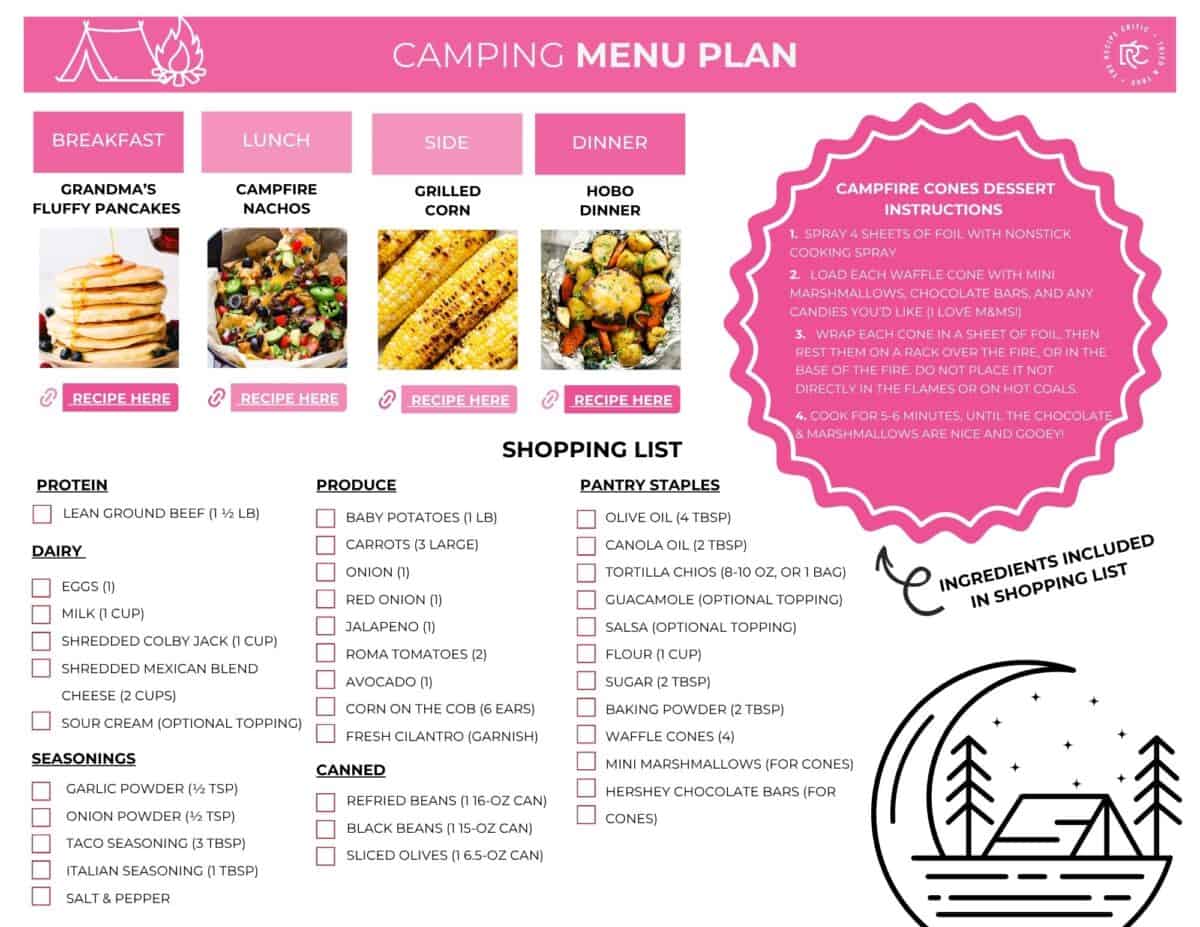
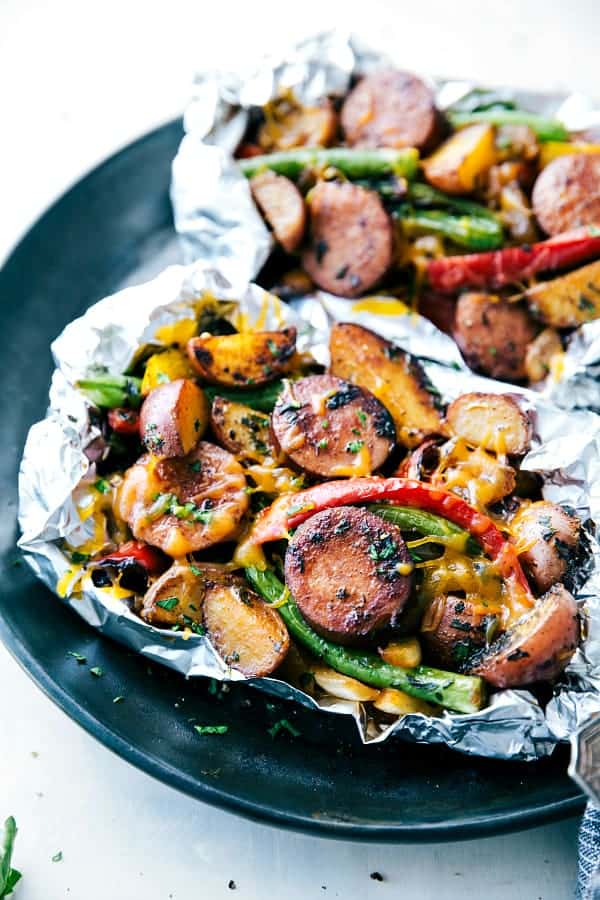
Okay, this week’s “meal plan” is all about campfire vibes. We’re talking easy stuff that tastes amazing outside. Like Grandma’s pancakes, campfire nachos, grilled corn, and foil-pack hobo dinners. Nothing fancy, just super simple, food you can throw together for your fun camp menu, after a day outside.
So, how many does it feed? This little camping menu should cover about 4–6 people, depending on how hungry everyone is after hiking or hanging by the fire. I’ve got the shopping list ready too! It’s everything you need to keep camping simple and stress-free.
Grandma's homemade fluffy pancakes are the ultimate comfort breakfast! They're light and airy, yet satisfyingly filling, making them the perfect morning treat. Whether topped with syrup, fruit, or a dollop of whipped cream, these pancakes are sure to brighten up your day and bring a smile to your face
These campfire nachos are the ultimate outdoor comfort food! Packed with layers of seasoned ground beef, refried beans, and gooey cheese, these nachos are then topped with your favorite veggies and will be a new summertime favorite!
I’ve got you covered with a printable shopping list, everything’s measured out and ready to pack. No guesswork, no stressing at the store. Just grab it and go! It’s organized by category too, so you can get in, get out, and get back to planning your adventure.
If you’ve got a cooler, you’re golden. Most of these meals make great leftovers for lunch the next day. Just stash them in an airtight container and keep ’em chilled. We usually reheat stuff over the fire or eat it cold if we’re too lazy (no shame).
Different Camp Menu Foil Dinner Ideas
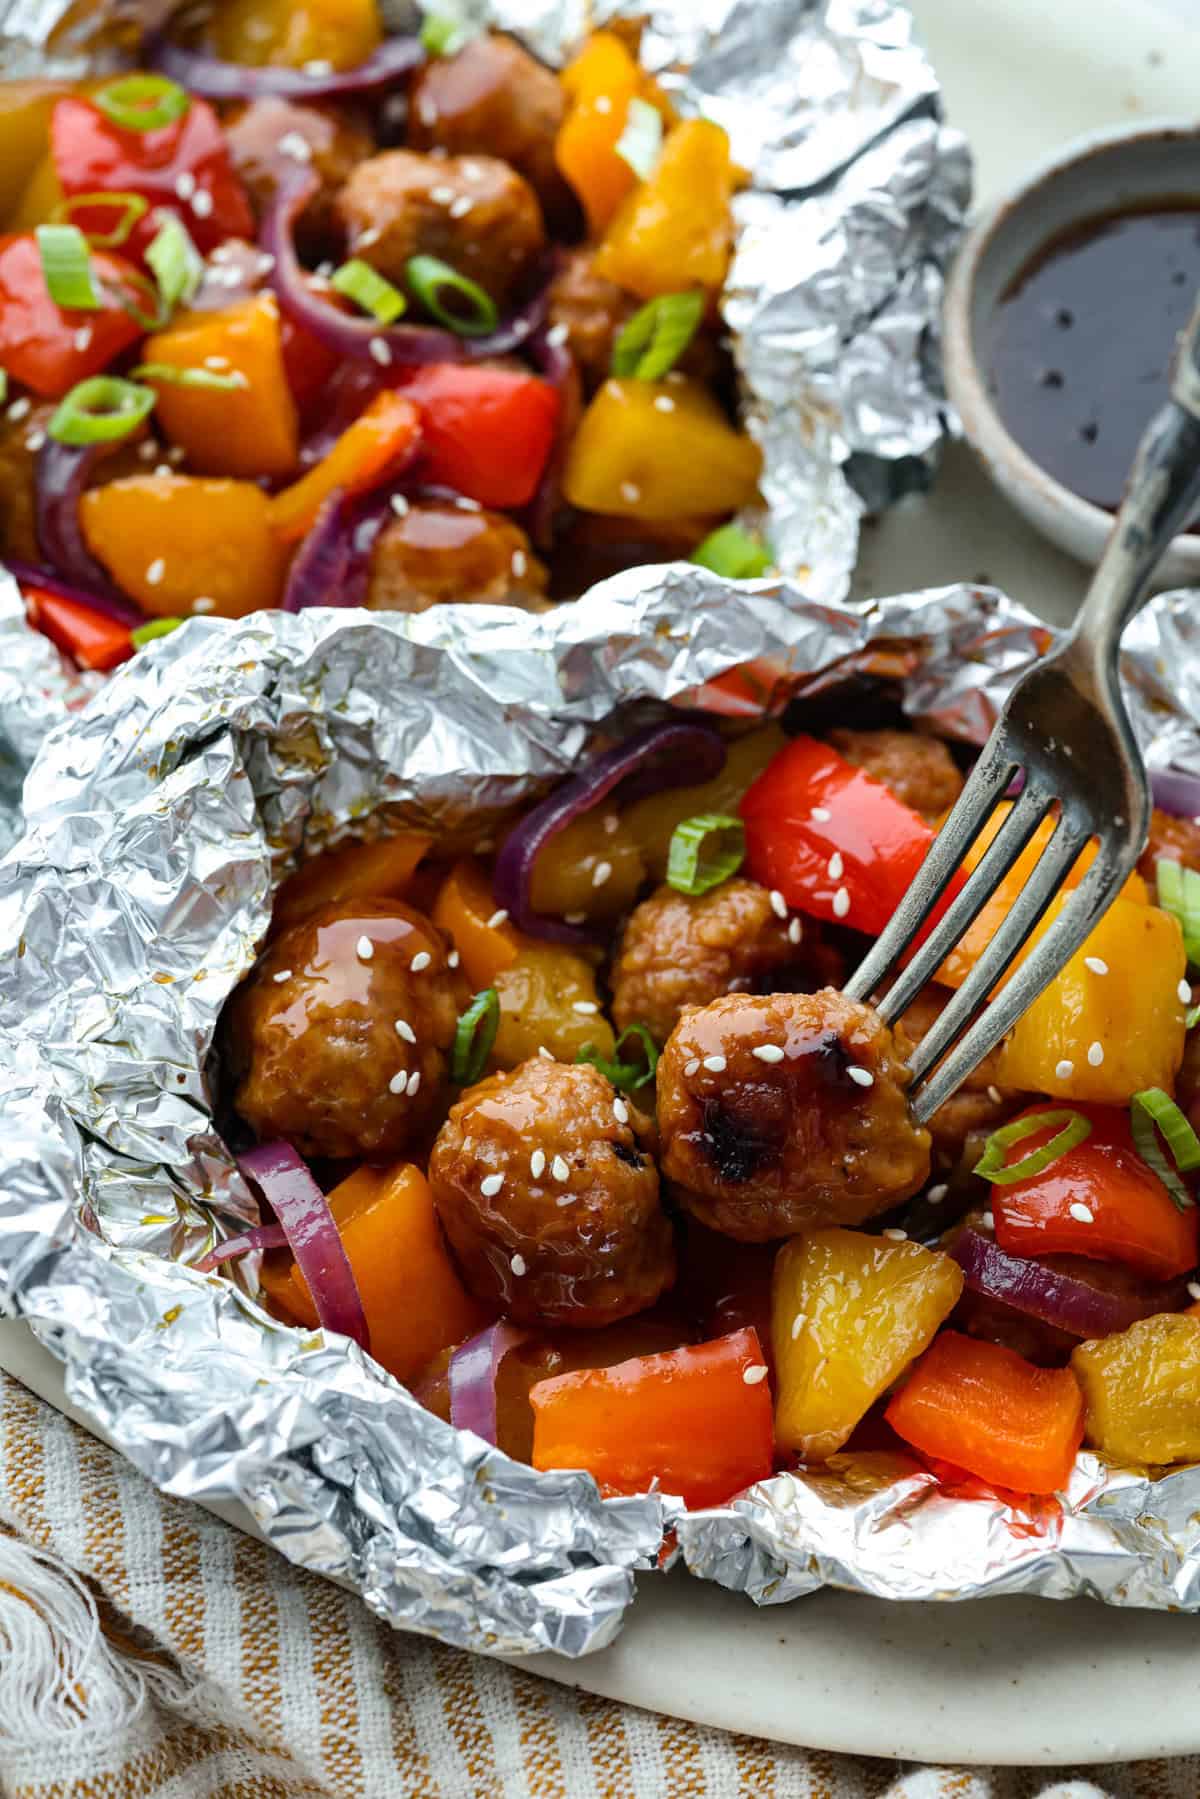
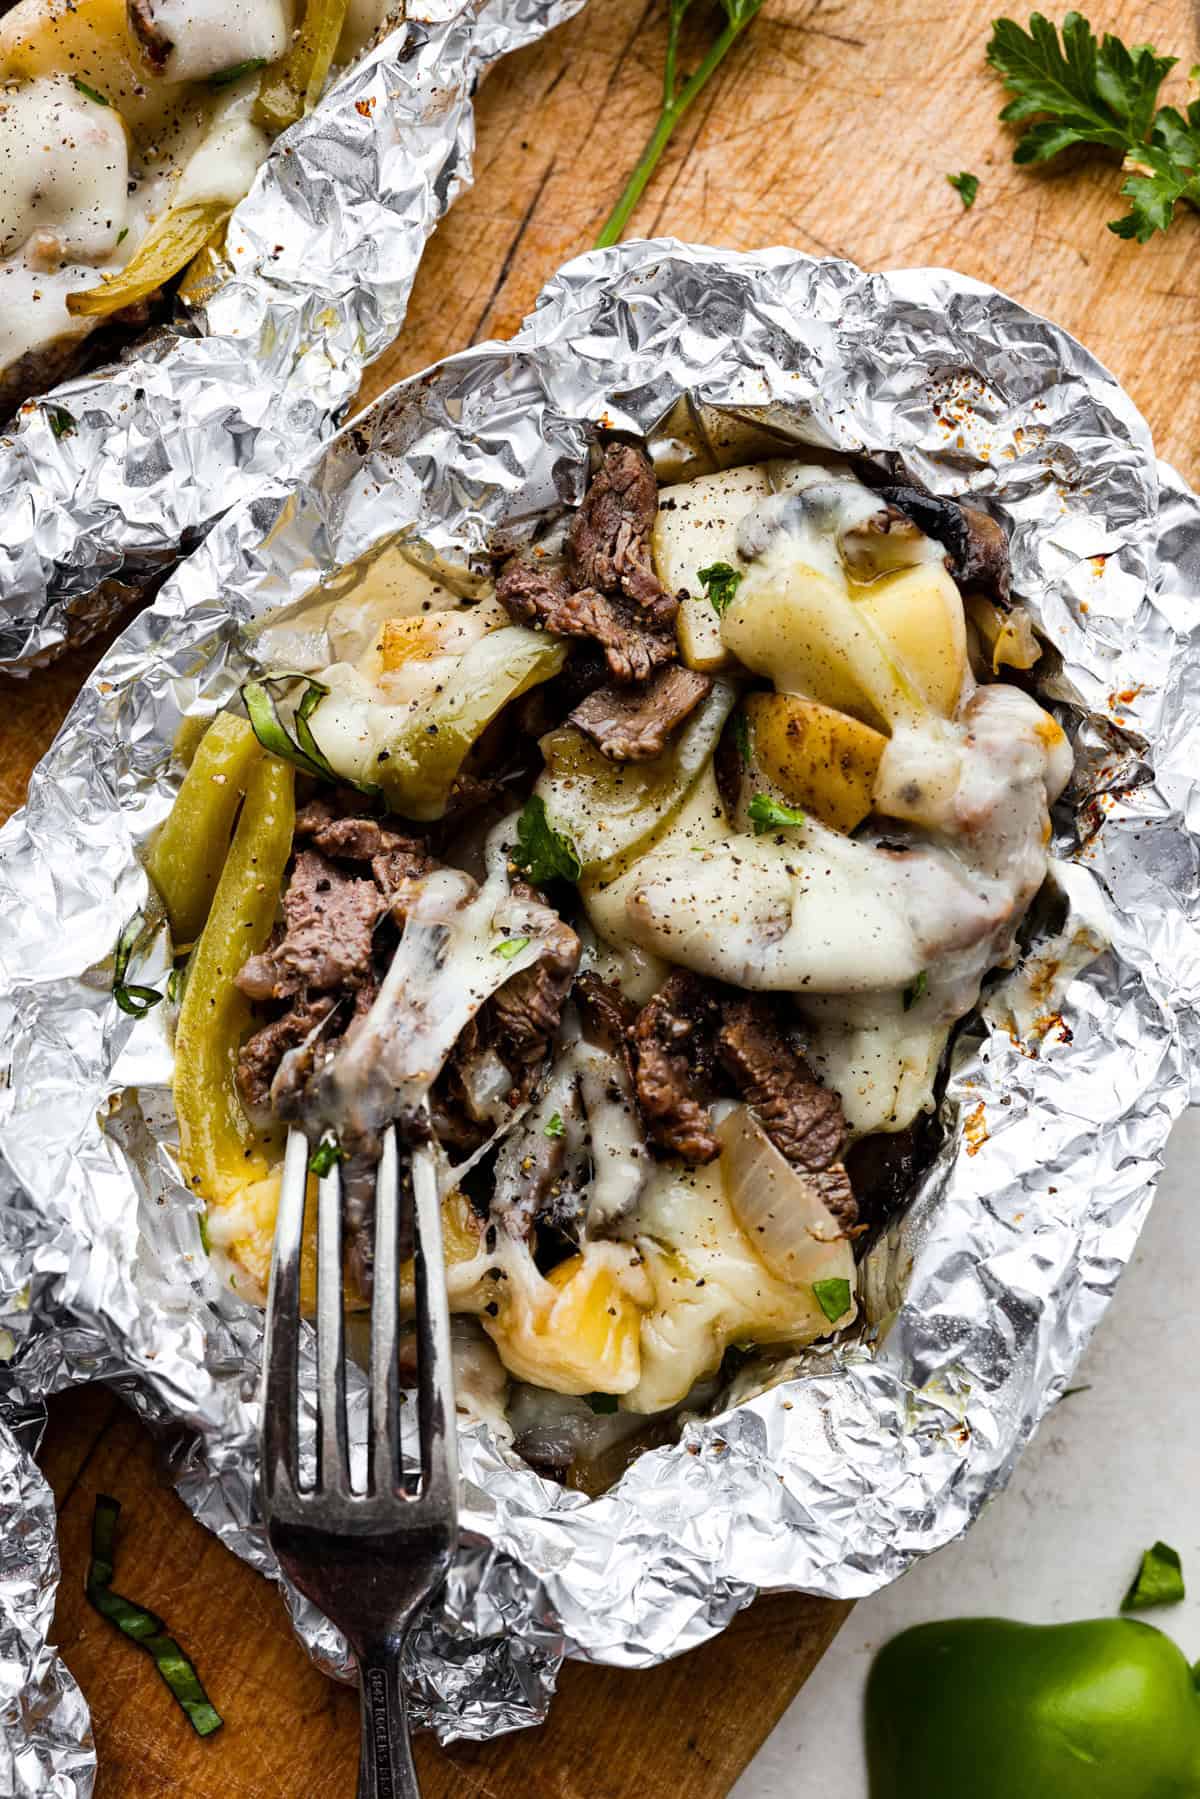
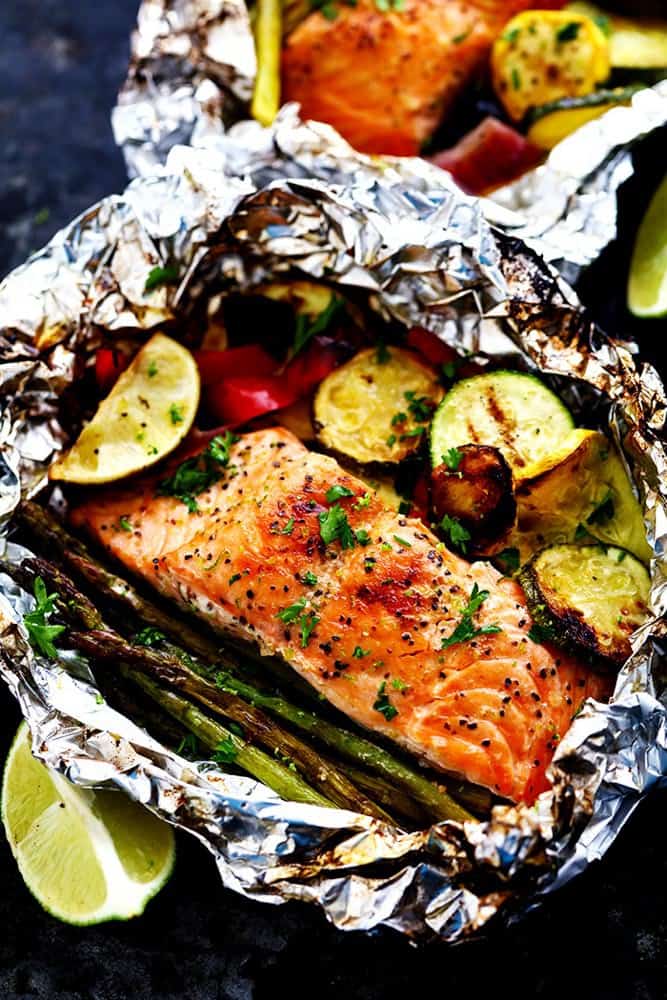
If you’re giong to be camping for more than one night and need a few foild meal ideas, I’ve got you covered. Make these ahead, throw them in a cooler on ice, and pull them out for a hot homemade meal from the campfire.
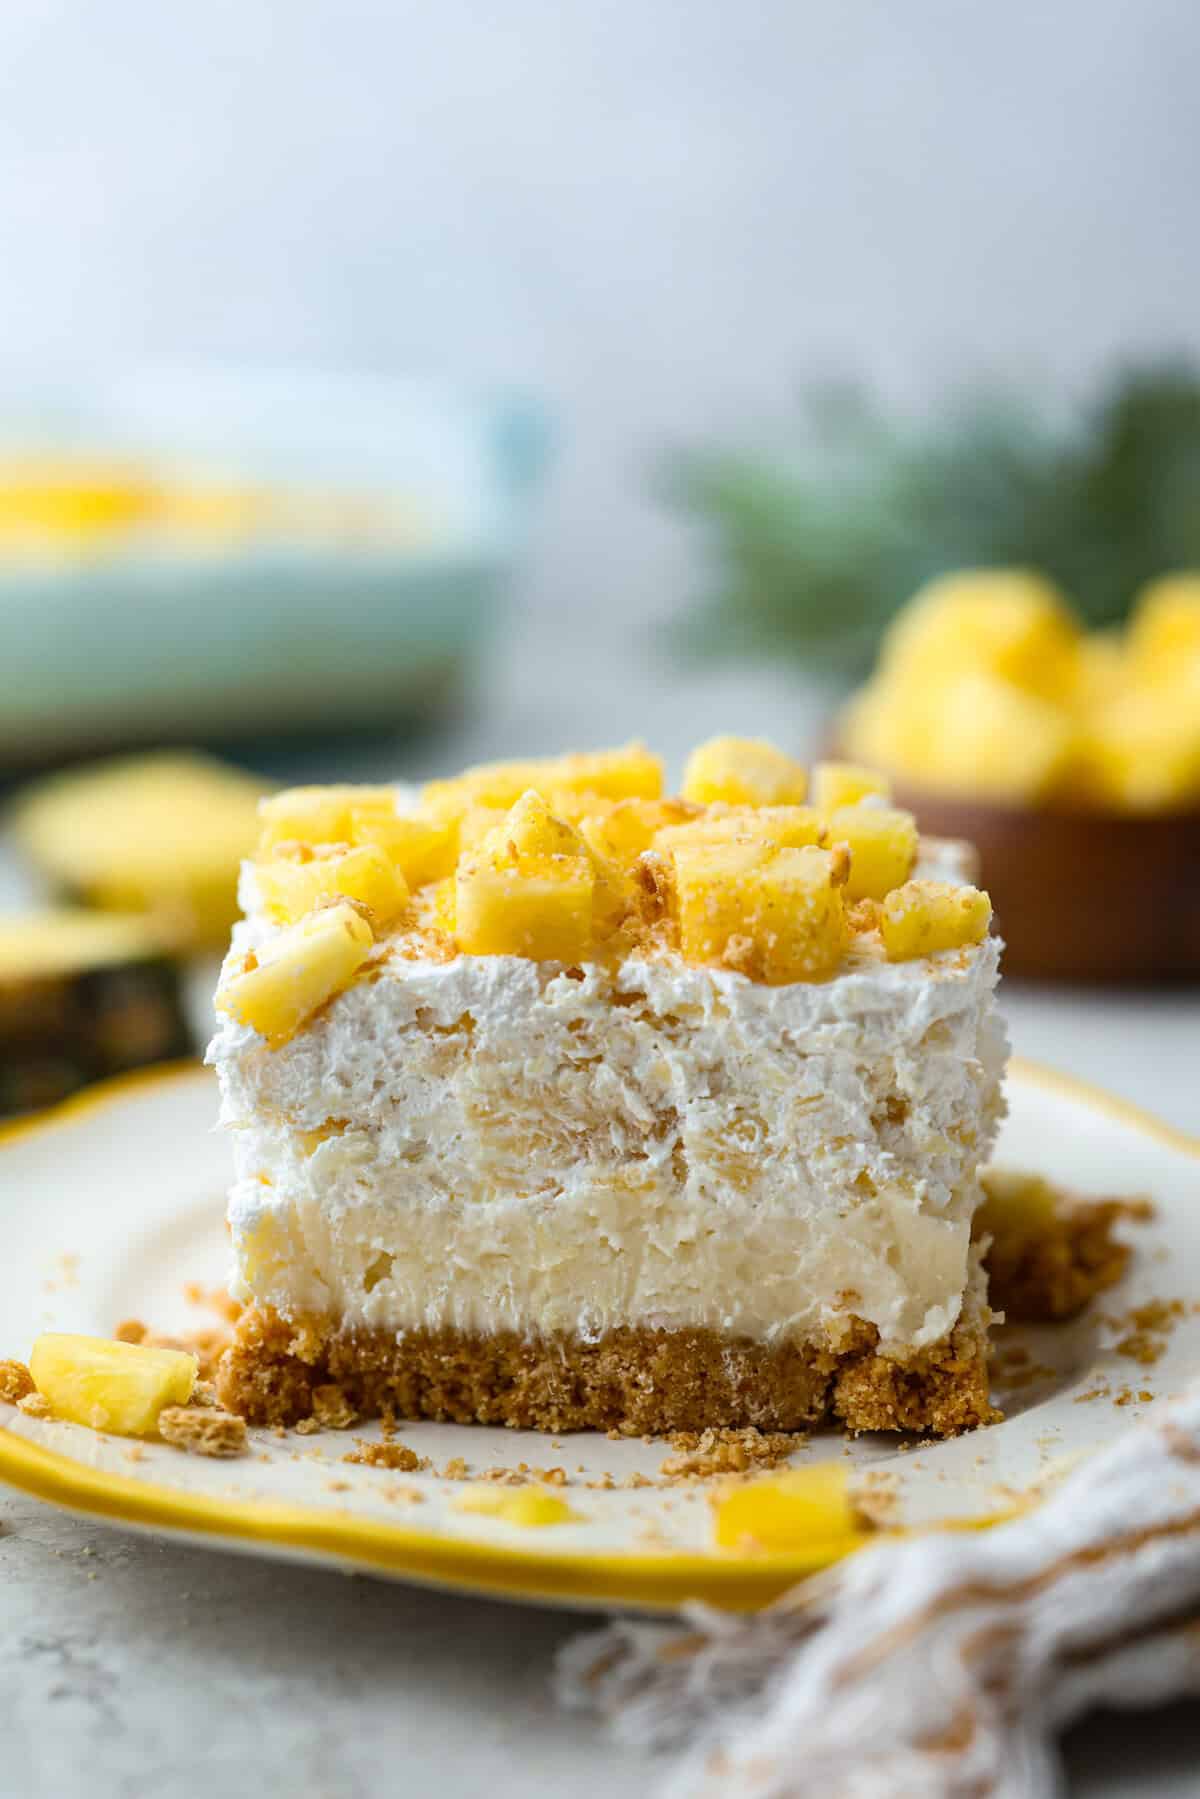
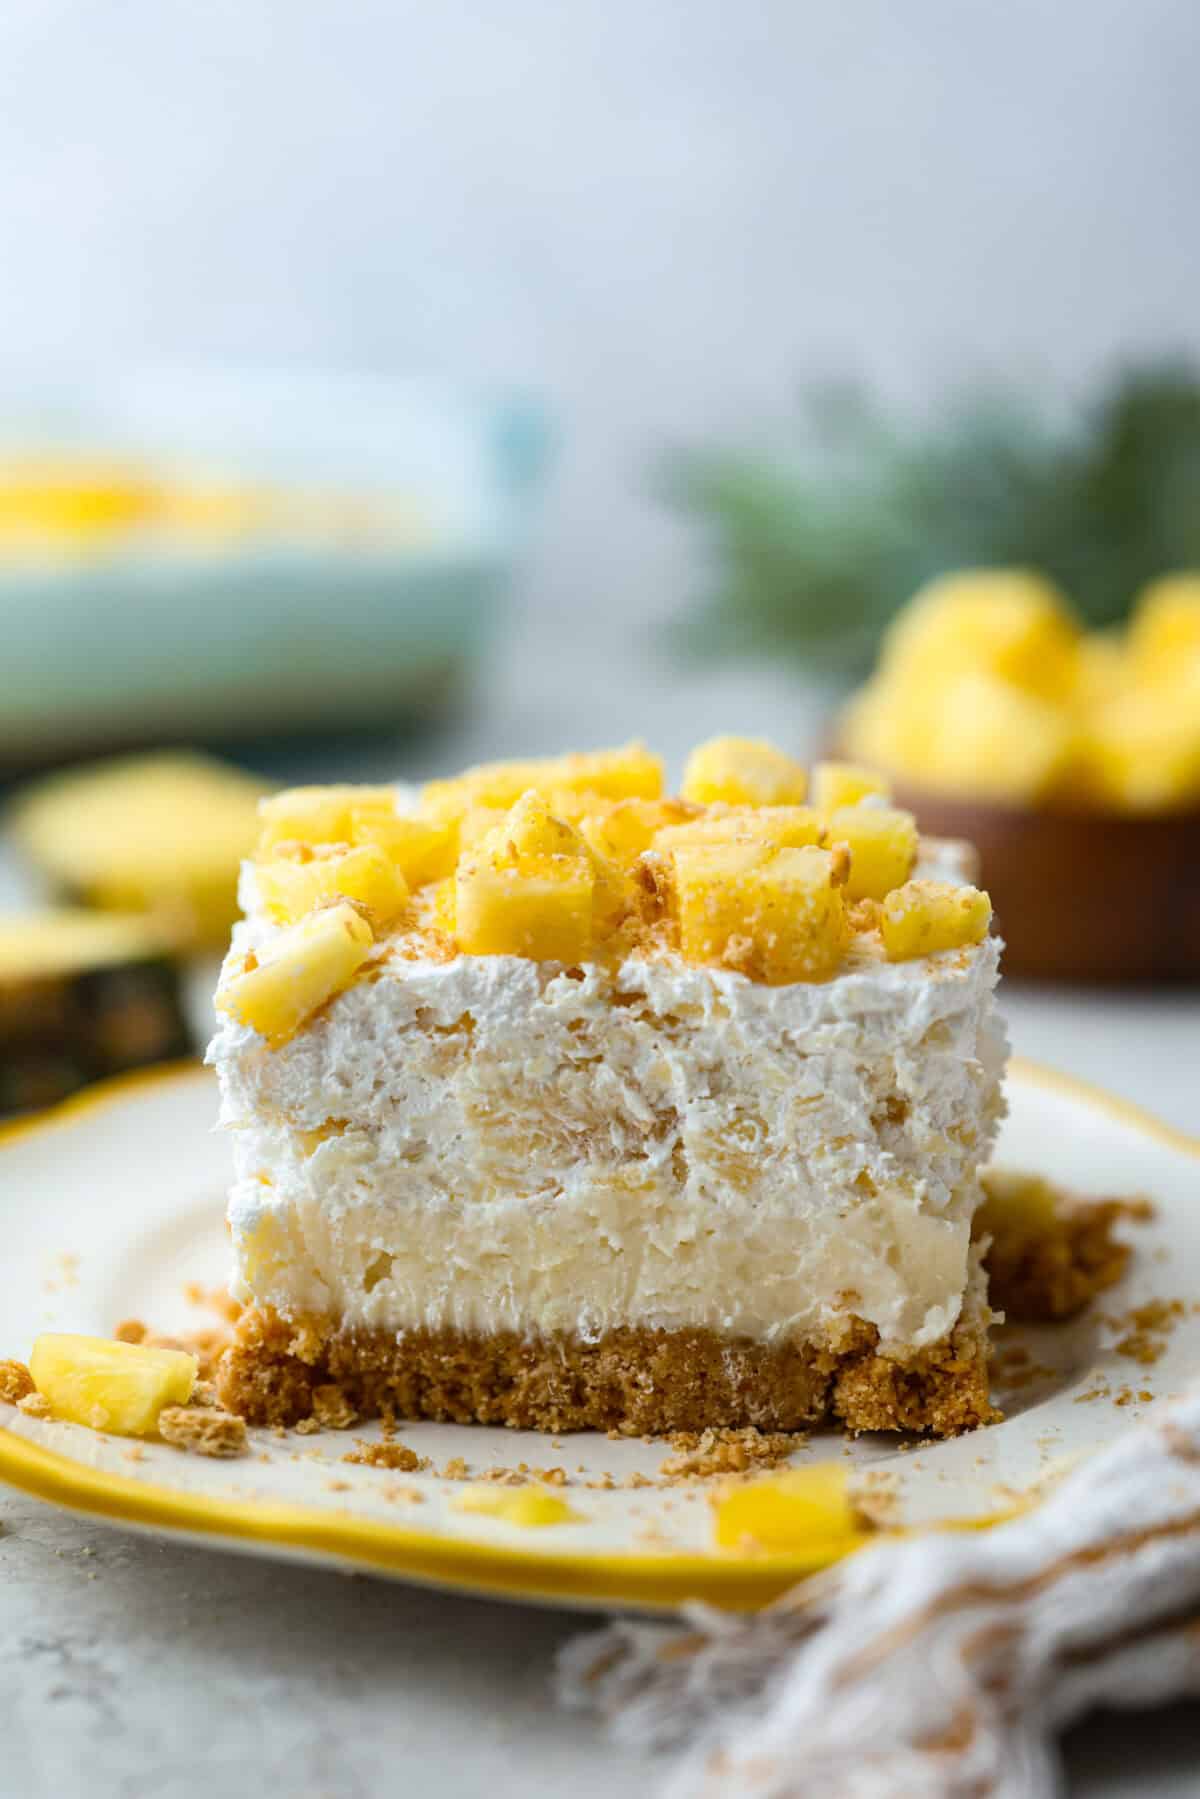
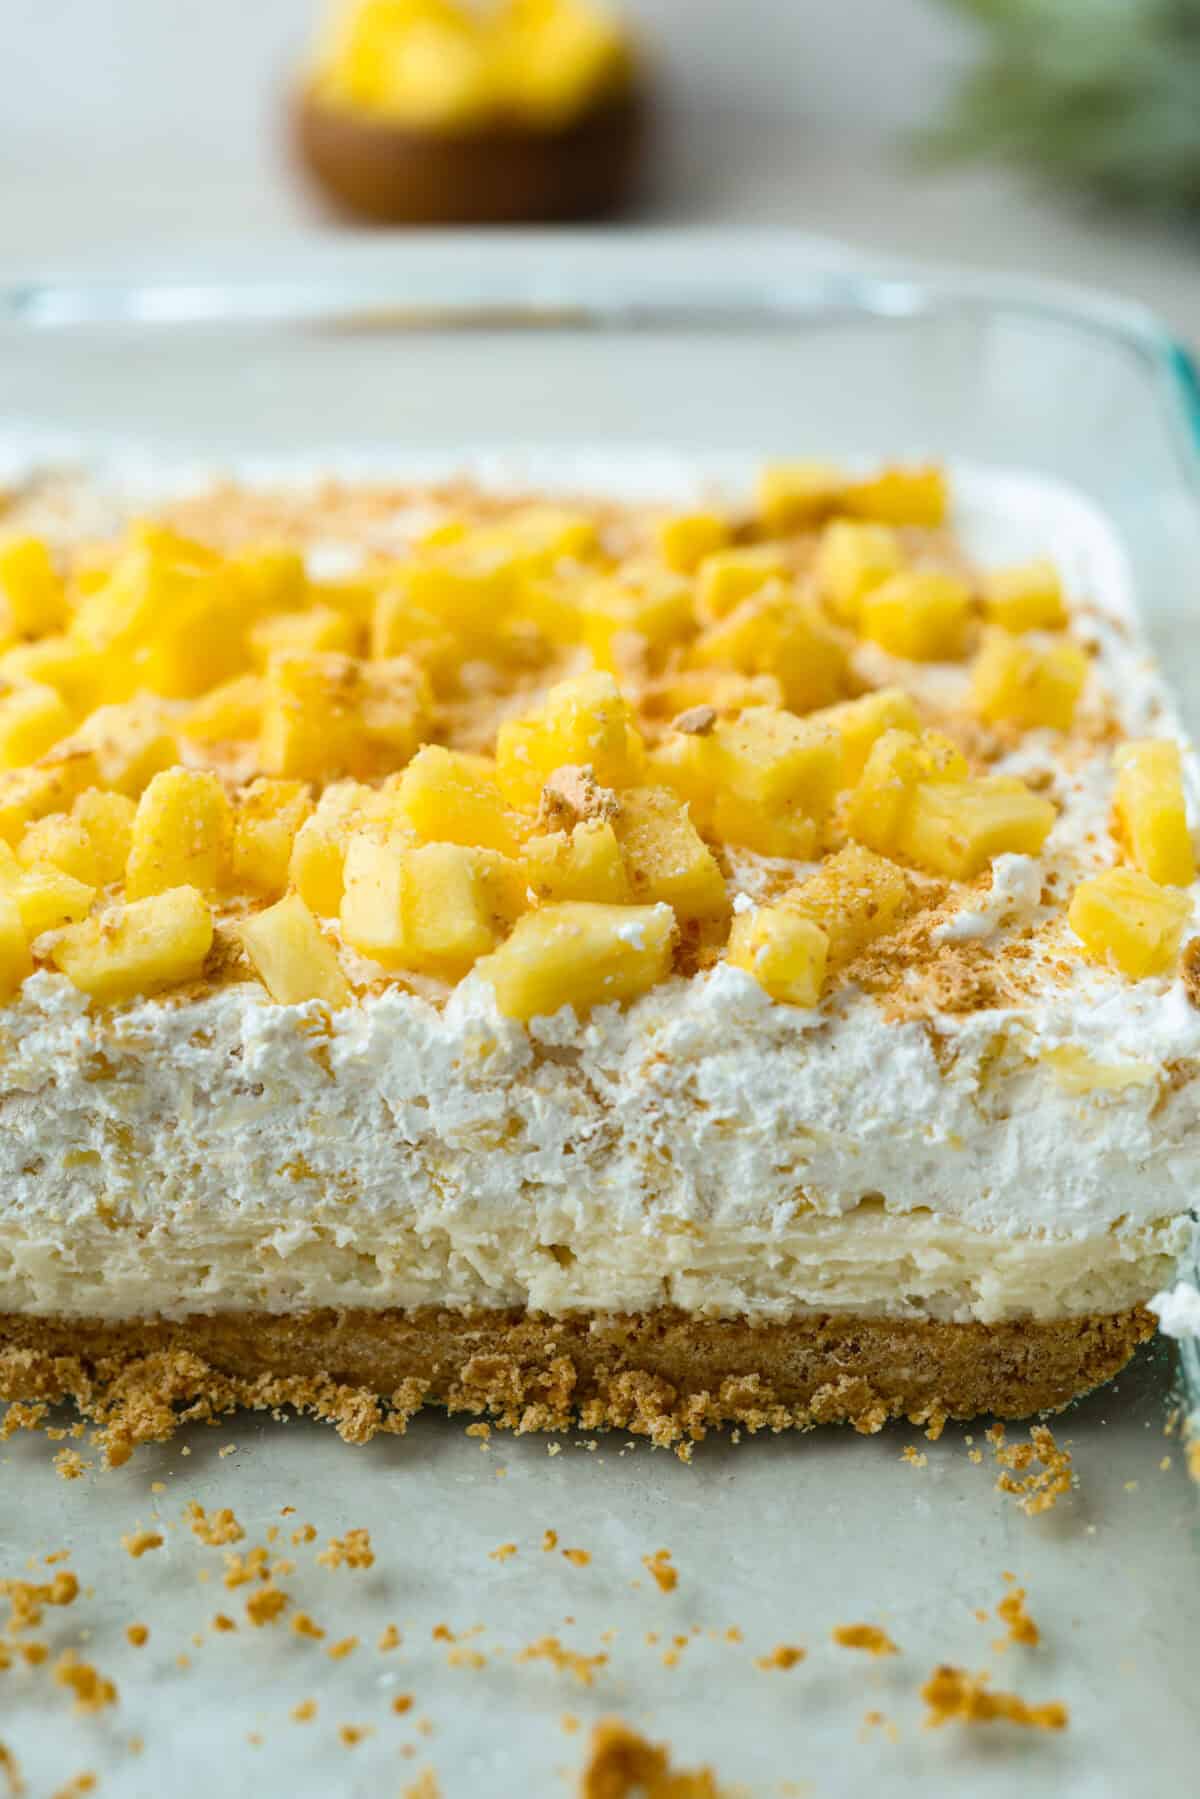
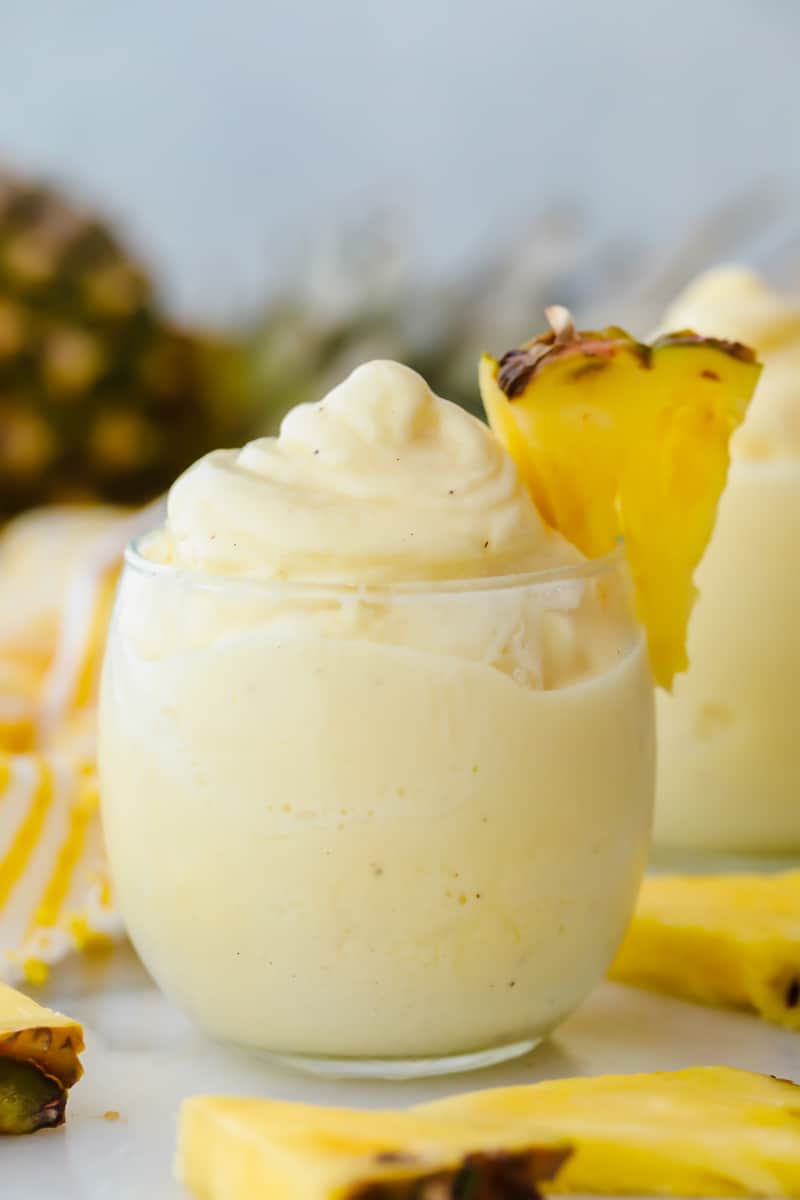
Craving a bright and sunny dessert? This pineapple delight will hit the spot! With a buttery crust, creamy filling, and sweet pineapple topping, it’s light, tropical, and totally irresistible!
Pineapple Paradise on a Plate
Sweet Meets Tangy: The creamy cheesecake layer and whipped topping are perfectly balanced with juicy pineapple.
Buttery Crunch Factor: That golden graham cracker crust adds the perfect crisp contrast to all the soft, dreamy layers.
Make-Ahead Friendly: Since Pineapple Delight needs time to chill, this is an ideal dessert to prepare ahead.
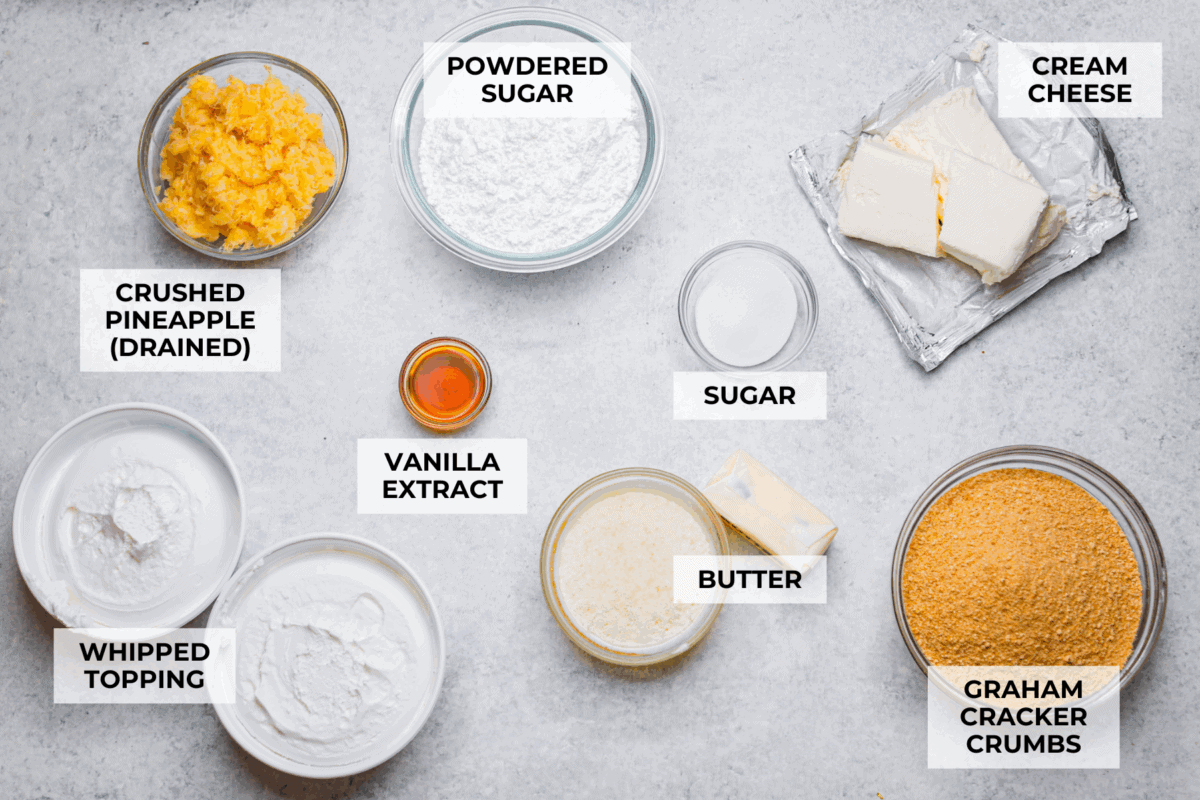
Pineapple Delight Ingredients
Fresh or Canned Pineapple: Fresh pineapple works too, just chop it finely. Unless it’s super ripe and flavorful, canned tastes just as good.
Drain the pineapple well: Press the lid into the can and shake, or use cheesecloth to squeeze out excess juice so the whipped topping stays firm.
Whipped Topping: You can use homemade whipped cream or store bought whipped topping. Whip 3 cups of cold heavy cream with ½ cup powdered sugar until stiff peaks form. Just note it won’t hold up as long, and the dessert may soften after 2 days.
Graham Cracker Crumbs: To make graham cracker crumbs, crush the sheets in a ziplock bag with a rolling pin or pulse them in a blender or food processor.
How to Make Pineapple Delight
No fancy steps, just layer, chill, and watch it disappear! You’ll want to bring it to every family gathering this summer. Even my kids can’t get enough! You should also try my strawberry delight or my coconut lush desserts.
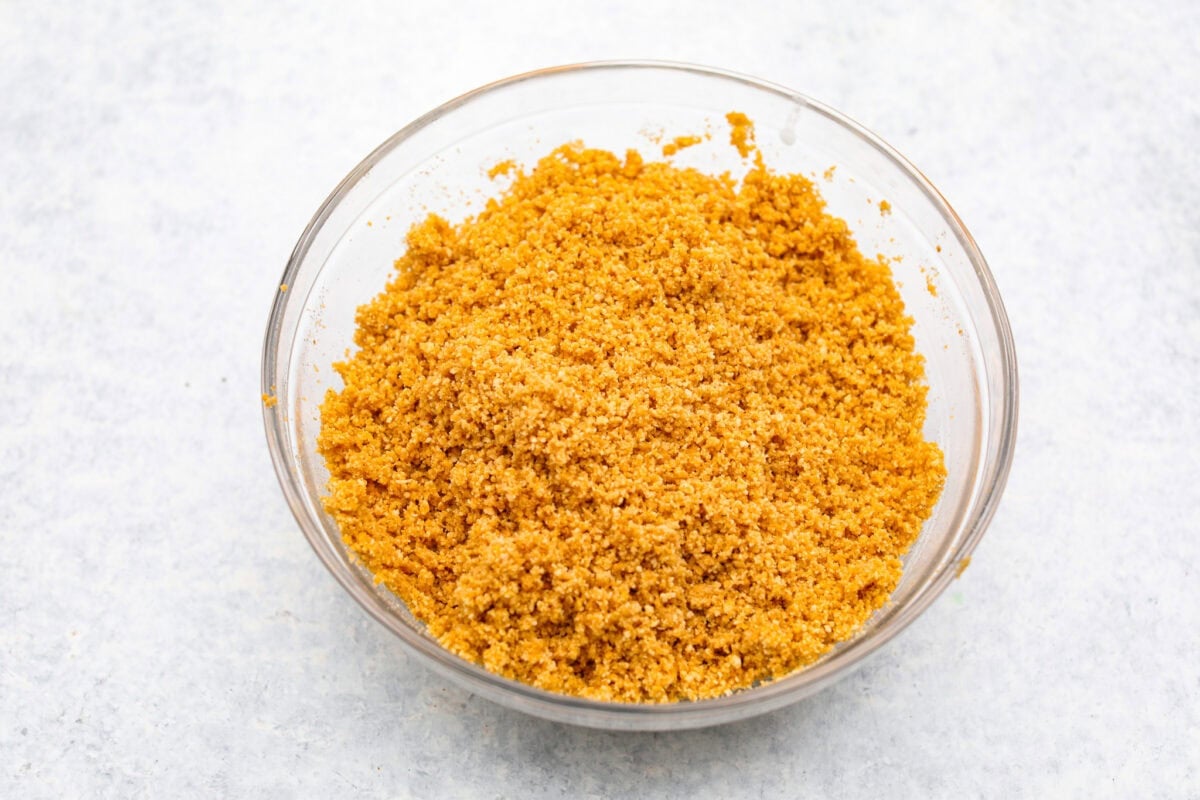
Make the Crust: Preheat the oven to 350ºF and lightly spray a 9 x 13 x 2.5-inch baking dish with nonstick cooking spray, then set aside. Combine the graham cracker crumbs, sugar, and melted butter in a medium bowl until the mixture resembles damp sand.
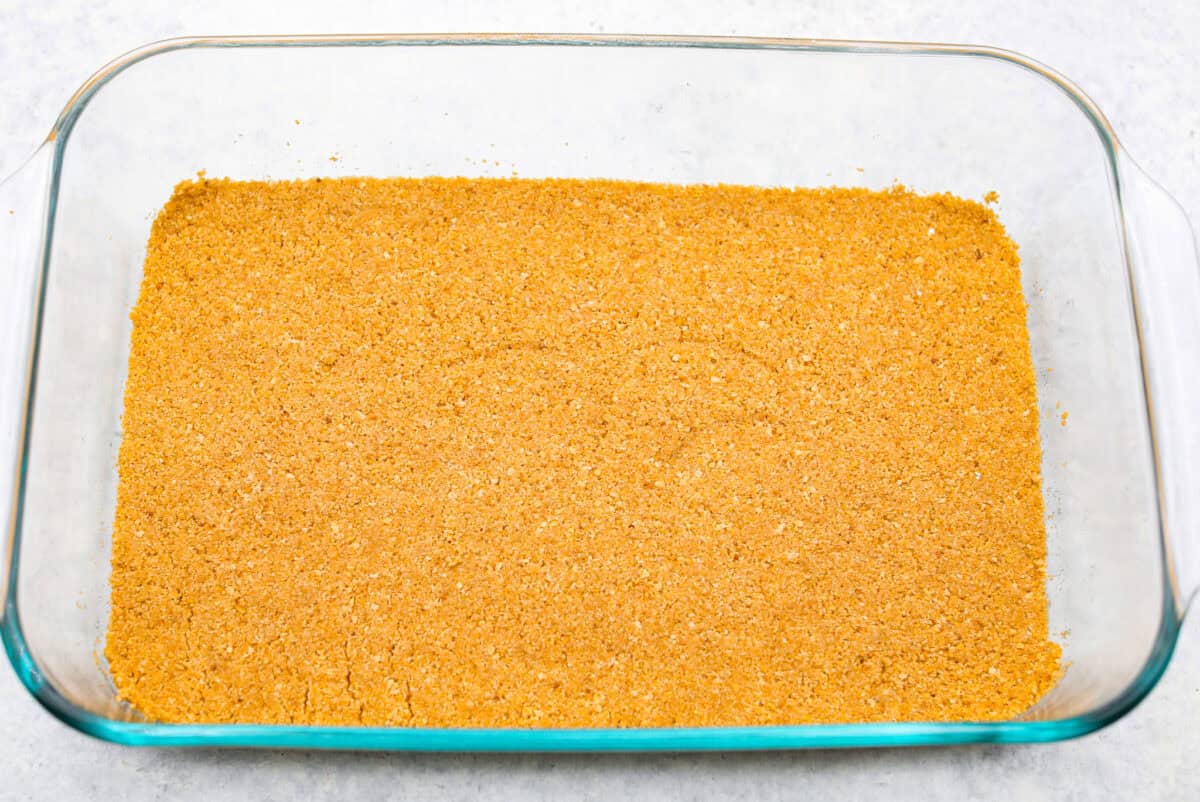
Bake and Cool: Press the crumb mixture evenly into the bottom of the pan using a flat bottomed glass or measuring cup. Bake for 10-12 minutes, until fragrant and the edges are golden brown. Remove the crust from the oven and allow it to cool completely before adding the subsequent layers.
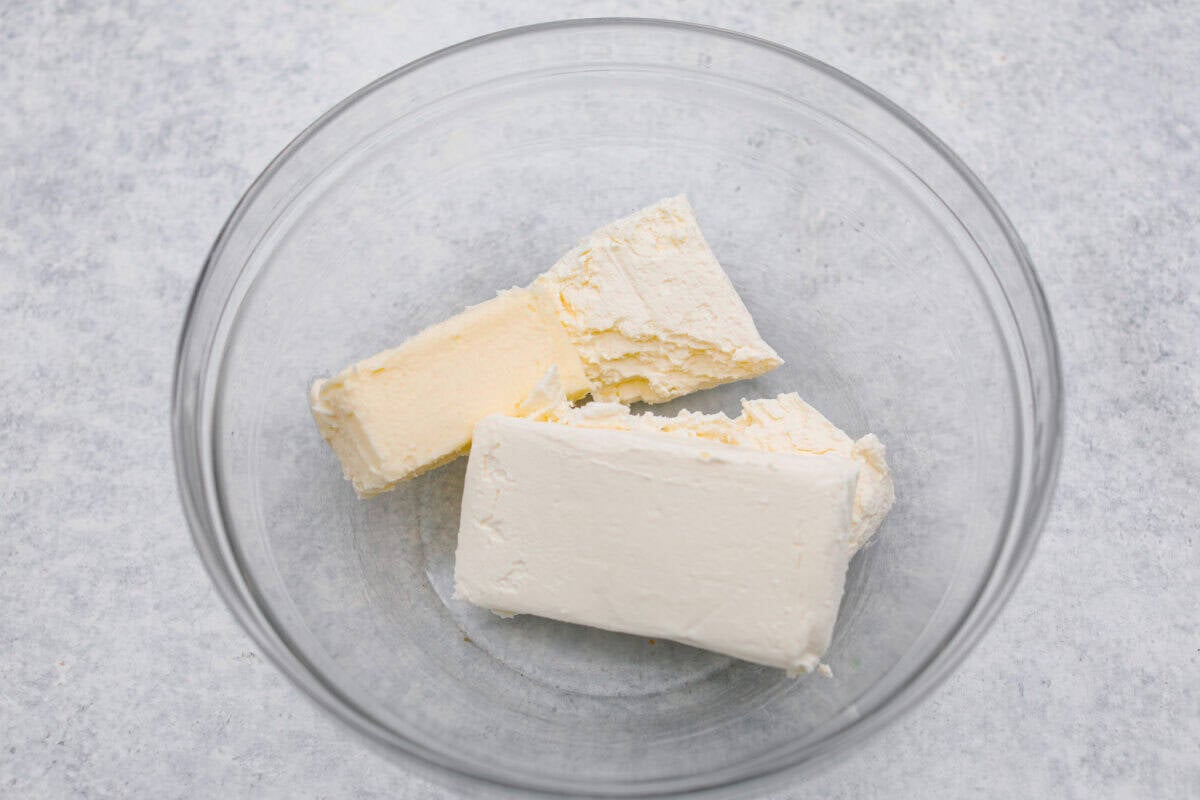
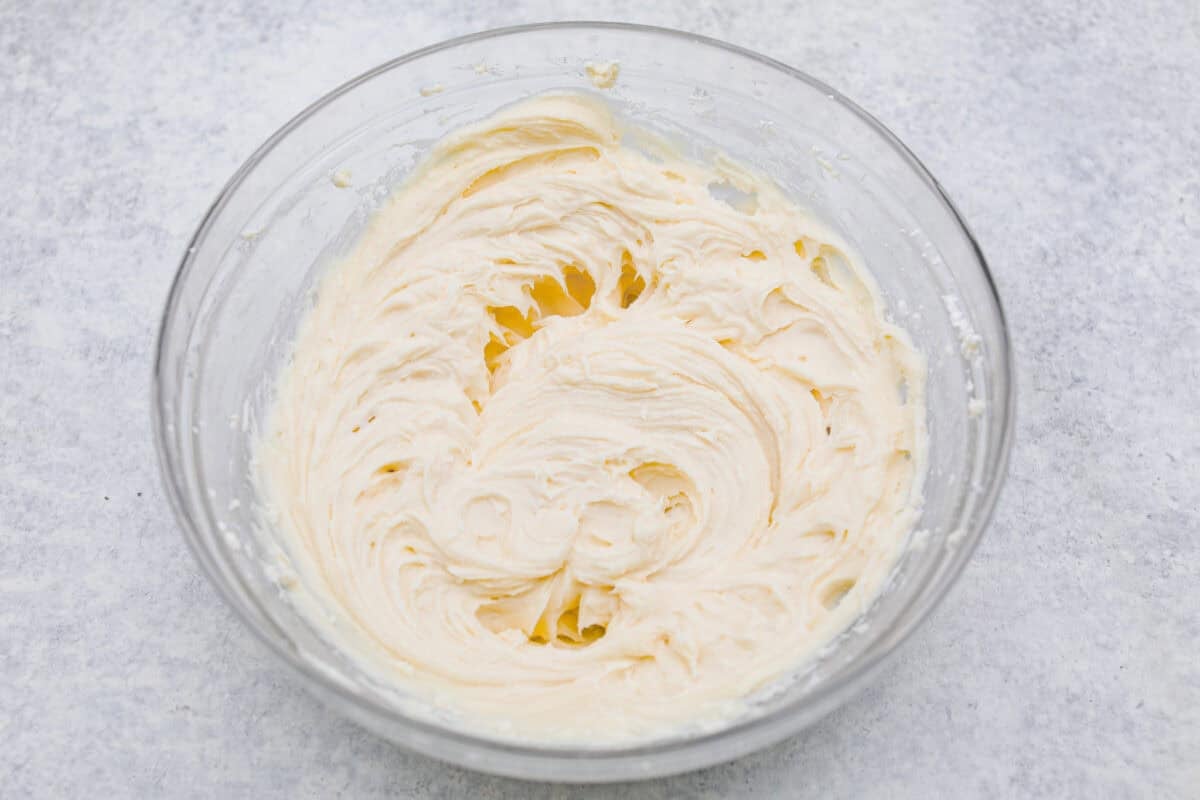
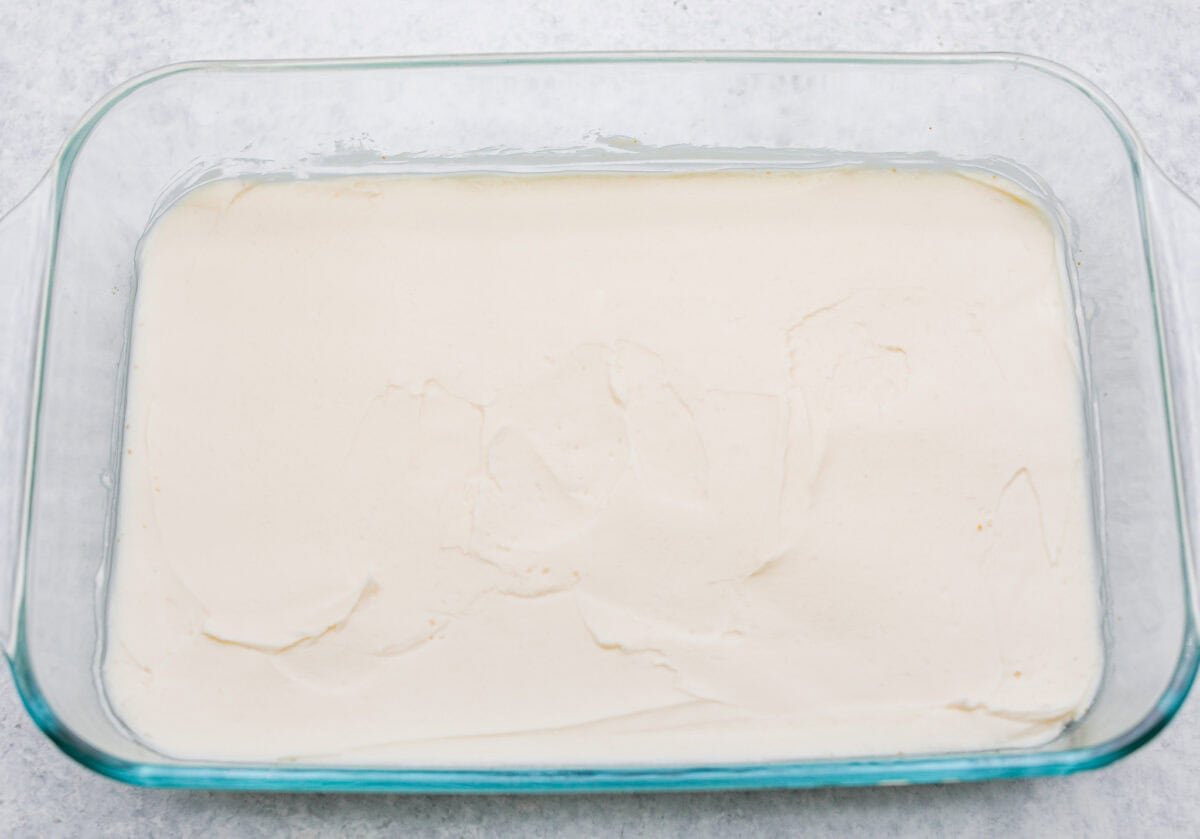
Combine: Add the cream cheese and butter to a large bowl. Beat on medium high speed with a hand mixer or stand mixer fitted with the paddle attachment until smooth. Scrape down the sides and bottom of the bowl as needed to ensure no lumps remain.
Beat: Add the powdered sugar and vanilla, then beat on low until the sugar is mostly incorporated. Then increase the speed to medium-high until the mixture is smooth and creamy.
Spread Over Crust: Spread the cream cheese mixture evenly over the cooled crust.
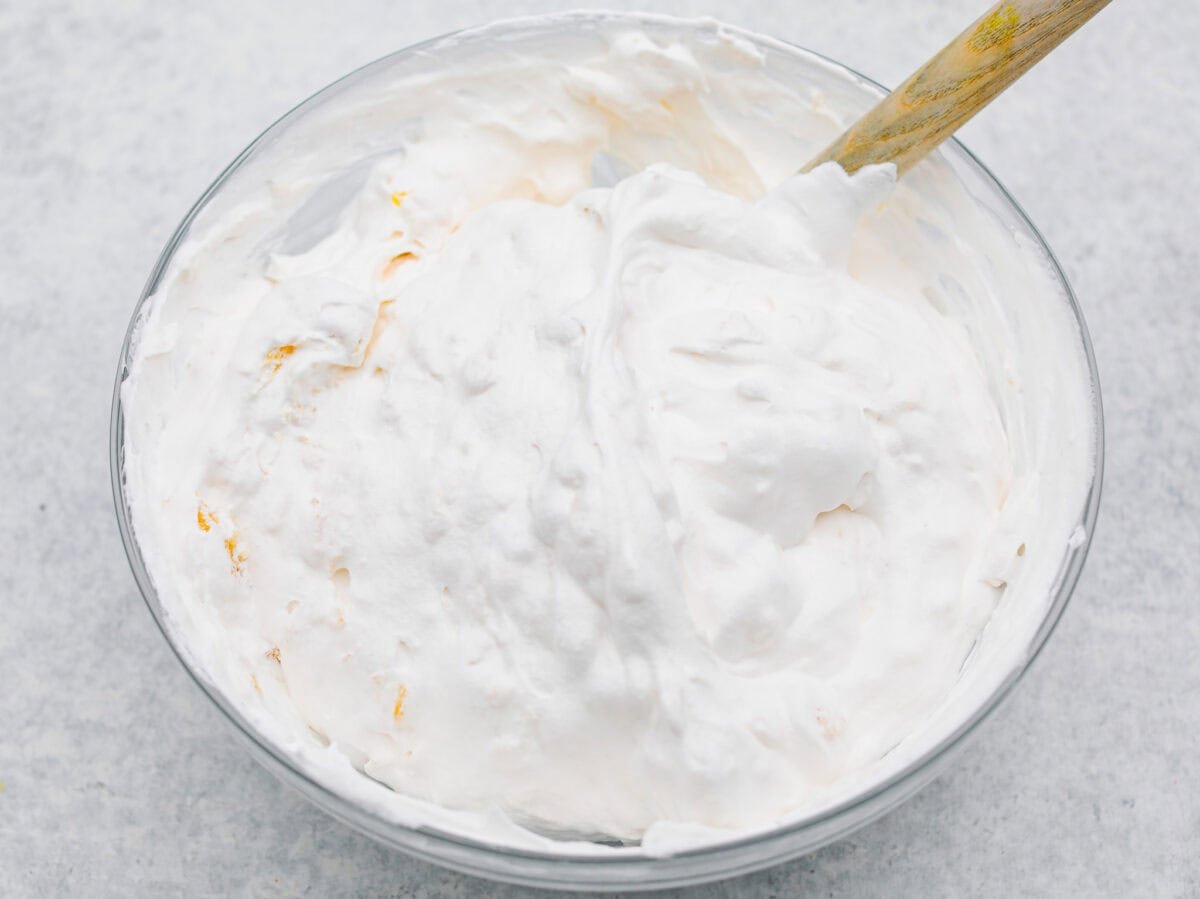
Combine Pineapple with Cool Whip: Carefully fold the drained, crushed pineapple into the whipped topping.
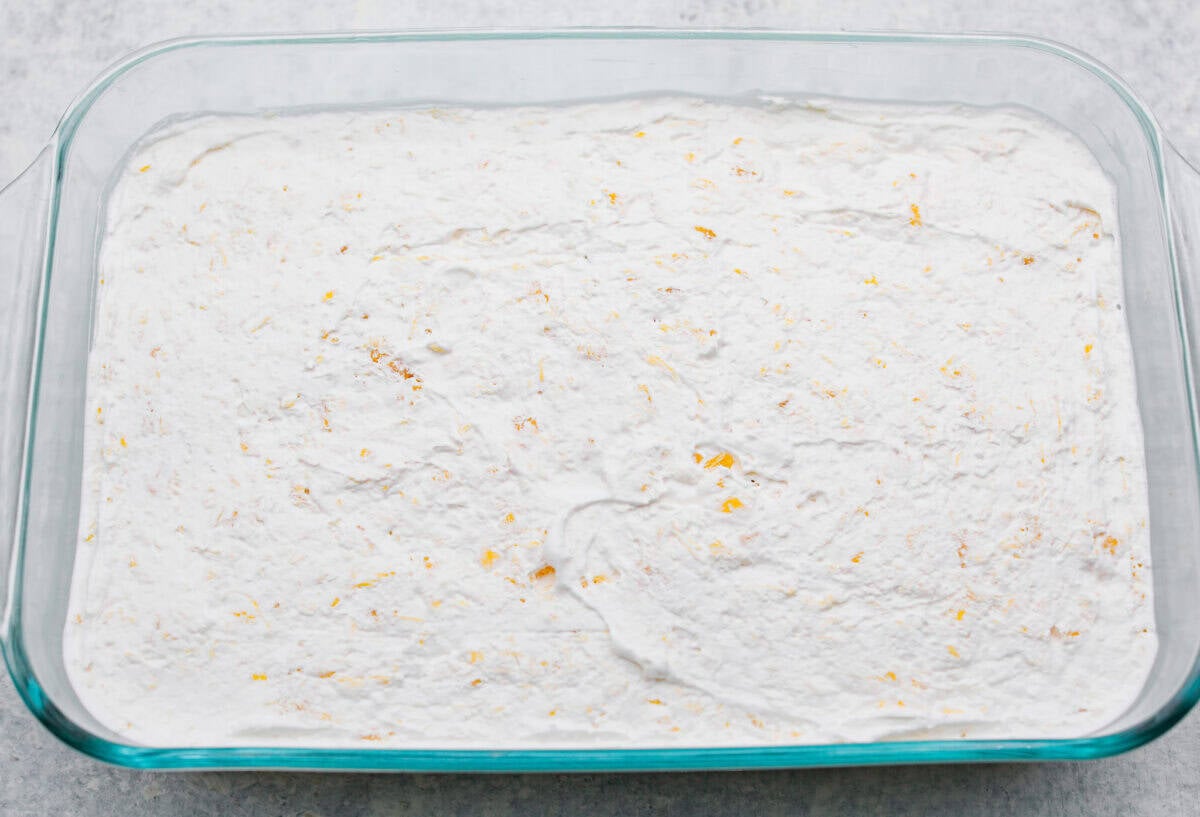
Spread: Spread the whipped mixture evenly over the top of the cream cheese layer. Then cover and refrigerate for at least 4 hours. Top pineapple delight with graham cracker crumbs and pineapple tidbits before serving.
Leftover Pineapple Dream Dessert
In the Refrigerator: Pineapple delight should be stored in the fridge, covered tightly with plastic wrap, for up to 5 days.
In the Freezer: You can freeze pineapple delight by wrapping the pan in 2-3 layers of plastic wrap, followed by a layer of heavy-duty aluminum foil. Freeze for up to 3 months. Let it thaw overnight in the fridge, or serve it frozen!
Preheat the oven to 350 degrees Fahrenheit and lightly spray a 9 x 13 x 2.5-inch baking pan with nonstick cooking spray and set aside.
Crust
Combine 2 ¾ cups graham cracker crumbs, 3 tablespoons granualted sugar, and ¾ cup melted salted butter in a medium bowl until the mixture resembles damp sand.
Press the crumb mixture evenly into the bottom of the pan using a flat-bottomed glass or measuring cup. Bake for 10-12 minutes, until fragrant and the edges are golden brown.
Remove the crust from the oven and allow it to cool completely before topping it with the subsequent layers.
Cheesecake Layer
Add 2 (8-ounce) packages softened cream cheese and ½ cup softened salted butter to a large bowl and beat on medium-high speed with a hand mixer or stand mixer fitted with the paddle attachment until smooth. Scrape down the sides and bottom of the bowl as needed to ensure no lumps remain.
Add 2 ½ cups powdered sugar and 1 tablespoon vanilla extract and beat on low until the sugar is mostly incorporated, then increase the speed to medium-high until smooth and creamy.
Spread the cheesecake mixture evenly over the cooled crust.
Pineapple Topping
Carefully fold 2 (20-ounce) drained cans crushed pineapple into 2 (8-ounce) containers thawed whipped topping before spreading the whipped mixture evenly over the top of the cheesecake layer.
Cover and refrigerate for at least 4 hours. Top with graham cracker crumbs and pineapple tidbits before serving.
Notes
Storing: Store pineapple delight in the fridge, covered, for up to 5 days. For longer storage, wrap it well and freeze for up to 3 months. Thaw overnight or enjoy it frozen!
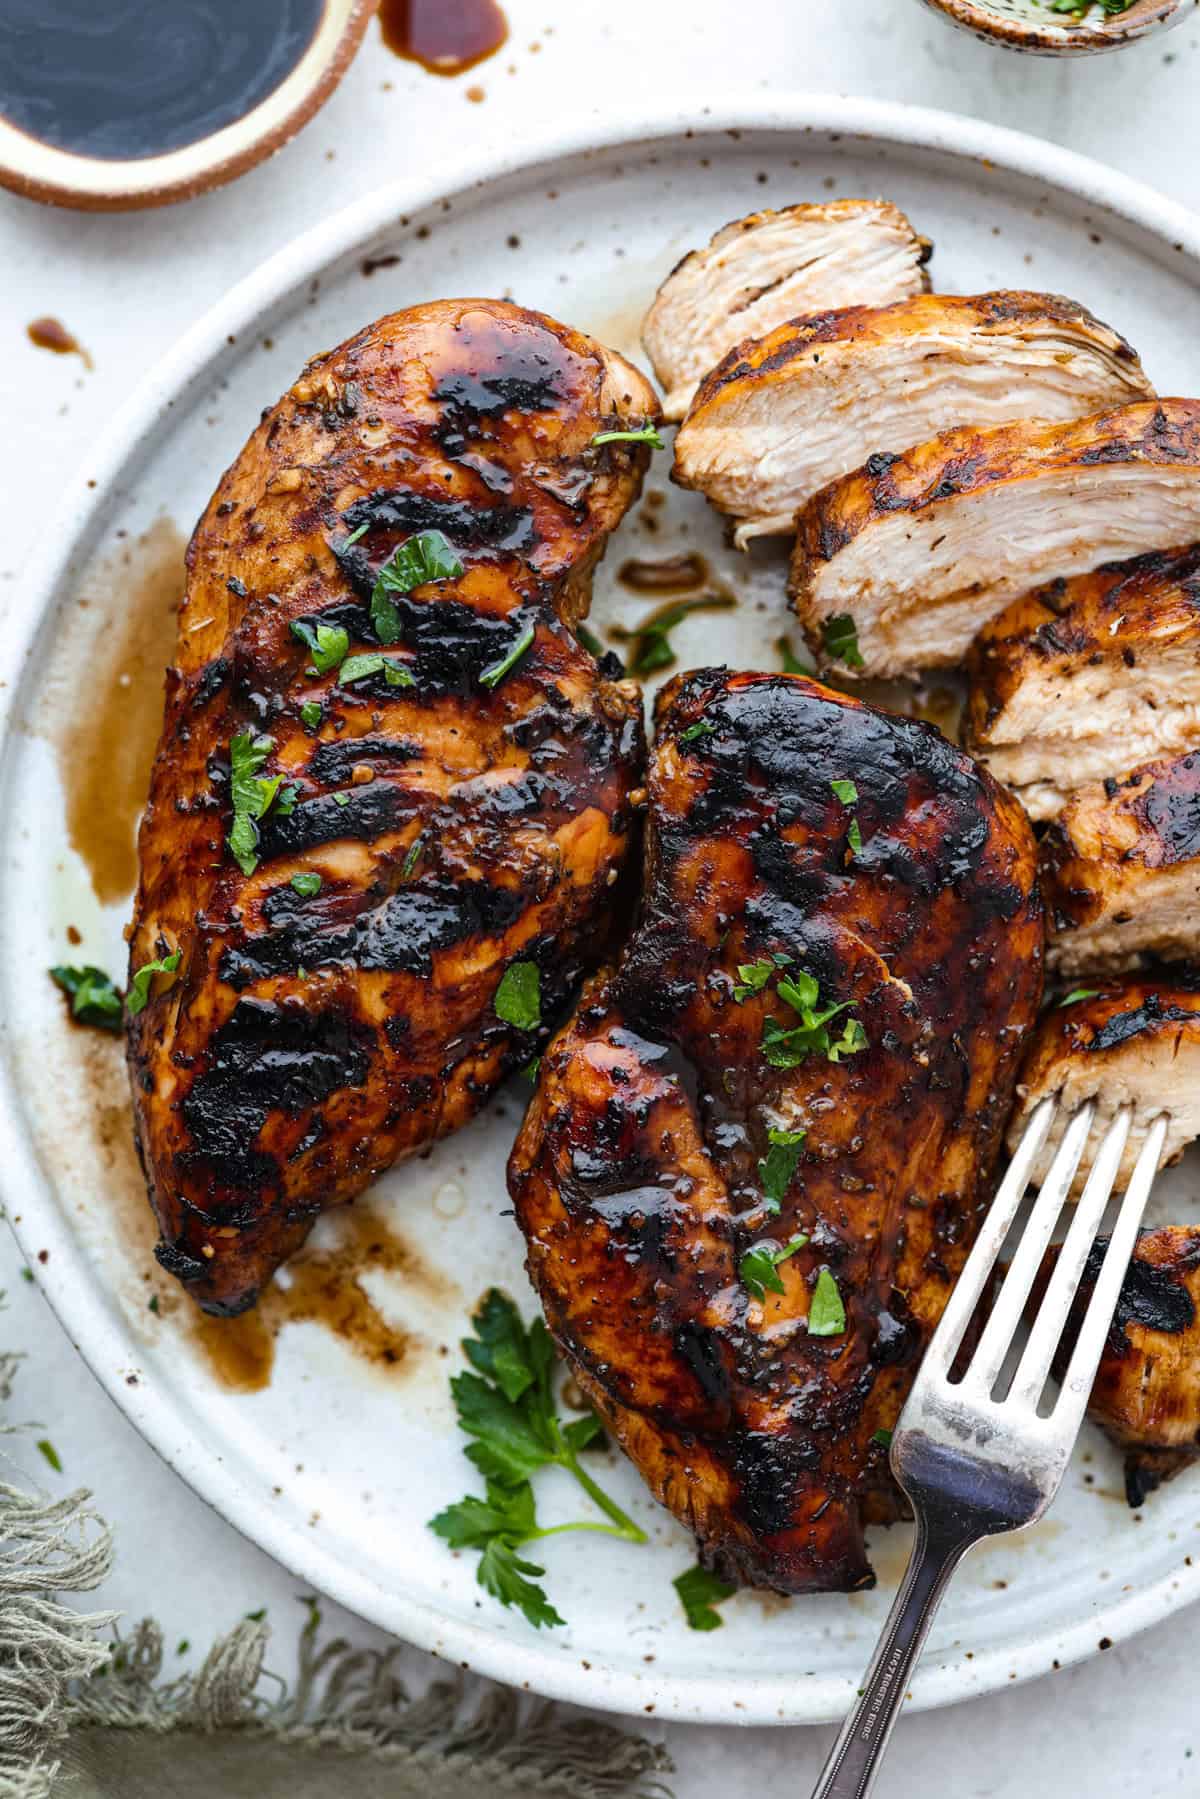
I’ve been on a balsamic kick lately. Drizzling it on salads, veggies, and even watermelon! But this Balsamic Chicken marinade is pure magic. It’s tangy, a little sweet, and makes everyday chicken taste incredible!
Marinade Magic
Big Taste, Easy Prep: Balsamic chicken marinade packs bold, tangy flavor using just a few pantry staples.
Great for Meal Prep: Marinate ahead of time and then cook when you want. Perfect for quick weeknight meals or weekend grilling.
Cook Your Way: Grill it, pan-sear it, or roast it, this marinade performs like a champ no matter how you cook it up.
Pairs with Everything: Serve your balsamic chicken on salads, with veggies, rice, or pasta. It’s a tasty go-to for any meal!
Balsamic Chicken Marinade Ingredients
For sweetness: If you prefer brown sugar, it swaps in easily for the honey. Want it sweeter? Then add a tablespoon or two more of honey.
Add fresh herbs: Not into Italian seasoning? Skip it and toss in some chopped fresh herbs instead, about a teaspoon each. Rosemary, thyme, and oregano all play really well with balsamic.
Balsamic vinegar: No need to splurge here, affordable balsamic works perfectly since it gets mixed in. Save the fancy stuff for a drizzle on top when serving.
How to Make Balsamic Chicken Marinade
This easy balsamic chicken marinade takes 5 minutes to prepare! Just whisk the ingredients together and pour them into a large zip-top bag with your chicken!
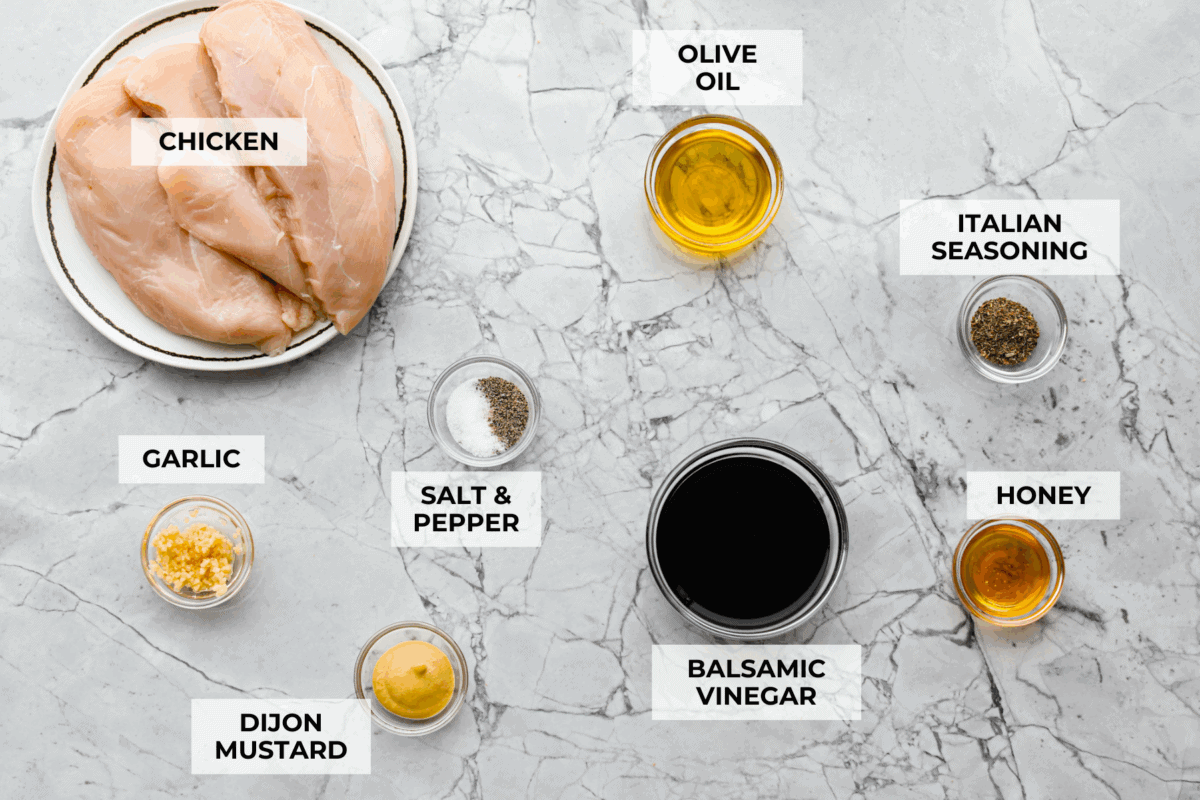
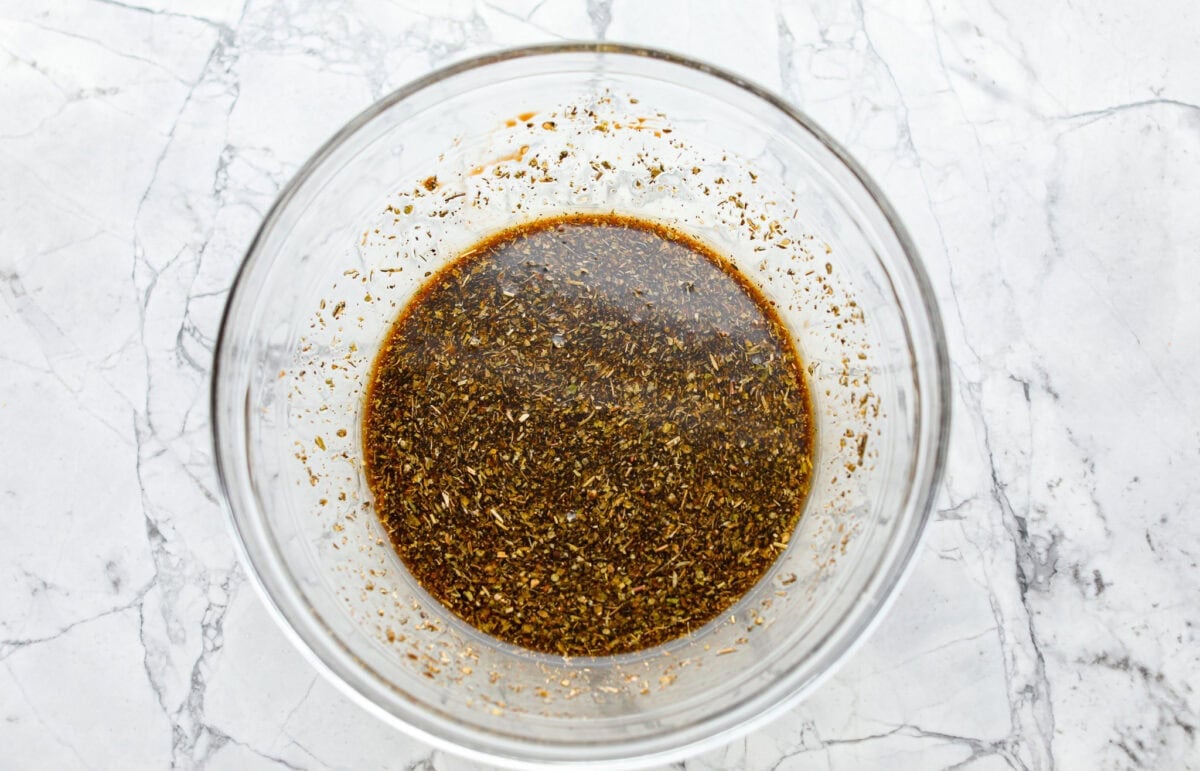
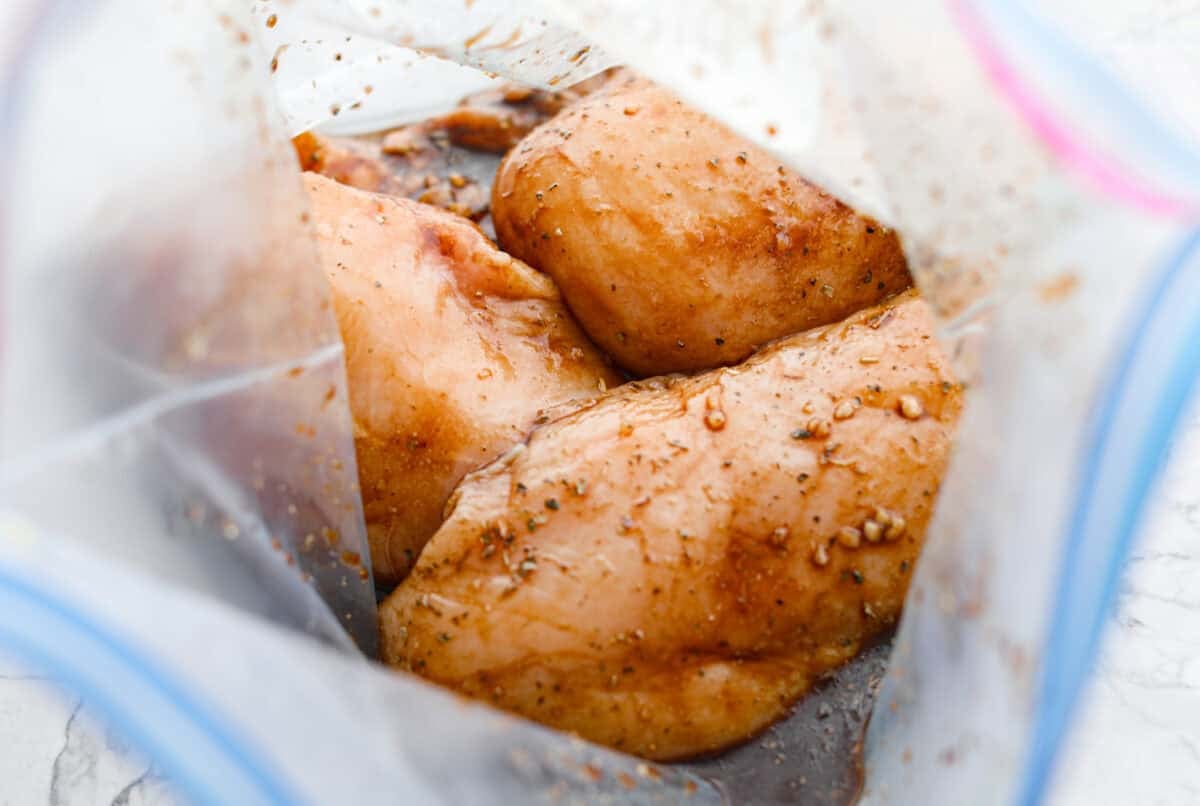
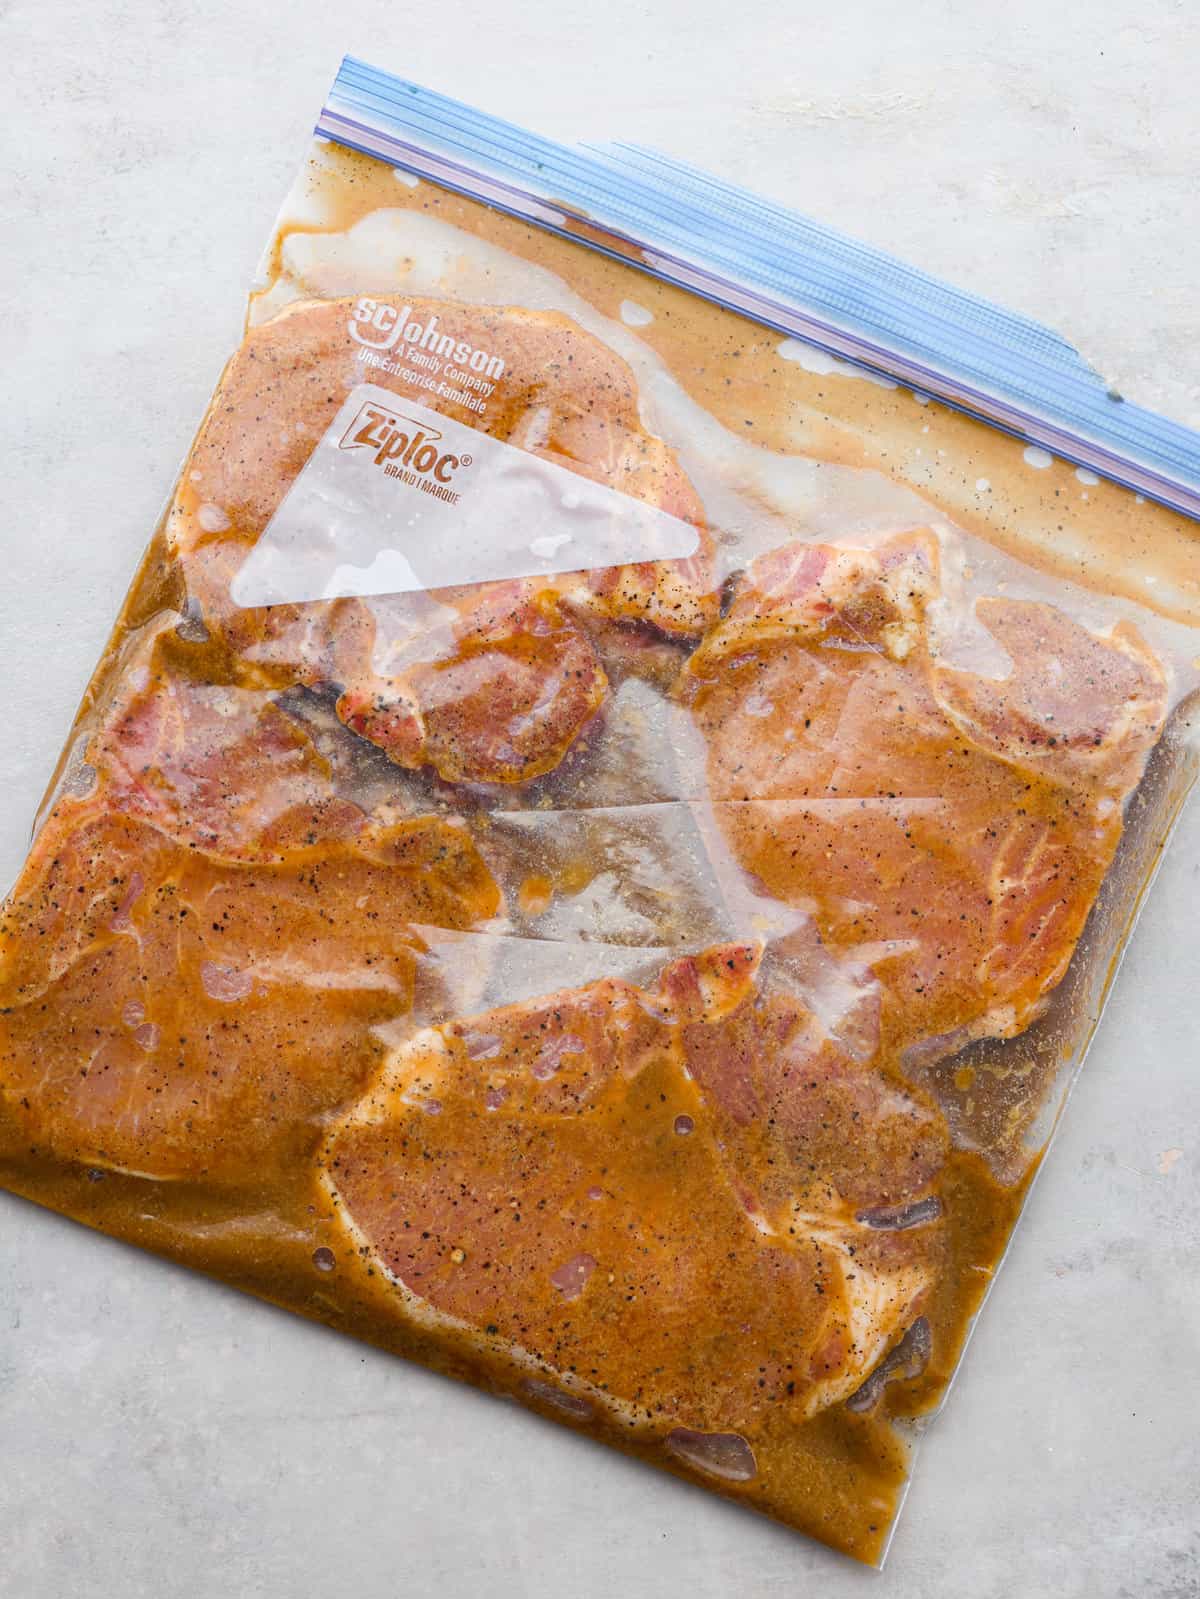
Combine: Add the chicken breasts to a gallon ziplock bag, then set aside. Add the balsamic vinegar, olive oil, honey, garlic, mustard, Italian seasoning, salt, and pepper to a medium bowl, mix until fully combined.
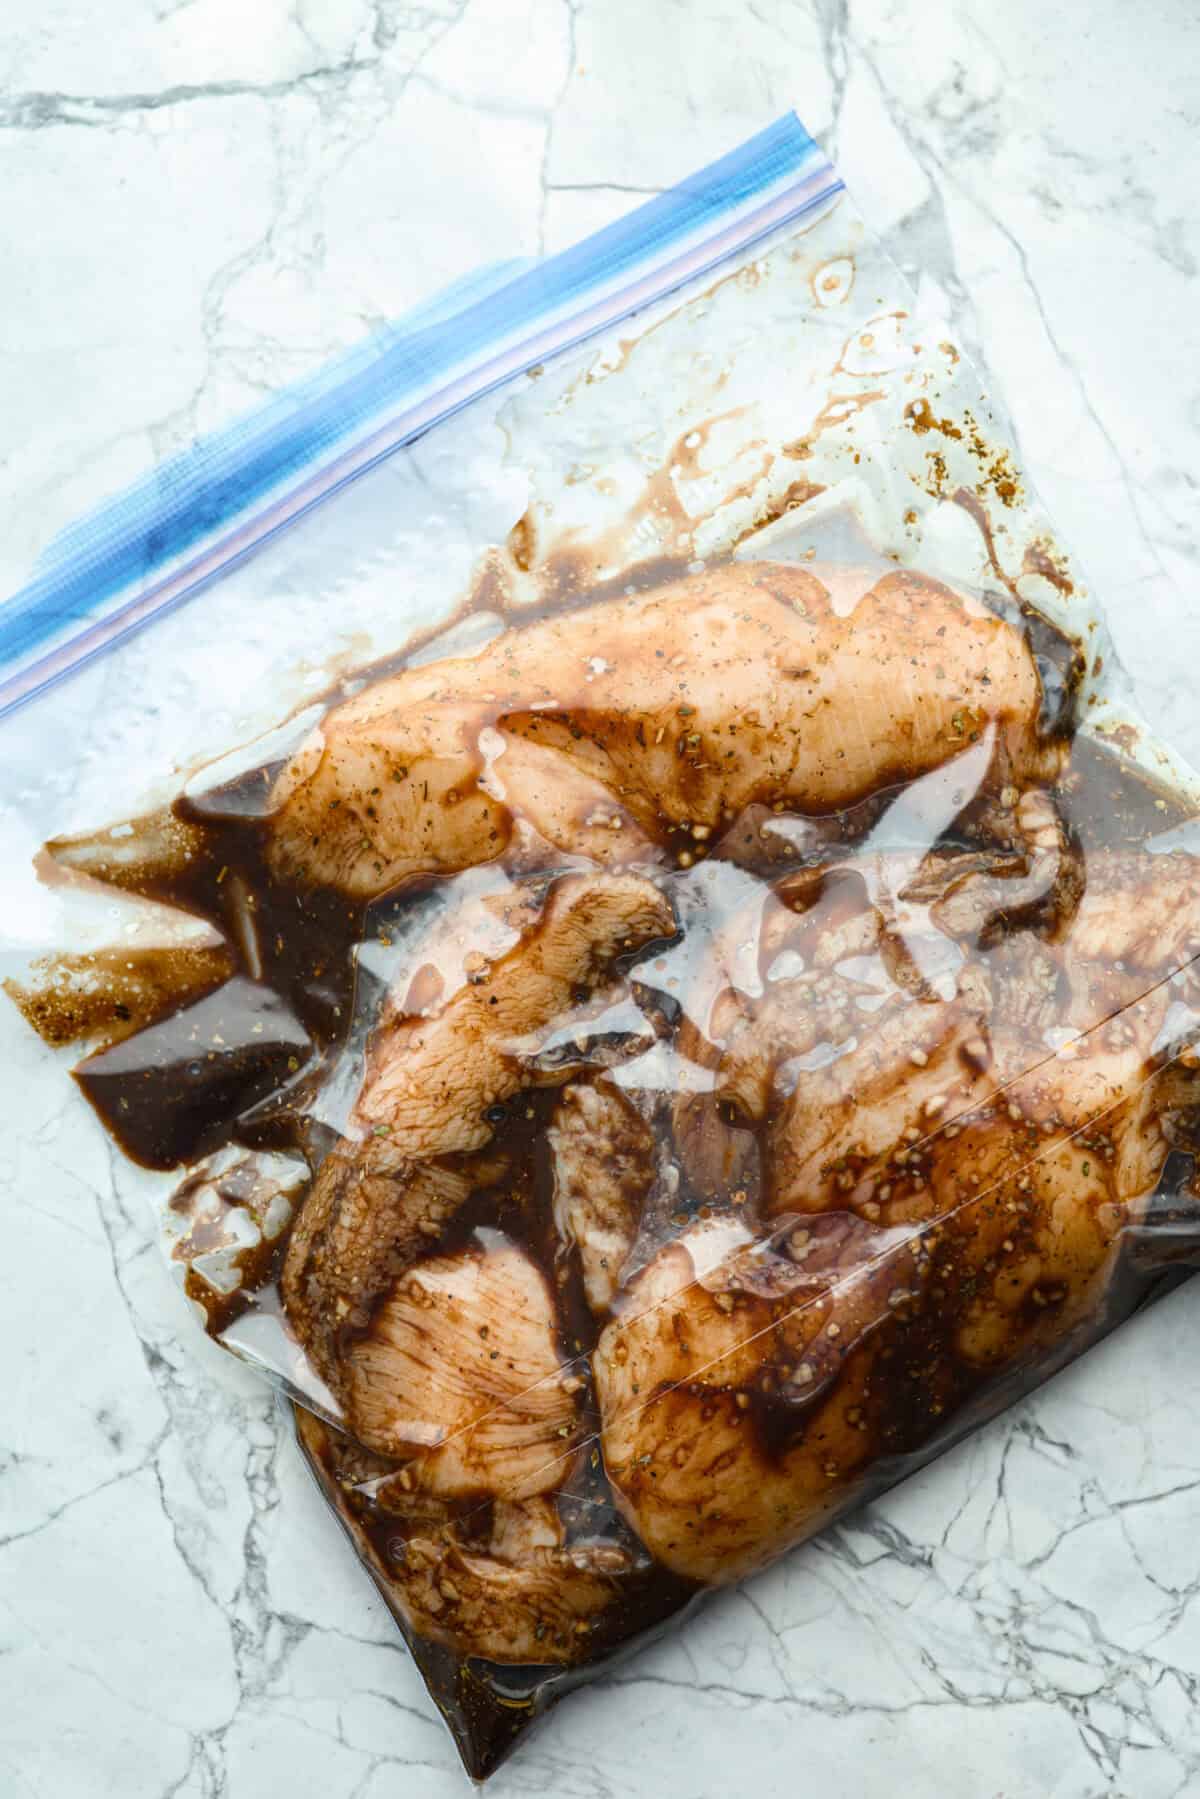
Marinate: Pour the marinade over the chicken in the bag and close it. Be sure to press out all the air from the bag. Squish the chicken around to ensure all of it is covered with the marinade. Set it aside to marinate at room temperature for 1-1 ½ hours, or in the fridge for up to 8 hours. *Tip: Don’t marinate too long. If you do itover 8 hours (or 2 at room temp), the vinegar can make it mushy.
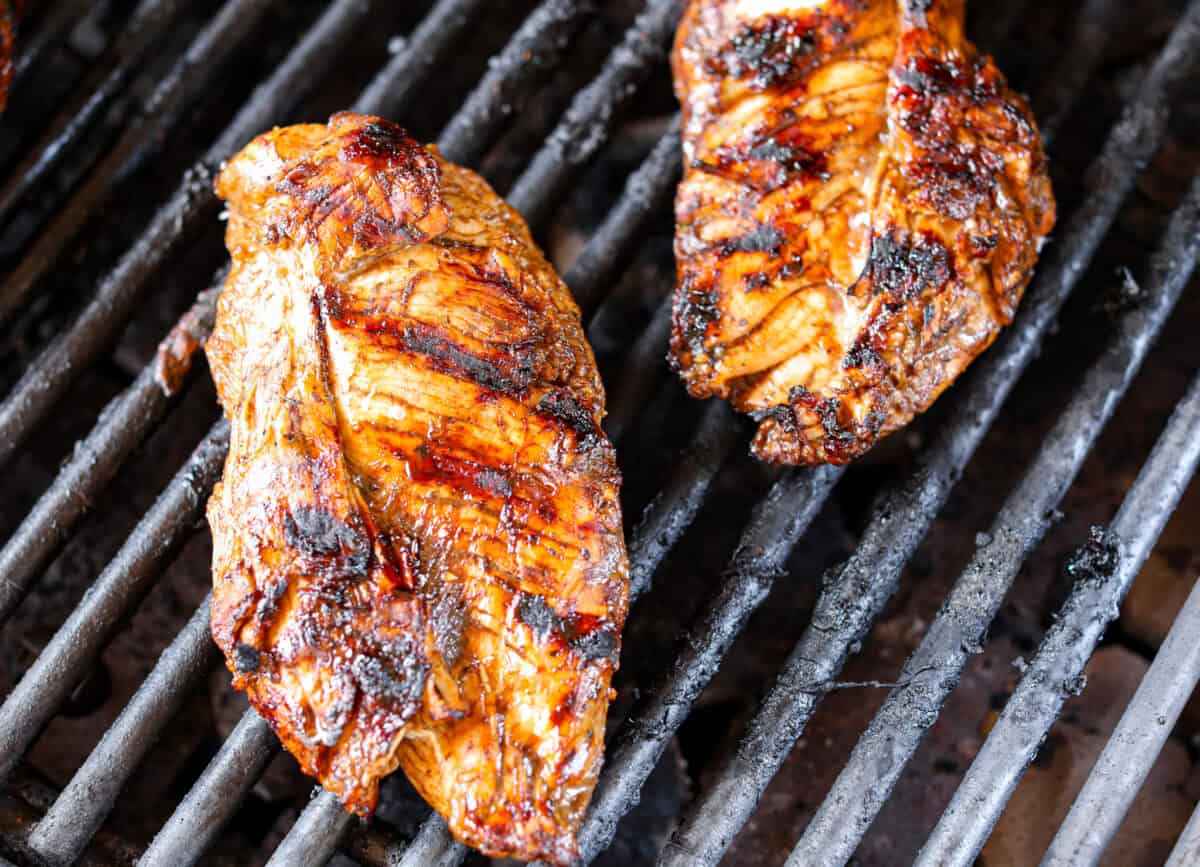
Cook: Once finished marinating, discard the sauce and cook the chicken using your preferred cooking method. *Cooking instructions in recipe card below.
Alyssa’s Pro Tip
Doubling Up? If you’re marinating more than 2 pounds of chicken, go ahead and double the recipe. Every piece of chicken deserves its fair share of balsamic chicken marinade flavor.
Freezing and Storing Cooked Chicken
Freezing: If you’re freezing the chicken in the balsamic chicken marinade, it’ll keep for up to 3 months. Just thaw it overnight in the fridge before cooking.
Storing Cooked Chicken: Once cooked, you can then store the chicken in the fridge for up to 7 days, or freeze it in an airtight container for up to 3 months.
Add 2 pounds boneless, skinless chicken breasts to a gallon ziplock bag and set aside.
Add ½ cup balsamic vinegar, 3 tablespoons olive oil, 1 tablespoon honey, 2 teaspoons minced garlic, 1 teaspoon Dijon mustard, 1 teaspoon Italian seasoning, 1 ½ teaspoons salt, and ½ teaspoon ground black pepper to a medium bowl and mix until fully combined.
Pour the marinade over the chicken in the bag and close it carefully, pressing out all the air from the bag so the chicken is fully covered in the marinade.
Squish the chicken around to ensure all of it is covered with the marinade before setting it aside to marinate at room temperature for 1-1 ½ hours, or in the refrigerator for up to 8 hours.
Once finished marinating, discard the marinade and cook the chicken using your preferred cooking method.
Notes
Storage: Marinate the chicken for up to 8 hours; any longer and the vinegar can make it mushy. You can freeze the raw chicken in the marinade for up to 3 months, or store cooked chicken in the fridge for 7 days or in the freezer for 3 months.Grill: Preheat the grill to medium heat, then grill the marinated chicken on both sides for 6-8 minutes, or until it reaches an internal temperature of 165°F. Oven: Preheat the oven to 400°F and bake the chicken for 20-25 minutes, or until it reaches an internal temperature of 165°F. Skillet: Cook the chicken in a large skillet over medium heat for 5-7 minutes on each side, until it reaches an internal temperature of 165°F.
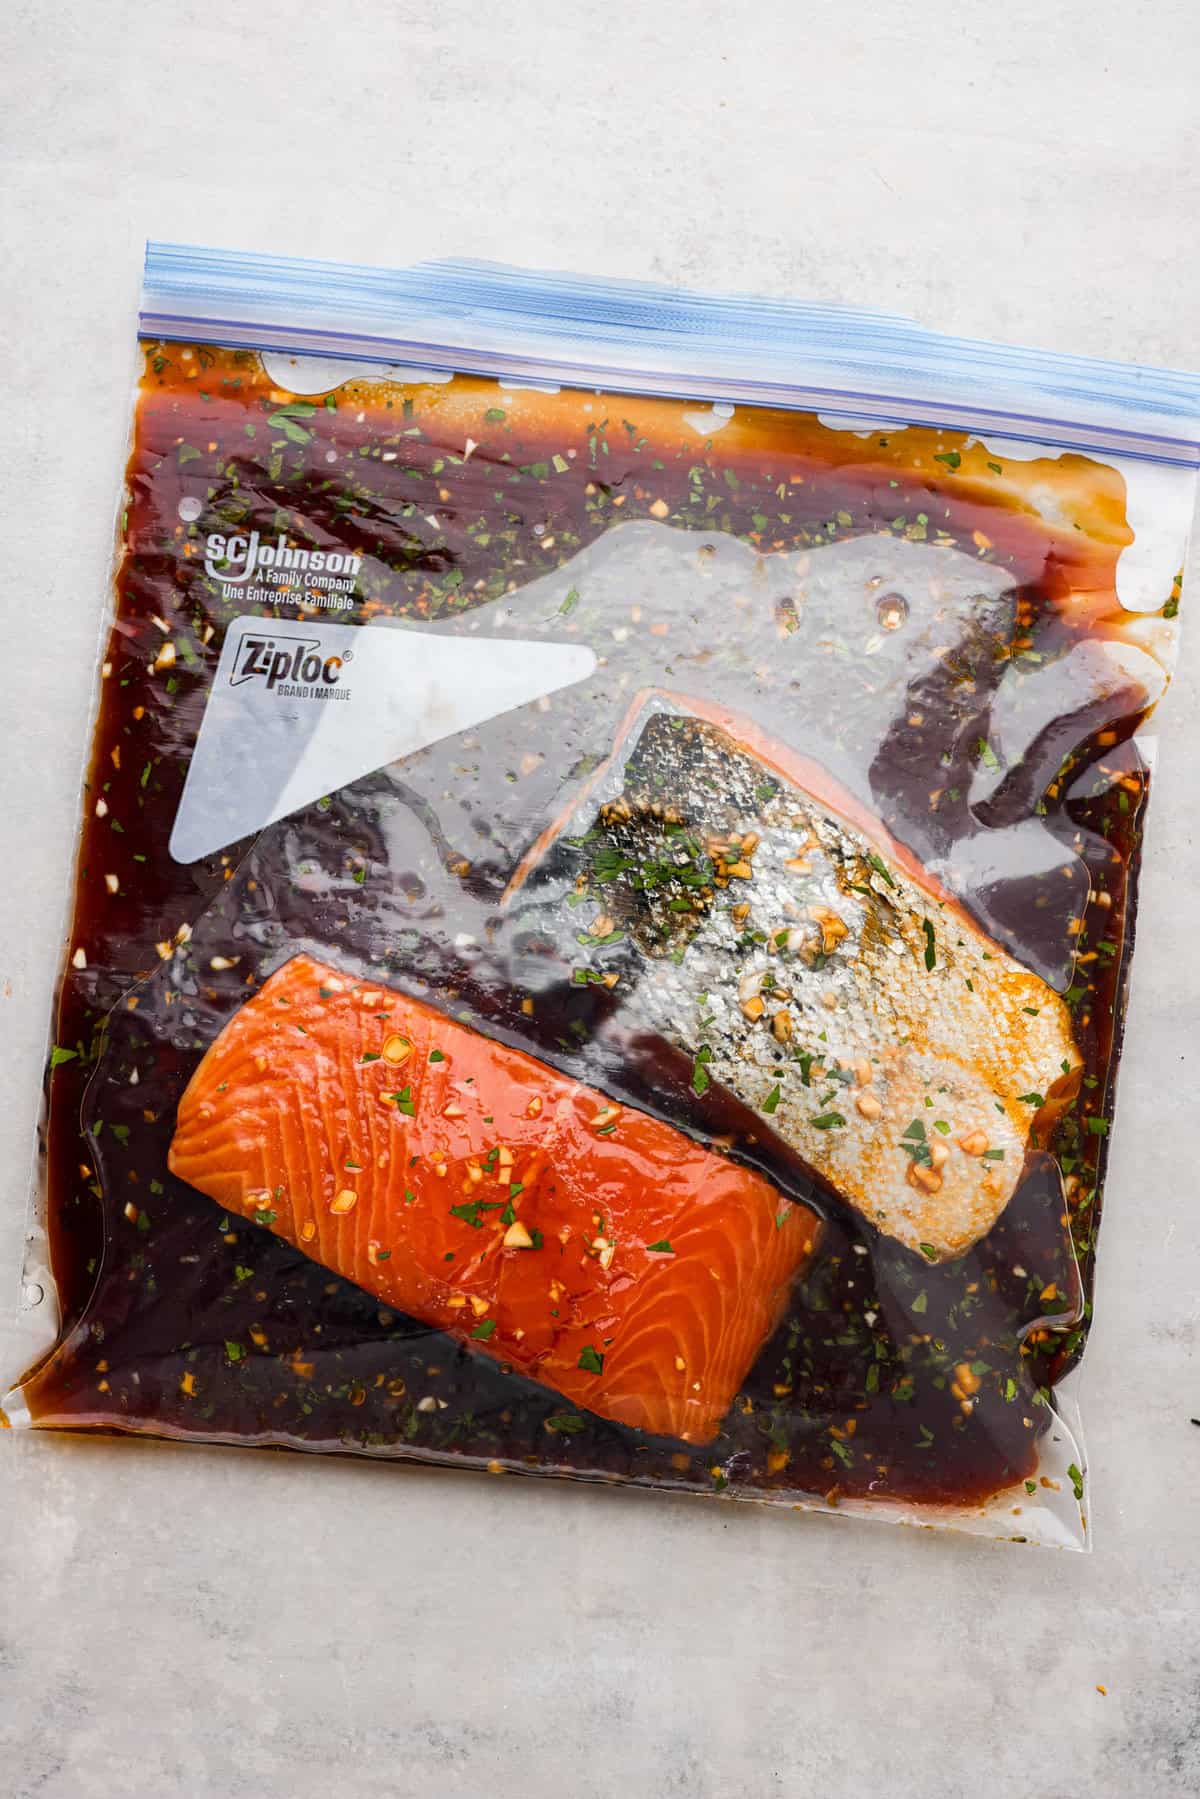
A good marinade can turn a simple meal into something amazing! It adds flavor, softens the meat, and makes it juicy and delicious. Here are some other tried and true favorites!
Air Fryer Egg Rolls are everything you love about your favorite takeout appetizer, made right at home! They’re crispy, crunchy , loaded with flavorful chicken filling , and cooked without the hassle of deep frying. The Egg Roll Upgrade You’ll Love Perfectly Crispy Without Deep Frying: The air fryer gives these egg rolls an irresistibly crunchy exterior while keeping the filling juicy and tender. Better Than Takeout: Loaded with seasoned chicken, crunchy veggies, and bold Asian-inspired flavors, they’re fresh, flavorful, and made right in your own kitchen. Great for Dinner or Appetizers: Serve them with a good sweet chili sauce or sweet and sour sauce s for an easy weeknight meal, game day snack, or party appetizer everyone will devour. A Reader’s Review These are delicious!! So much healthier than store bought or take-out. Pretty easy to make. – Janice Ingredients For Air Fryer Egg Rolls Gr...