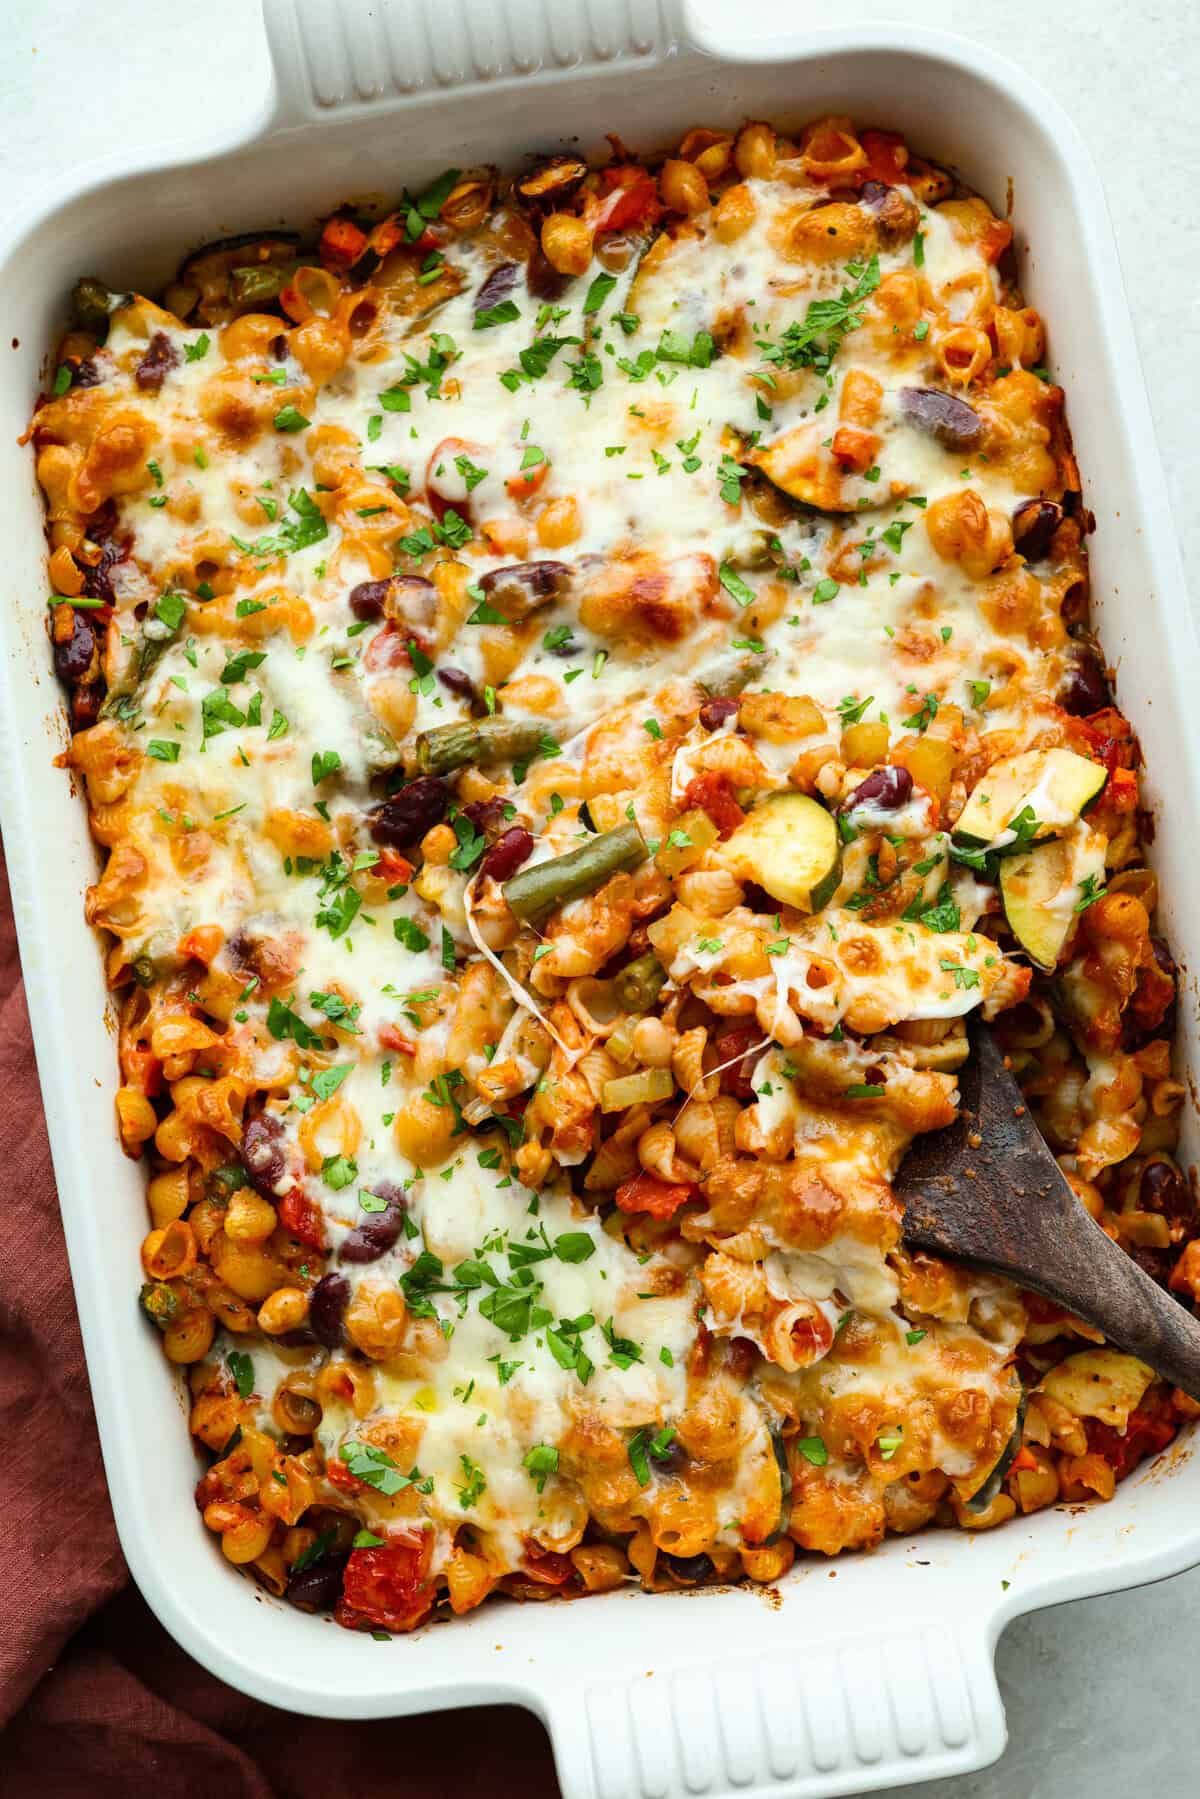
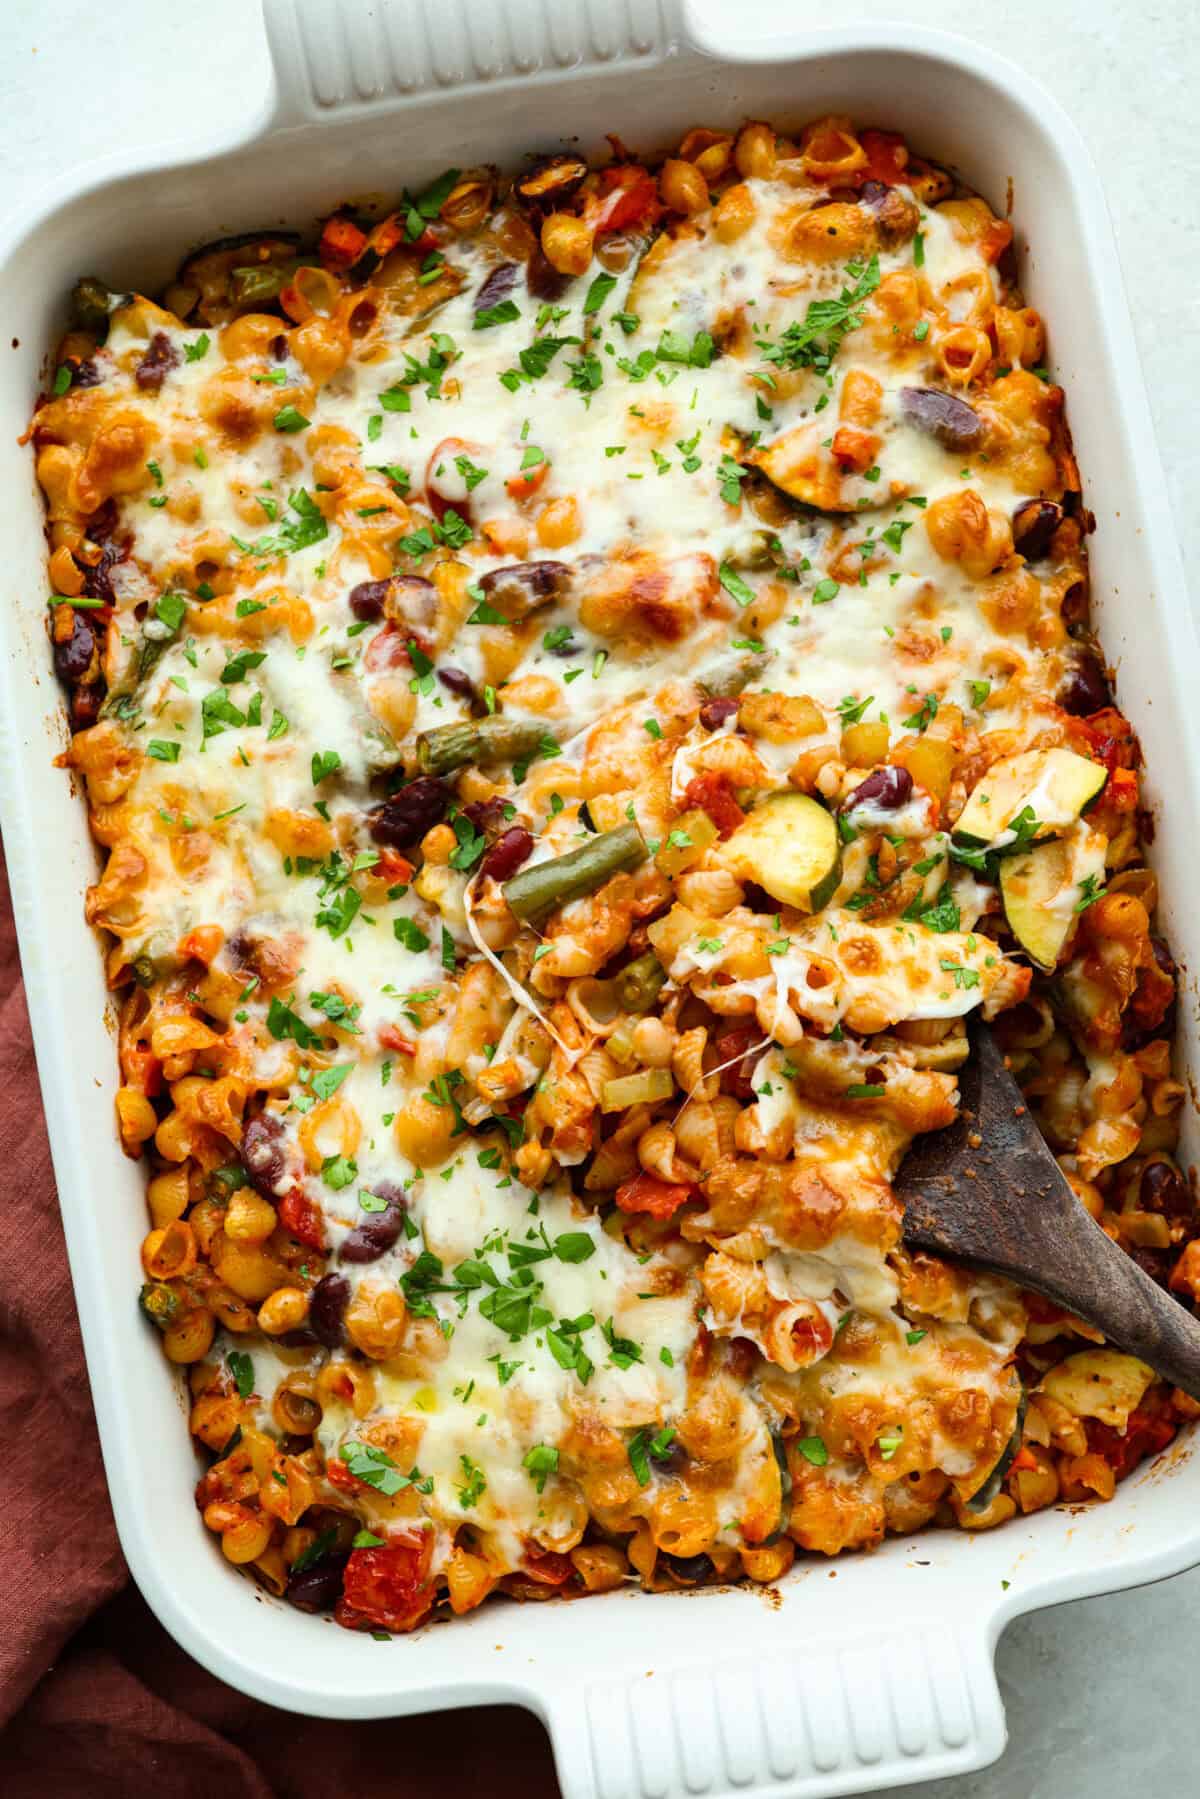
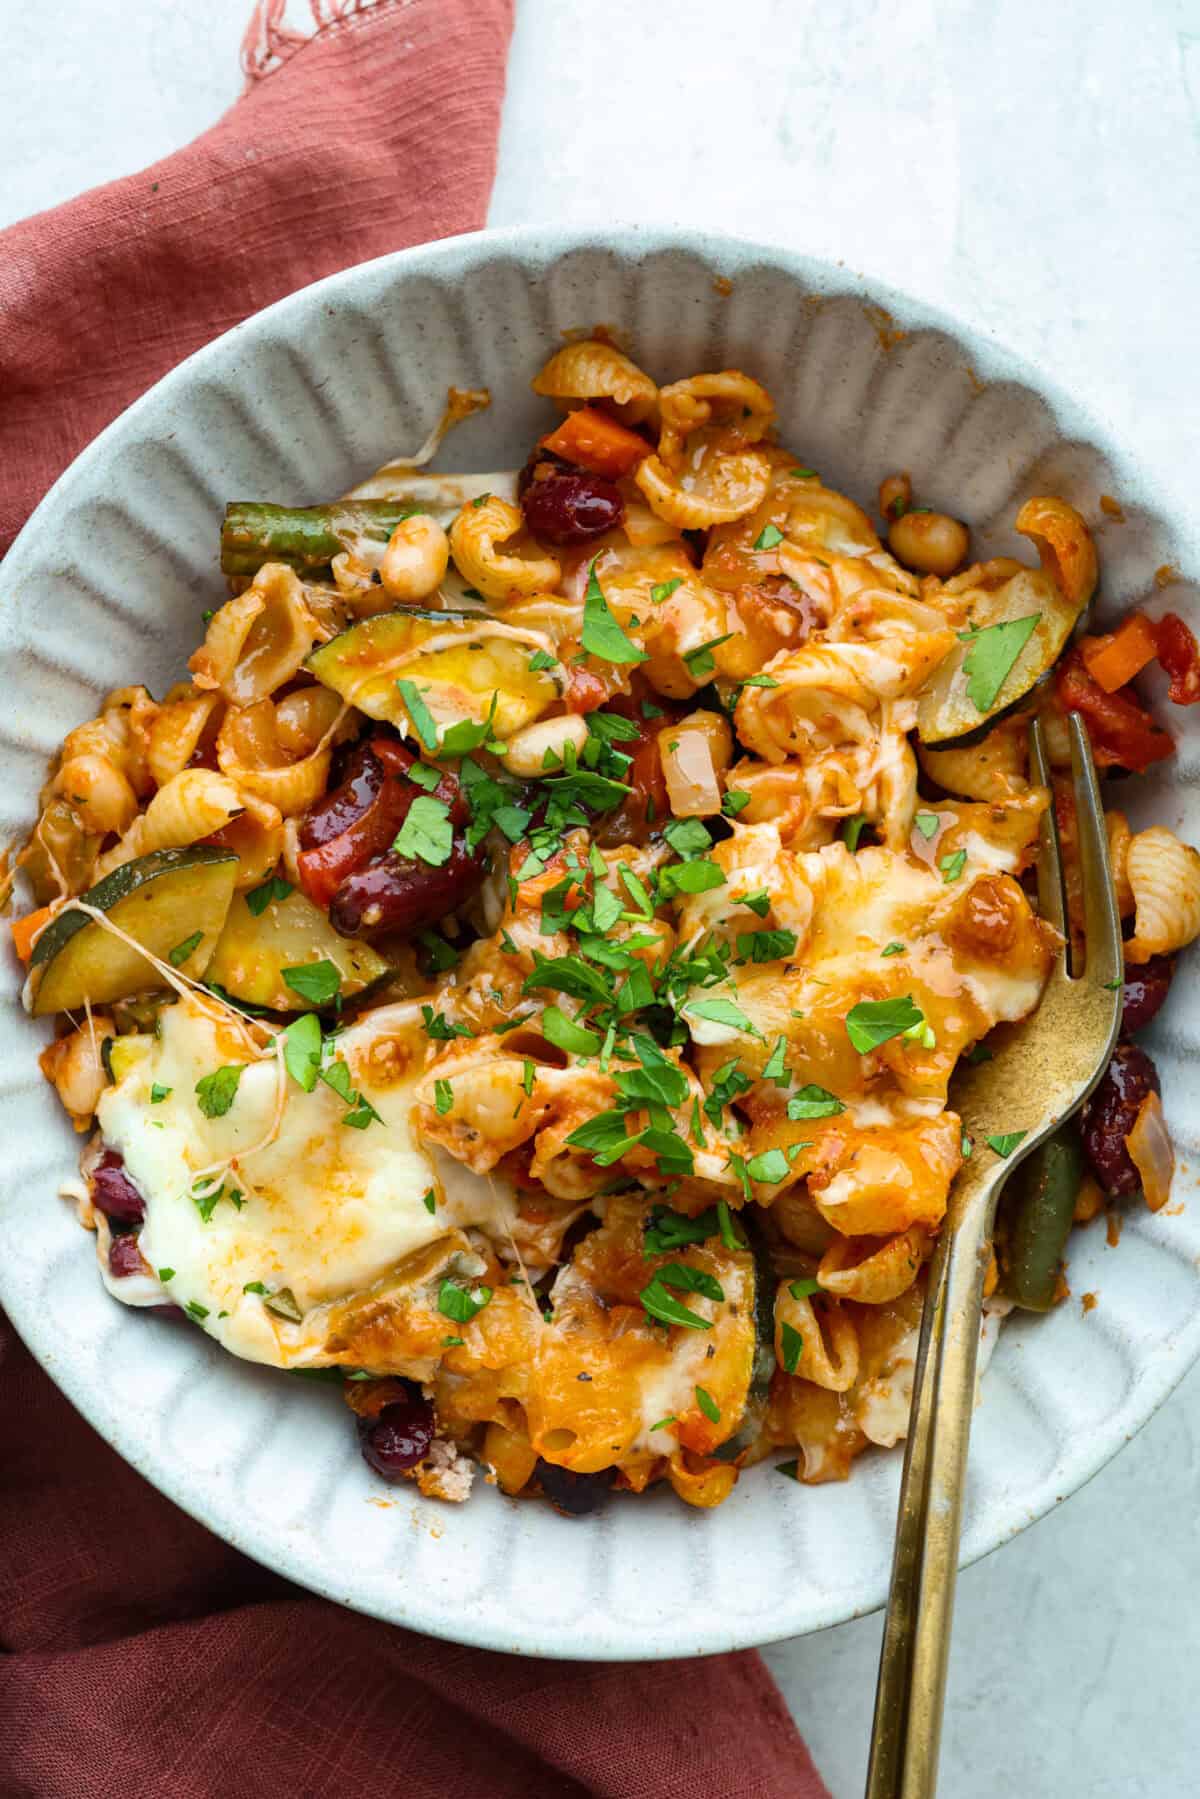
If you love my minestrone soup even a little, you have to try this minestrone casserole. It takes the cozy, veggie packed soup you already love and turns it into a hearty, cheesy pasta bake. It feels like weeknight dinner perfection.
Why You’ll Be Obsessed!
It feels familiar: All the cozy flavors of minestrone soup, just baked into a warm, cheesy pasta dish.
Easy to Make: You use simple ingredients and get dinner on the table without extra steps.
Meal Prep Hack: Make one for dinner now and freeze a second one for a night when cooking just isn’t happening.
Ingredients For Minestrone Casserole
Onions: White or yellow are classic, but shallots or red onions work if you want a milder flavor.
Extra veggies: Try mushrooms, bell peppers, or a handful of spinach or kale.
Bean swaps: Cannellini, navy, pinto, or garbanzo beans all work. Drain and rinse.
Add protein: Brown and crumble 1 pound ground beef or Italian sausage before adding veggies.
Pasta shape: Any short pasta can replace the small shells.
Green beans: Frozen or canned and drained, work just fine if you do not have fresh.
How to Make Minestrone Casserole
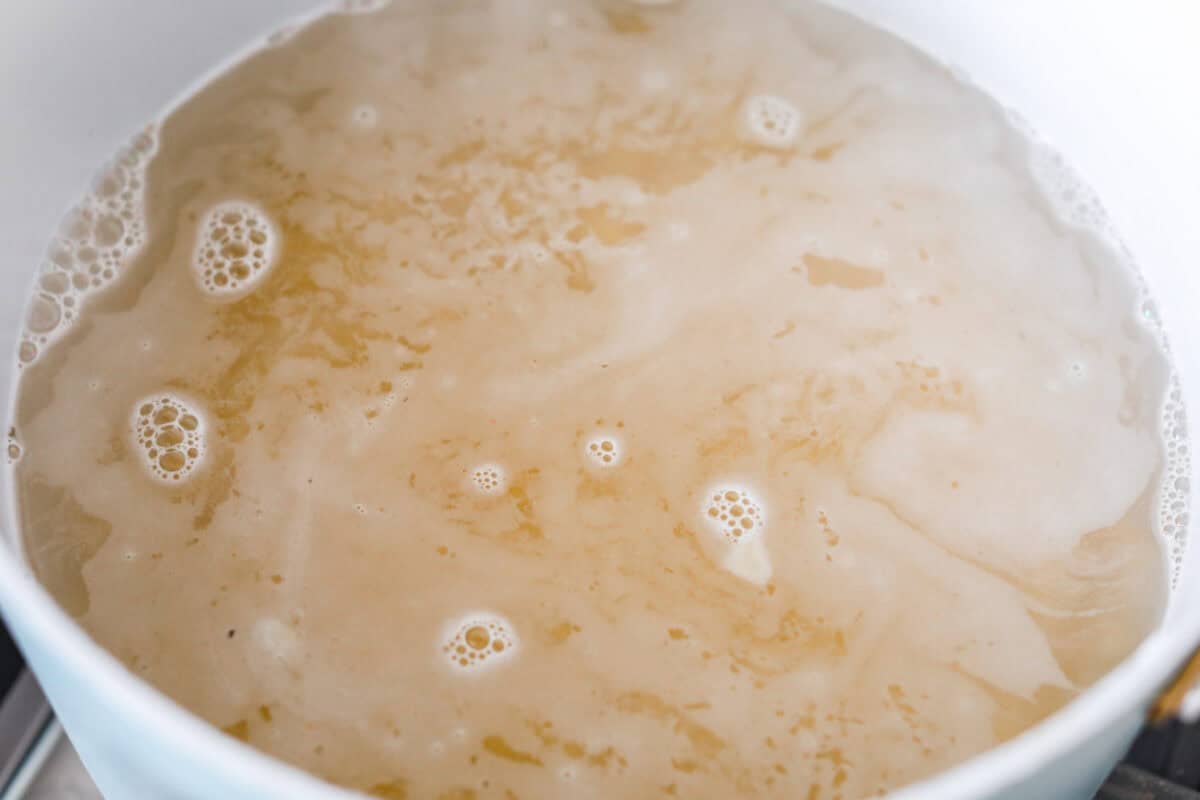
Prep & Boil: Preheat the oven to 350°F and lightly spray a 9 x 13-inch baking dish with nonstick cooking spray. Set aside. Bring a large pot of salted water to a boil and cook the pasta until al dente according to the package directions. Drain and set aside. If you like firmer pasta, cook it a few minutes less, since it will continue cooking in the oven.
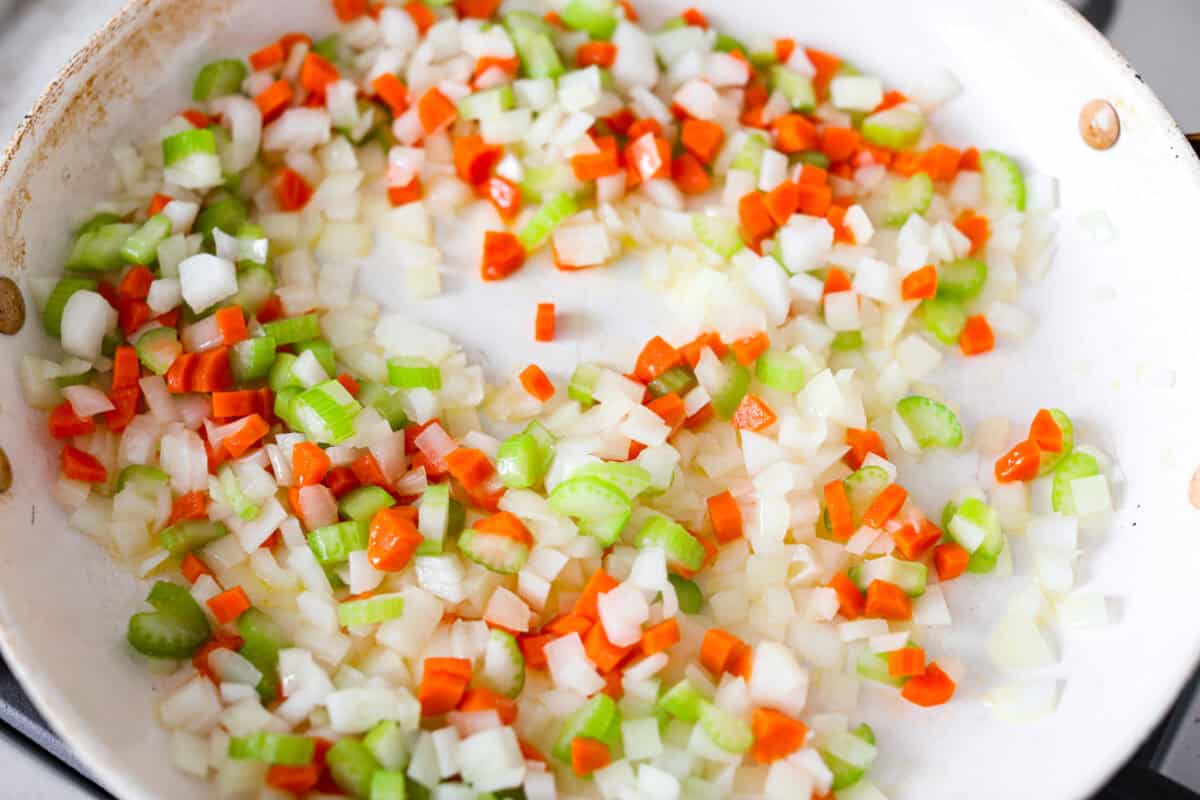
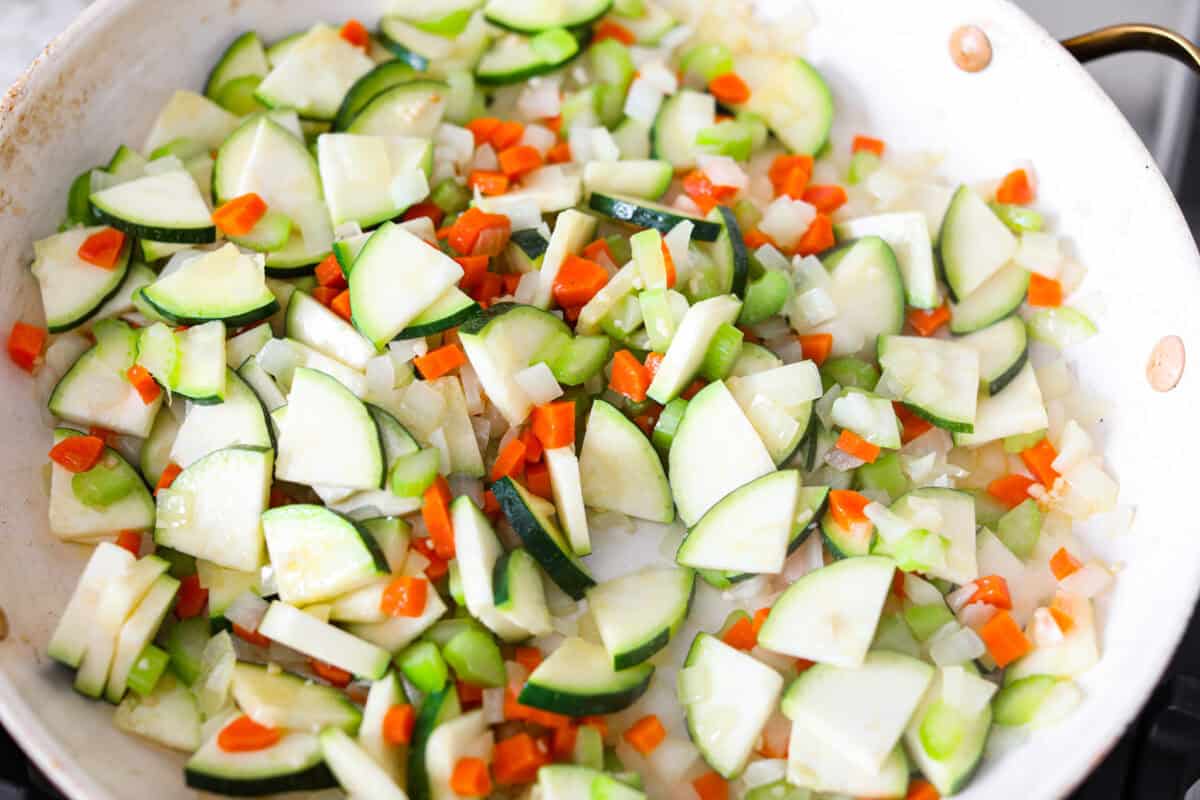
Sauté: Heat a large skillet over medium high heat with olive oil. Add the onion, carrots, and celery, then cook until the onion is softened and translucent.
Add: Stir in the garlic and zucchini and cook briefly until fragrant.
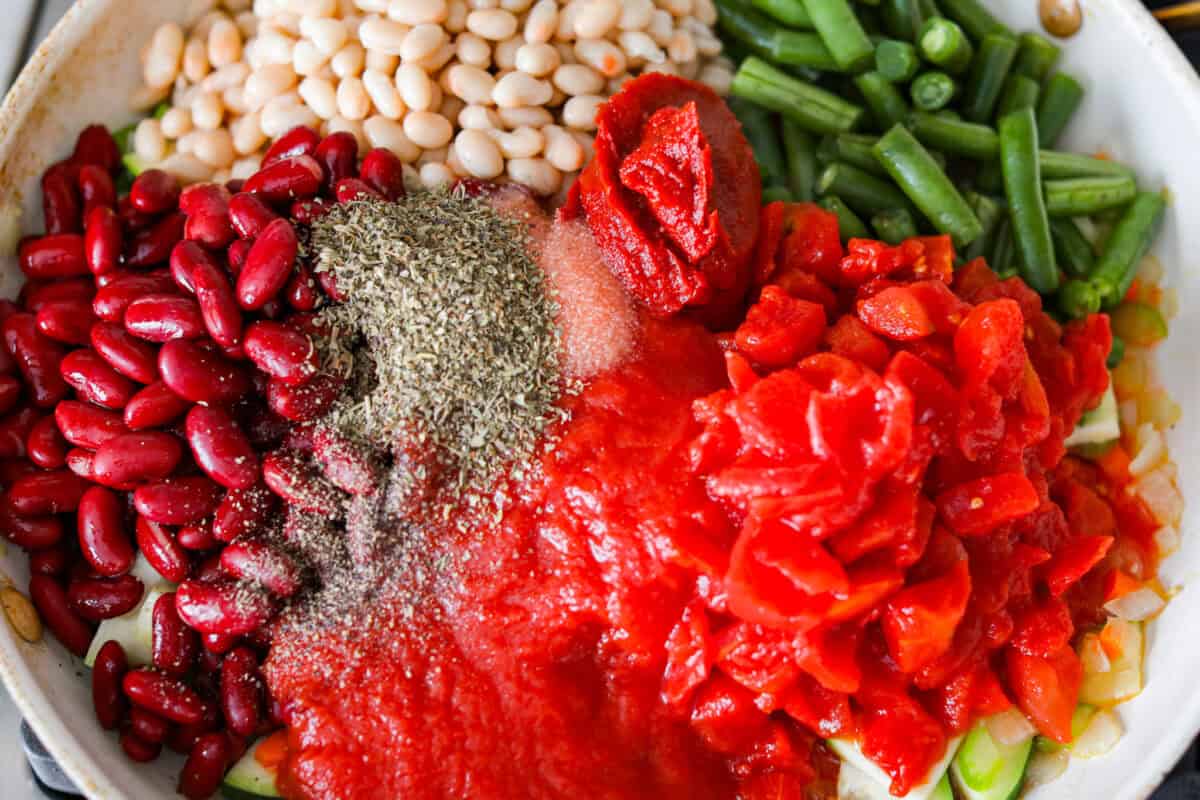
Combine: Add the green beans, beans, diced tomatoes, tomato sauce, tomato paste, Italian seasoning, salt, and pepper. Stir well, and remove from the heat.
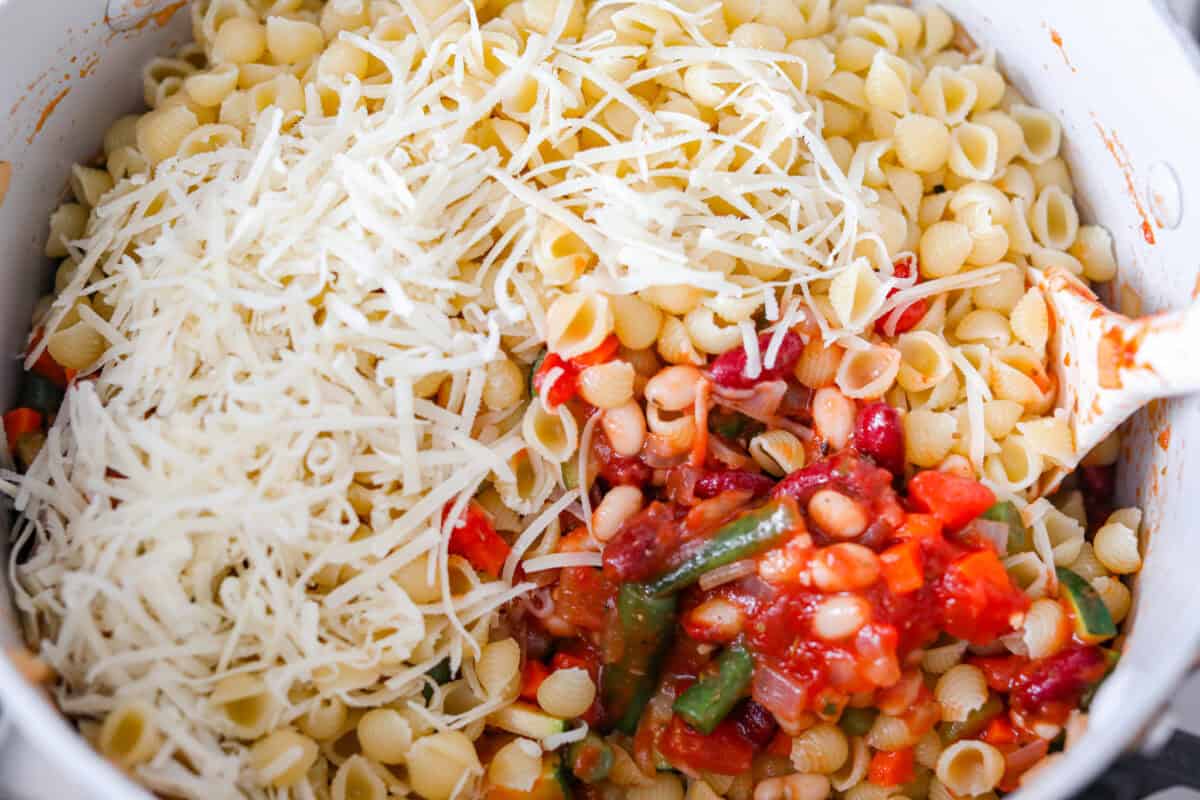
Stir: Fold in the cooked pasta and Parmesan cheese, then transfer everything to the prepared baking dish.
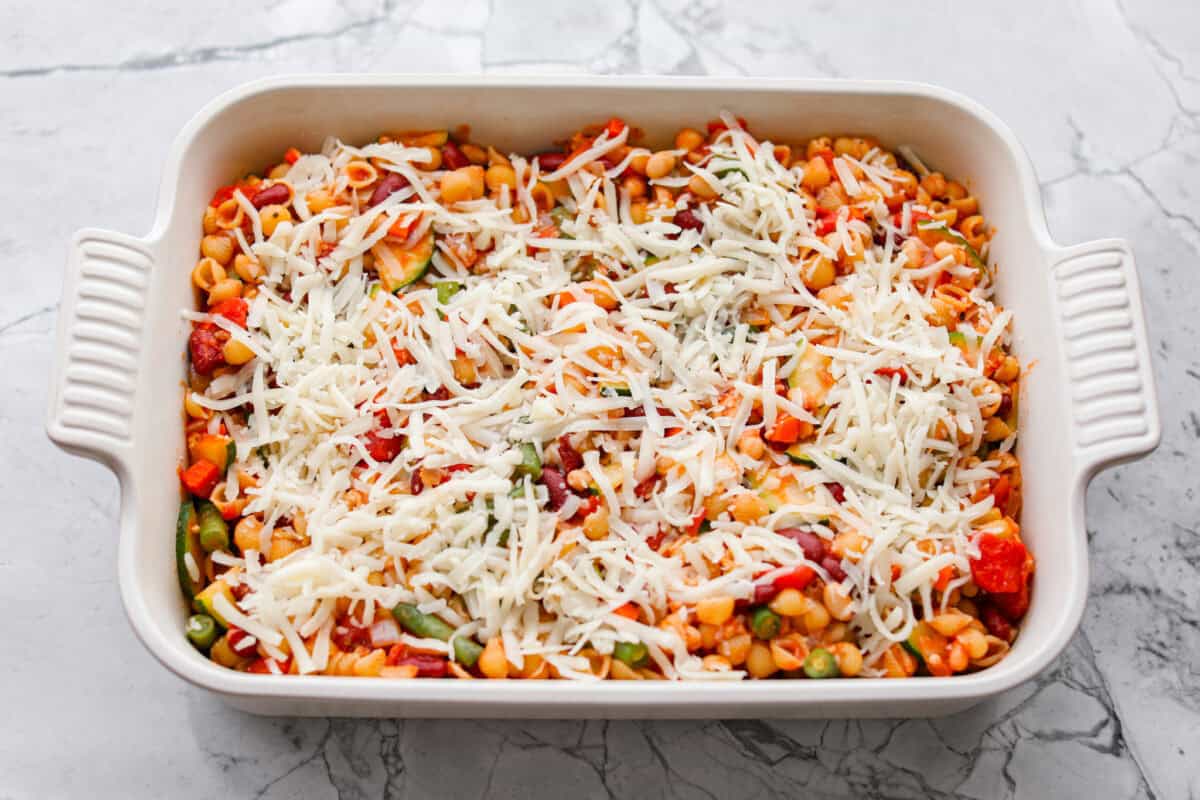
Bake: Top with mozzarella cheese and cover with foil. Bake until heated through, then uncover and continue baking until the cheese is melted, browned, and bubbly. Remove baked minestrone casserole from the oven, garnish with fresh parsley if desired, and serve warm.
Alyssa’s Pro Tip
Perfect Pasta: I like to cook the pasta a few minutes less than the package says. It finishes cooking in the oven and stays perfectly firm instead of soft.
Preheat the oven to 350 degrees Fahrenheit. Spray a 9 x 13-inch baking dish with nonstick cooking spray, then set aside.
Bring a large pot of salted water to a rolling boil over high heat, and add 3 cups small shell pasta. Cook as directed on the package for al dente, then drain and set aside. If you prefer more bite to your pasta, I recommend cooking it a few minutes less than called for, since it will continue to cook in the oven.
Heat a large 14-inch skillet over medium-high heat, then add 2 tablespoons olive oil. Add 1 cup diced onion, ½ cup diced carrots, and ½ cup diced celery to the skillet and cook for 2-3 minutes, until the onion is translucent.
Add 1 tablespoon minced garlic and 1 ½-2 cups sliced zucchini, then cook for 2 minutes.
Add 1 cup chopped fresh green beans, 1 (15-ounce) can red kidney beans, 1 (15-ounce) can navy beans, 1 (15-ounce) can diced tomatoes, 1 (8-ounce) can tomato sauce, 3 tablespoons tomato paste, 2 teaspoons Italian seasoning, 1 teaspoon salt, and ½ teaspoon ground black pepper to the skillet and stir to combine.
Remove from the heat and stir in the reserved pasta and ½ cup grated Parmesan cheese. Transfer to the prepared baking dish.
Sprinkle 2 cups shredded mozzarella cheese evenly over the top and cover with aluminum foil. Bake for 25 minutes. Remove the foil and bake for an additional 15 minutes, until the cheese on top is melted, browned, and bubbling.
Remove the casserole from the oven and garnish with chopped fresh parsley before serving.
Notes
Storing Leftovers & Make Ahead Instructions (24 HR or Freezer Meal)
Fridge: Store leftovers in an airtight container for up to 7 days. Reheat covered at 350°F for 20–25 minutes, or microwave in 30-second intervals until heated through to 165°F.
Make Ahead or Freezer Meal Instructions: Assemble through step 7 and let cool completely. Cover tightly and refrigerate up to 24 hours or freeze up to 3 months. Bake as directed, adding about 15 minutes if refrigerated, or 25–30 minutes if frozen, then uncover and bake until bubbly and the center reaches 165°F.
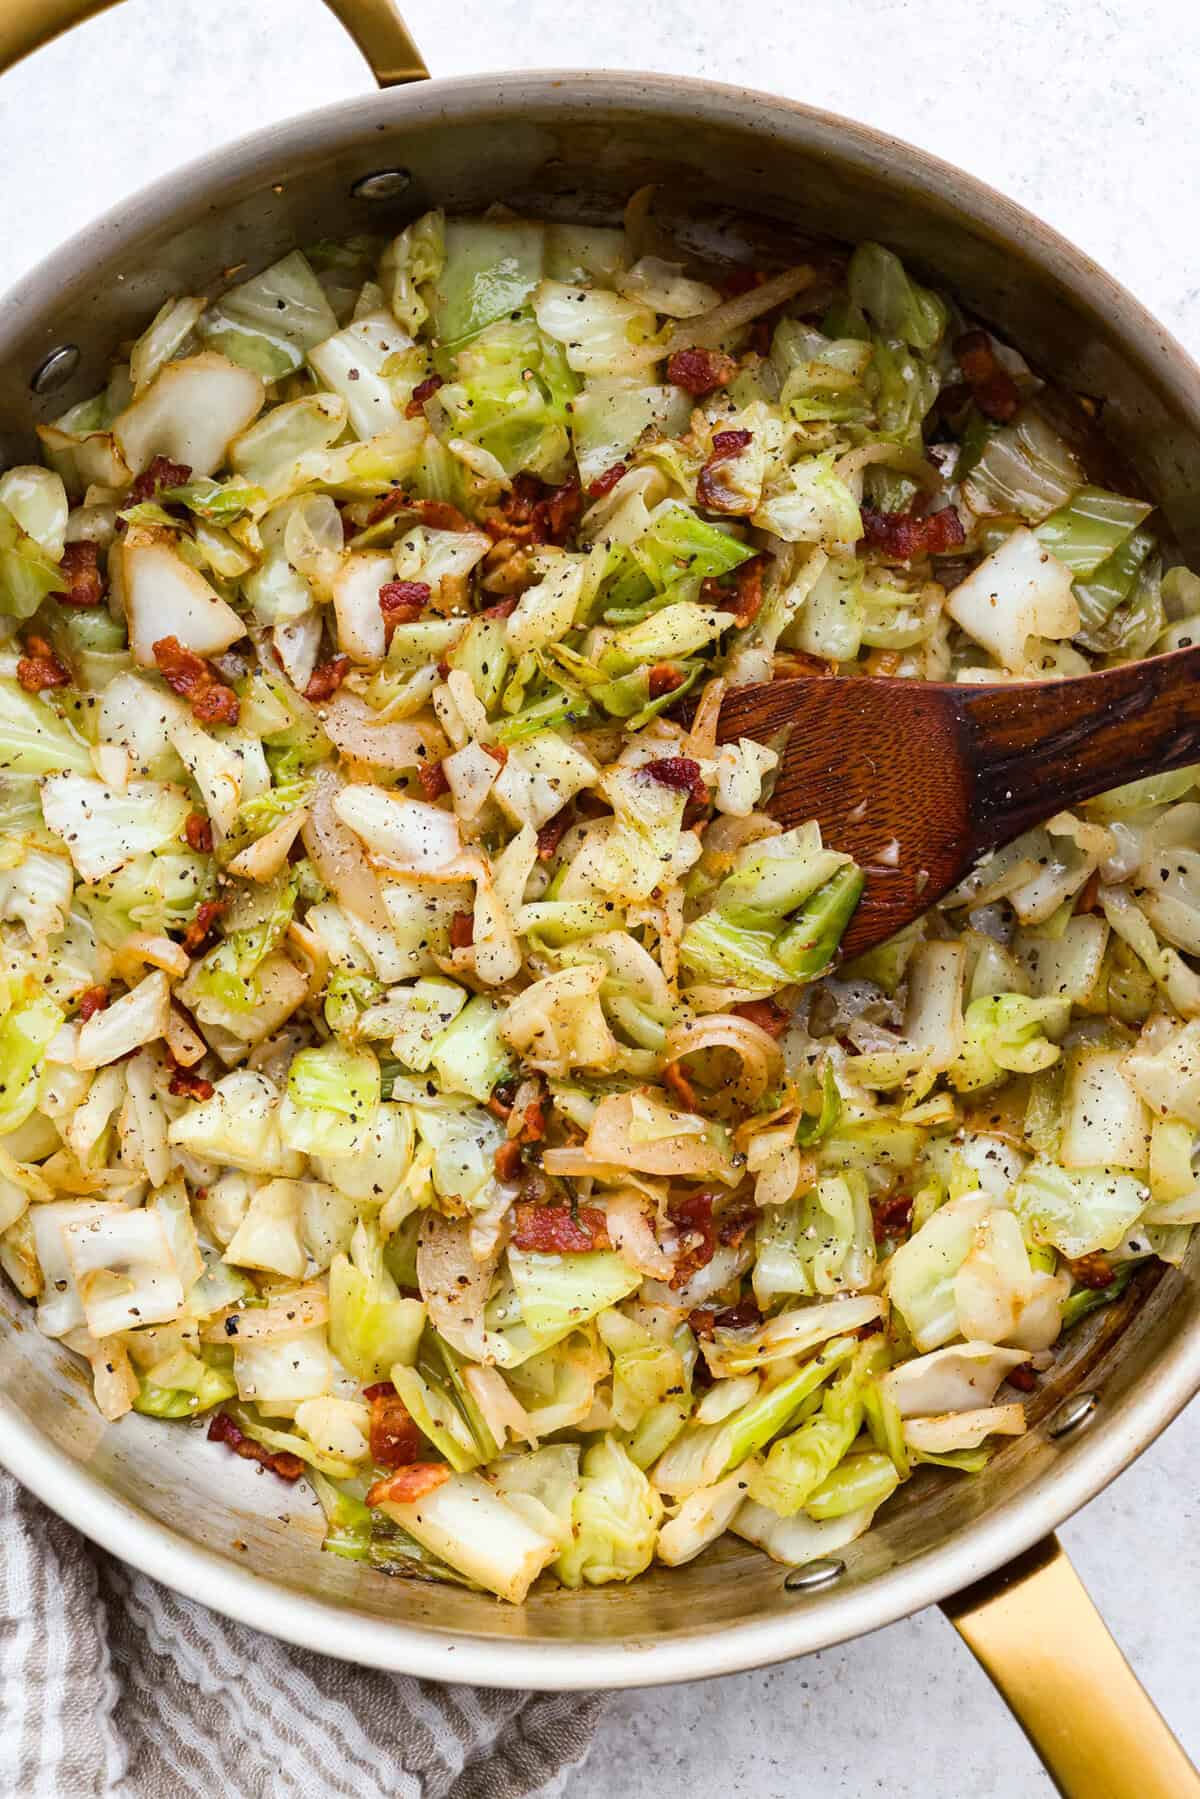
You don’t need fancy ingredients to make something great, and this fried cabbage proves that! Bacon, cabbage, a little seasoning, and a hot skillet. That’s it. And it works every single time.
Proof Cabbage Deserves the Spotlight
Bacon Makes it Better: Crispy bacon and a little reserved bacon grease add rich, savory flavor that turns tender cabbage into something SO good.
Quick and Weeknight-Friendly: From start to finish, this recipe is ready in about 25 minutes, making it great for busy dinners or last-minute sides.
Bacon: Frying the bacon first adds flavor to the cabbage!
Granulated Sugar: A hint of sugar helps to balance the flavors and cut through any bitterness from the cabbage.
Want a Little Heat? Add some red pepper flakes!
How to Make Fried Cabbage
This recipe comes together fast with just a few basic steps. Everything cooks in one skillet, making prep and cleanup nice and simple. I love using cabbage because it is cheap and naturally high in fiber, which makes this cozy side surprisingly filling.
Cook the Bacon: In a large skillet, add the diced bacon and cook until fried and crispy, about 7-8 minutes. Remove the bacon from the skillet and set it aside. Drain off most of the bacon grease, but leave about 2 tablespoons in the skillet to cook the onion and cabbage.
Cook the Onion and Cabbage: Add the sliced onion and cabbage to the skillet. Cook and stir until the onion and cabbage are tender, about 8 minutes.
Season: Add granulated sugar, kosher salt, and black pepper, then cook for 2 minutes.
Serve: Add the cooked bacon back to the skillet, stir to combine, then serve the fried cabbage warm and enjoy!
Alyssa’s Pro Tip
Don’t Overcrowd the Pan! Cook the cabbage in a wide pan with enough space, so it softens and lightly browns instead of steaming.
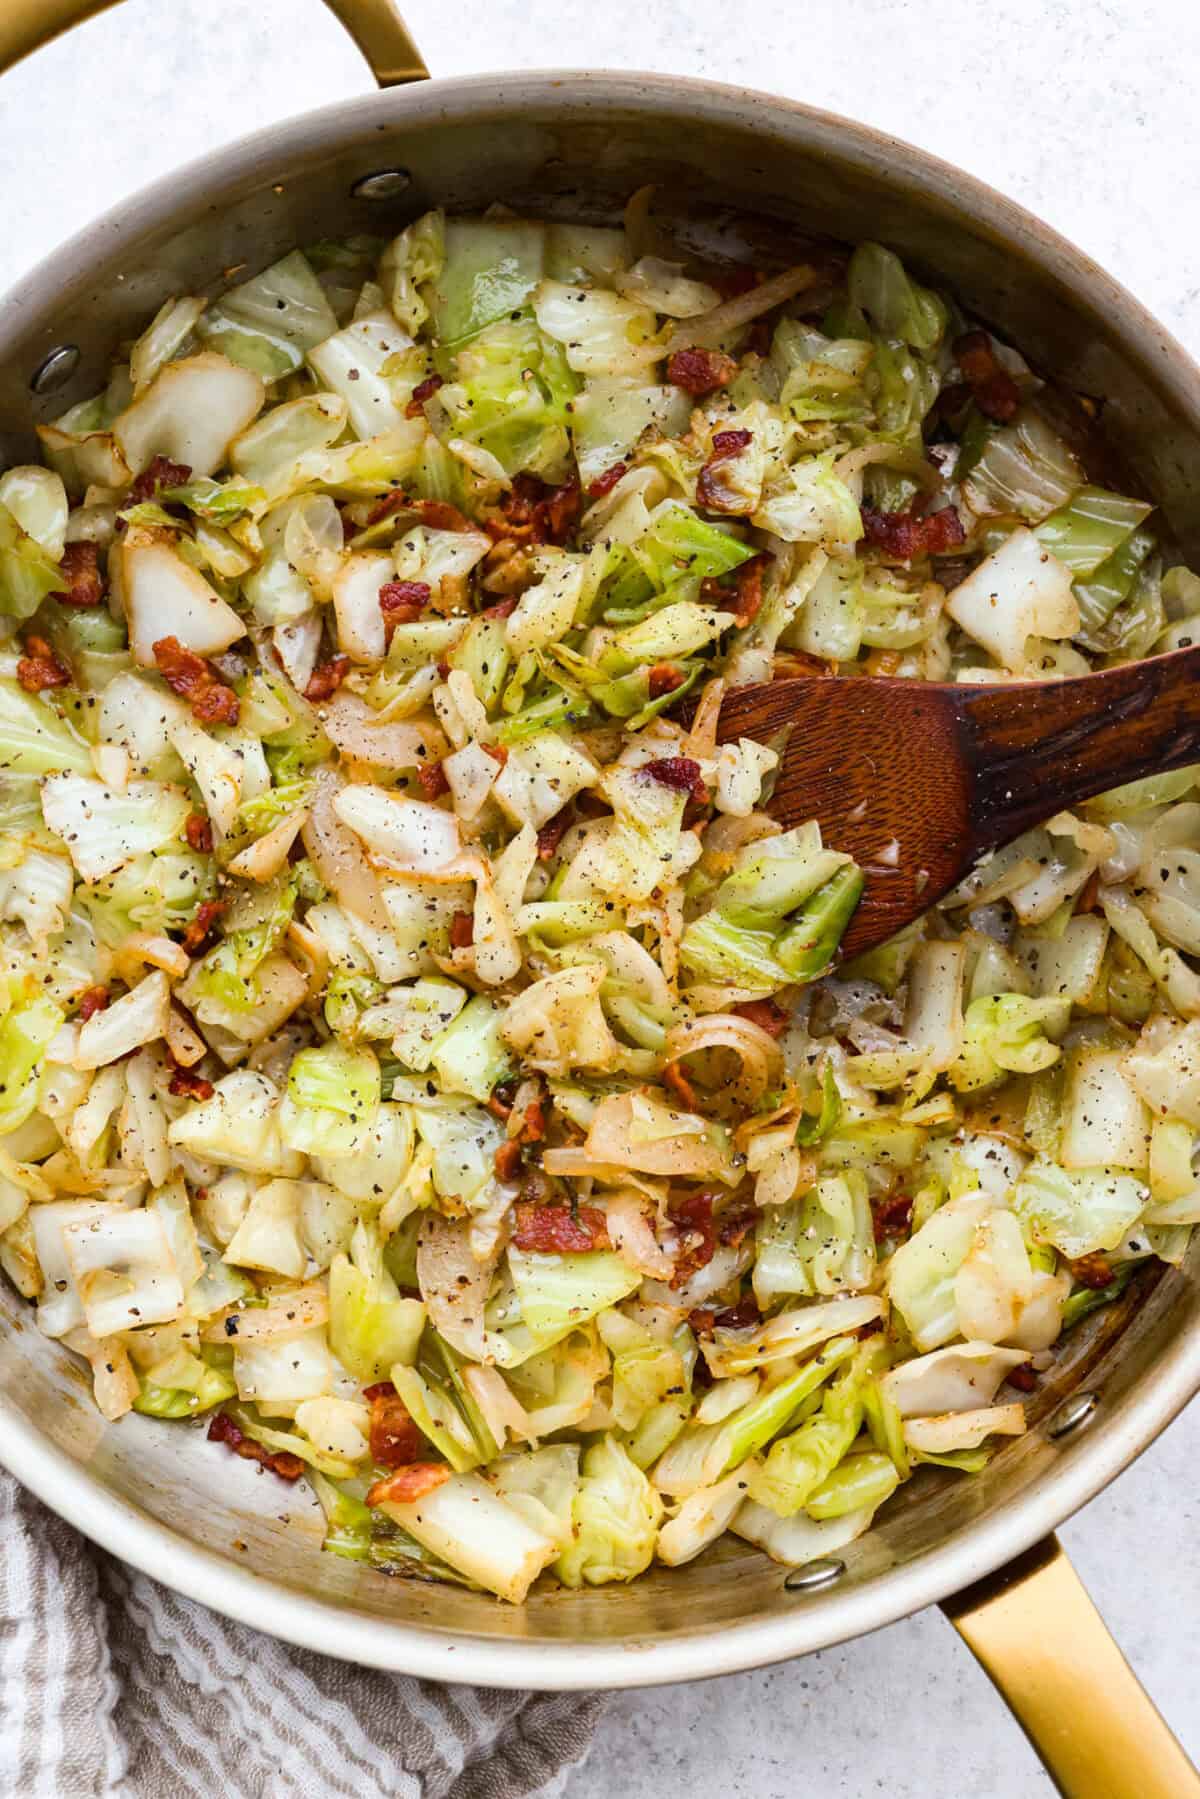
This one-pan fried cabbage is rich, savory, and slightly sweet. The bacon adds depth, the cabbage cooks down tender, and it’s ready in under 30 minutes.
¼teaspoonfreshly ground black pepperor more to taste
Instructions
In a large skillet, add 6 slices diced thick-cut bacon and cook until fried and crispy, about 7-8 minutes. Remove the bacon from the skillet and set it aside. Remove most of the bacon grease from the skillet, but leave 2 tablespoons of bacon grease to cook the onion and cabbage.
Add ½ medium sliced yellow onion and 6 cups chopped green cabbage to the skillet. Cook and stir until the onion and cabbage are tender, about 8 minutes.
Season with 1 teaspoon granulated sugar, ½ teaspoon kosher salt, and ¼ teaspoon freshly ground black pepper, and cook for 2 minutes.
Add the cooked bacon back to the skillet and stir to combine. Serve warm and enjoy!
Notes
Storage & Reheating Instructions
In the Refrigerator: Store any cooled leftovers in an airtight container. They will keep for up to 4 days in the fridge.
Reheating: To keep your cabbage from becoming soggy, I recommend reheating it over the stove on medium heat until warmed through.
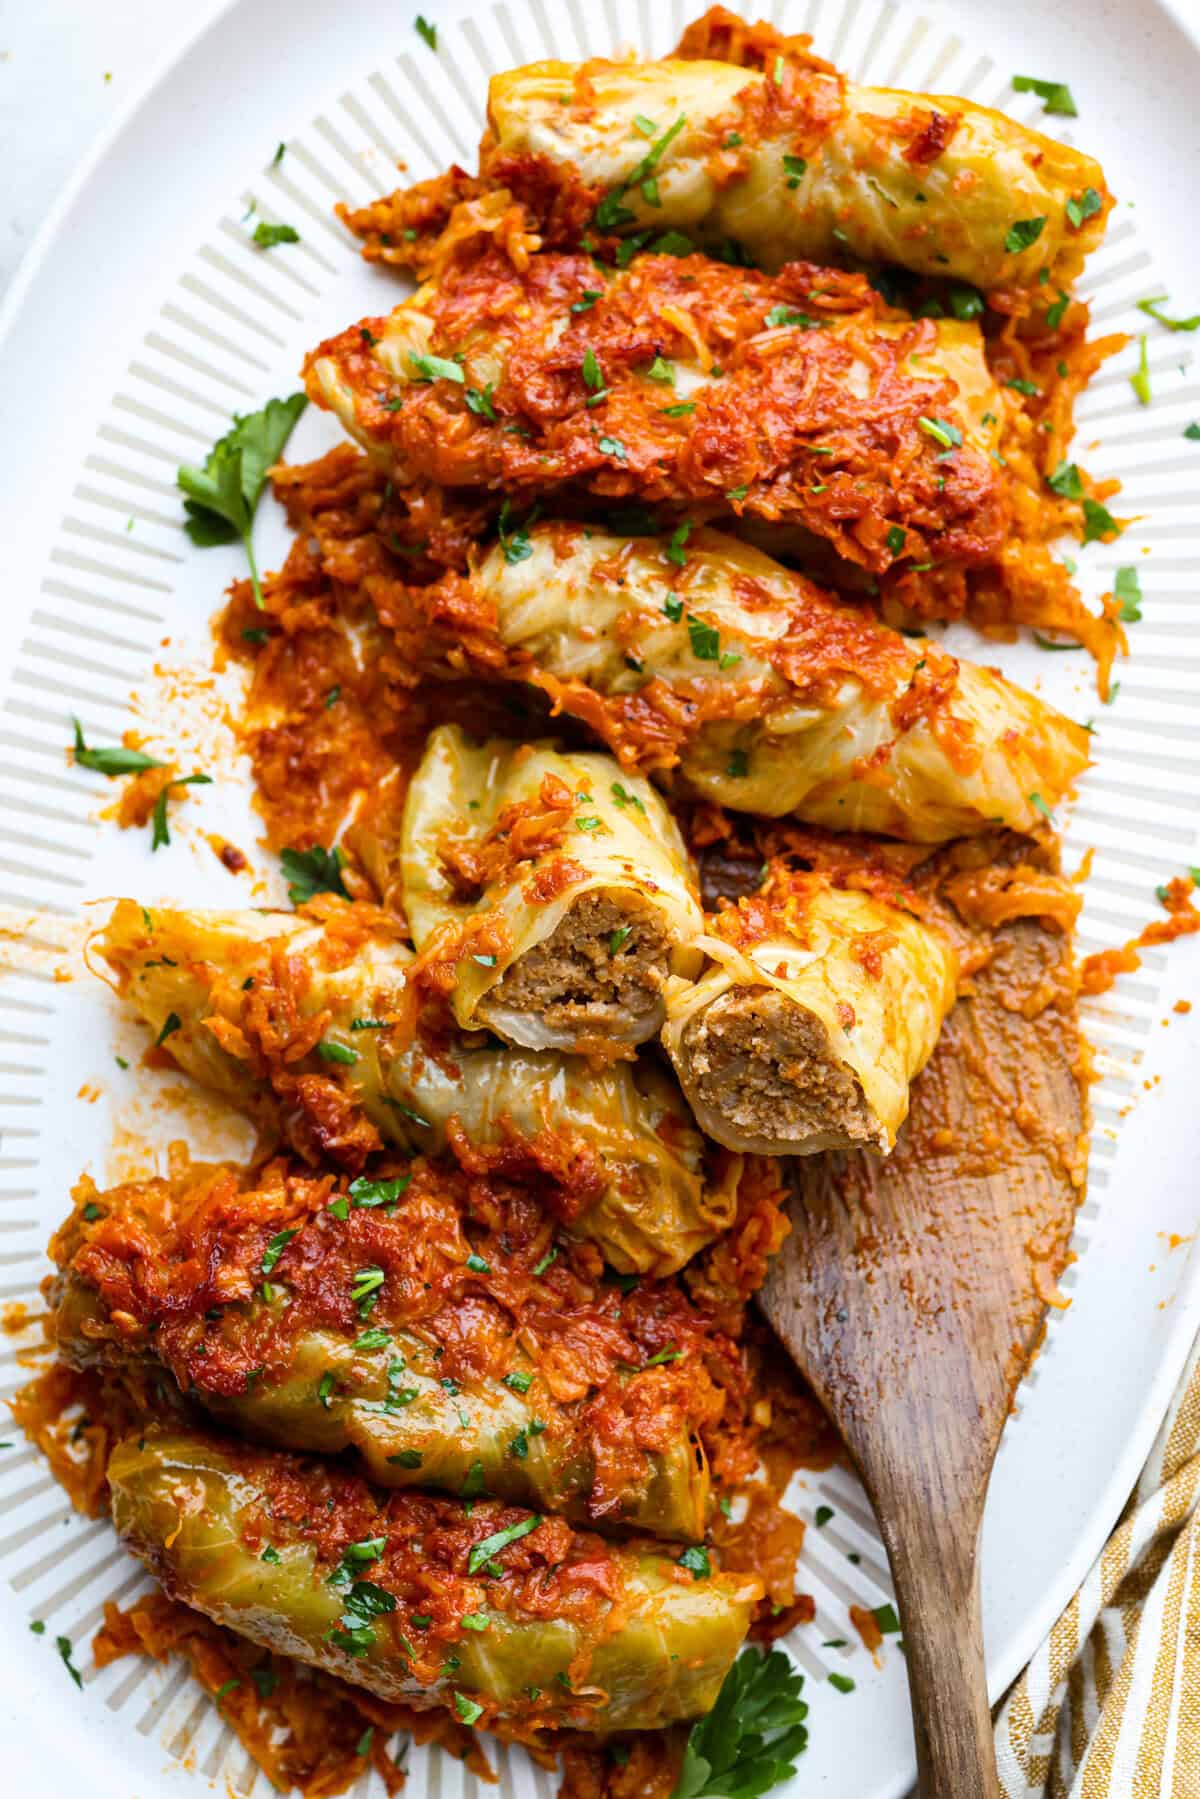
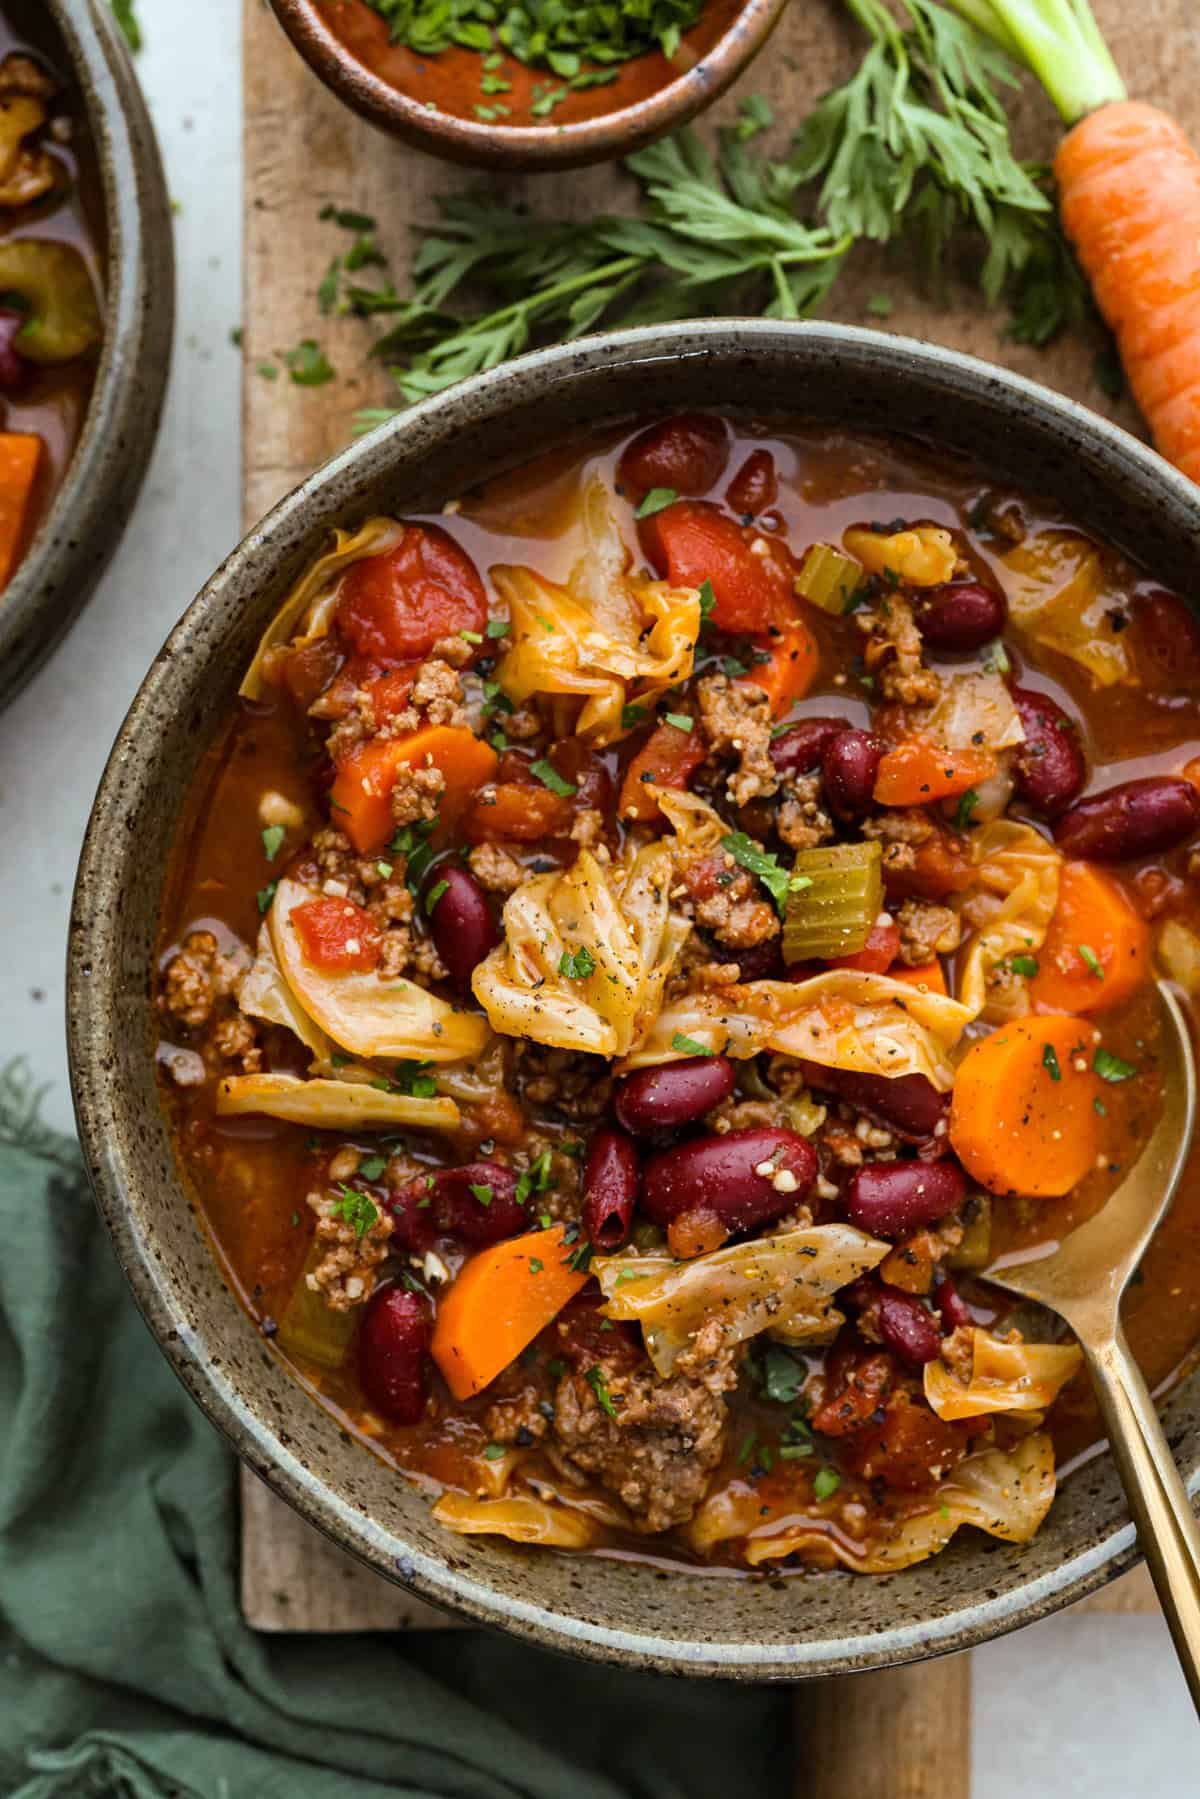
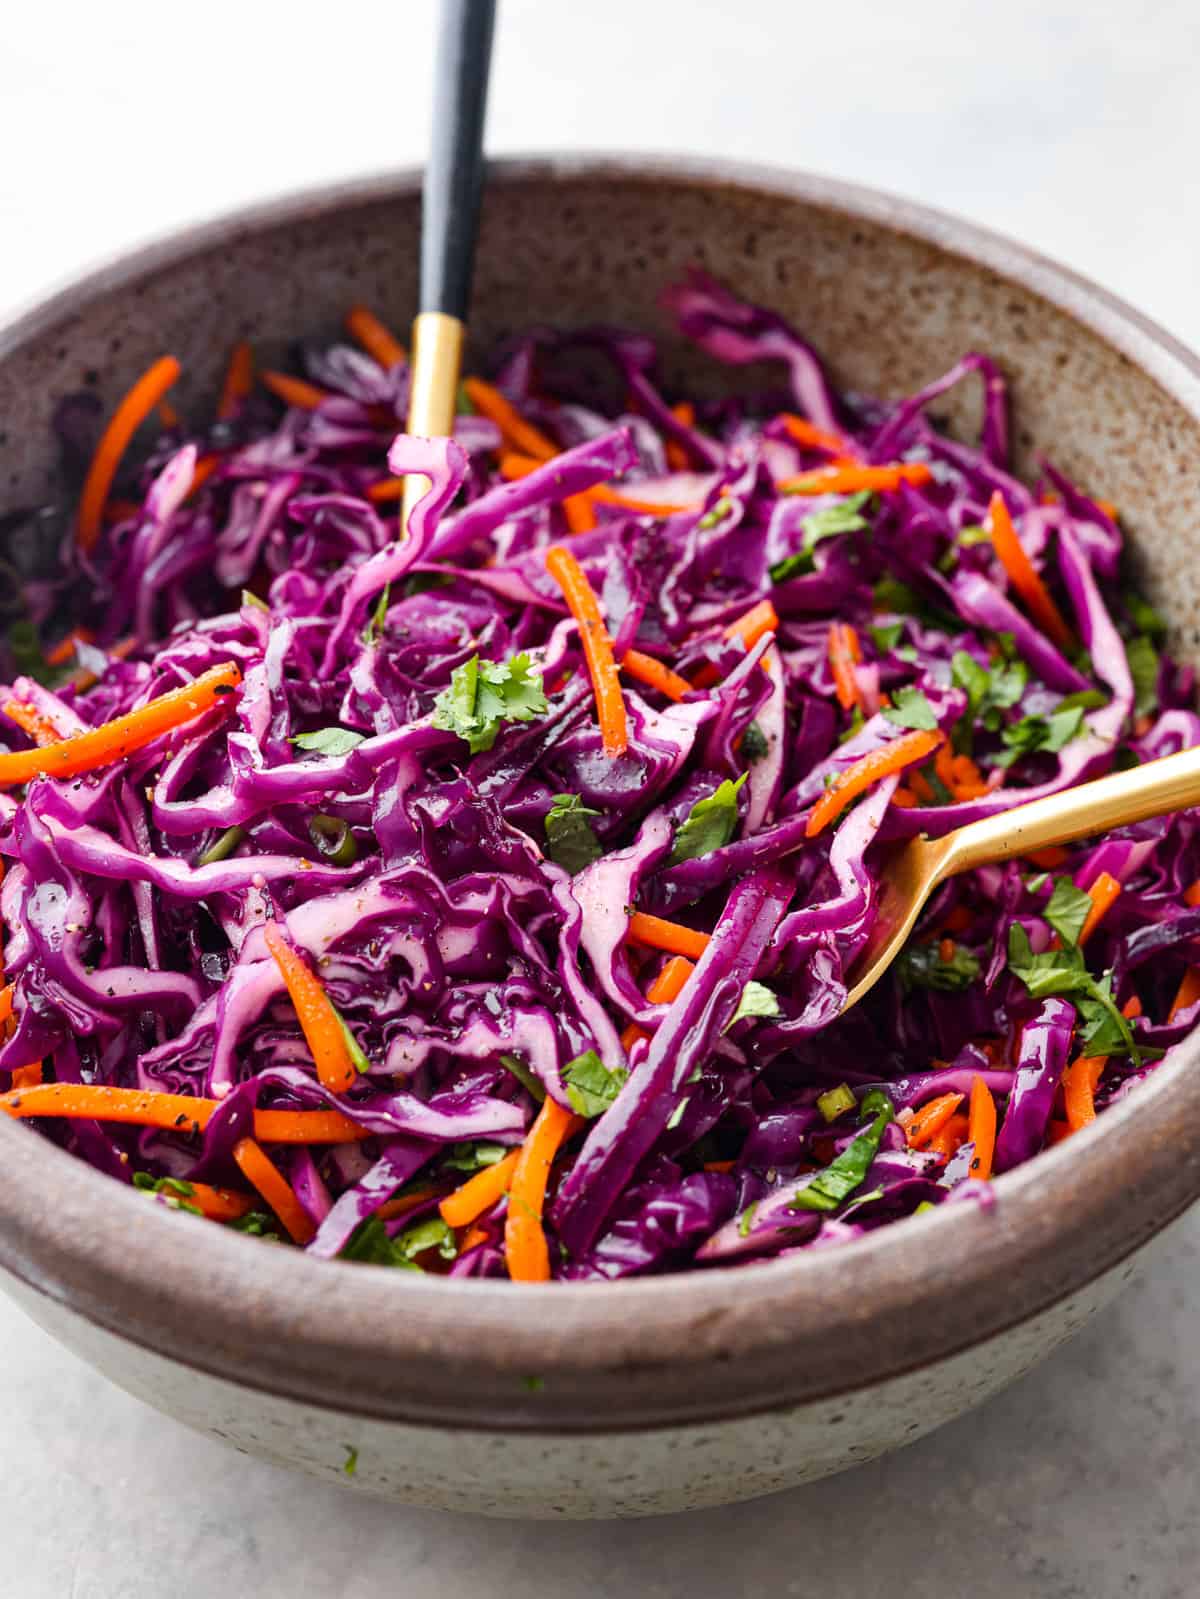
Cabbage is one of those veggies that goes a long way. It’s cheap, easy to cook, and works in so many meals! Here are a few more cabbage recipes to try next.
Stop what you are doing right now, and make this Crack Chicken and Rice soup! With tender chicken, rice, creamy cheese, crispy bacon, and bold ranch flavor, this easy one-pot recipe is addictively delicious!
What Makes This Soup So Addictive
Creamy, cheesy, and irresistible: This soup brings all the flavors of your favorite crack chicken dip and casserole into a warm, cozy bowl.
One-pot, low effort: Everything comes together in a single pot, making it perfect for busy nights.
Crazy Delicious! If you love crack chicken pasta, this soup has those same savory, ranch-seasoned flavors everyone goes crazy for.
Crack Chicken & Rice Soup Ingredients
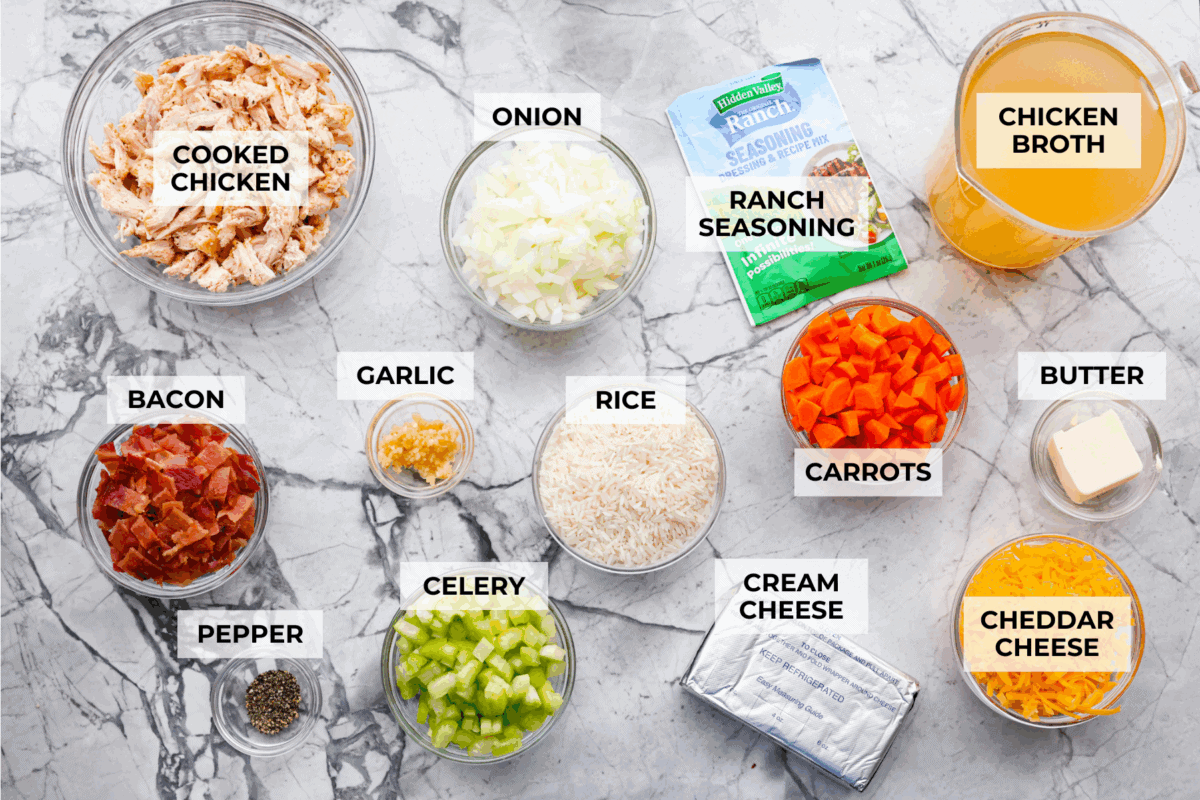
Cream Cheese: Use softened and cubed cream cheese so it melts evenly into the soup.
Rice Alternative: You can use Orzo or cauliflower rice for a low-carb option. Note that the cooking time will be reduced to 8-12 minutes.
Bacon: I love using pre-cooked bacon because it’s so quick and convenient.
Chicken: Leftover rotisserie chicken is great for this recipe. Any pre-cooked chicken will work.
How to Make Crack Chicken and Rice Soup
If you love my classic crack chicken soup, you’re going to adore this version with hearty rice added in. It’s just as creamy, cheesy, and flavorful, but a little more filling thanks to the tender rice.
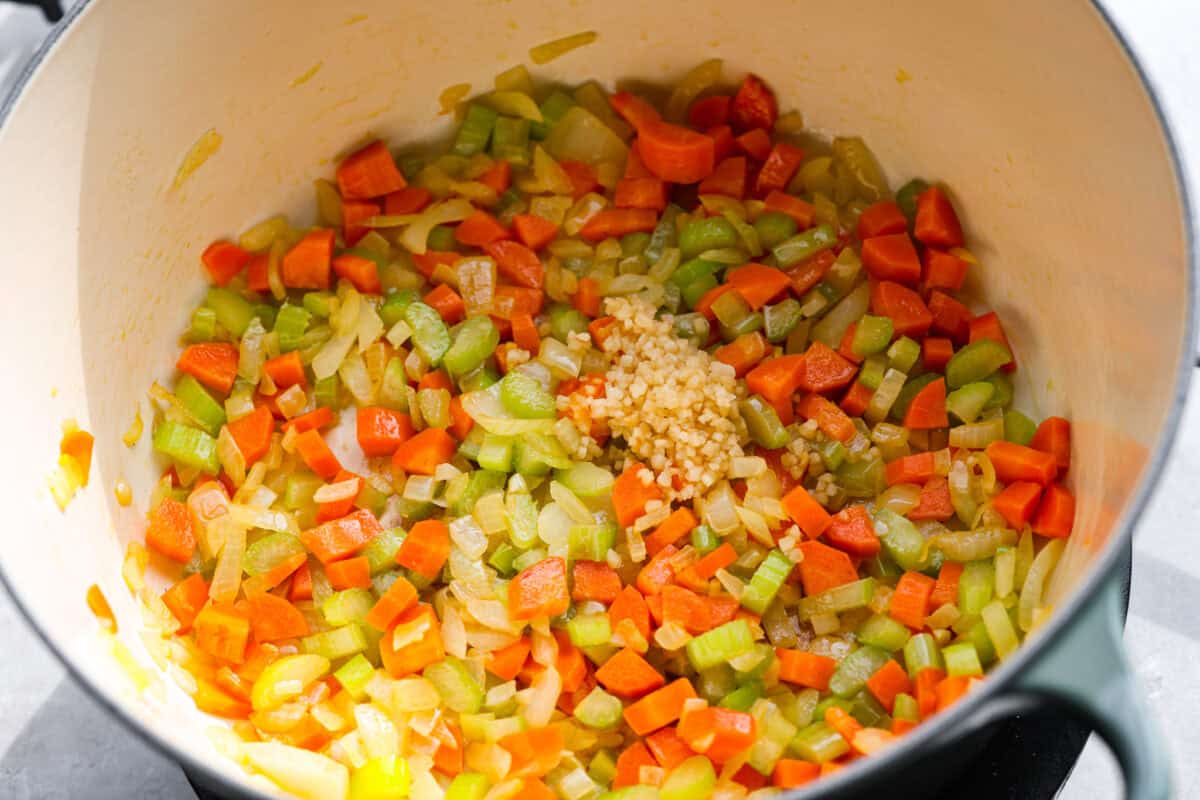
Sauté Veggies: Heat a large pot over medium-high heat and then melt the butter. Add diced yellow onion, celery, and carrots to the pot. Cook the vegetables until they are softened, about 5 minutes. Add minced garlic and cook for 1 minute.
Simmer: Bring to a boil, then stir in uncooked long-grain white rice. Reduce the heat, and simmer for 20-25 minutes, until the rice is tender.
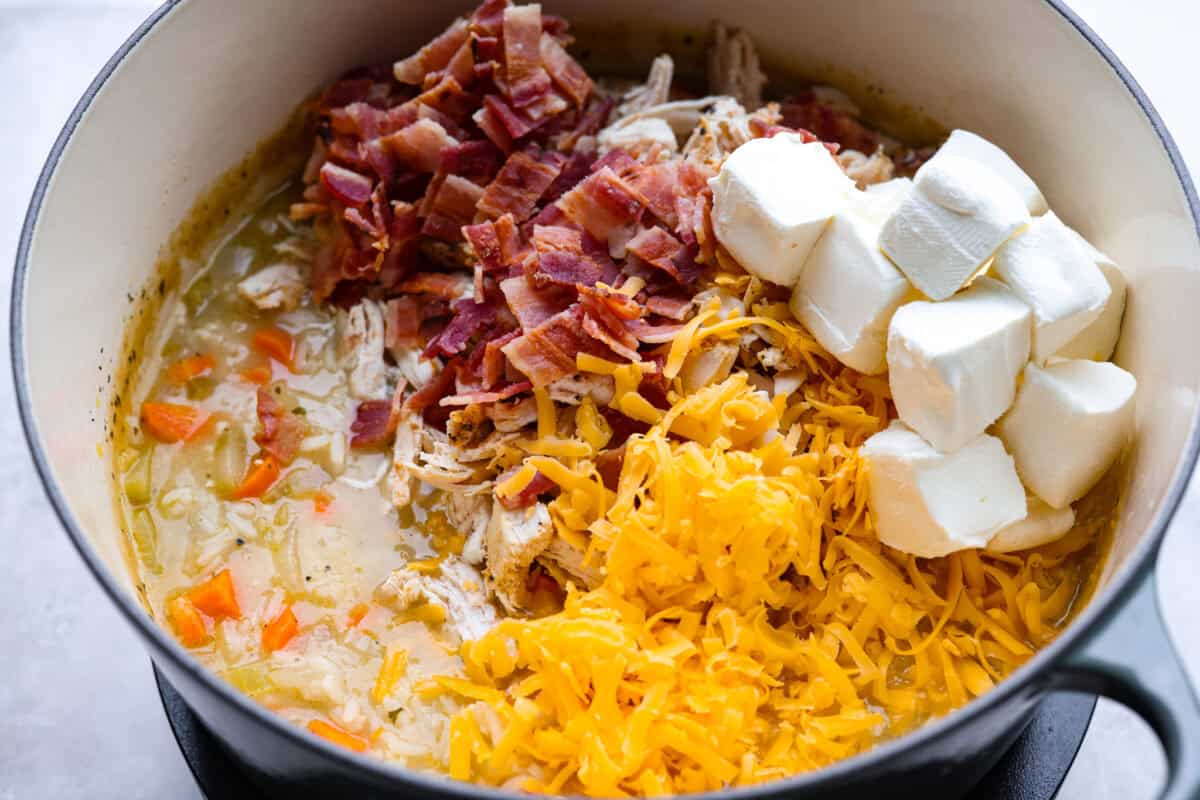
Add: Add cooked shredded chicken, softened cream cheese, shredded cheddar cheese, and cooked bacon to the pot. Cook and stir until the cheeses are melted and everything is combined. Serve crack chicken and rice soup warm.
Slow Cooker & Instant Pot Instructions
Slow Cooker
Sauté the veggies in the butter for 3-4 minutes.
Add them to the slow cooker with the other ingredients, except for the cream cheese, shredded cheddar, and bacon.
Cook on low for 3-4 hours. Add the cream cheese, shredded cheese, and cooked bacon during the last 30 minutes of cooking.
Instant Pot
Cook the veggies in the butter on sauté mode for 3-4 minutes.
Add the remaining ingredients except for the cream cheese, shredded cheddar, and bacon.
Pressure cook on high for 8 minutes. Quick release, then stir in cream cheese, shredded cheddar, and cooked bacon.
Heat a large pot over medium-high heat and melt 2 tablespoons butter. Add 1 medium diced yellow onion, 2 ribs diced celery, and 2 large diced carrots to the pot. Cook the vegetables until they are softened, about 5 minutes. Add 2 teaspoons minced garlic and cook for 1 minute.
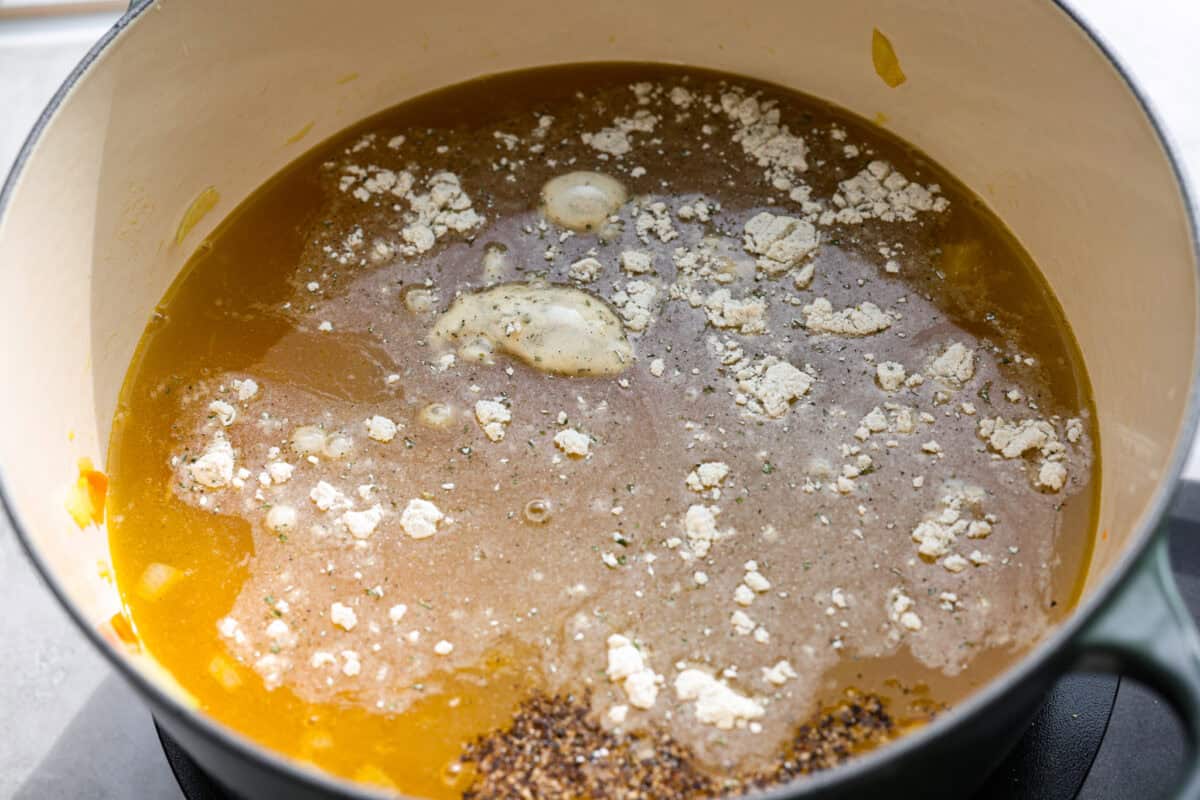
Add 8 cups chicken broth, 1 (1-ounce) package dry ranch dressing, and ½ teaspoon black pepper to the pot and stir to combine.
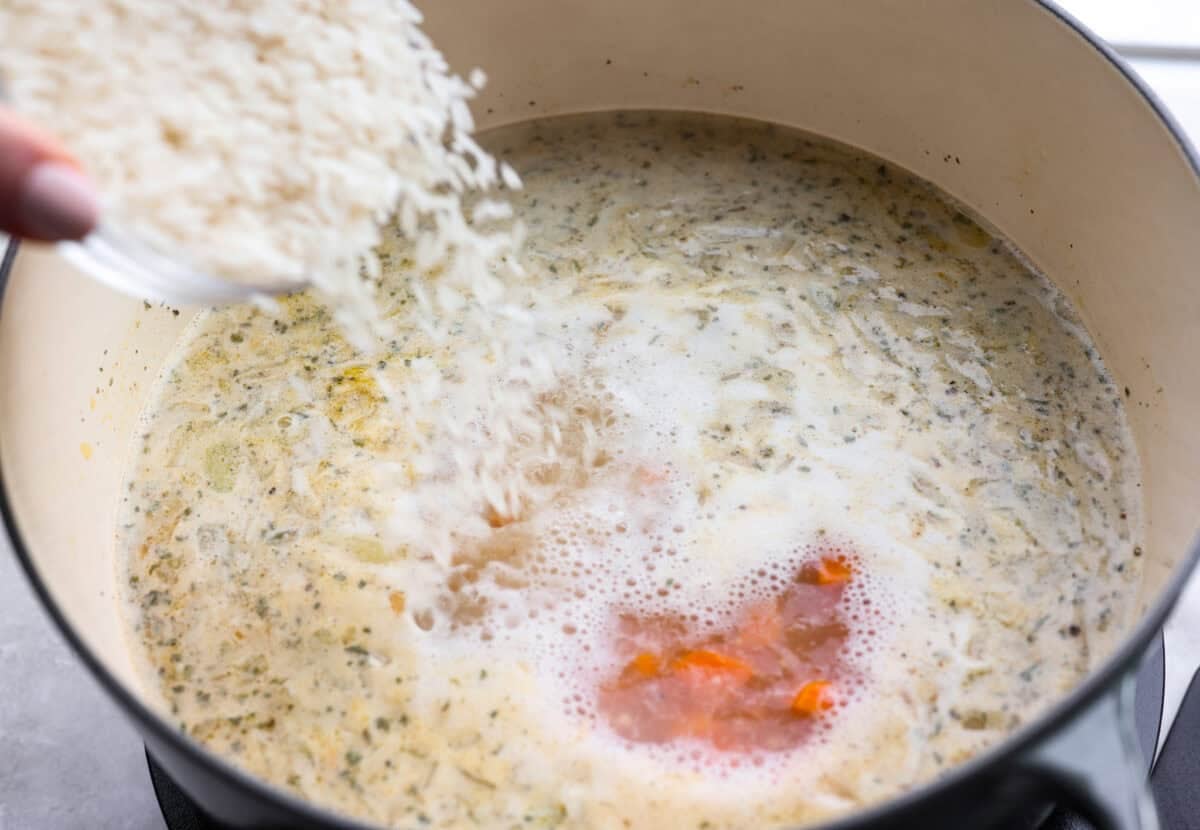
Bring to a boil, then stir in 1 cup uncooked long-grain white rice. Reduce the heat, and simmer for 20-25 minutes, until the rice is tender.
Add 2 cups cooked shredded chicken, 1 (8-ounce) package softened cream cheese, 1 cup shredded cheddar cheese, and 1 cup cooked bacon to the pot. Cook and stir until the cheeses are melted and everything is combined.
Notes
Storage & Reheating Instructions
Refrigerate: Once your soup has cooled, you can store it in an airtight container in the fridge for up to 5 days.
Freeze: You can make this soup ahead of time and freeze it for later. Once it has cooled, place it in a ziplock bag and lay it flat. It will keep for up to 3 months.
Reheat: Thaw frozen soup in the fridge overnight. Heat the soup on the stove or in the microwave until heated through. Add a splash of chicken broth or milk to the soup for added moisture, if needed.
Air Fryer Egg Rolls are everything you love about your favorite takeout appetizer, made right at home! They’re crispy, crunchy , loaded with flavorful chicken filling , and cooked without the hassle of deep frying. The Egg Roll Upgrade You’ll Love Perfectly Crispy Without Deep Frying: The air fryer gives these egg rolls an irresistibly crunchy exterior while keeping the filling juicy and tender. Better Than Takeout: Loaded with seasoned chicken, crunchy veggies, and bold Asian-inspired flavors, they’re fresh, flavorful, and made right in your own kitchen. Great for Dinner or Appetizers: Serve them with a good sweet chili sauce or sweet and sour sauce s for an easy weeknight meal, game day snack, or party appetizer everyone will devour. A Reader’s Review These are delicious!! So much healthier than store bought or take-out. Pretty easy to make. – Janice Ingredients For Air Fryer Egg Rolls Gr...