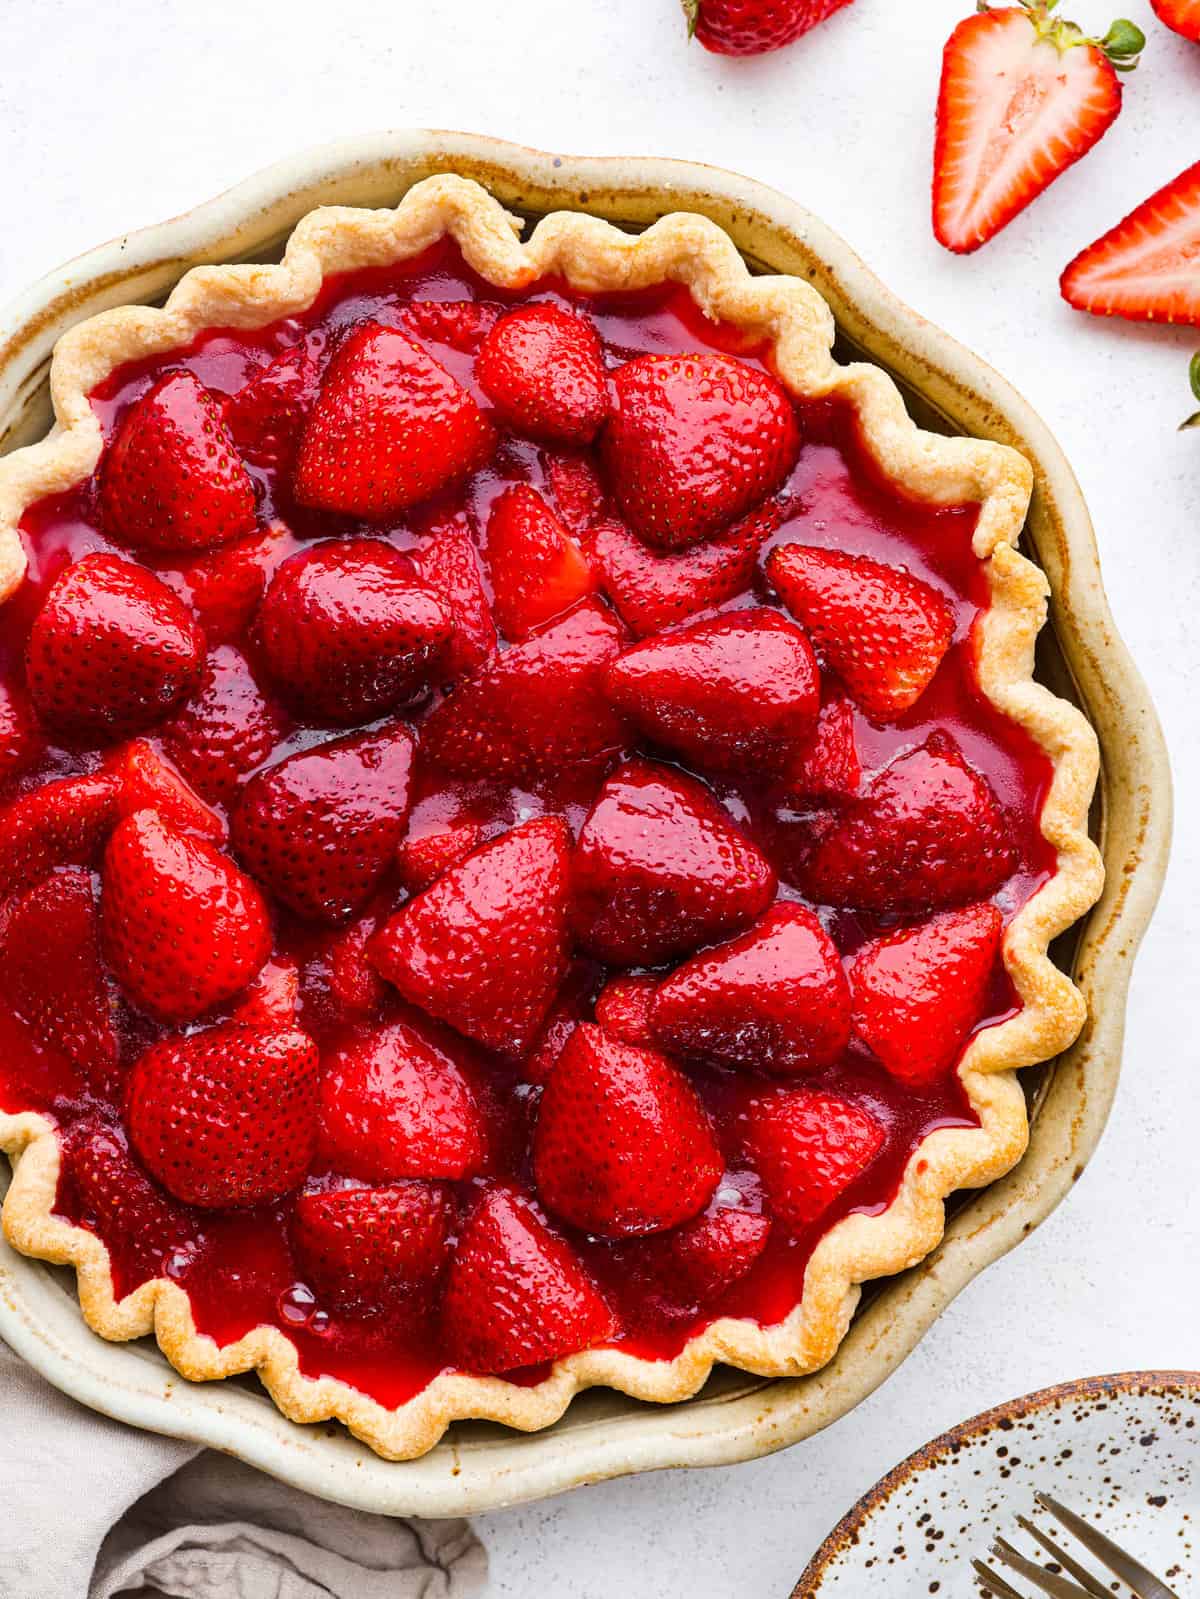
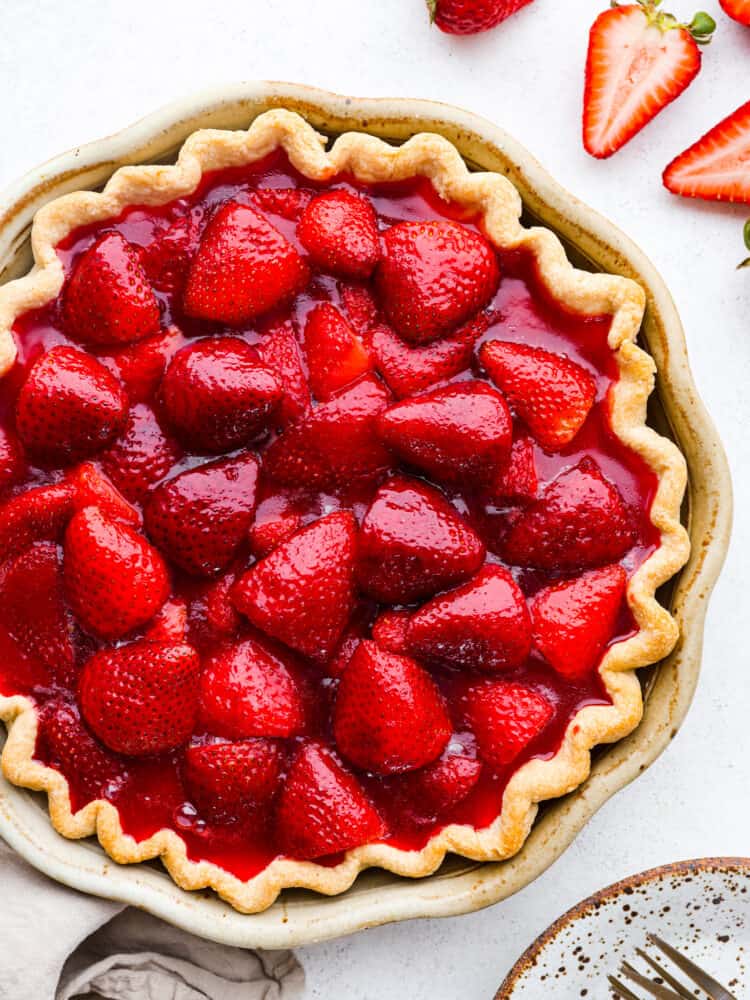
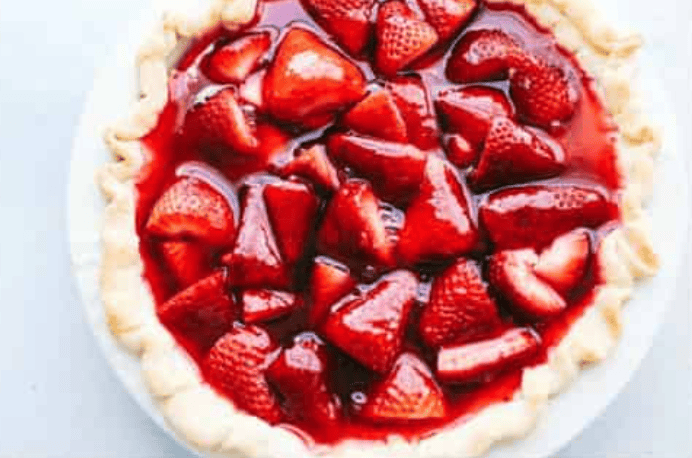
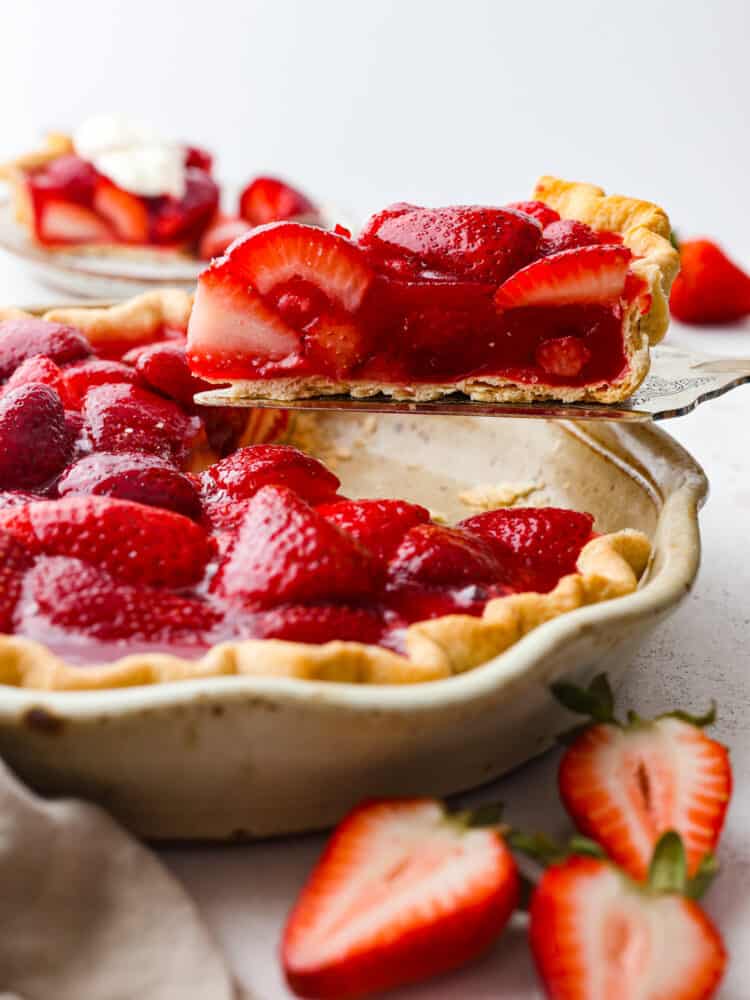
My fresh strawberry pie is one of those desserts that looks gorgeous but is so easy to make. A premade pie crust, juicy, fresh strawberries, and a quick homemade glaze come together to make a glossy, beautiful pie!
A Summer Classic for a Reason
Fresh Strawberry Flavor: This pie lets sweet, juicy strawberries be the star, which makes every bite taste bright and fresh.
A Classic Summer Dessert: It’s perfect for BBQs, potlucks, holidays, or any time you have beautiful strawberries to use.
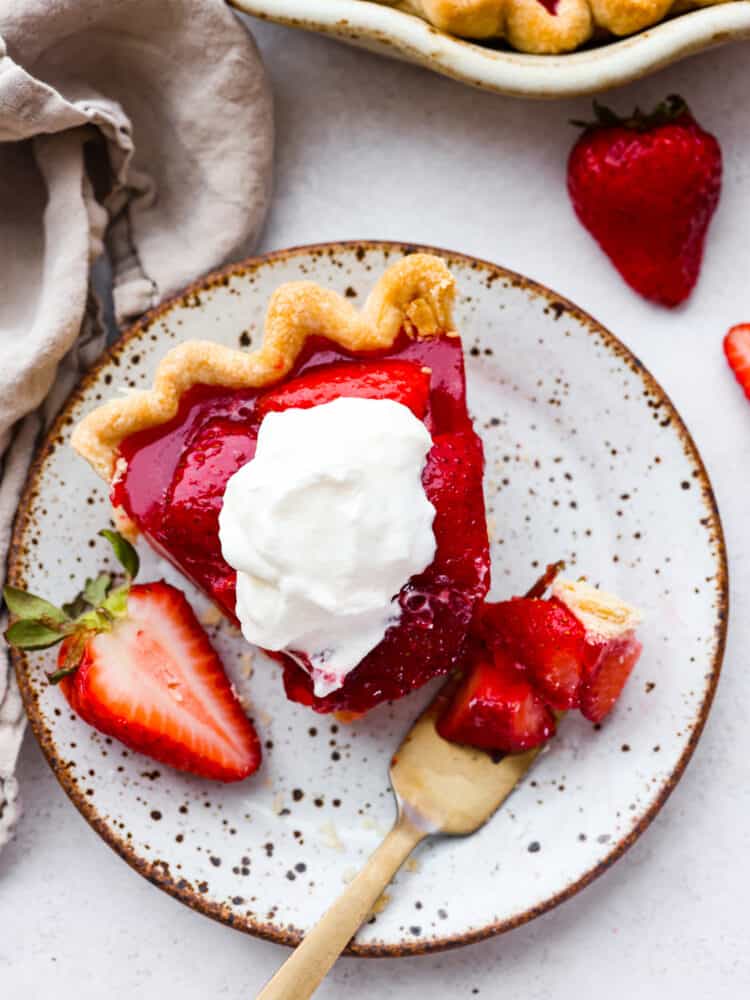
So Pretty on the Table: The glossy strawberry filling looks gorgeous with almost no extra effort, especially with a little whipped cream on top.
Strawberry Pie Ingredients
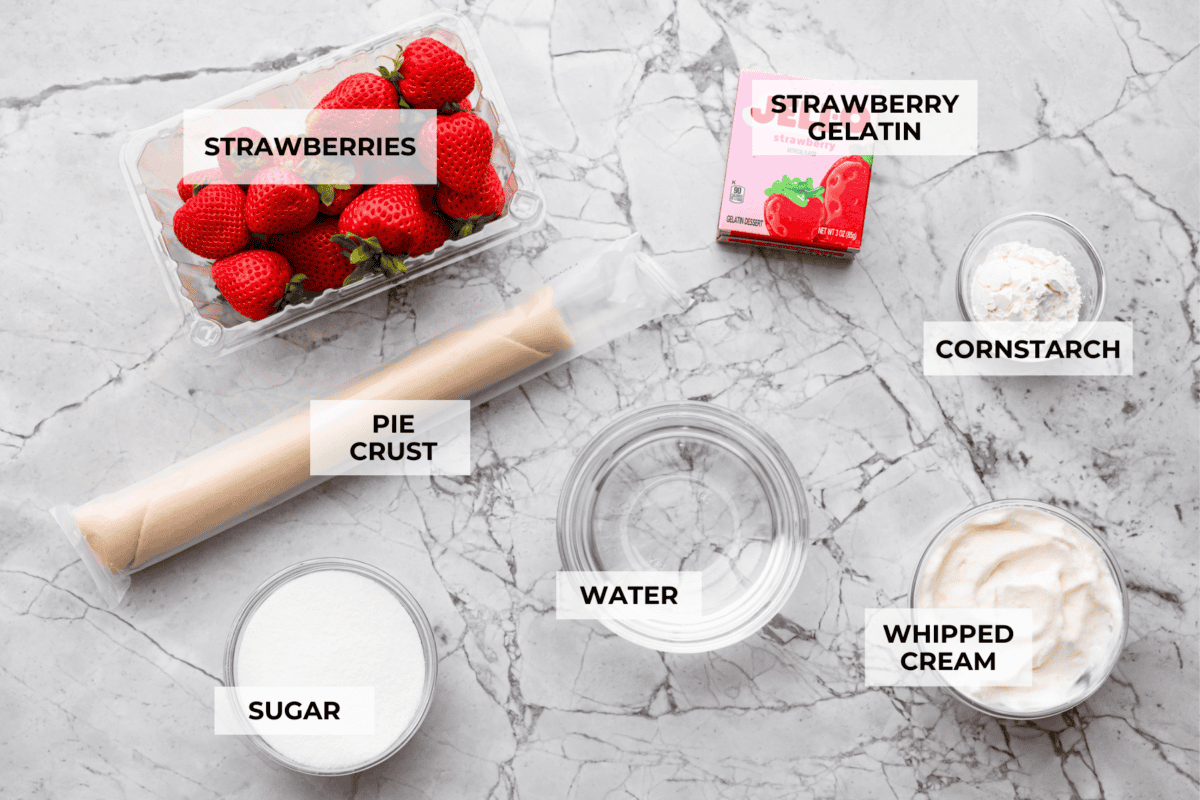
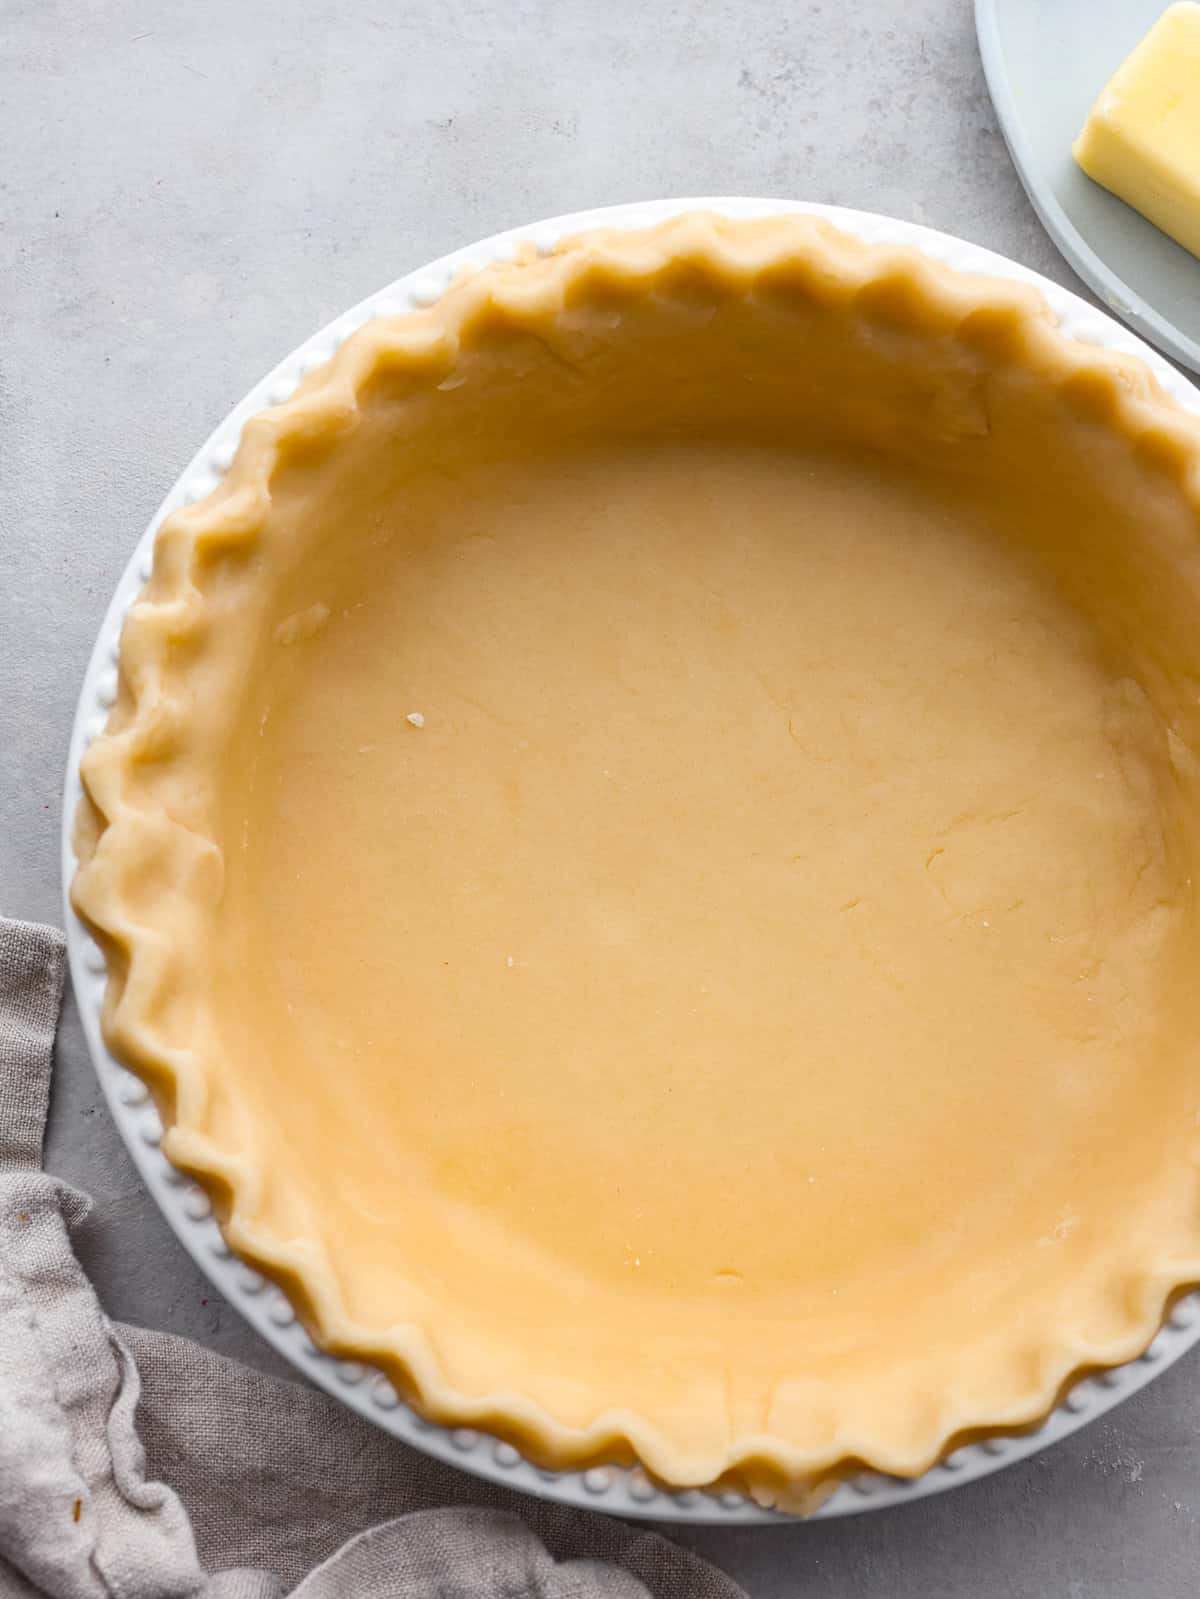
9-Inch Pie Crust: You can use either a premade or homemade pie crust here.
Strawberry Jello Mix: Adds extra berry flavor and also helps the filling set up properly. This way, it can be cut into uniform slices without making a mess.
It only takes 3 simple steps to whip up this fresh strawberry pie recipe! It’s so flaky and buttery with juicy strawberries in every bite. You’re going to love it! Want a creamy version? Make my Strawberry Cream Cheese Pie.
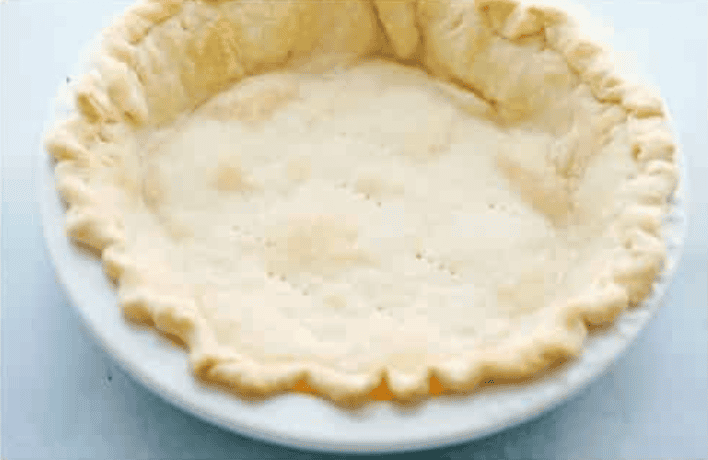
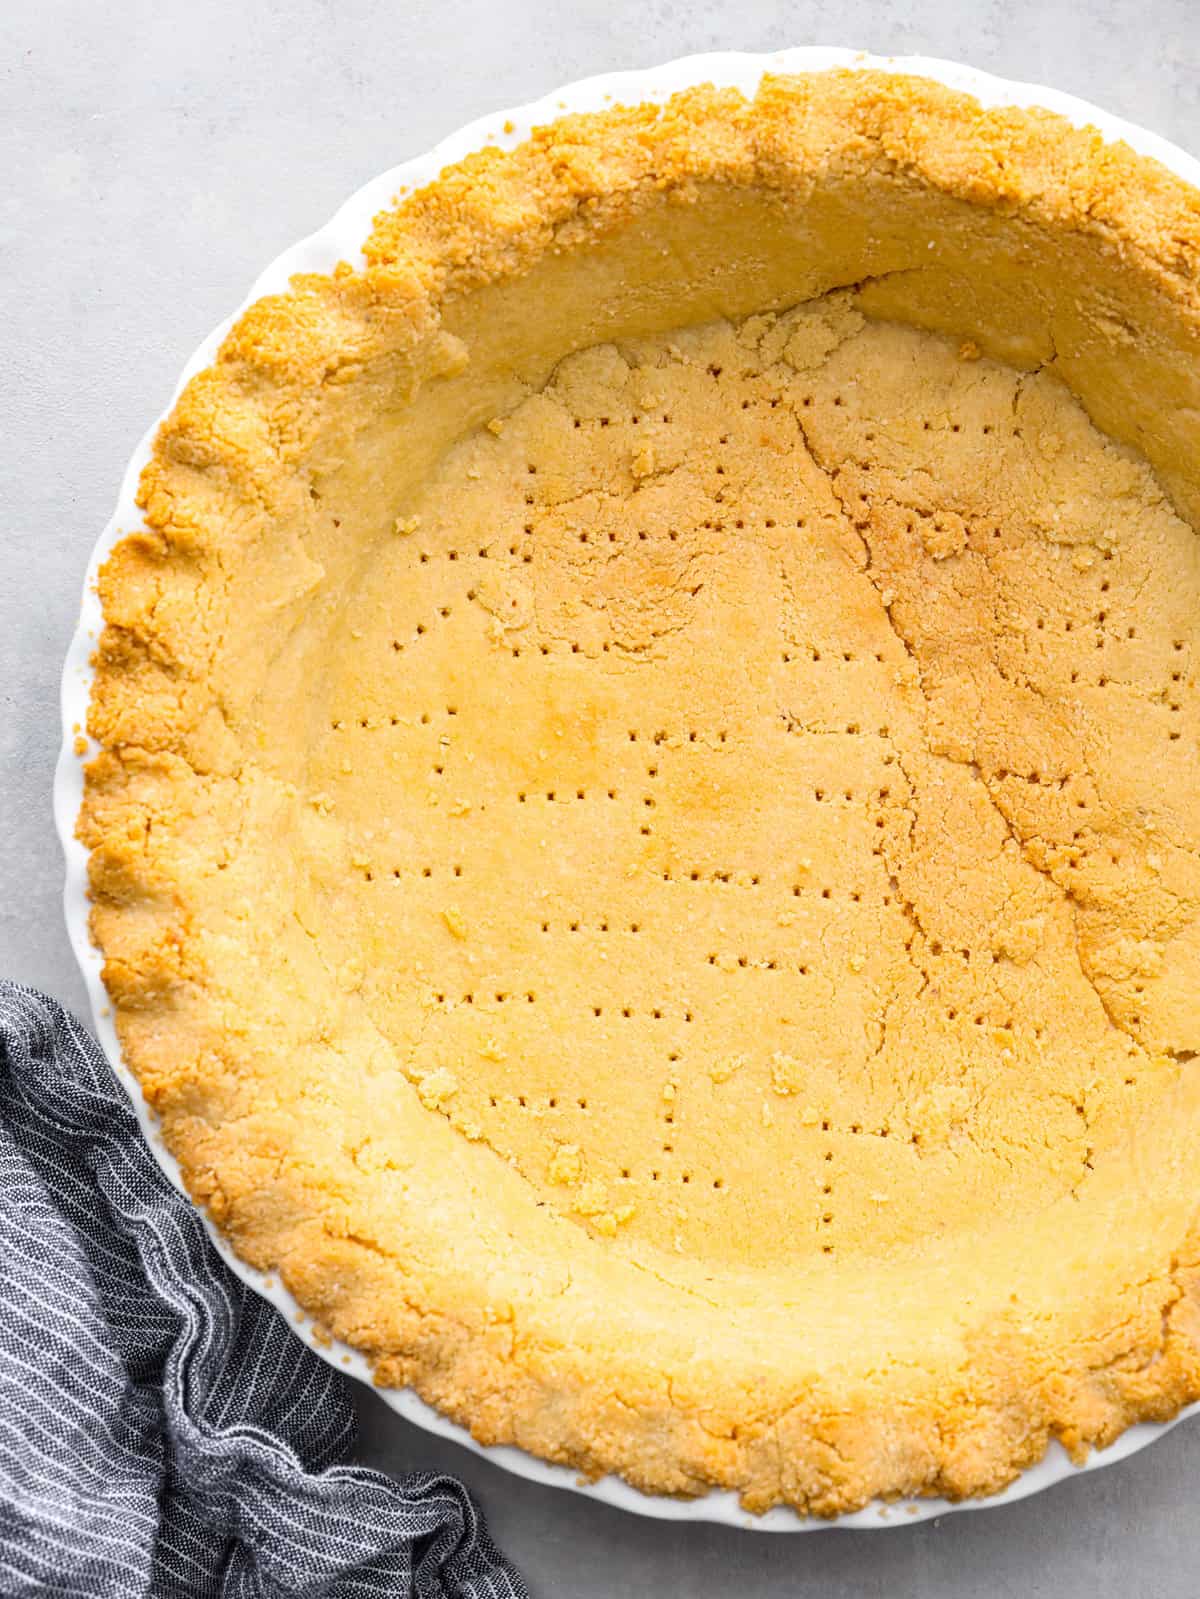
Blind Bake the Crust: Bake the store-bought crust according to package directions. To help the crust stay in place while baking, line it with aluminum foil, then bake for 8 minutes. Remove the foil and bake for an additional 5 minutes or until golden brown.
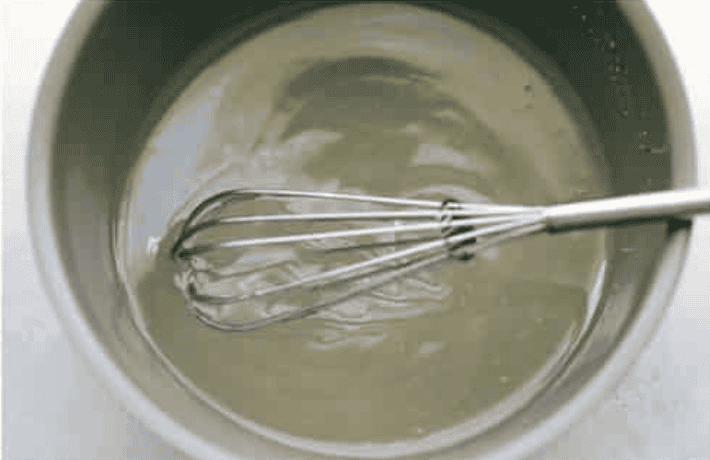
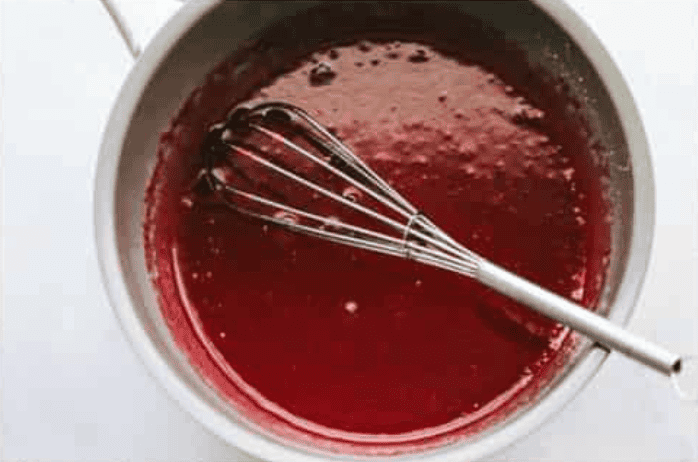
Strawberry Sauce: In a small saucepan, combine cornstarch, sugar, and water and whisk until smooth. Bring it to a boil and whisk for 2 minutes until it starts to thicken.
Add Gelatin and Cool: Remove from the heat and stir in the strawberry Jell-O until dissolved. Let the mixture cool for about 15 minutes.
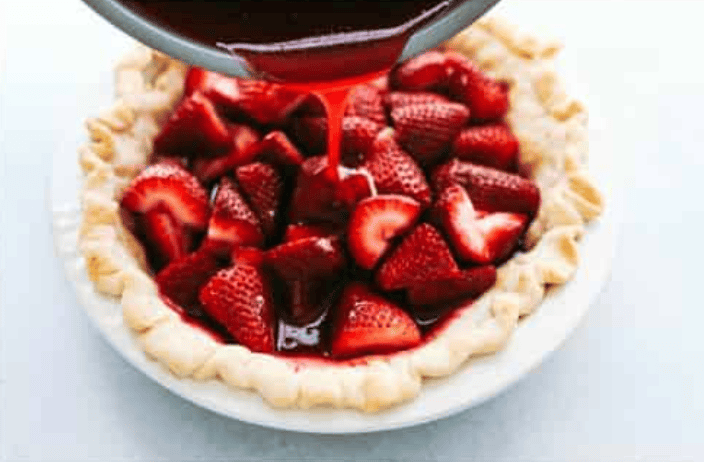
Strawberry Pie Filling: Place the strawberries in the crust, then pour the cooled glaze mixture over them.
Chill: Refrigerate 3 hours or overnight until set. Serve strawberry pie with fresh whipping cream.
Can You Use a Homemade Crust?
Yes! I love using my Grandma’s Perfect Pie Crust for homemade pies. It doesn’t take long at all to make and adds a little more flavor and thickness to the pie.
Bake the 1 (9-inch) pie crust according to package directions. To help the crust stay in place while baking, line it with aluminum foil, then bake for 8 minutes. Remove foil, and bake for an additional 5.
In a small saucepan, combine 2 tbsp cornstarch, 3/4 cup sugar, and 1 cup Water and whisk until smooth. Bring it to a boil and whisk for 2 minutes until it starts to thicken. Remove from the heat and stir in the 1 (3-ounce) package strawberry Jell-O until dissolved. Let the mixture cool for about 15 minutes.
Place the 4 cups fresh strawberries into the crust and pour the cooled mixture over the strawberries. Refrigerate 3 hours or overnight until set. Serve with Fresh whipping cream..
Video
Notes
Storing Leftovers
Fridge: Properly stored in an airtight container or wrapped in plastic wrap, your strawberry pie will last for about 2 days at normal room temperature or 4 to 5 days in the refrigerator.
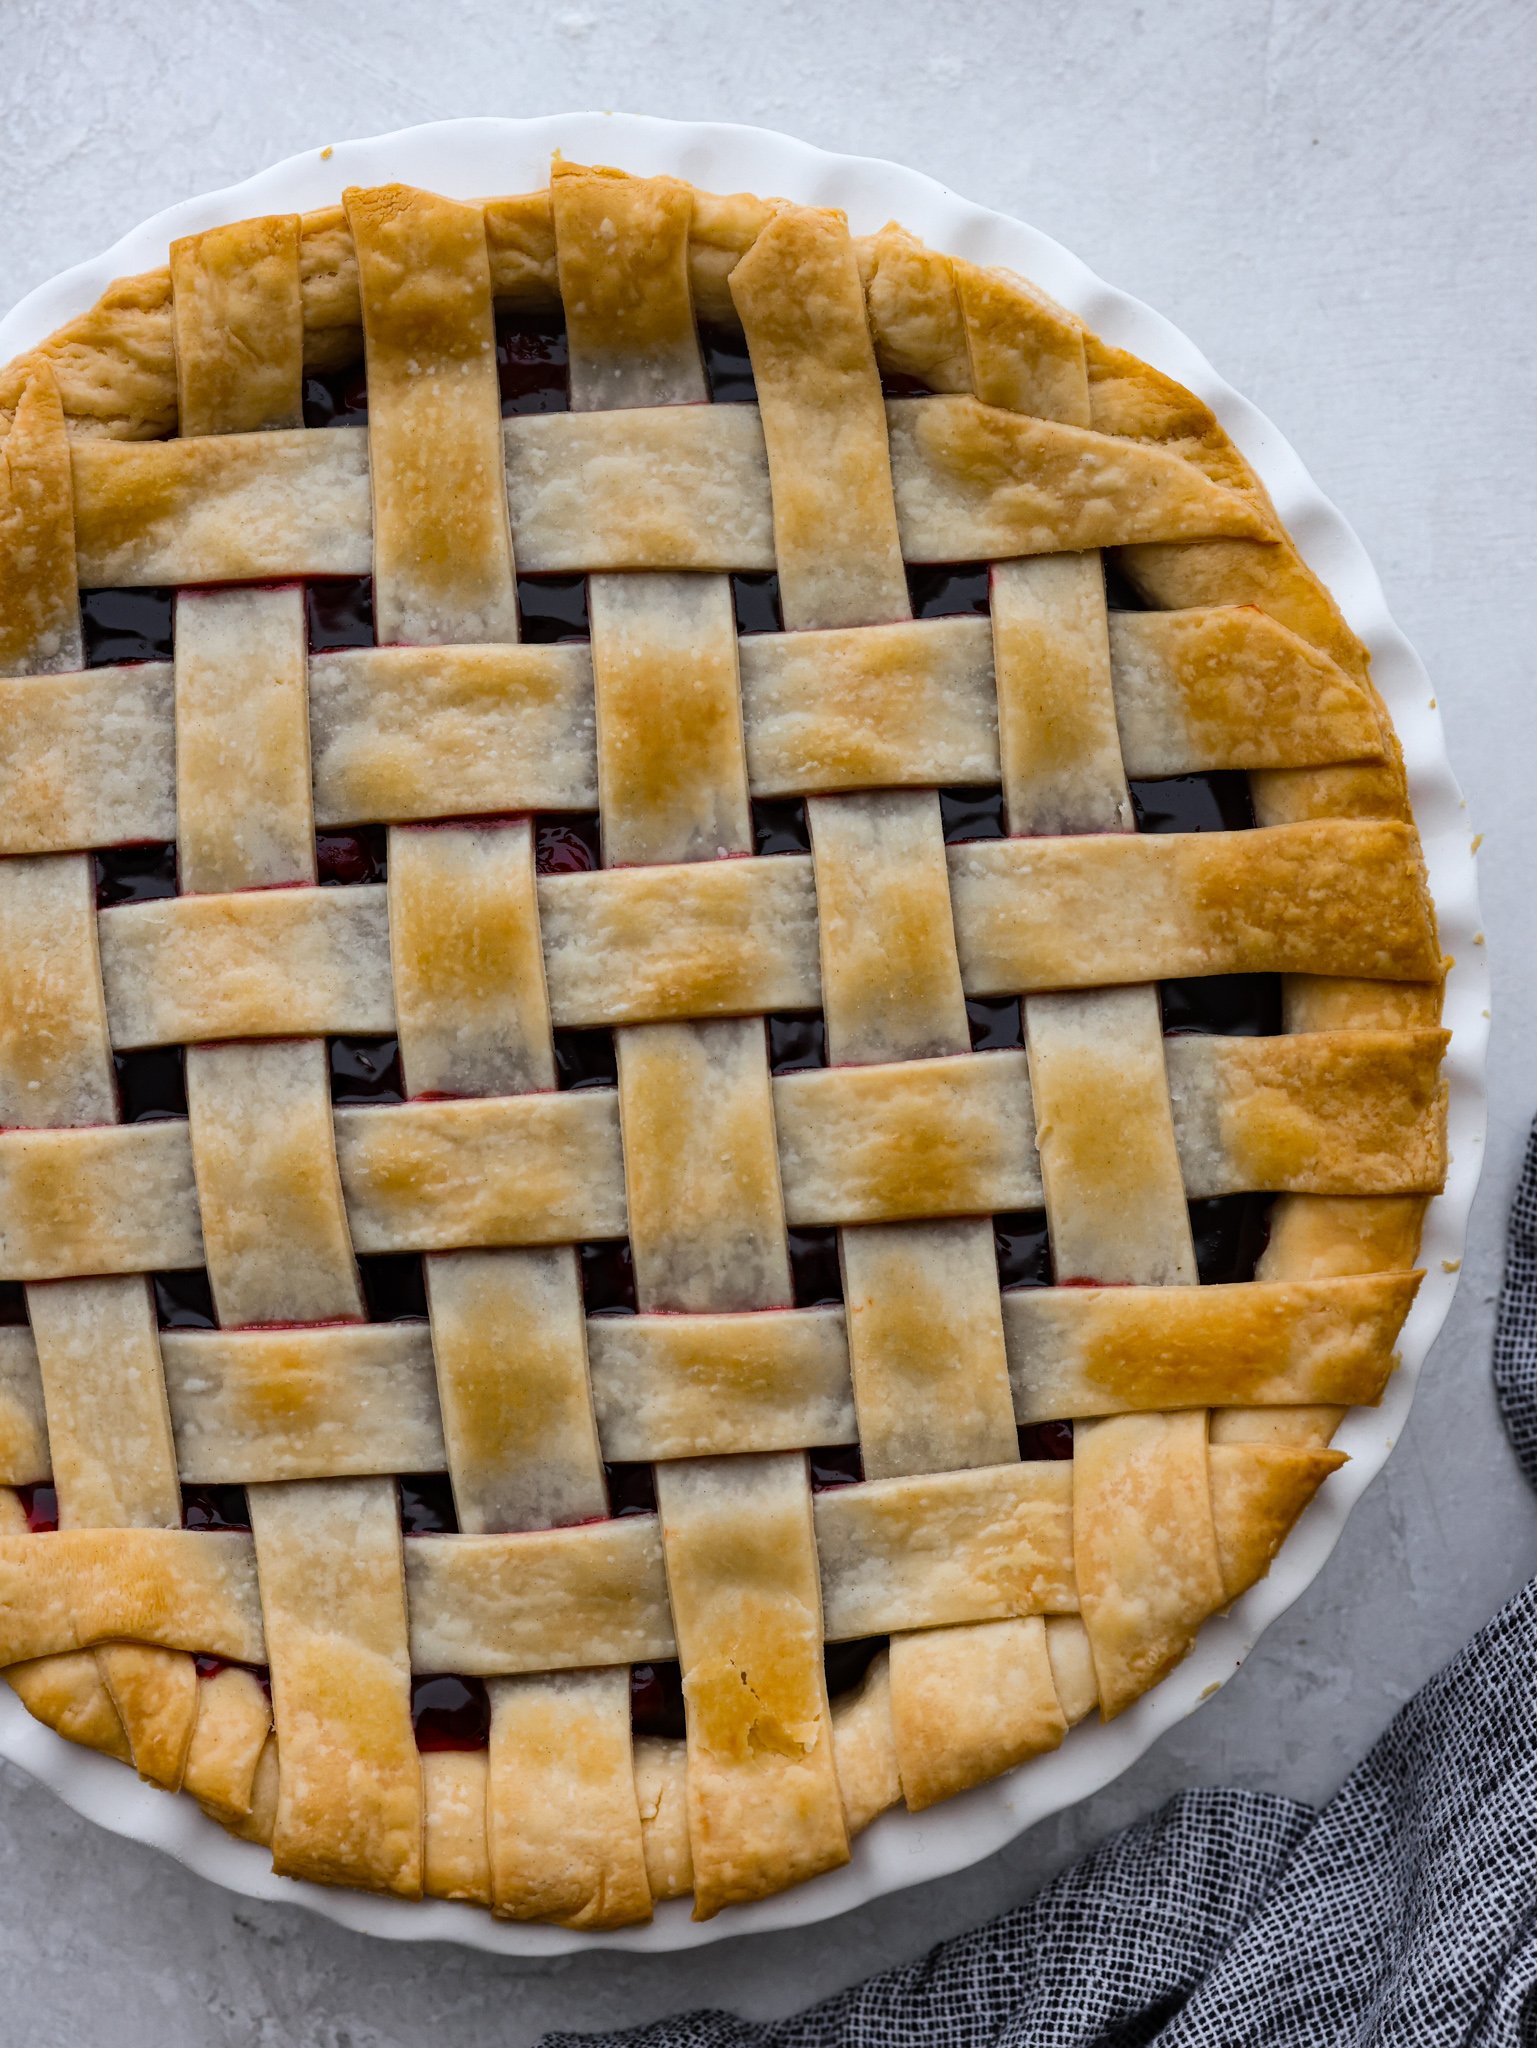
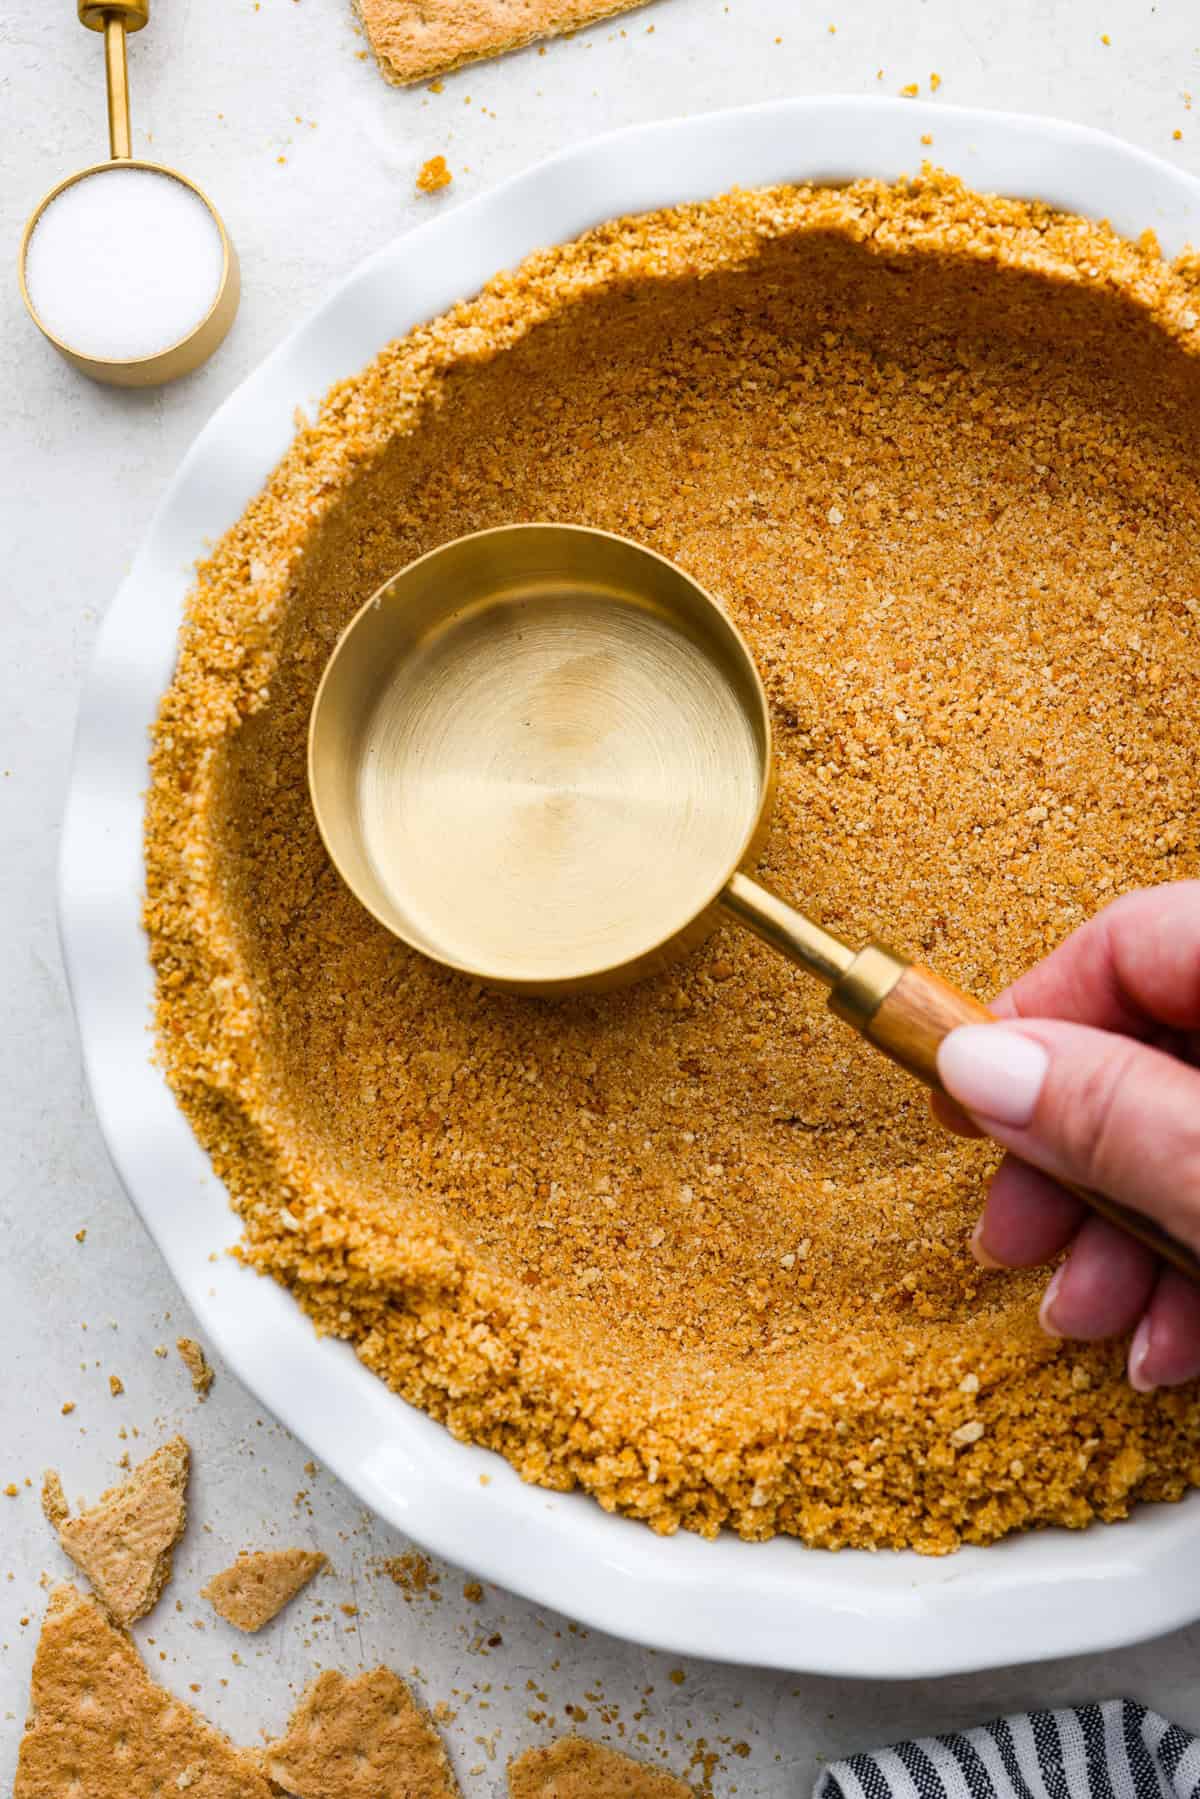
The best pies start at the crust, so here are a few more recipes for you to try out! Whether you’re wanting something extra buttery, a graham cracker crust or gluten-free, these are all great options for your summer fruit pies.
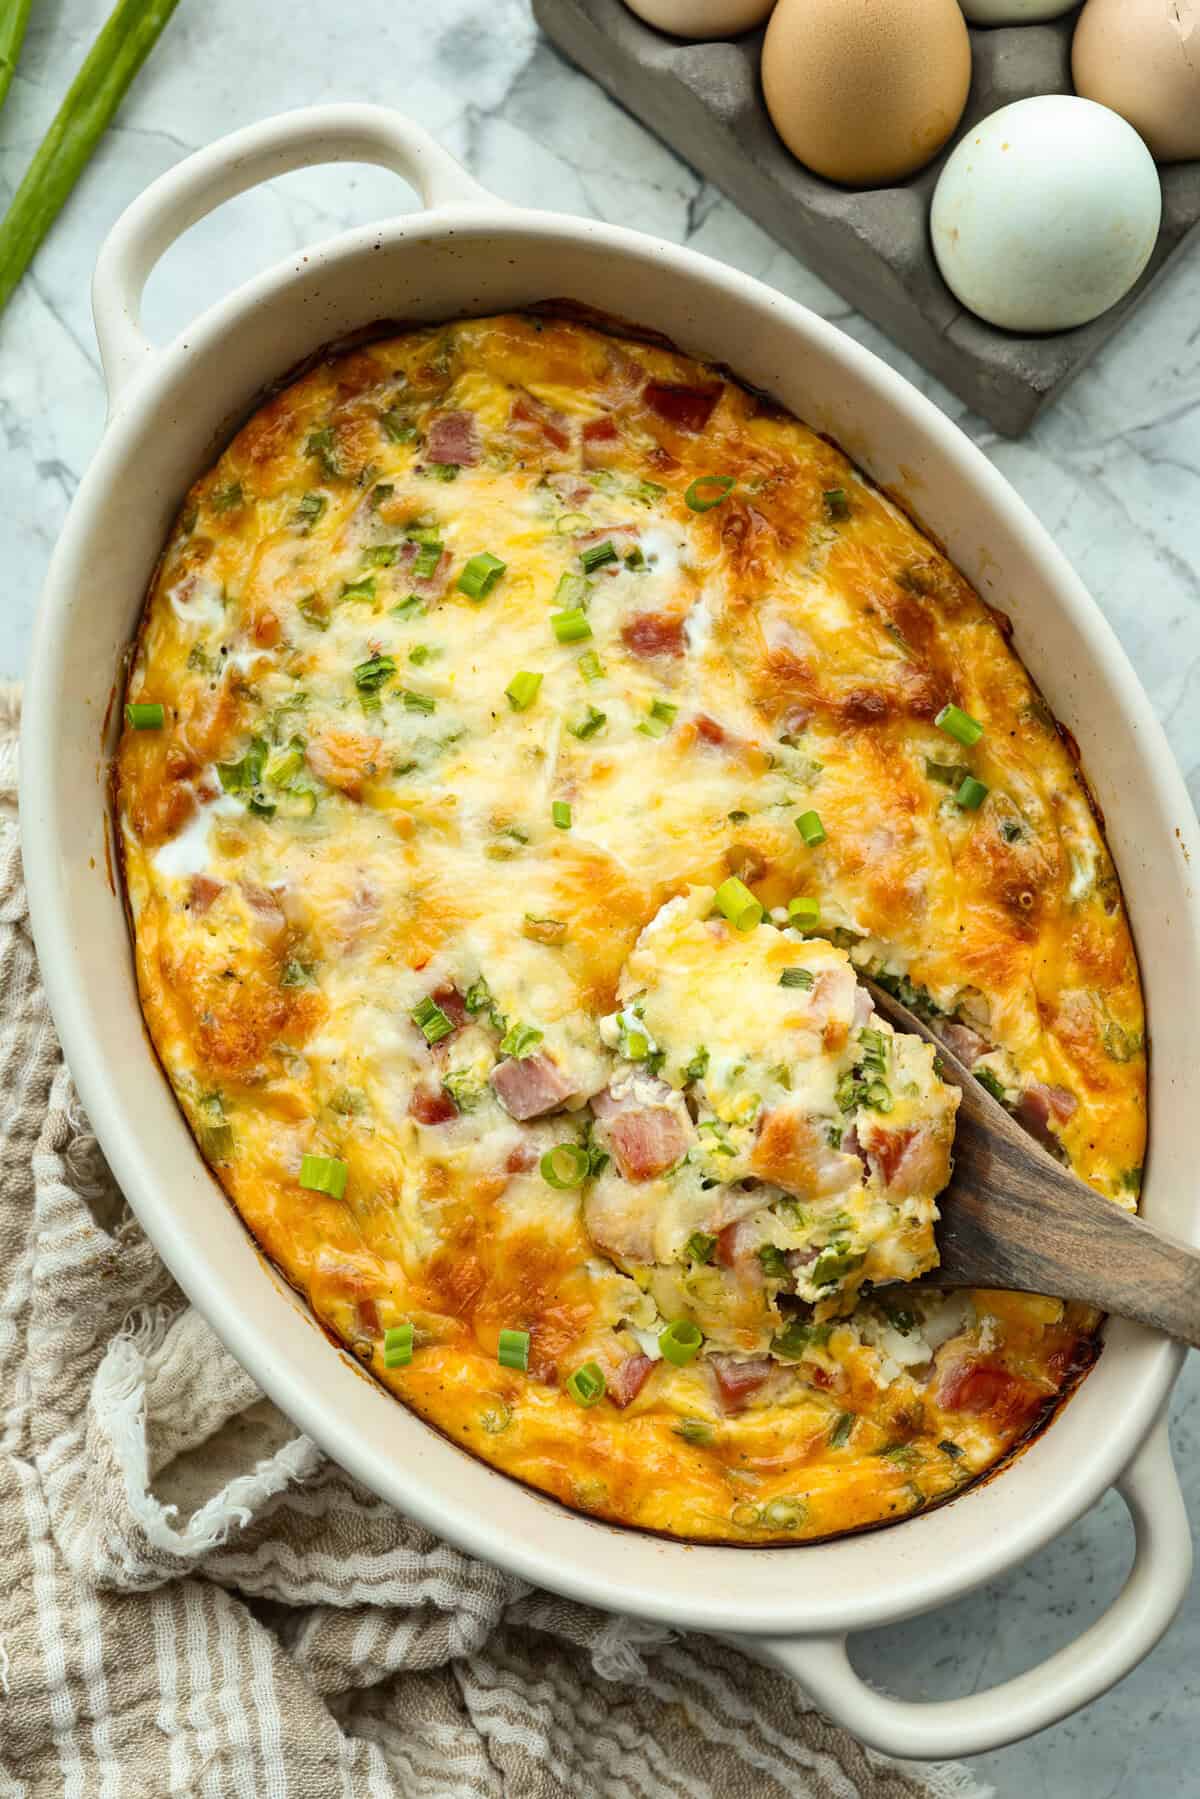
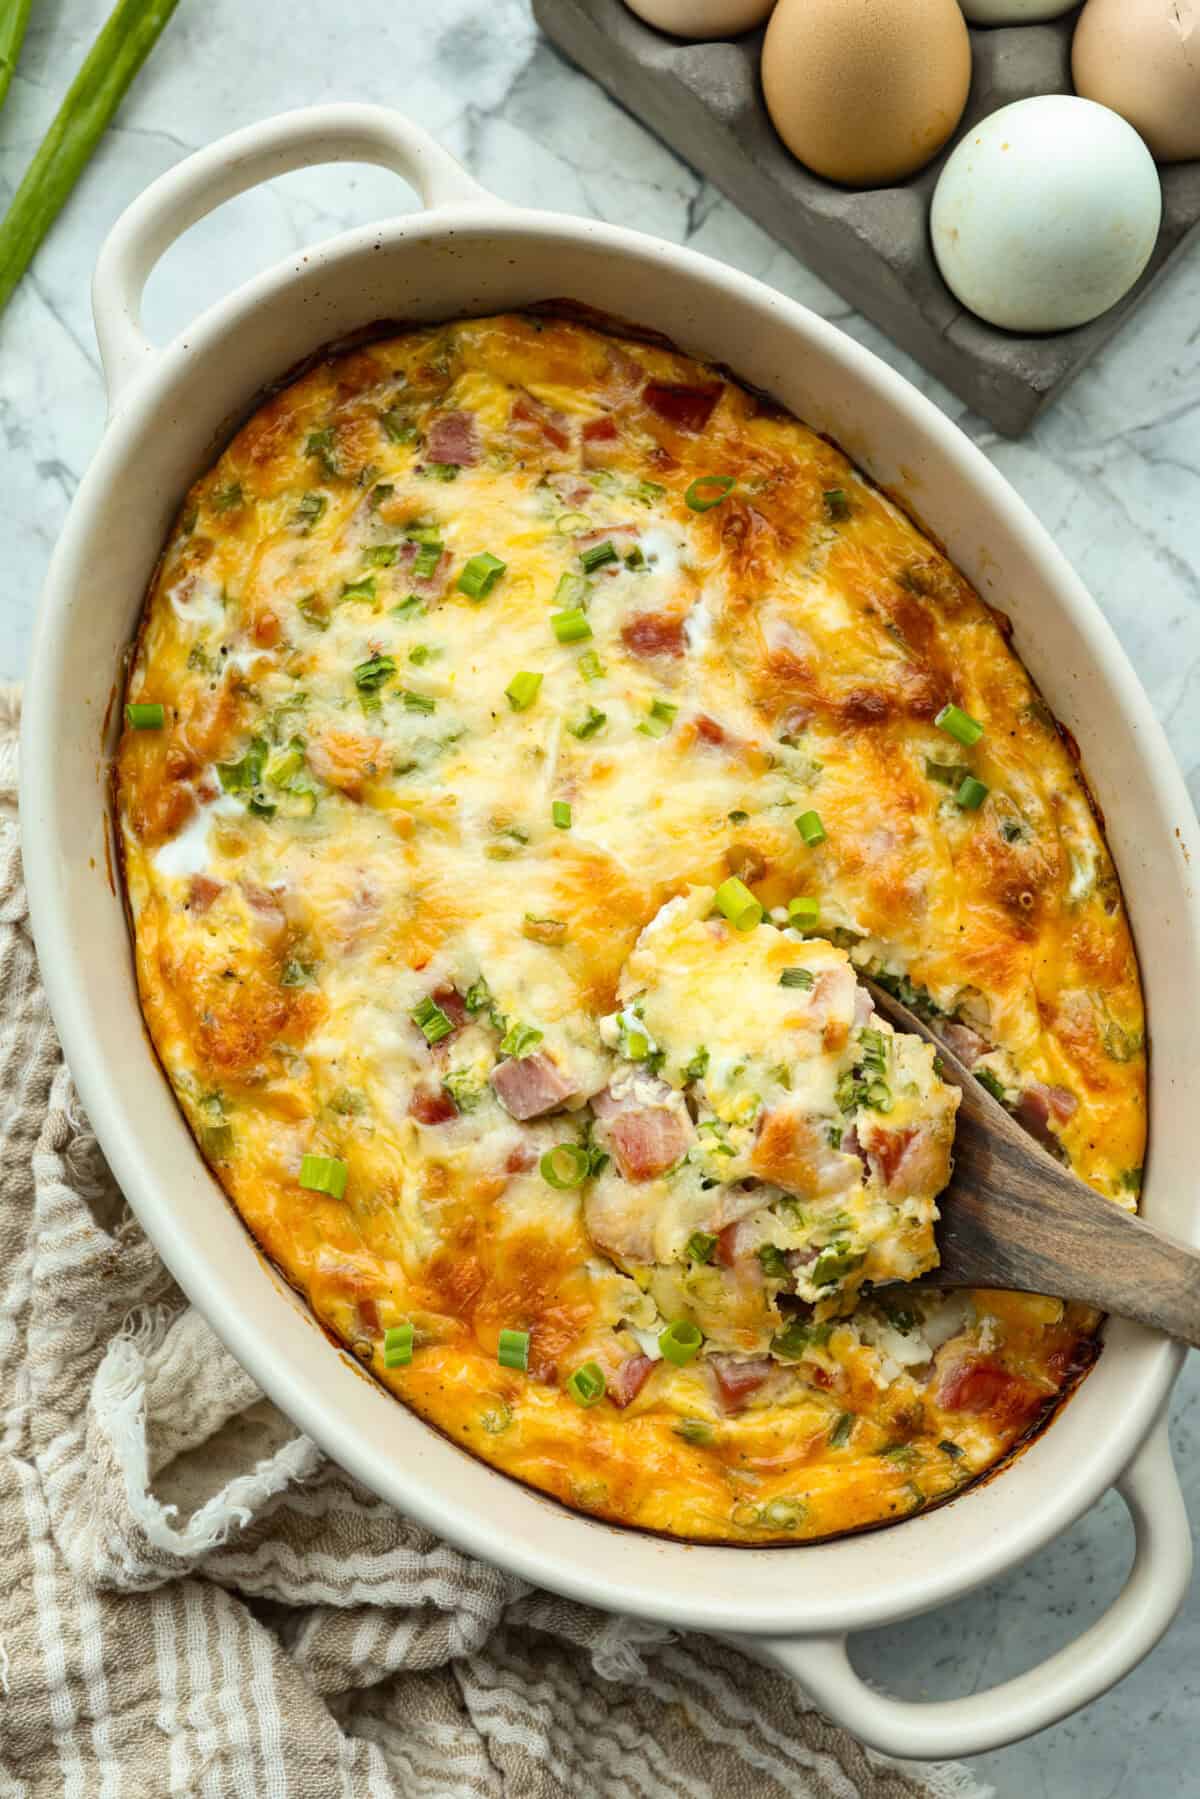
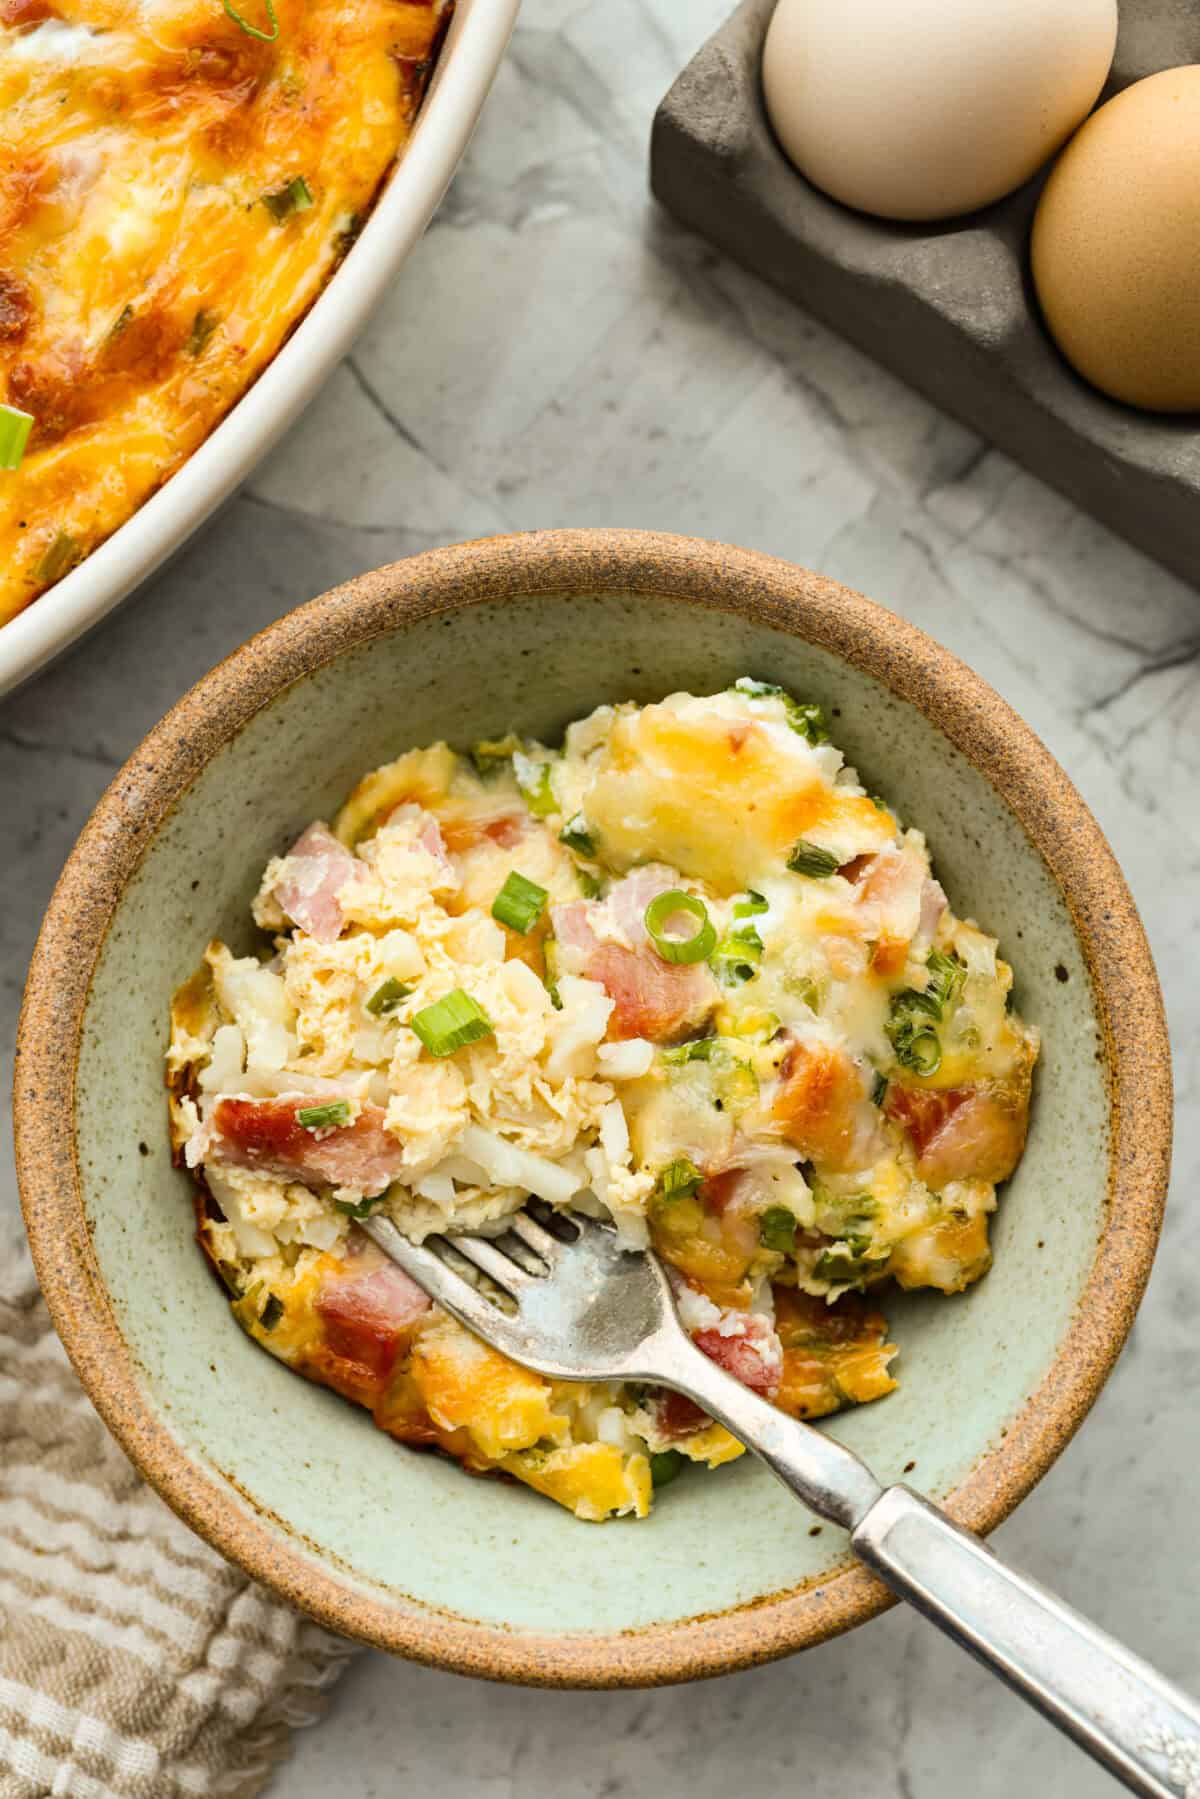
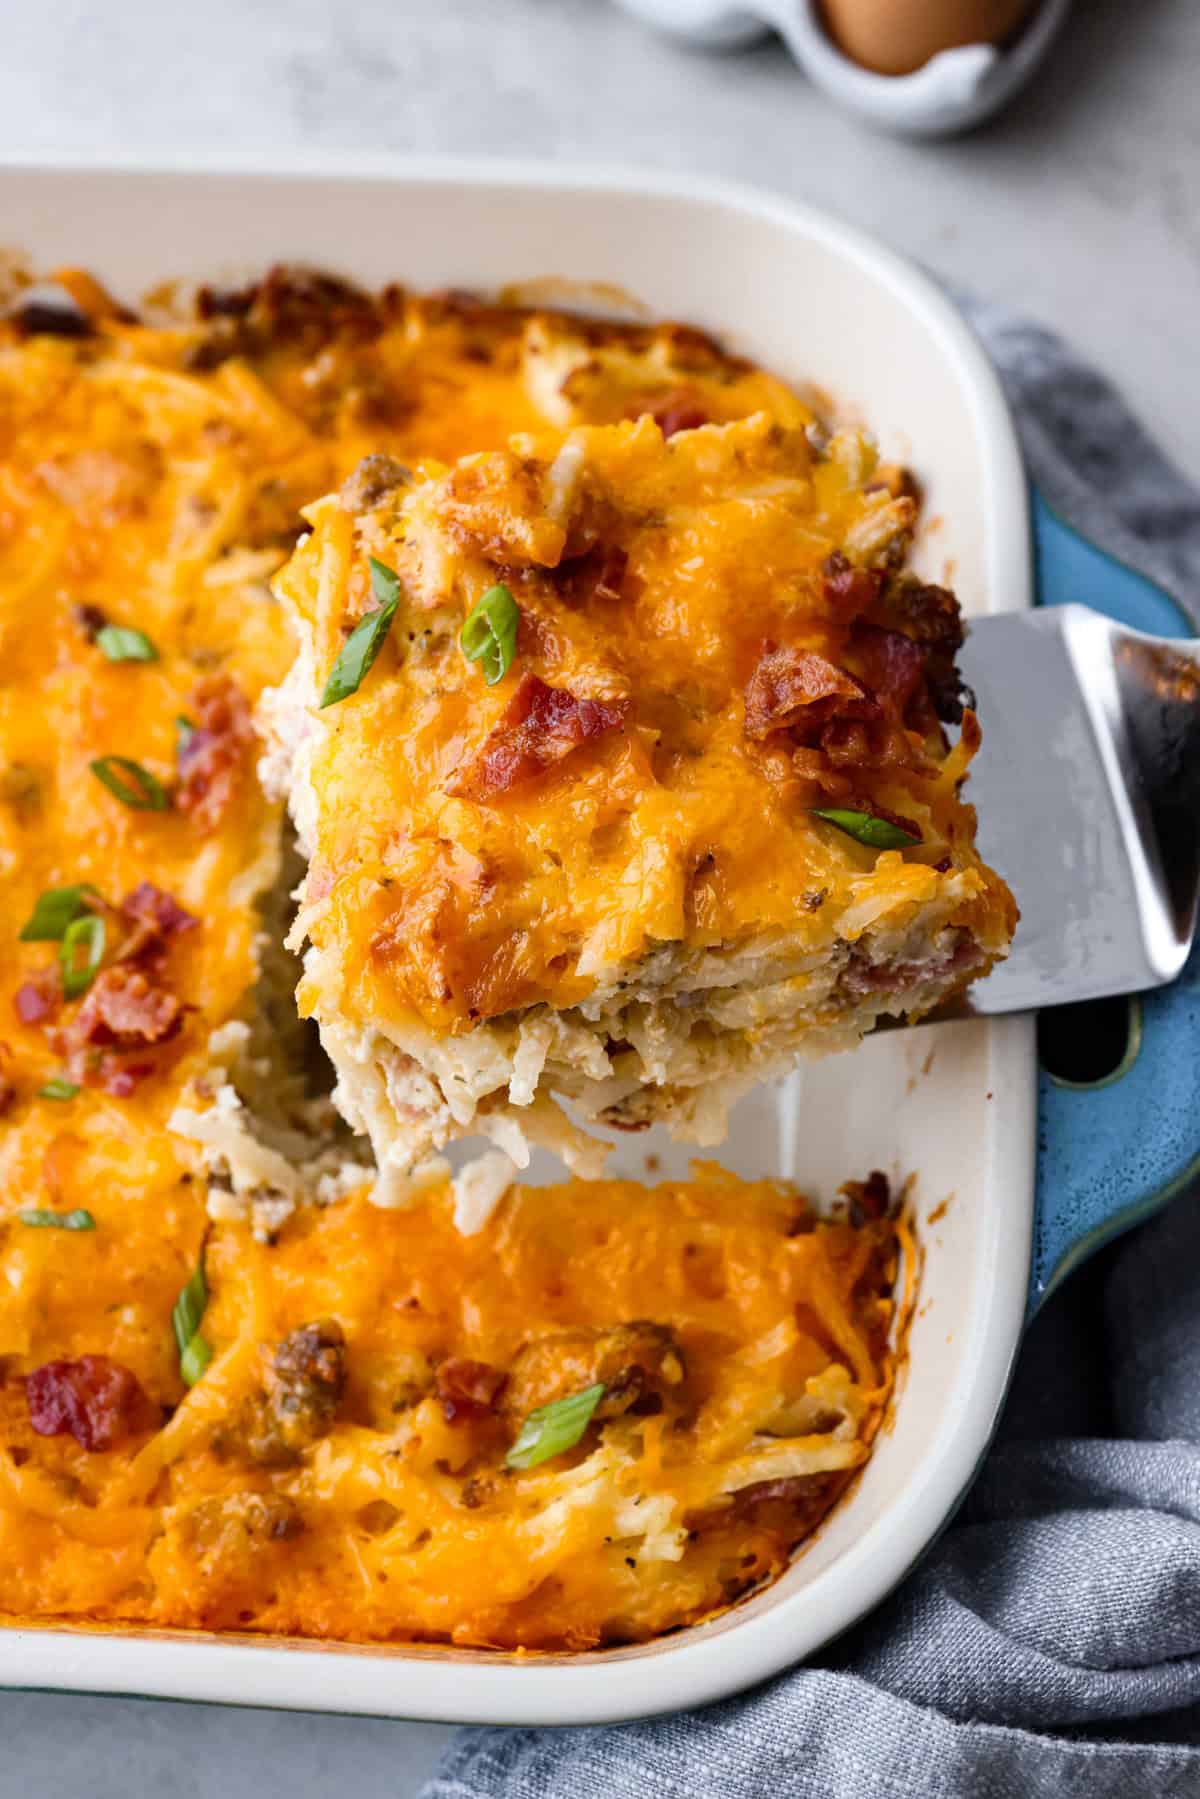
This farmer’s casserole is my answer to summer mornings when the kids want cereal again, but I want them to eat something that will actually keep them full. It’s packed with protein, and it’s easy to customize with fresh garden veggies.
Prepare to Be Obsessed
Keeps Everyone Full: Eggs, cheese, and meat make this hearty enough to keep kids from asking for cereal again 20 minutes later.
Meal Prep Friendly: Bake it once and reheat slices all week for a hearty breakfast that is way better than another bowl of cereal.
Uses Up Garden Veggies: Toss in fresh zucchini, peppers, tomatoes, spinach, or whatever is hanging out in your garden or fridge.
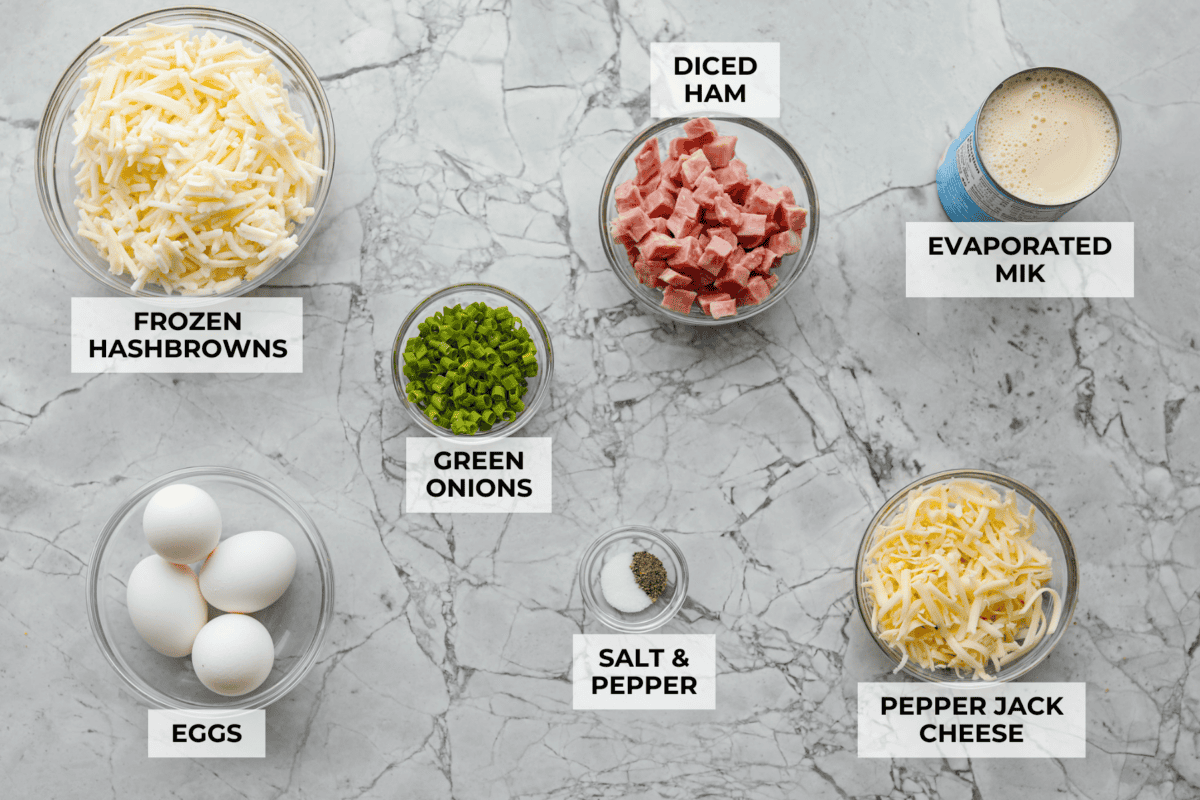
Ingredients for Farmer’s Casserole
Cheese Options: Pepper Jack is classic for a little heat, but Colby Jack, cheddar, or Monterey Jack all work just as well.
Protein Swaps: Instead of the ham, try cooked sausage, crumbled bacon, or leave it out for a meatless version.
Hash Brown Choice: I used frozen shredded hash browns, but diced hash browns work too.
Fresh Potatoes: If using fresh shredded potatoes, soak in ice water, then squeeze and pat very dry before baking. Start checking for doneness around 40 minutes.
Add Veggies: Mix in chopped bell peppers, sautéed mushrooms, or cherry tomatoes, zucchini, spinach, or top with fresh arugula tossed in olive oil and lemon juice.
How to Make Farmer’s Casserole
This is one of those breakfast bakes that makes mornings feel a little easier. Everything goes into one dish, and the oven takes it from there. Brunch crowd coming over? Round it out with something sweet on the side, like cinnamon rolls, a fruit salad, or blueberry muffins.
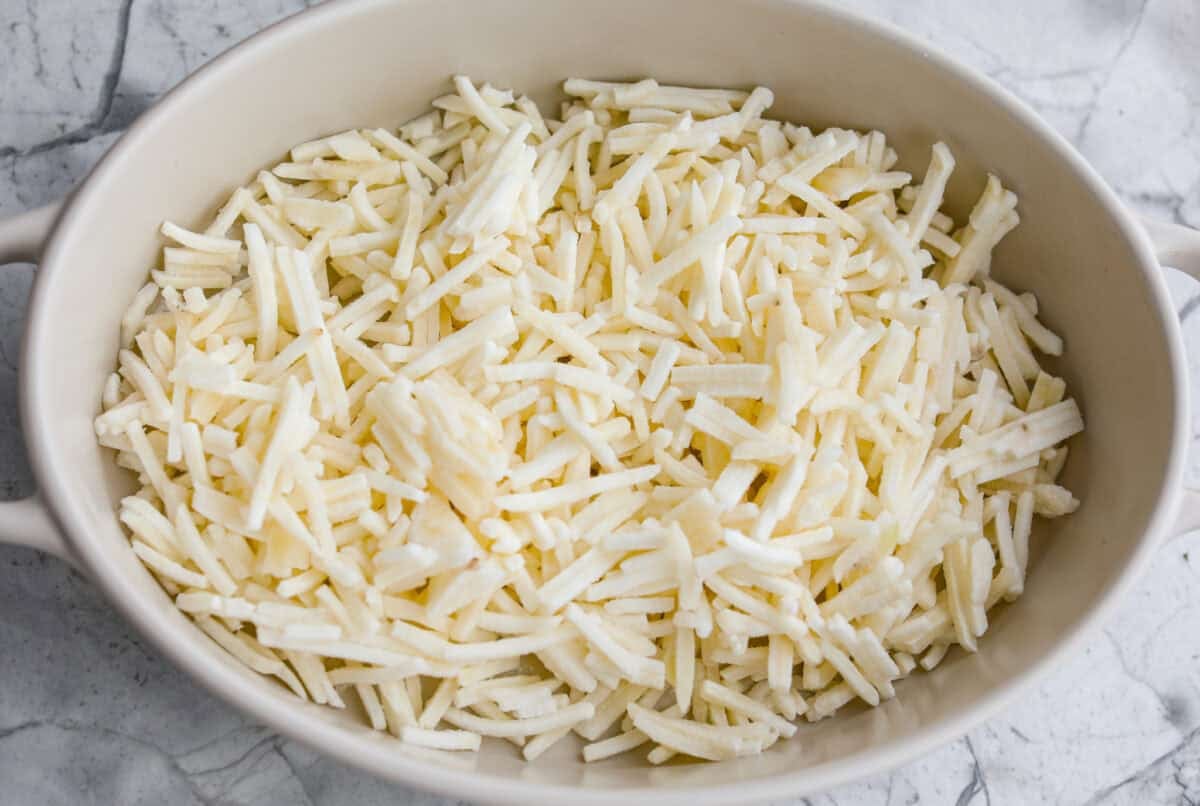
Add the Hash Browns: Preheat the oven to 350ºF. Spray a 2 or 3-quart baking dish with nonstick cooking spray. Spread the hash browns evenly in the bottom of the baking dish.
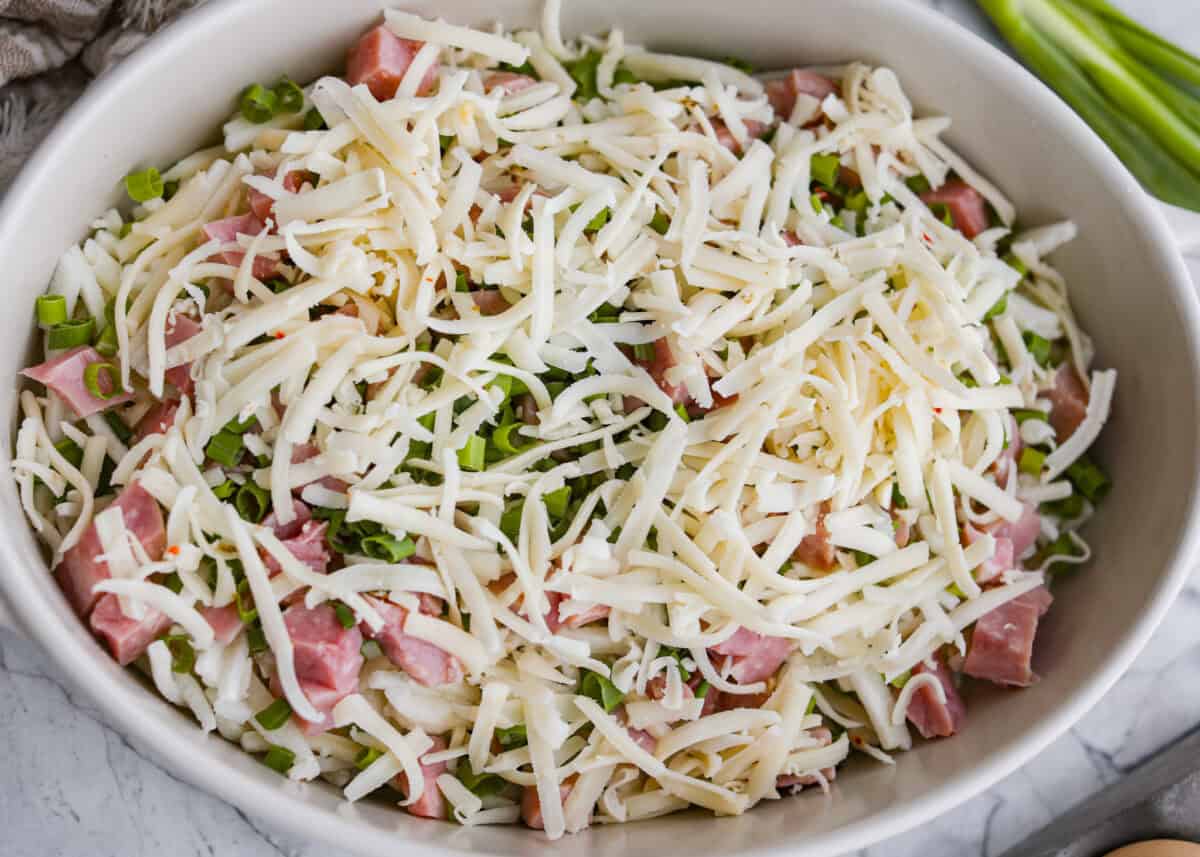
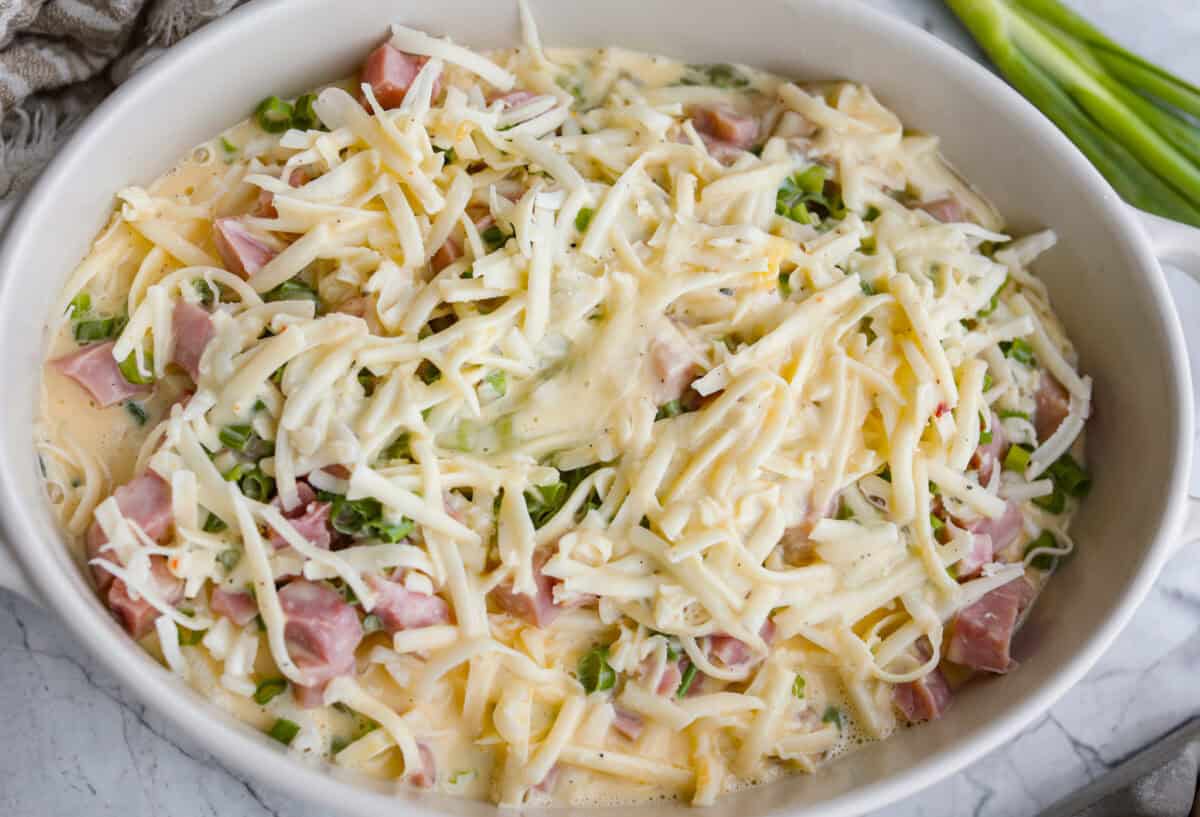
Layer: Top the hash browns with the cheese, ham, and green onions.
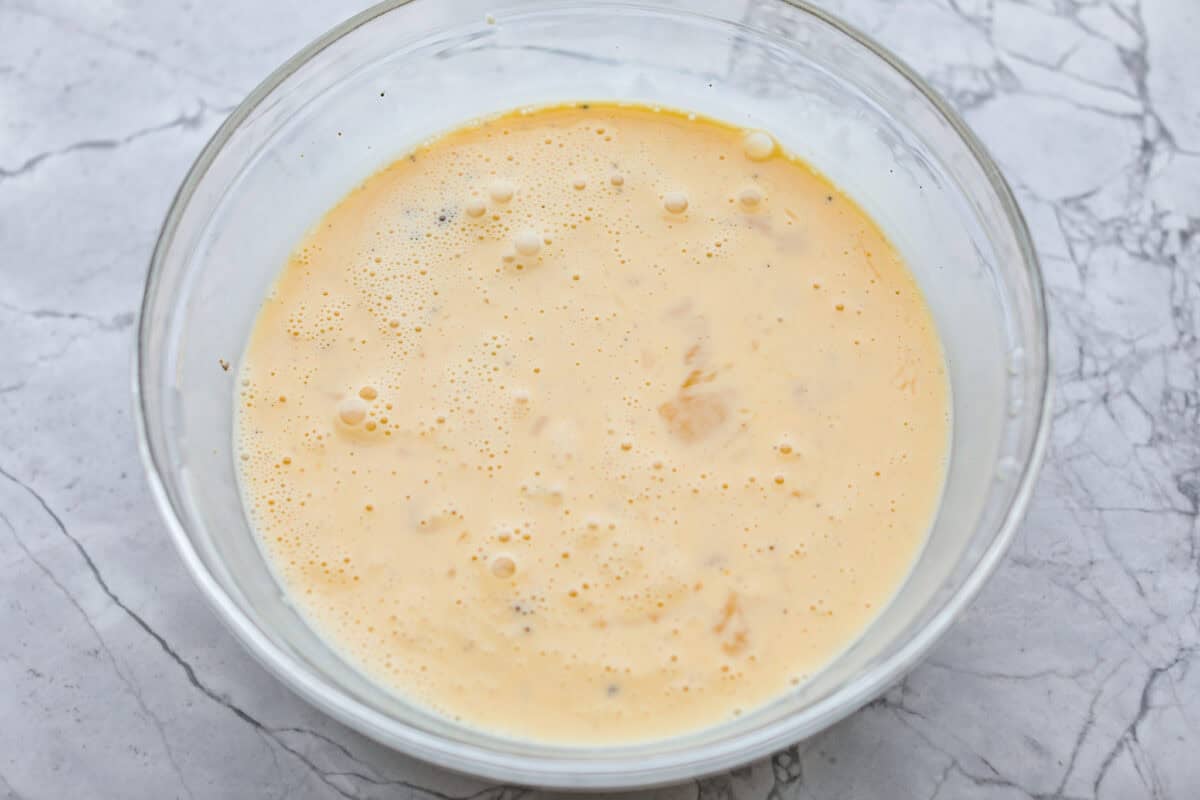
Make the Egg Custard: Whisk together the eggs, evaporated milk, salt, and pepper in a medium bowl.
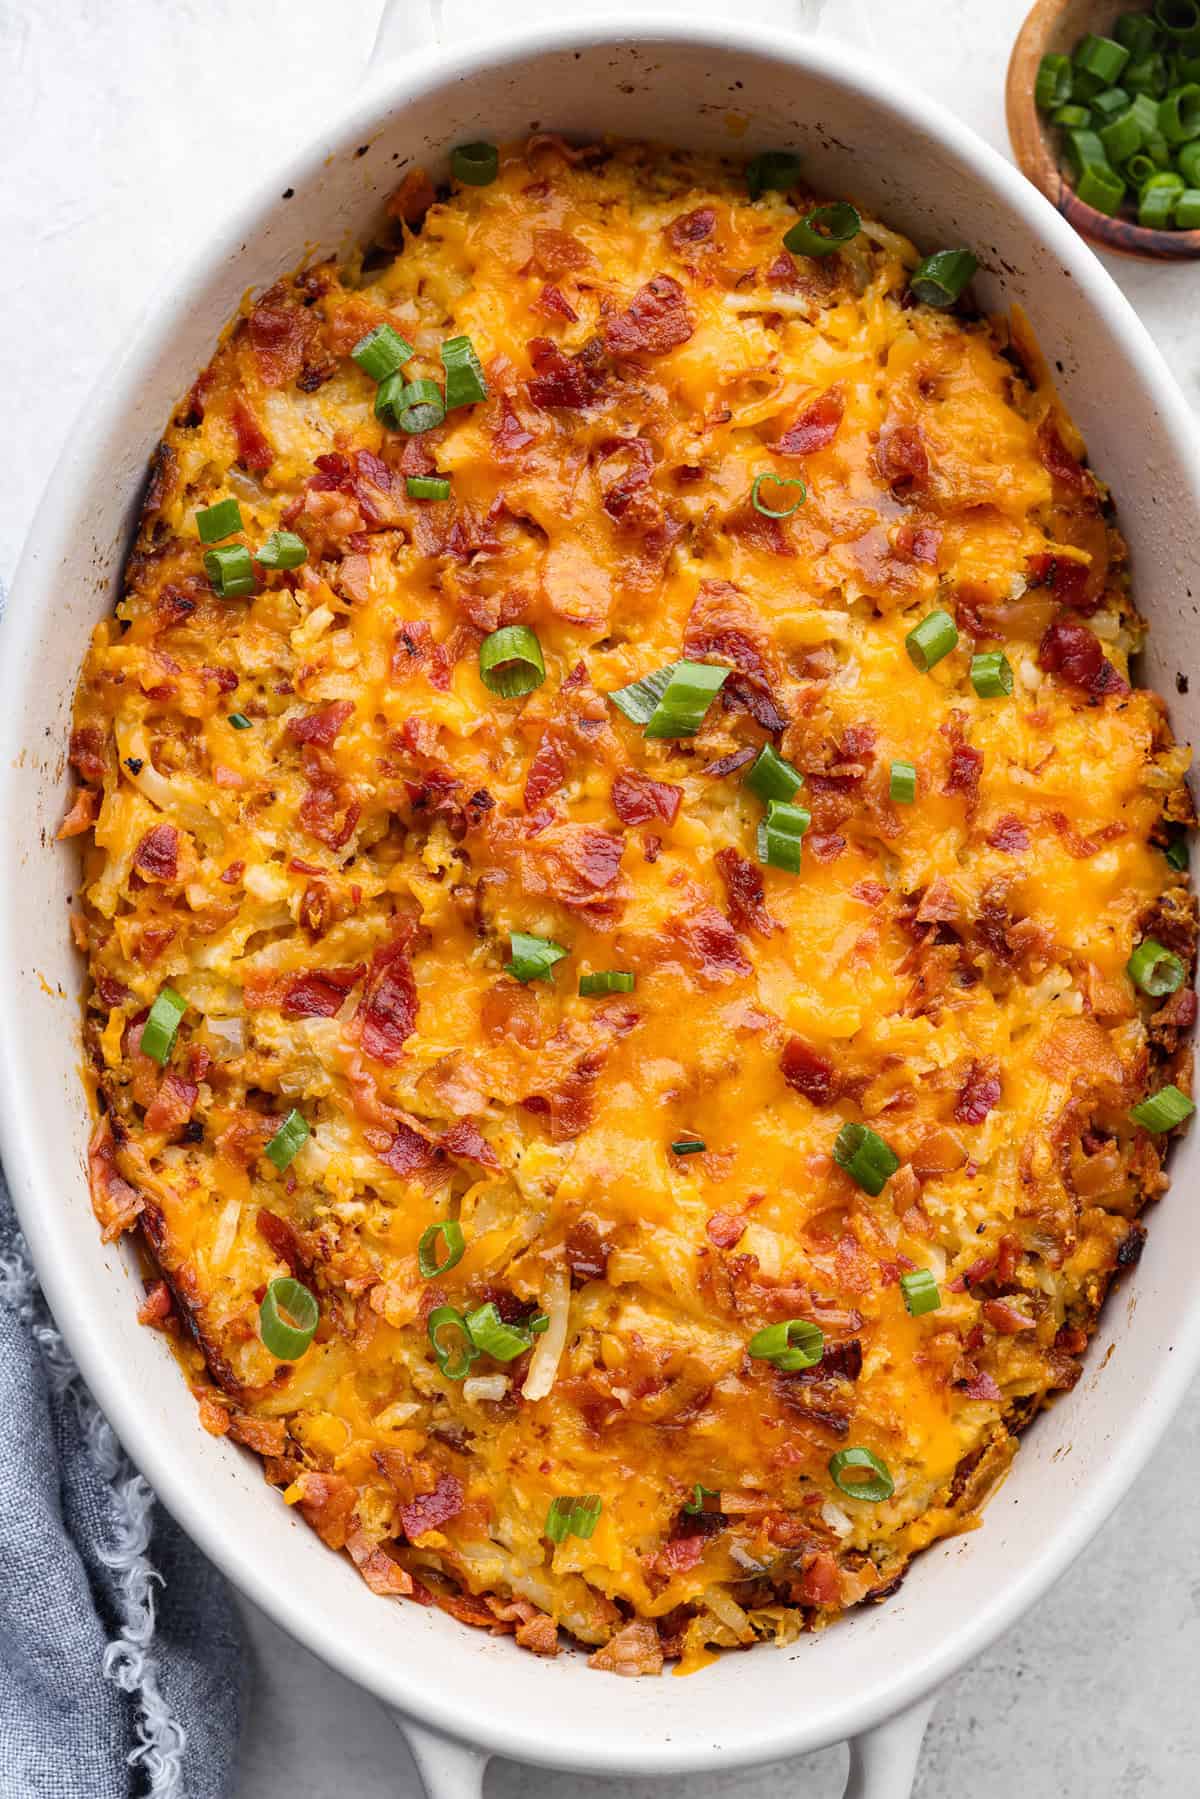
Bake: Pour the egg mixture over the potato mixture. Bake uncovered for 45-50 minutes, until a knife comes out clean from the center. Let your farmer’s casserole stand for 5 minutes before serving.
Alyssa’s Pro Tip
9×13 Baking Dish: You will need to double the recipe or change the bake time. Bake for 25 to 30 minutes, then add more time as needed until the center is set.
Must Have Tools For This Recipe
2-3 Quart Baking Dish: Bakes the casserole evenly with golden edges.
Whisk: Mixes the eggs and evaporated milk until smooth and fluffy.
This farmers casserole is a hearty breakfast bake made with hash browns, eggs, cheese, and meat, and it’s easy to customize with your favorite add-ins.
Preheat the oven to 350 degrees Fahrenheit. Spray a 2 or 3-quart baking dish with nonstick cooking spray.
Spread 3 cups frozen shredded hash browns evenly in the bottom of the baking dish, then top with 1 cup shredded pepper jack cheese, 1 cup diced ham, and ⅓ cup sliced green onions.
Whisk together 4 large eggs, 1 (12-ounce) can evaporated milk, ¼ teaspoon salt, and ¼ teaspoon ground black pepper in a medium bowl, then pour over the potato mixture.
Bake uncovered for 45-50 minutes, until a knife comes out clean from the center. Let stand for 5 minutes before serving.
Notes
Storage and Make-Ahead Instructions
Fridge: Store leftovers in an airtight container for up to 5 days. Reheat in the microwave or oven at 350°F until the center reaches 165°F.
Freezer Meal: Assemble in a freezer-safe dish, wrap tightly, and freeze for up to 3 months. Thaw in the fridge for 24 hours, then bake as directed until the center reaches 165°F.
Make Ahead: Assemble up to 24 hours in advance and refrigerate. Add 10-15 minutes to the baking time if baking straight from the fridge.
Air Fryer Egg Rolls are everything you love about your favorite takeout appetizer, made right at home! They’re crispy, crunchy , loaded with flavorful chicken filling , and cooked without the hassle of deep frying. The Egg Roll Upgrade You’ll Love Perfectly Crispy Without Deep Frying: The air fryer gives these egg rolls an irresistibly crunchy exterior while keeping the filling juicy and tender. Better Than Takeout: Loaded with seasoned chicken, crunchy veggies, and bold Asian-inspired flavors, they’re fresh, flavorful, and made right in your own kitchen. Great for Dinner or Appetizers: Serve them with a good sweet chili sauce or sweet and sour sauce s for an easy weeknight meal, game day snack, or party appetizer everyone will devour. A Reader’s Review These are delicious!! So much healthier than store bought or take-out. Pretty easy to make. – Janice Ingredients For Air Fryer Egg Rolls Gr...