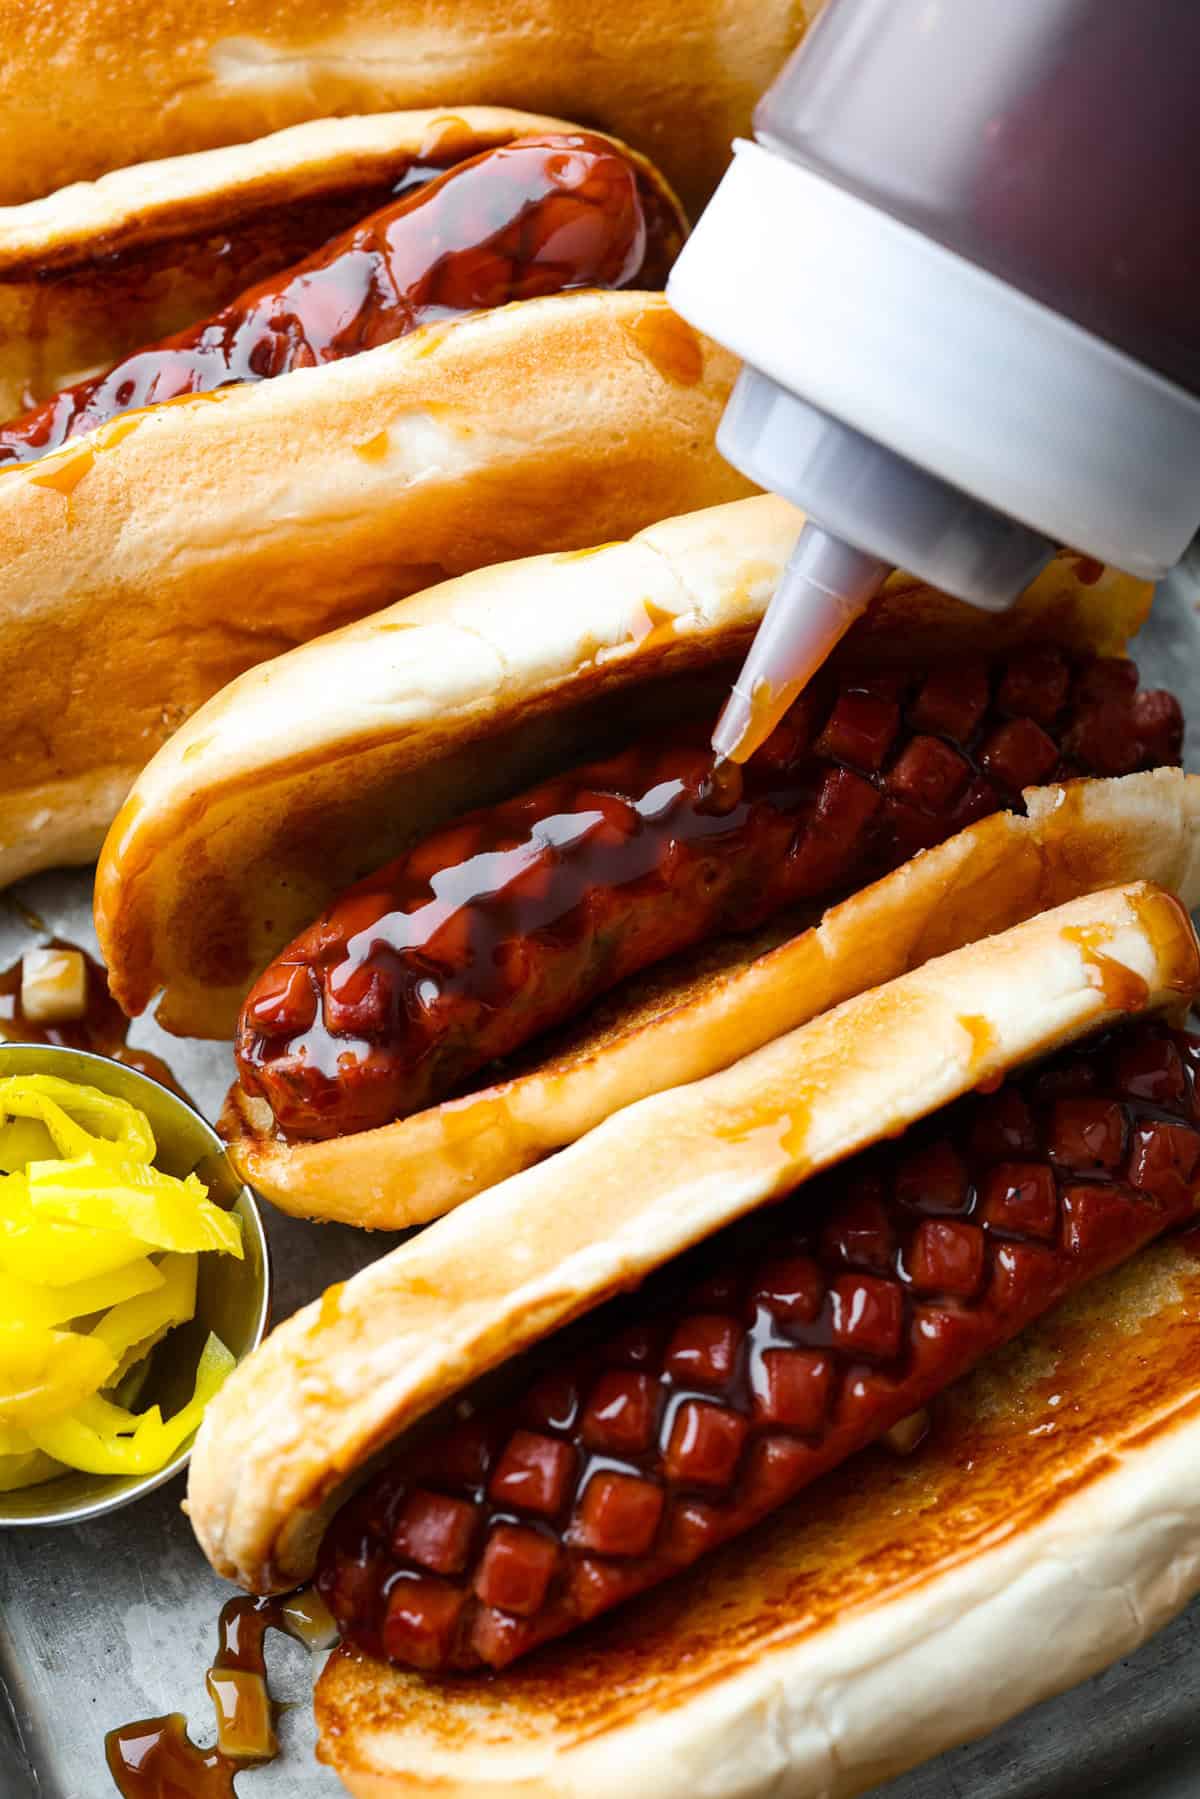
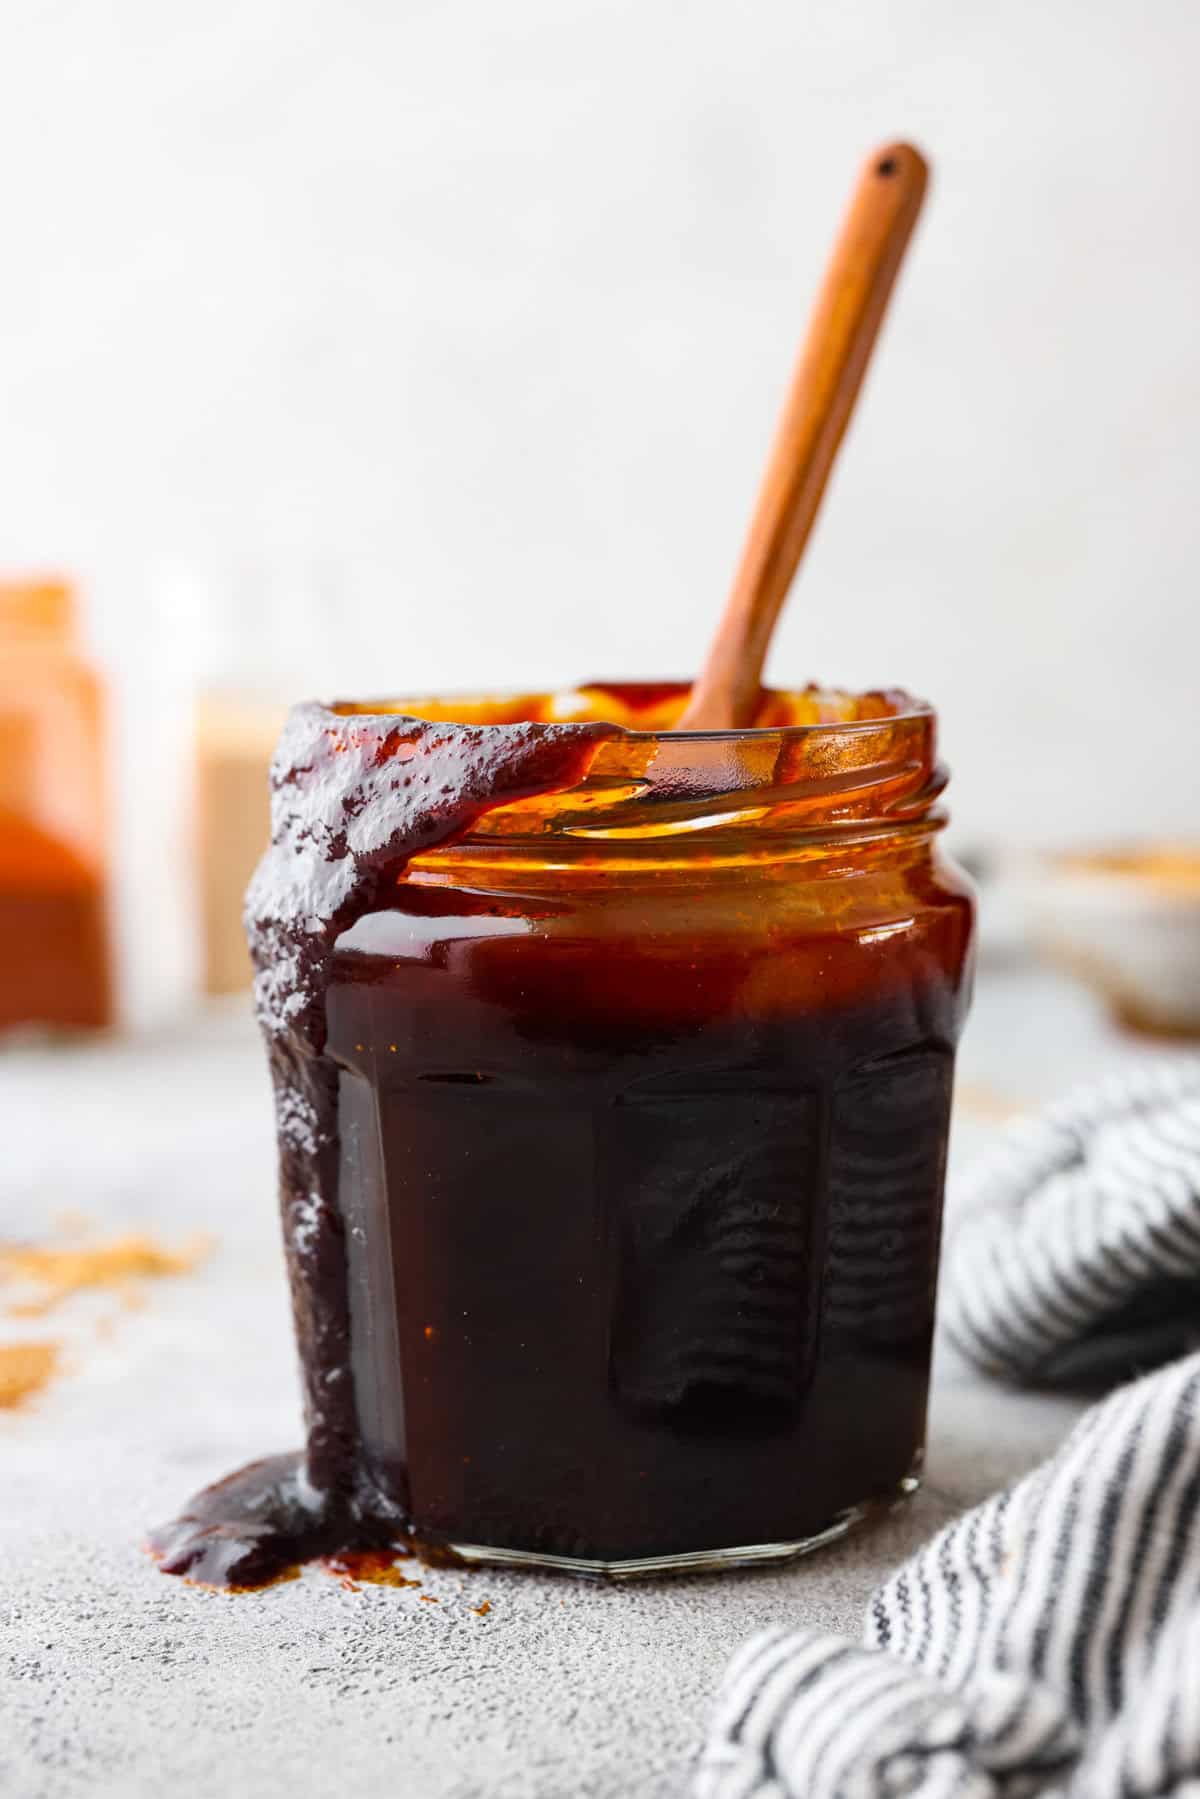
Here in Utah, J. Dawgs is basically a religion! Their hot dogs are THAT good. The sweet, tangy, smoky sauce? Life-changing! Make this copycat J Dawgs sauce at home and you’ll never look at ketchup the same way again.
Reasons You’ll Lick the Spoon
Sweet & Smoky Magic: The perfect balance of sweet and smoky flavor goes so well with salty, savory hot dogs!
Versatile Drizzle: This sauce is not just for hot dogs. You can slather it on burgers, sandwiches, or even grilled veggies.
Game Day Glory: Be the master tailgater or game day party host with the BEST hot dogs (jdawgs) on the block.
J Dawgs Special Sauce Ingredients
Switch Up the BBQ Sauce: We used Sweet Baby Ray’s, but feel free to use your favorite (just steer clear of mustard-based sauces).
Paprika Pick: Smoked paprika will give a deeper, smoky flavor, while regular paprika keeps it mild and sweet.
Turn Up the Heat: Add a pinch or two of cayenne pepper if you like a little kick!
How to Make Copycat J Dawgs Sauce
J Dawgs started out as a tiny little shaw right outside BYU’s campus. The lines got longer and longer, and now the obsession has blown up across Utah. With just a few pantry staples, you can make their famous jdawg sauce at home!
Combine Ingredients and Heat: Combine ketchup, brown sugar, barbecue sauce, honey, apple cider vinegar, onion powder, garlic powder, and smoked paprika in a small saucepan and cook over medium heat for 2-3 minutes, until boiling.
Simmer, Cool, and Enjoy: Reduce the heat to medium-low and let the sauce simmer for 3-4 minutes, until all the sugar has dissolved. Remove from the heat and cool completely before storing in an airtight container in the refrigerator for up to 2 weeks.
The Complete J Dawgs Experience
Making J Dawgs hot dogs at home comes down to the little extras, like perfectly toasted buns, signature grill marks, and must-have toppings. Here’s how to nail it:
Type of Dog: For the full J. Dawgs experience, use all-beef hot dogs (I love the jumbo Costco ones). Or try a Polish dog for a spicier kick!
Toast the Hot Dog Buns: Melt a little butter in a skillet over medium heat, place your buns facedown, and cook until golden and crisp to your liking.
Score for Style: Add criss-cross cuts to your hot dogs before grilling for that classic J. Dawgs signature look (a hot dog hack I swear by!). I love using this handy tool.
Topping Ideas: The traditional lineup is chopped onions, sauerkraut, banana peppers, jalapeños, and pickles, but honestly, anything goes. Or keep it simple and let the J Dawgs sauce shine all on its own.
Sweet, tangy, and smoky, this copycat J. Dawgs Sauce is perfect on hot dogs, burgers, or grilled chicken. Made with simple pantry ingredients in minutes.
Coursecondiment, pantry staple, Sauce
CuisineAmerican, Utah
Keywordj.dawg’s sauce copycat, j.dawg’s sauce recipe, j.dawg’s special sauce, j.dawg’s special sauce copycat, j.dawg’s special sauce copycat recipe, j.dawg’s special sauce recipe, jdawgs sauce, jdawgs special sauce
Combine ½ cup ketchup, ½ cup packed brown sugar, ¼ cup barbecue sauce, 2 tablespoons honey, 2 teaspoons apple cider vinegar, 1 teaspoon onion powder, ¼ teaspoon garlic powder, and ¼ teaspoon smoked paprika in a small saucepan and cook over medium heat for 2-3 minutes, until boiling.
Reduce the heat to medium-low and let the sauce simmer for 3-4 minutes, until all the sugar has dissolved. Remove from the heat and cool completely before storing in the refrigerator for up to 2 weeks.
Notes
Each serving is 1 tablespoon of sauce. Store leftover J.Dawg’s sauce in an airtight container or bottle in the refrigerator for up to 2 weeks.
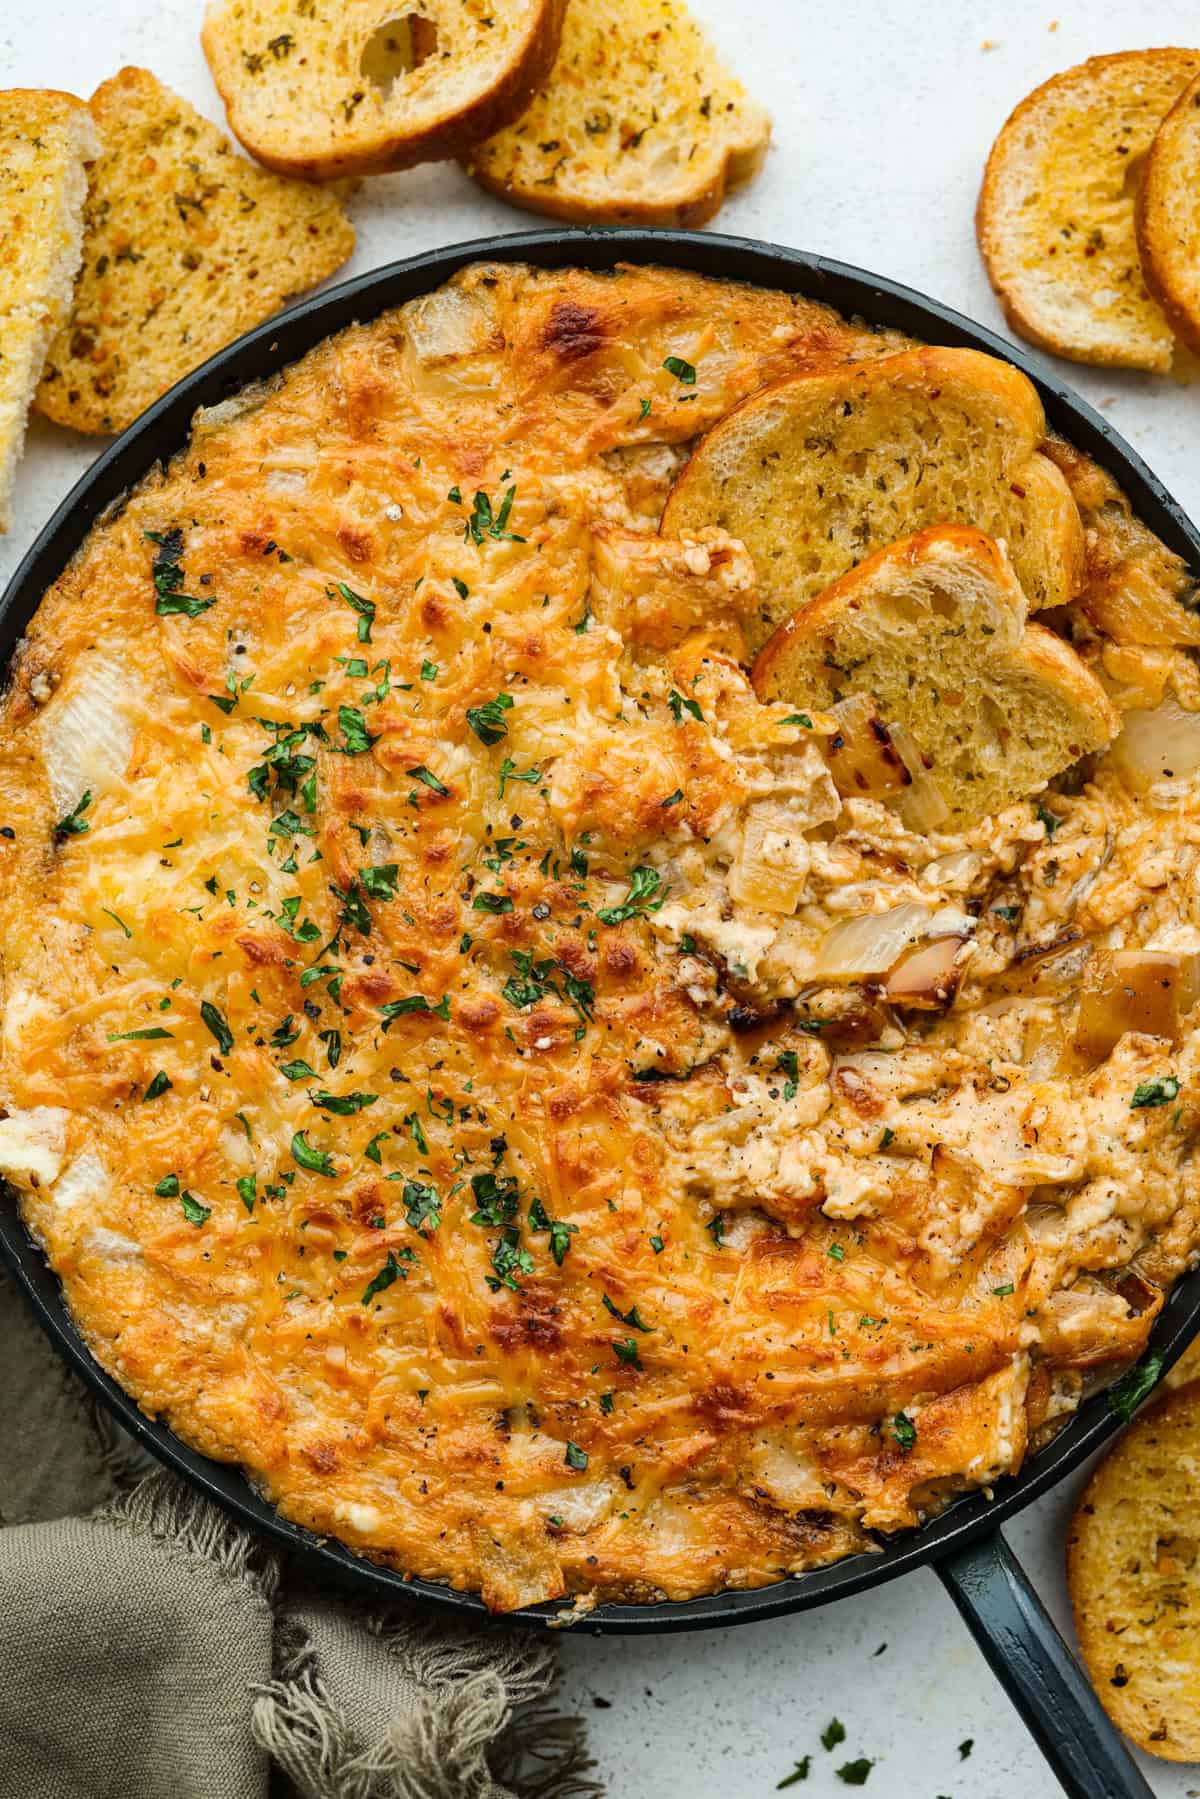
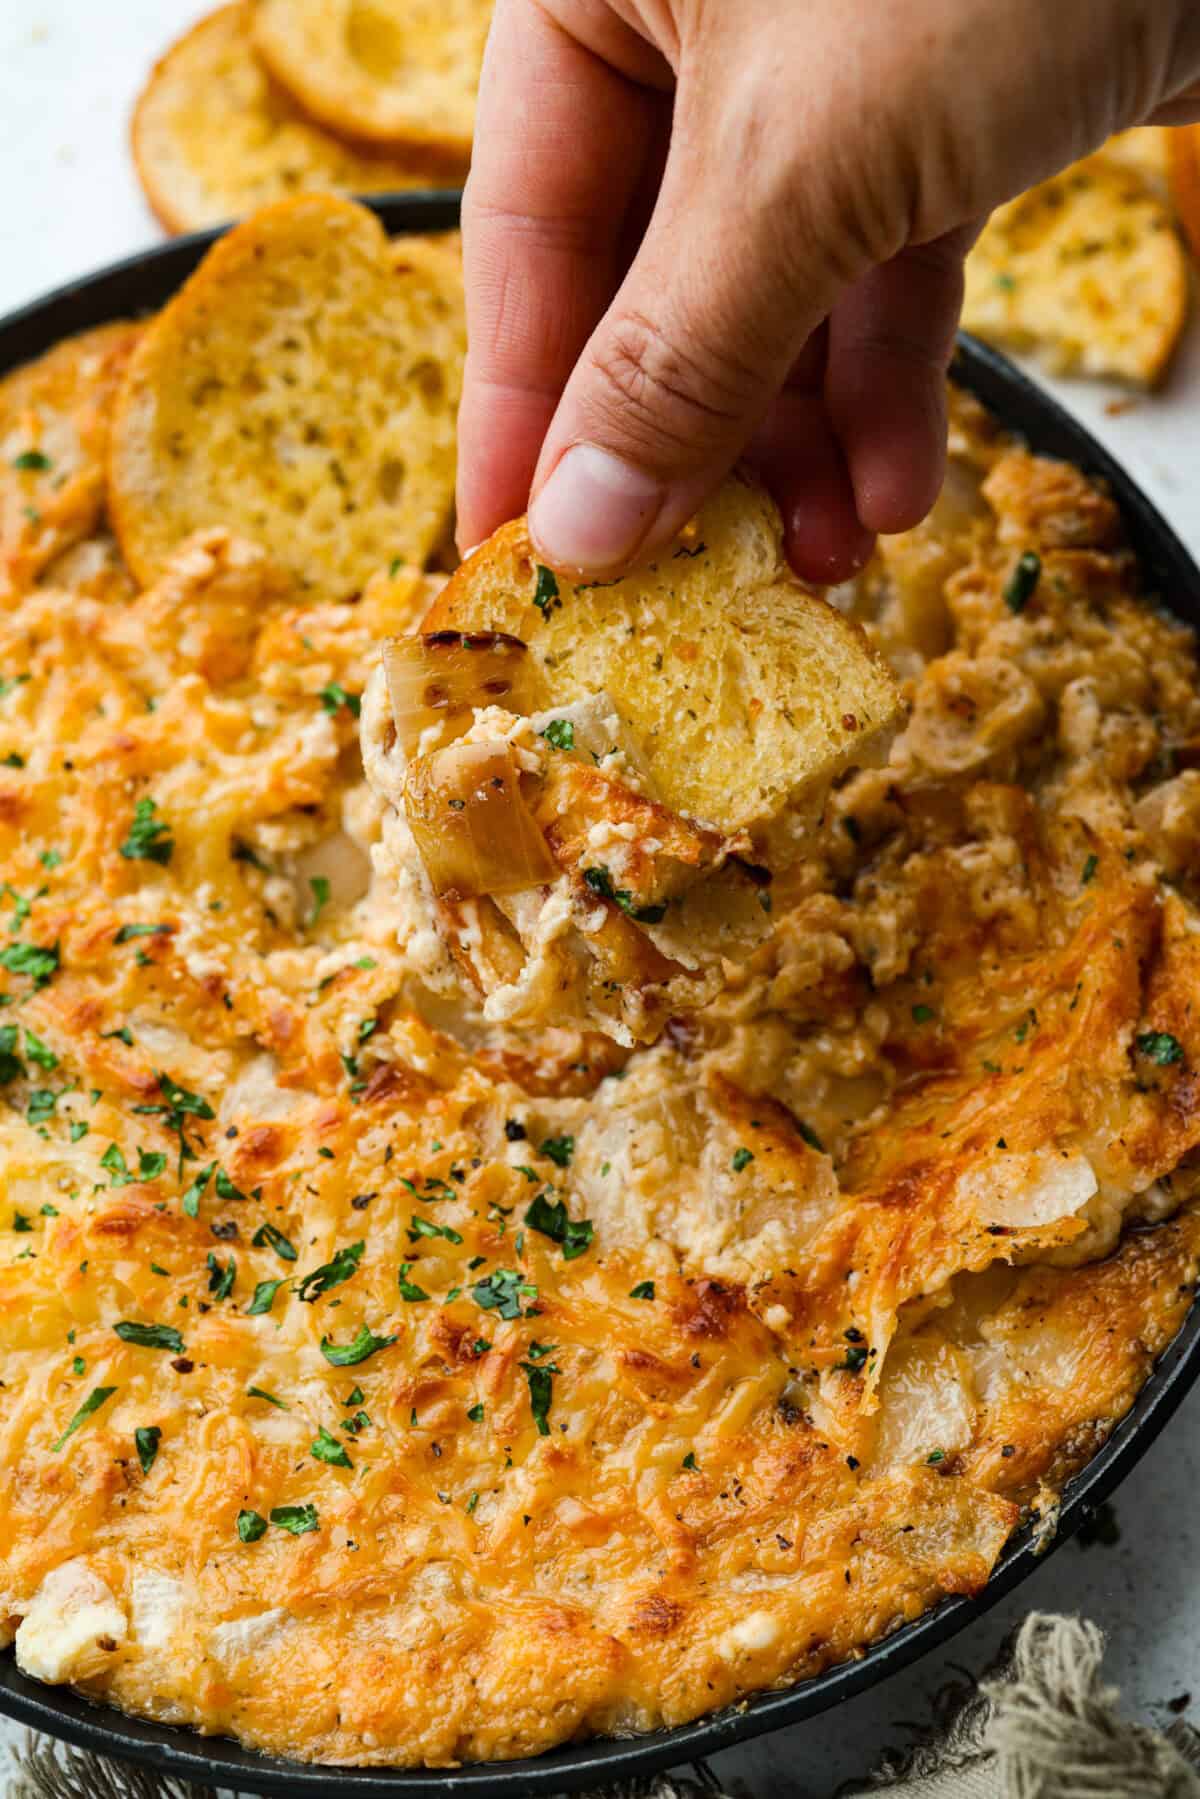
My Tennessee Onion Dip is a familyparty legend. Everyone always begs me to bring it, and for good reason. The sweet onion flavor baked with gooey cheese and seasonings is absolutely irresistible!
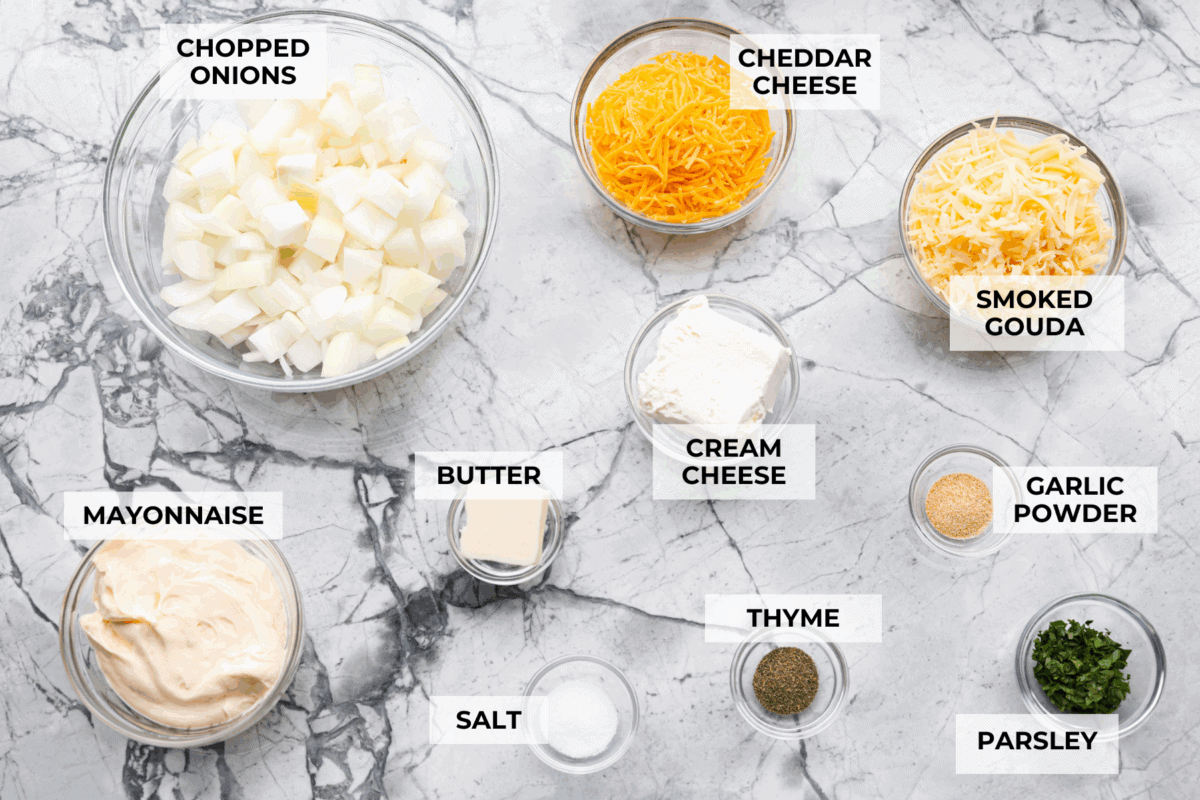
Tennessee Onion Dip Ingredients
Onions: Sweet Vidalia onions are a MUST!
Cream Cheese: Make sure it’s room temperature so it mixes well.
Cheeses: The combination of the cheddar and smoked Gouda cheese really highlights the flavor of the onion!
How to Make Tennessee Onion Dip
I’m warning you, if you make this once, you’ll be in charge of bringing it to every game day and get together after! Luckily, it’s easy to whip up, and the flavor is insanely good.
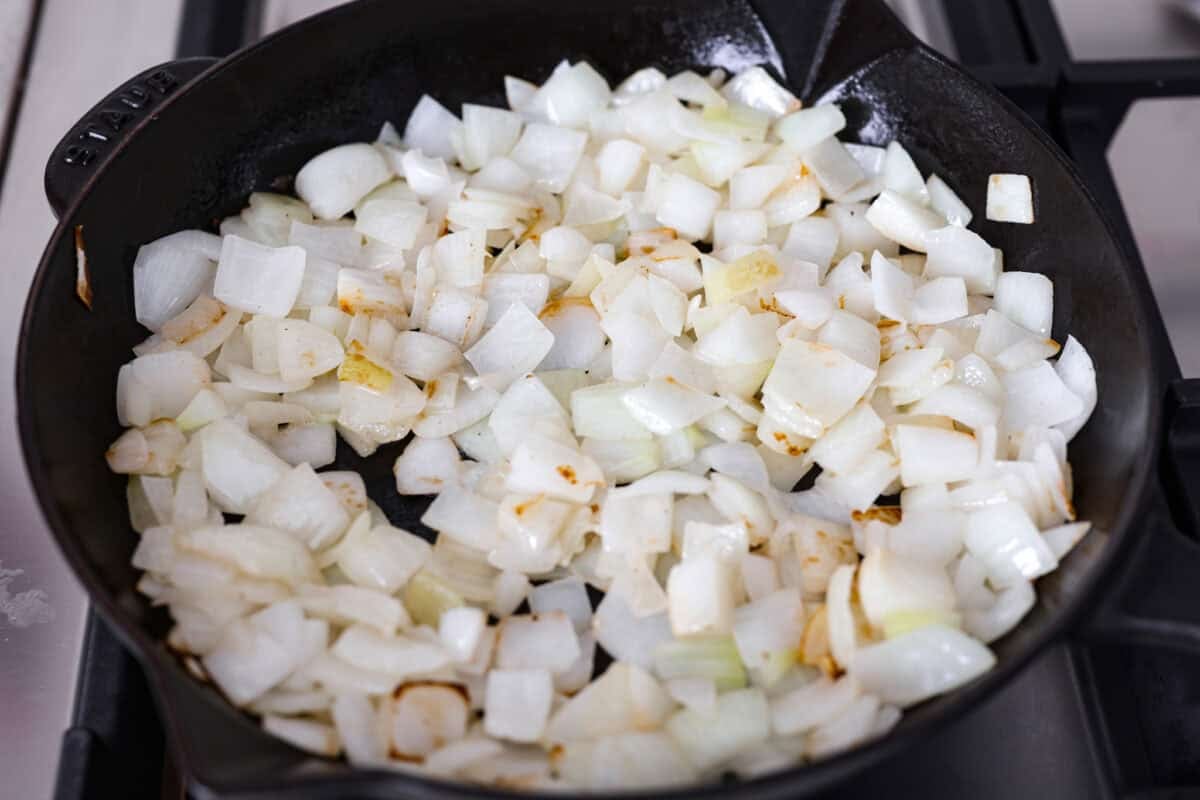
Soften the Onions: Preheat the oven to 375 degrees Fahrenheit. In a large ovensafe skillet, melt 2 tablespoons unsalted butter over medium heat. Add 2 large chopped Vidalia onions and cook until soft and tender, about 15 minutes.
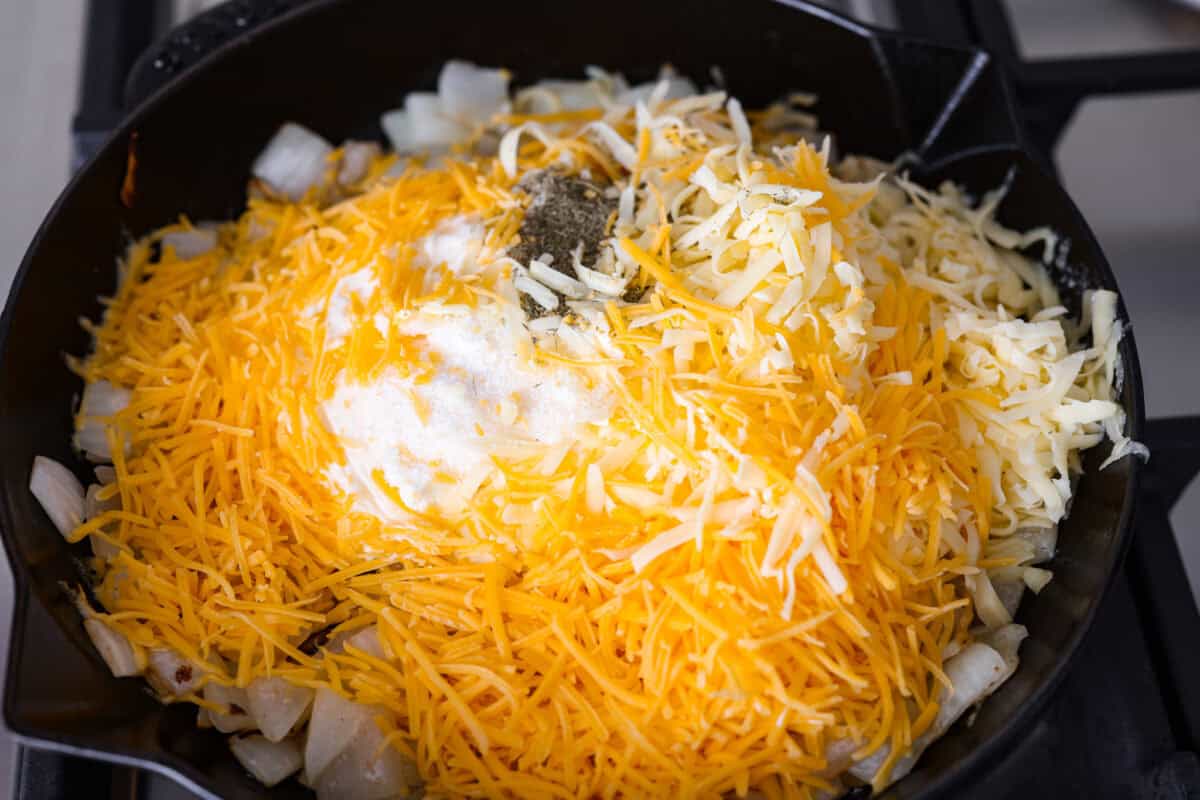
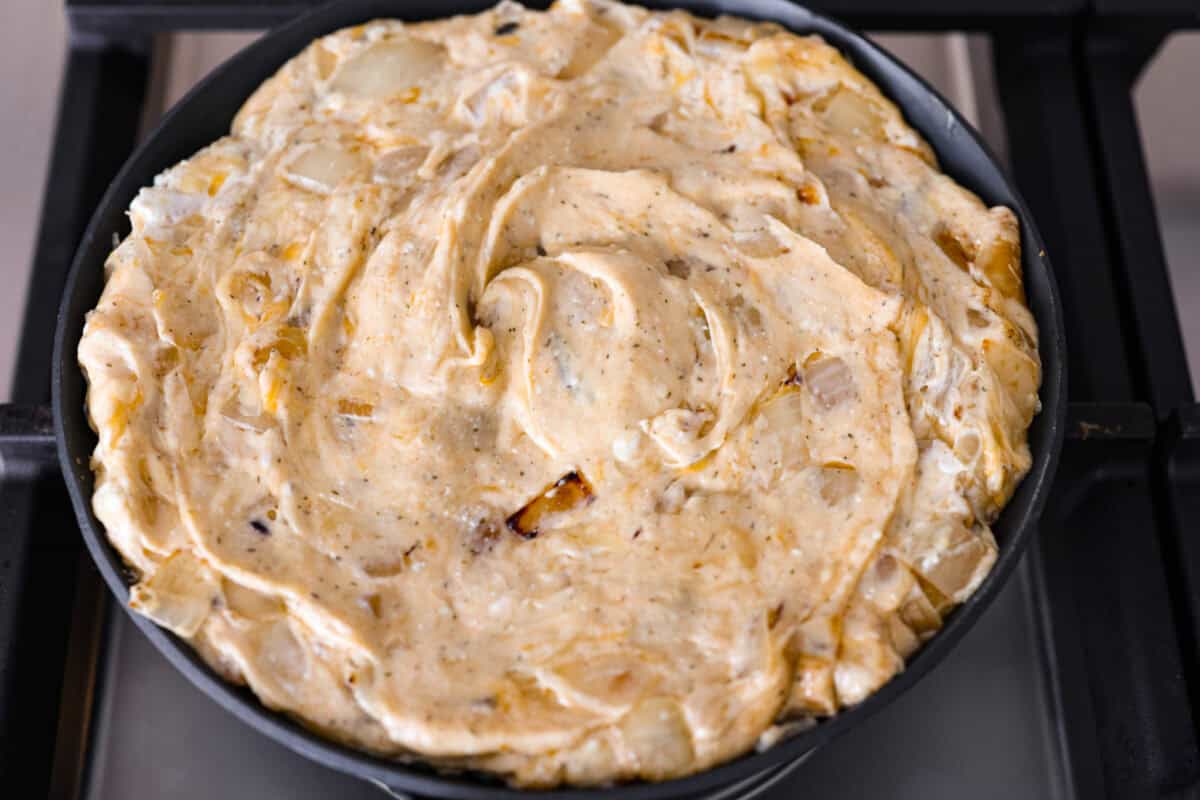
Combine: Remove the skillet from the heat. Add the mayo, softened cream cheese, garlic powder, dried thyme, salt, shredded cheddar cheese, and shredded smoked gouda cheese. Stir to combine.
Bake: Place the skillet in the oven and bake for 25 minutes or until bubbly. Garnish with chopped parsley for garnish and serve with crackers, crostini, potato chips, or bread.
Alyssa’s Pro Tip
Chopped onions are the perfect size for dipping! Cook them just long enough until soft and tender. There’s no need to caramelize the onions because this Tennessee onion dip is DELICIOUS without that step! But, if you’re looking for a caramelized onion dip, you’ll love this one!
Preheat the oven to 375 degrees Fahrenheit. In a large oven-safe skillet, melt 2 tablespoons unsalted butter over medium heat. Add 2 large chopped sweet onions and cook until soft and tender, about 15 minutes.
Remove the skillet from the heat and add 1 cup mayonnaise, 4 ounces softened cream cheese, 1 teaspoon garlic powder, 1 teaspoon dried thyme, ½ teaspoon salt, 1 cup shredded cheddar cheese, and 1 cup shredded smoked gouda cheese. Stir to combine.
Place the skillet in the oven and bake for 25 minutes or until bubbly. Garnish with chopped parsley and serve with crackers, crostini, or bread.
Notes
Storing Leftovers
In the Refrigerator: Place any leftovers in an airtight container in the fridge for up to 2 days. This Tennessee onion dip does not freeze well.
To Reheat: Reheat in the microwave or oven on low heat until the cheese is melted.
I am a huge fan of dips! If you are a fan of this Tennessee onion dip, you’re going to love these other dip ideas I have for you! Check out all of my satisfying appetizers here.
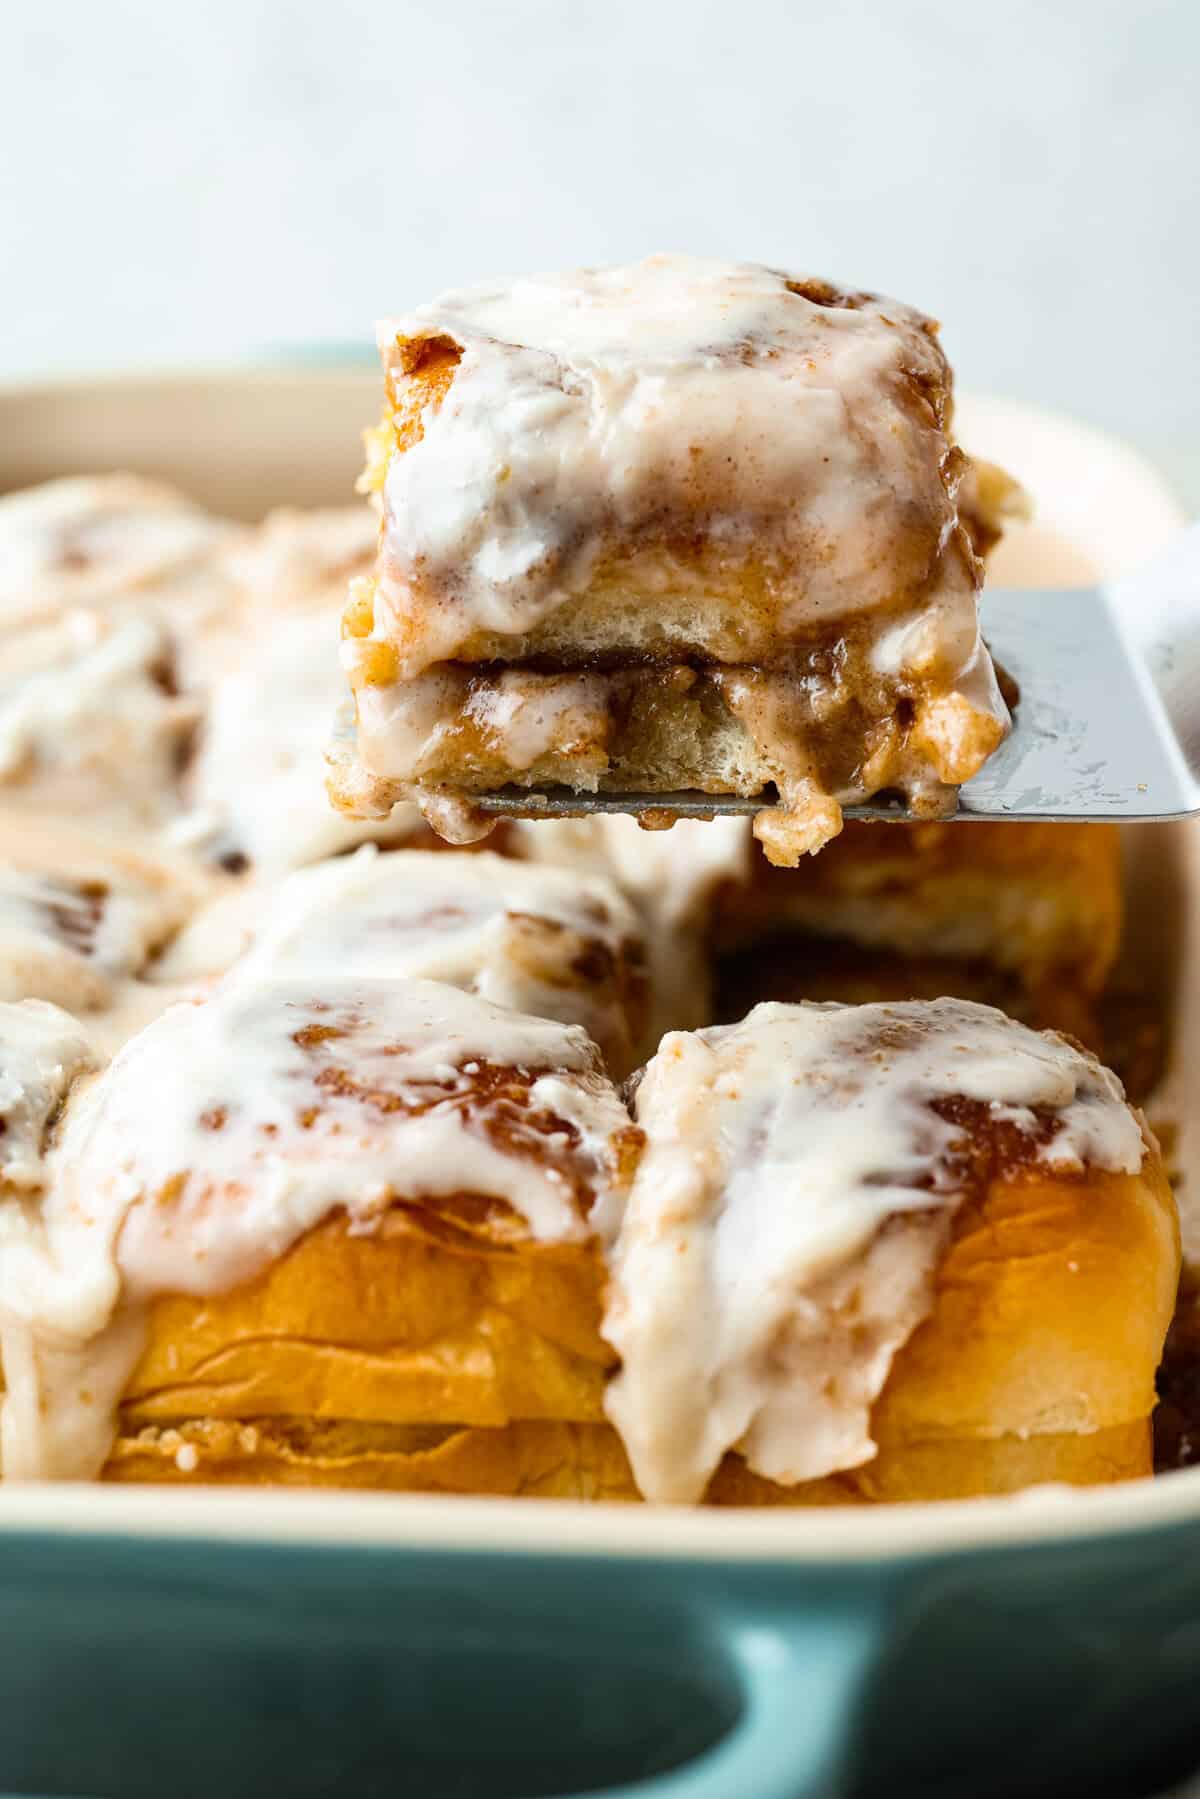
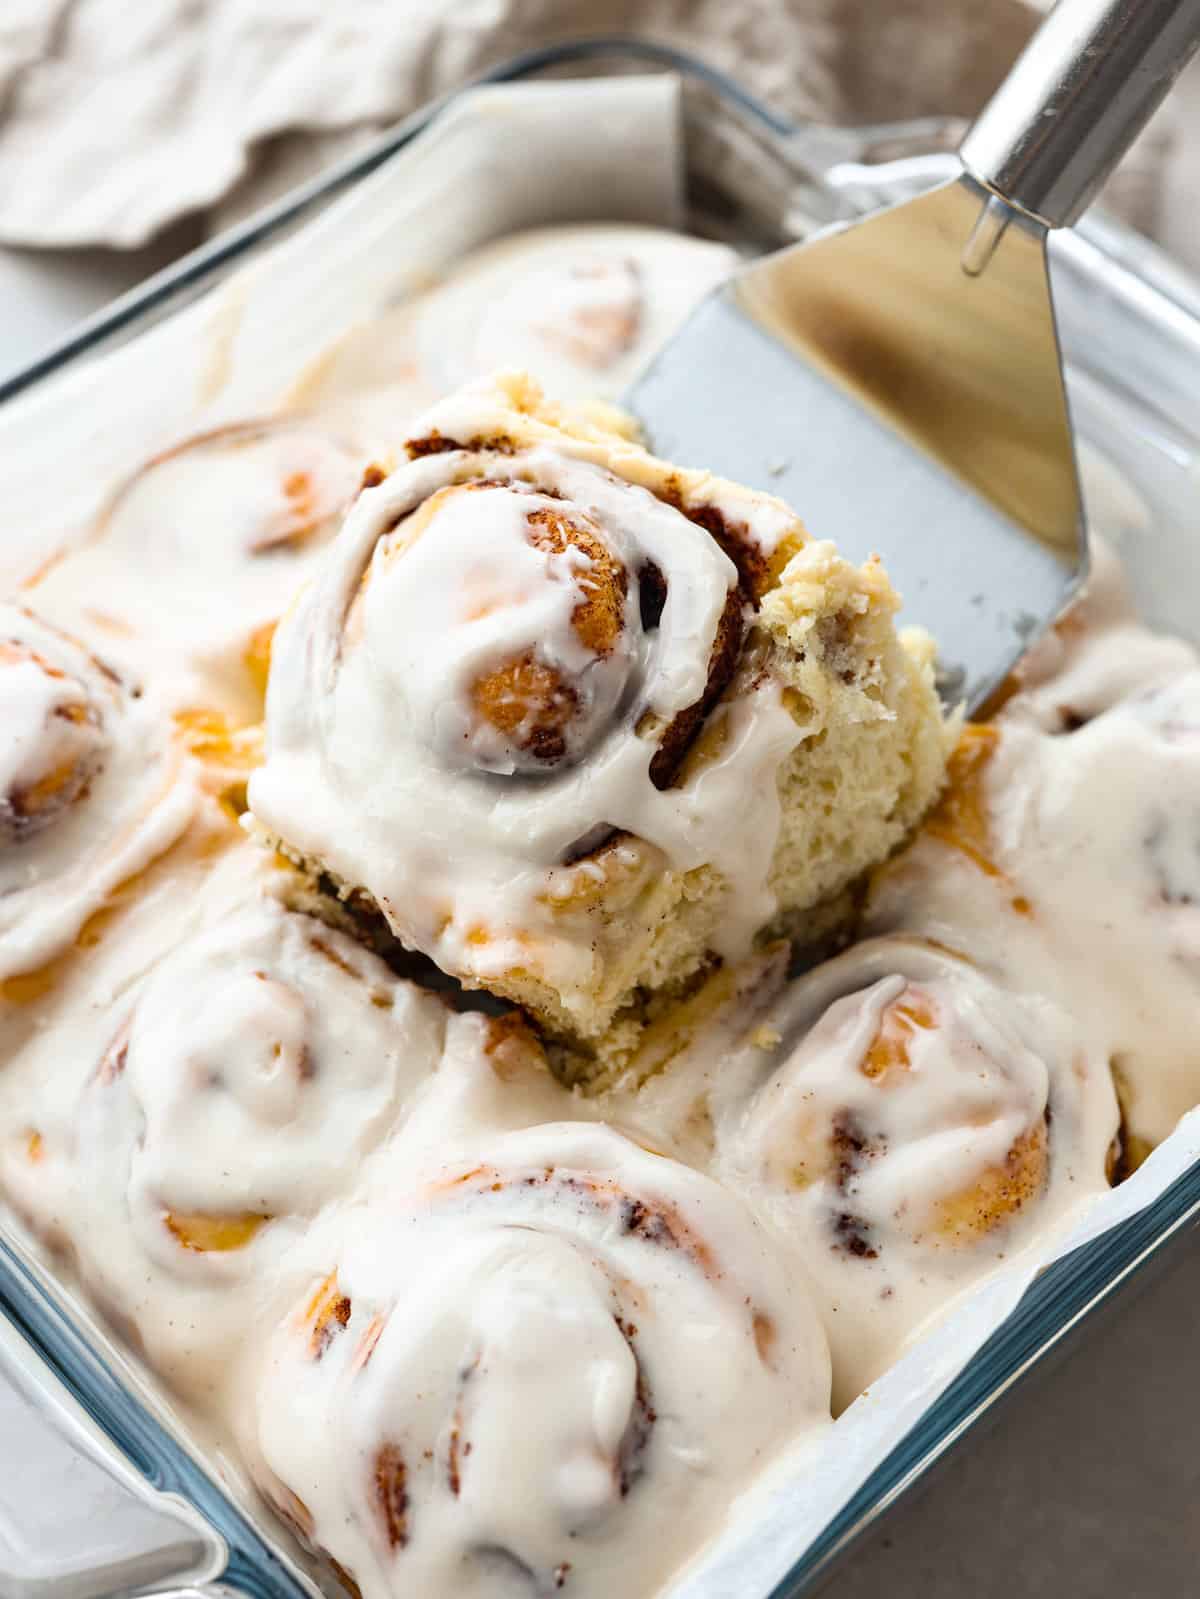
Sometimes you just need warm, gooey cinnamon rolls without the hours of waiting. These Hawaiian Roll Cinnamon Rolls are the cozy little hack that brings all the cinnamon-sugar joy with half the effort.
Why This Shortcut Is Pure Genius
No Messy Pull-Aparts: With my recipe, you just slice the whole slab in half. It’s way easier, way cleaner, and the rolls stay perfectly fluffy.
Double Butter, Double Cinnamon Sugar: My version layers it inside and out, so you get gooey centers and caramelized tops in every single bite.
Quick Bake, Perfect Texture: I bake them covered, then uncovered, so you get soft, pillowy middles with golden, bakery-style tops every time.
Ingredients Needed
Butter: Use salted butter, or add a few pinches of salt if you use unsalted butter.
Brown Sugar: I prefer dark, but you can use light brown sugar.
Add Nuts: Add ½ cup of chopped nuts like pecans or walnuts to the cinnamon sugar mixture for a nutty twist!
Pumpkin Spice: Add ½ teaspoon nutmeg, ¼ teaspoon ginger, and a pinch of cloves for that pumpkin spice flavor.
How to Make Hawaiian Cinnamon Rolls
I’m obsessed with cinnamon rolls, but I’m not always in the mood for all the work. This recipe takes just 5 minutes of prep, and you’ll have gooey, soft cinnamon rolls ready in under 30 minutes!
Prep: Preheat the oven to 350 degrees Fahrenheit. Spray a 9 x 13-inch baking dish with nonstick cooking spray and set aside. Without breaking the rolls apart, slice the King’s Hawaiian rolls in half horizontally. Carefully lift the top half off the bottom half, keeping both halves intact. Place the bottom half of the rolls, cut side up, in the prepared baking pan.
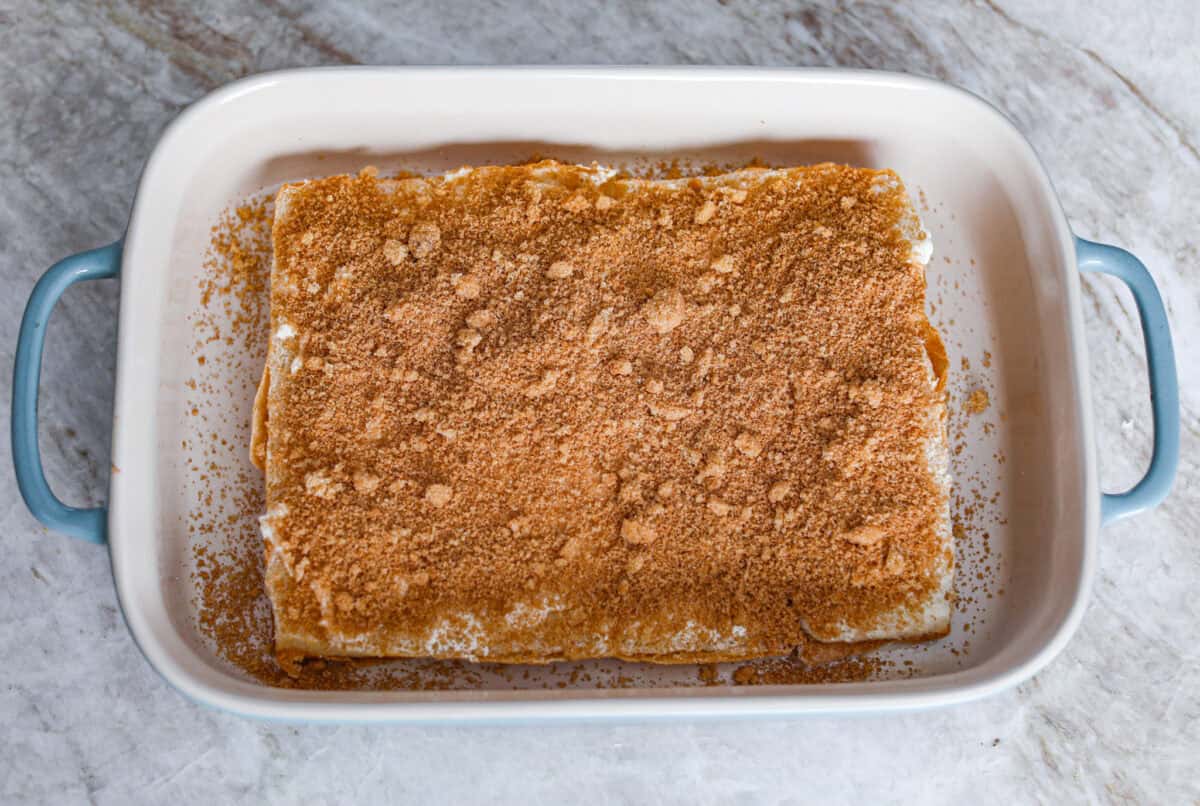
Butter Bottom Half: Spread 5 tablespoons of the softened butter over the bottom half of the rolls. Combine the brown sugar, cinnamon, and salt in a small bowl. Sprinkle about ⅔ of the mixture evenly on top of the butter.
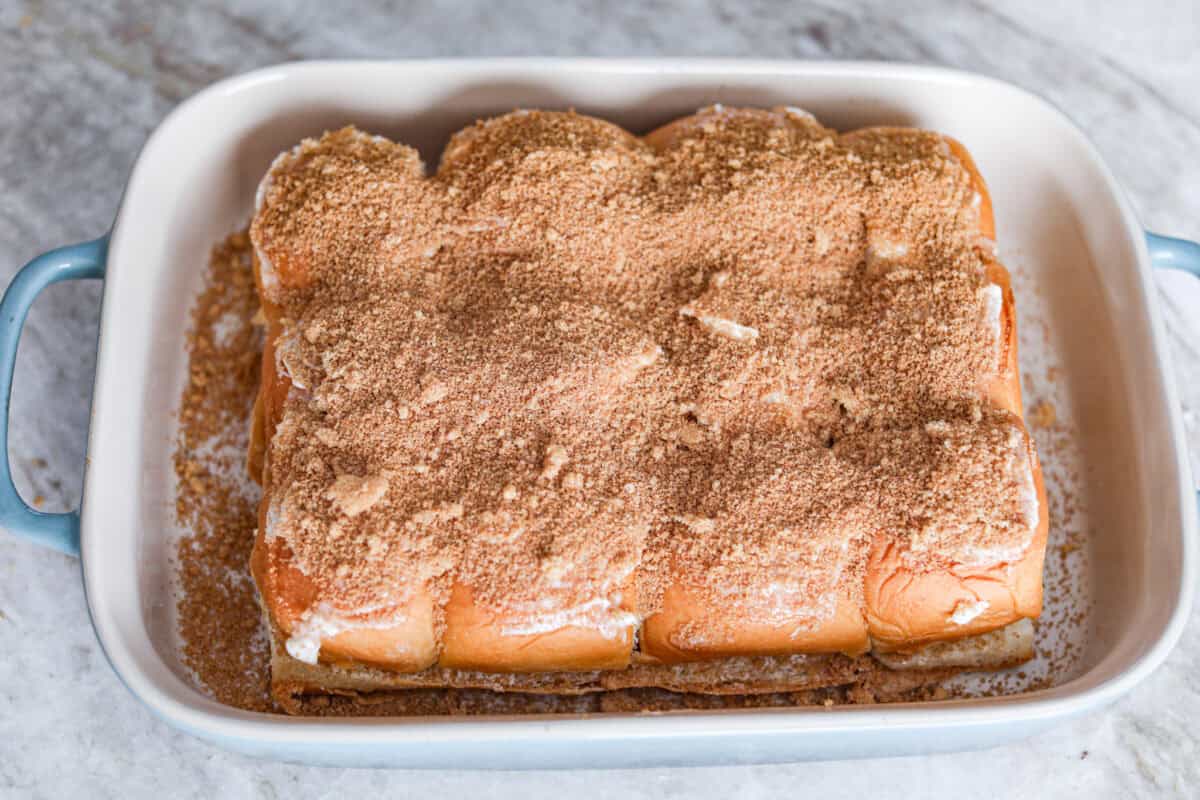
Top and Bake: Place the top half of the rolls onto the cinnamon sugar, then spread the remaining 3 tablespoons of butter over the top, followed by the remaining ⅓ of the cinnamon sugar. Cover with aluminum foil and bake for 12 minutes. Remove the foil and bake for an additional 5 minutes to brown the tops.
Cream Cheese Frosting: While the rolls are baking, prepare the frosting. Beat the cream cheese, butter, powdered sugar, and vanilla together in a medium bowl using a hand mixer until smooth. Let the rolls sit for 2-3 minutes before frosting them and serving.
Alyssa’s Pro Tip
Don’t rush the frosting! Give the rolls a couple of minutes to cool so the frosting stays thick and dreamy instead of melting and disappearing.
Preheat the oven to 350 degrees Fahrenheit. Spray a 9 x 13-inch baking dish with nonstick cooking spray and set aside.
Without breaking the rolls apart, slice 1 (12-count) package Hawaiian rolls in half horizontally. Carefully lift the top half off the bottom half, keeping both halves intact. Place the bottom half of the rolls cut-side up in the prepared baking dish.
Spread 5 tablespoons of the ½ cup softened salted butter over the bottom half of the rolls.
Combine ⅔ cup brown sugar, 1 tablespoon ground cinnamon, and ⅙ teaspoon salt in a small bowl and sprinkle about ⅔ of the mixture evenly on top of the butter. Place the top half of the rolls onto the cinnamon sugar, then spread the remaining 3 tablespoons of butter over the top, followed by the remaining ⅓ of the cinnamon sugar.
Cover with aluminum foil and bake for 12 minutes. Remove the foil and bake for an additional 5 minutes to brown the tops.
While the rolls are baking, prepare the frosting by using a hand mixer to beat 2 ounces softened cream cheese, 1 tablespoon softened salted butter, 1 cup powdered sugar, and 1 teaspoon vanilla extract together in a medium bowl until smooth.
Let the rolls sit for 2-3 minutes before spreading the frosting over them and serving.
Notes
Storage: Keep leftovers in an airtight container or tightly wrapped in the fridge for up to 5 days.
Reheat: Warm in the microwave in 20–30 second bursts until heated through.
Make Ahead: Assemble through step 4, cover, and refrigerate overnight. Add 3–4 minutes to the bake time the next day.
Air Fryer Egg Rolls are everything you love about your favorite takeout appetizer, made right at home! They’re crispy, crunchy , loaded with flavorful chicken filling , and cooked without the hassle of deep frying. The Egg Roll Upgrade You’ll Love Perfectly Crispy Without Deep Frying: The air fryer gives these egg rolls an irresistibly crunchy exterior while keeping the filling juicy and tender. Better Than Takeout: Loaded with seasoned chicken, crunchy veggies, and bold Asian-inspired flavors, they’re fresh, flavorful, and made right in your own kitchen. Great for Dinner or Appetizers: Serve them with a good sweet chili sauce or sweet and sour sauce s for an easy weeknight meal, game day snack, or party appetizer everyone will devour. A Reader’s Review These are delicious!! So much healthier than store bought or take-out. Pretty easy to make. – Janice Ingredients For Air Fryer Egg Rolls Gr...