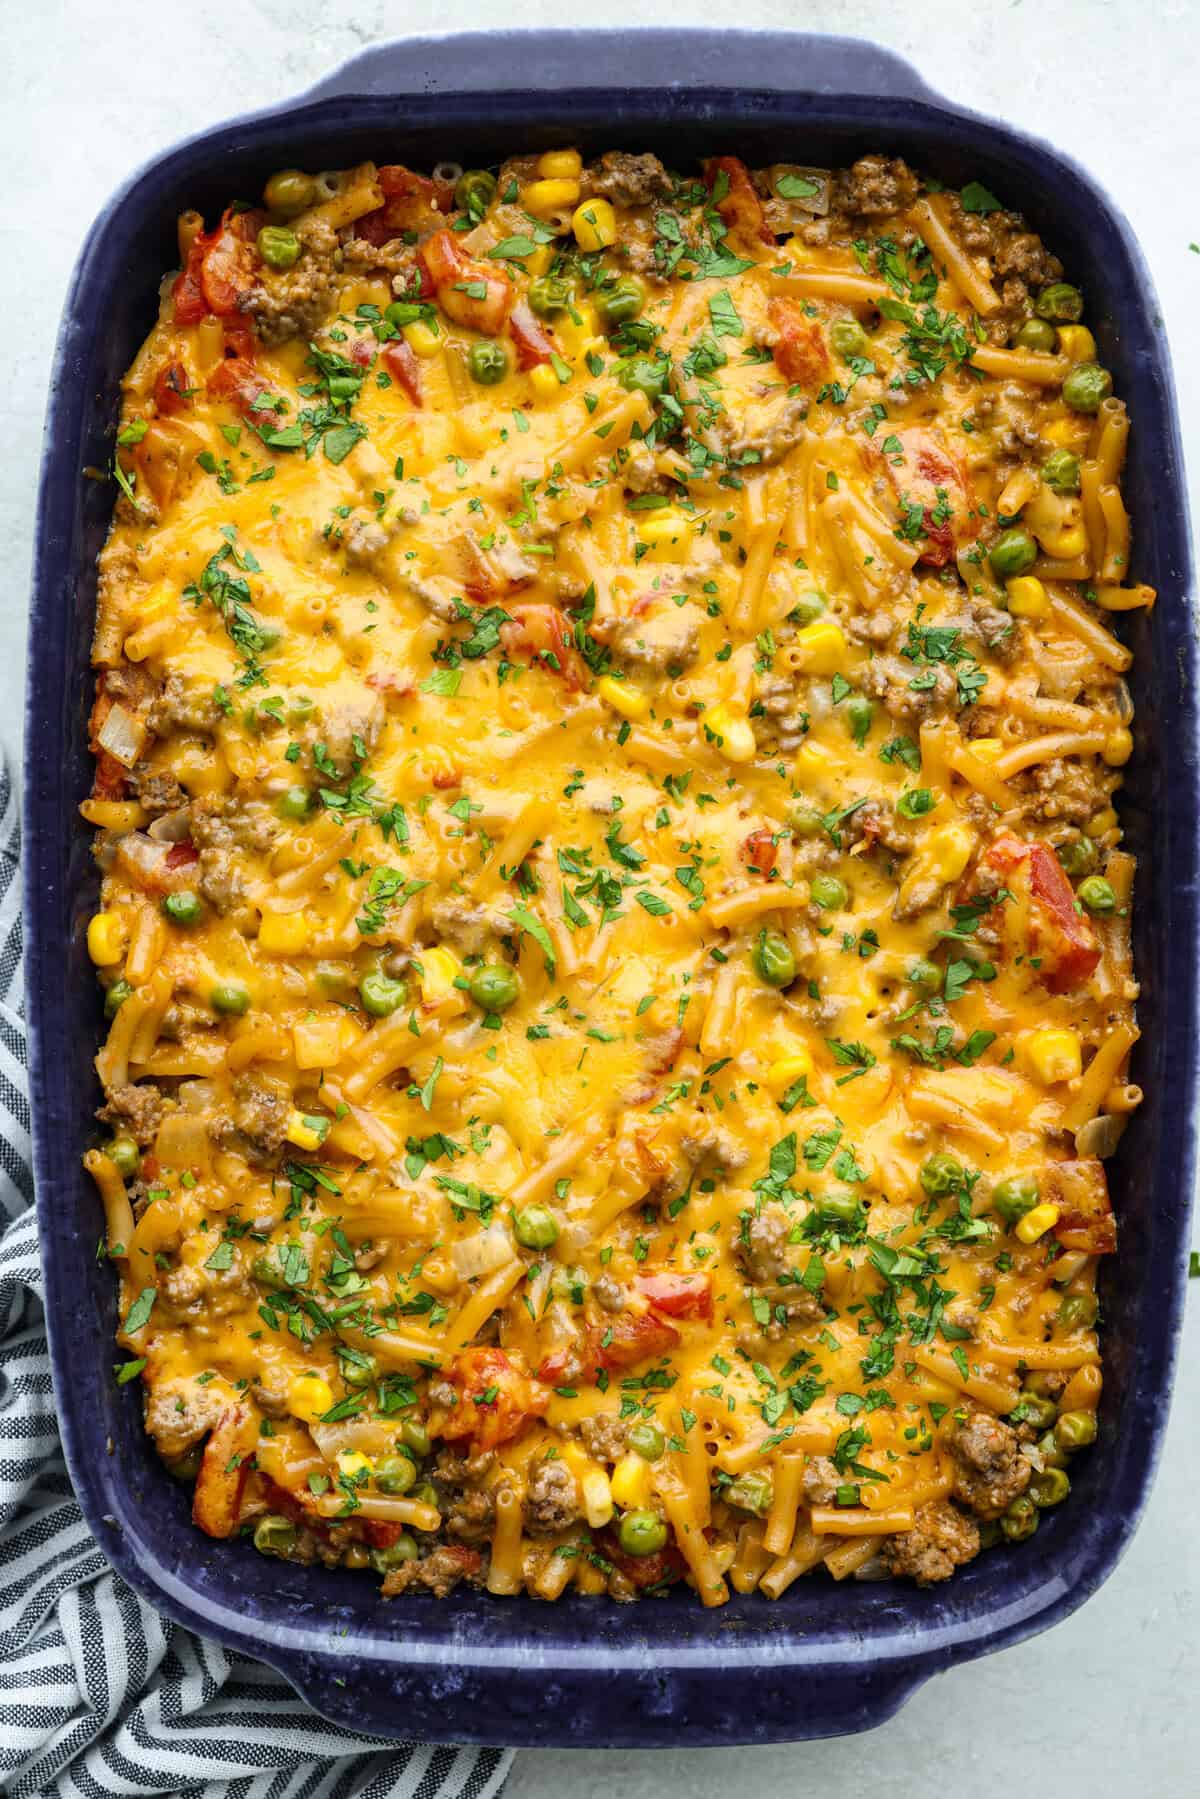
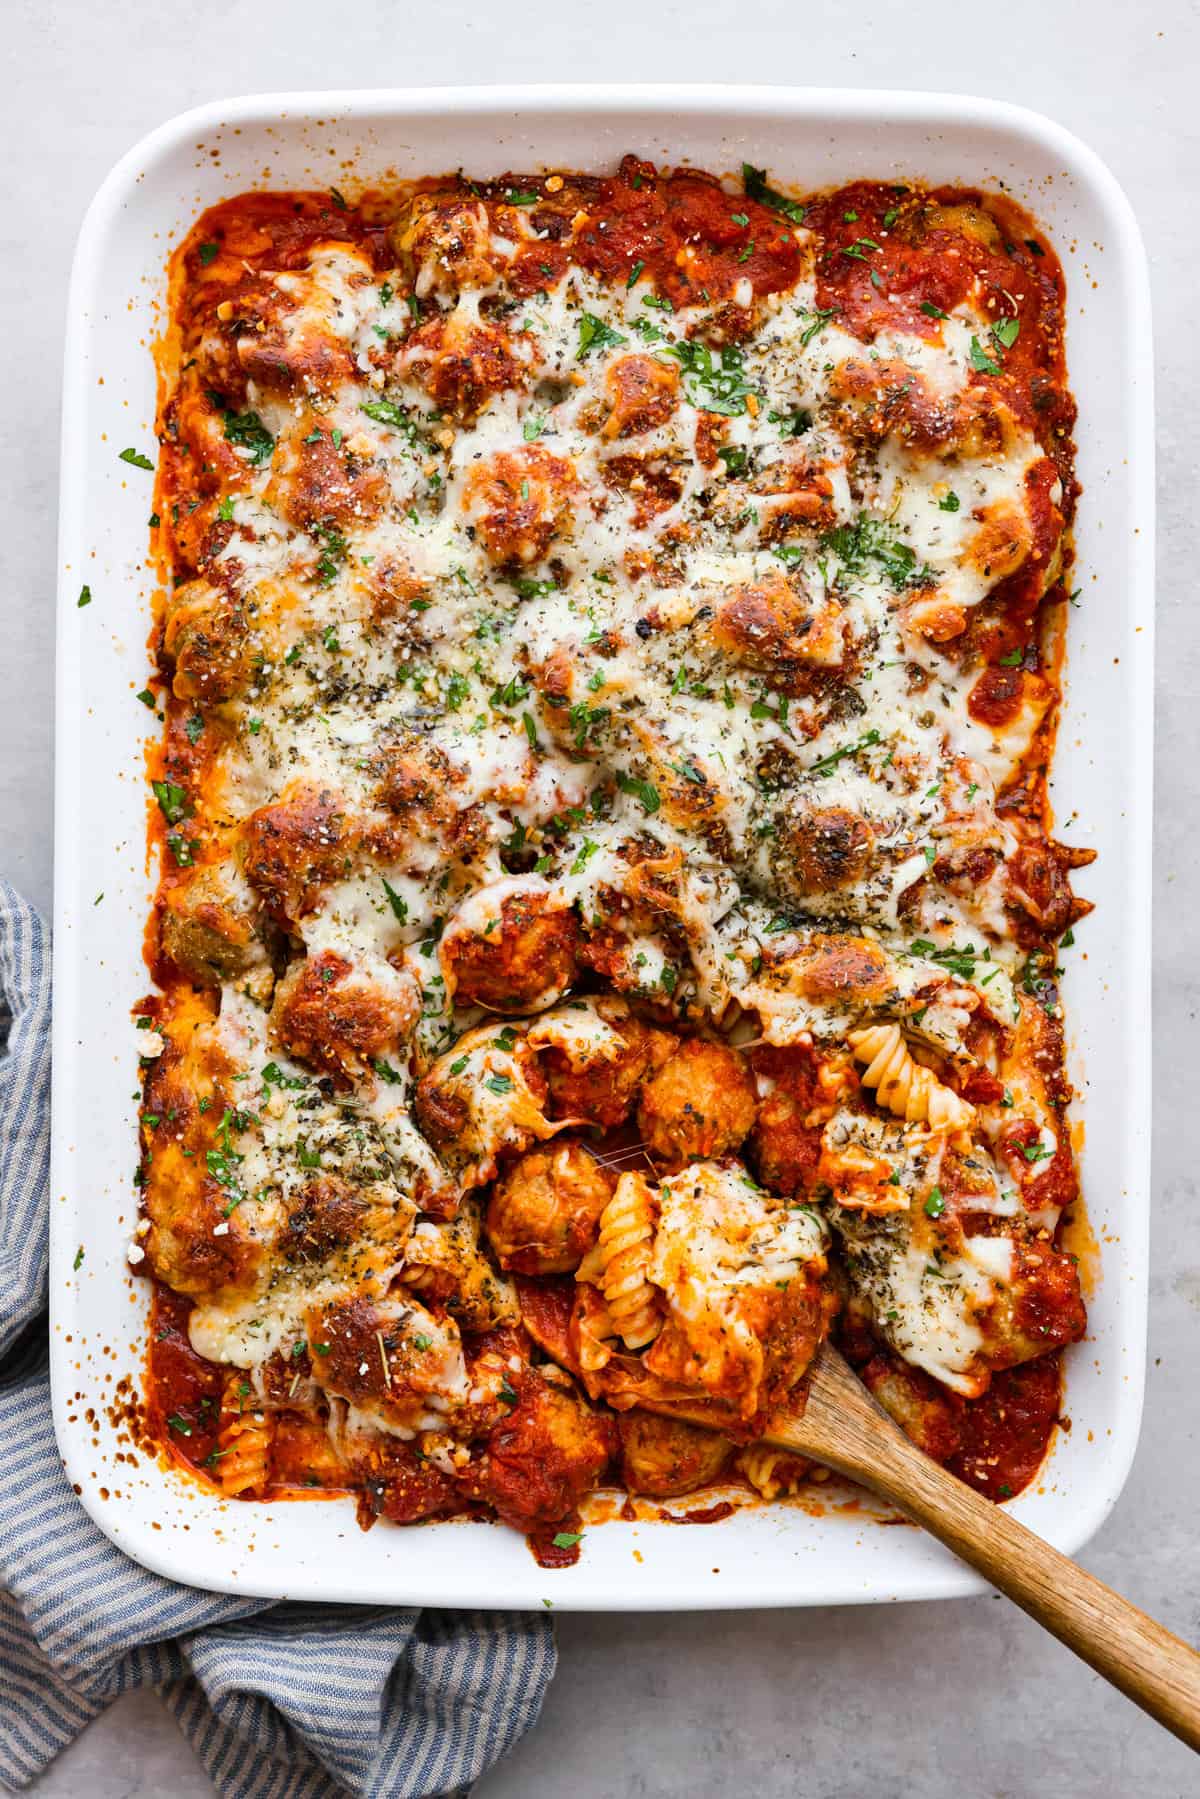
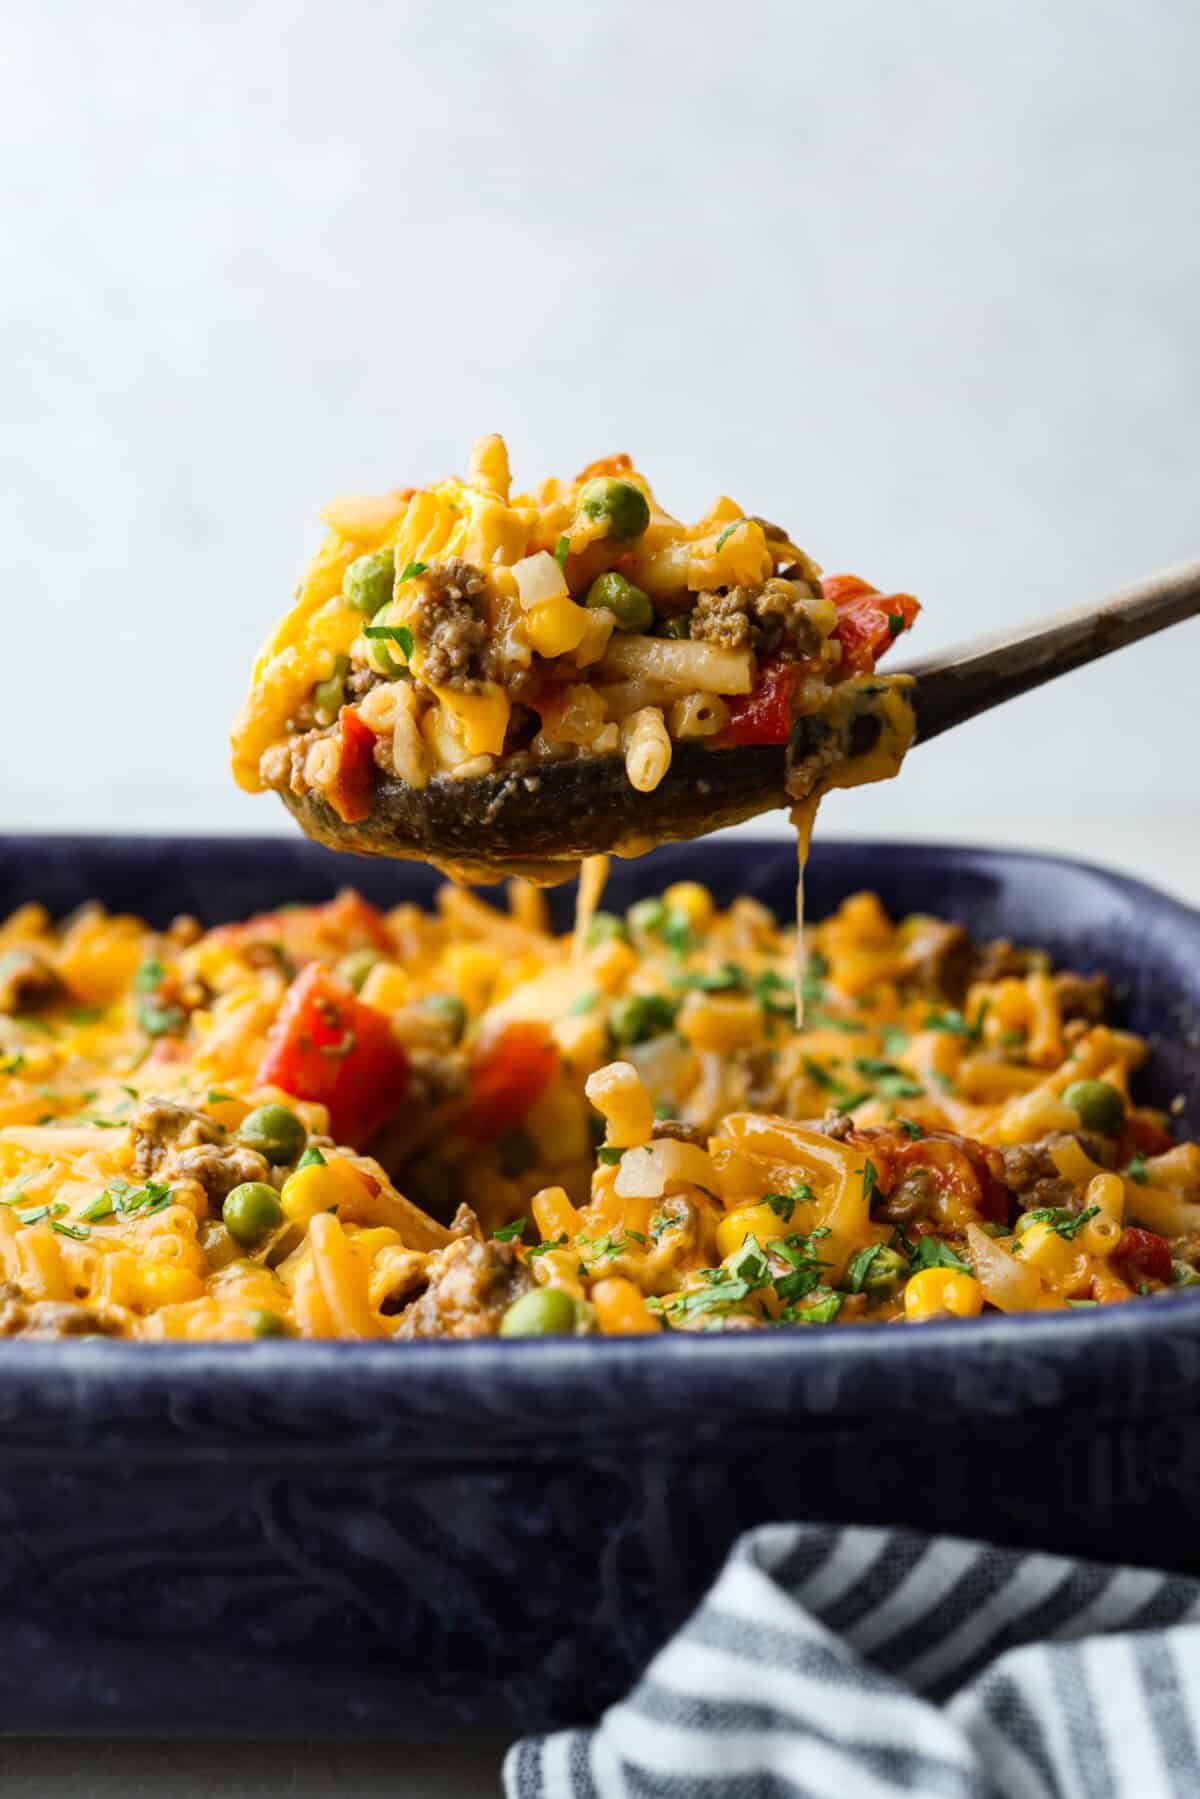
Shipwreck casserole is the ultimate “use what you’ve got” comfort food! Layer it with rice, potatoes, or pasta, toss in any veggies on hand, and make it as cheesy as you like. It’s hearty, budget-friendly, and nearly impossible to mess up!
Why This Nostalgic Recipe Never Gets Old
Built for Flexibility: Whether you’ve got rice, potatoes, or pasta on hand, this recipe adapts to whatever’s in your pantry.
Inexpensive to Make: Born in the Depression era, it proves that simple ingredients can still make a hearty, satisfying meal.
Family-Pleaser: Picky eaters? No problem. You can just add the veggies and cheese everyone likes and skip what they don’t.
Shipwreck Casserole Ingredients
Protein: Use ground beef, sausage, turkey, or chicken, whatever you like best. For extra flavor, toss in some crumbled bacon! Always pre-cook and drain the meat (unless it’s very lean) to avoid excess grease.
Veggies: Stick with about 3–4 cups. Fresh, frozen, or canned all work. Peas, carrots, and corn are classics.
Tex-Mex Twist: Add bell peppers, jalapeños, beans, and a few teaspoons of taco seasoning for a fun flavor boost.
How to Make Shipwreck Casserole
I’m a huge fan of this Shipwreck Casserole! On busy nights when I don’t know what to make. If you love hearty, comforting meals, you should also try my Hobo Casserole and Shepherd’s Pie.
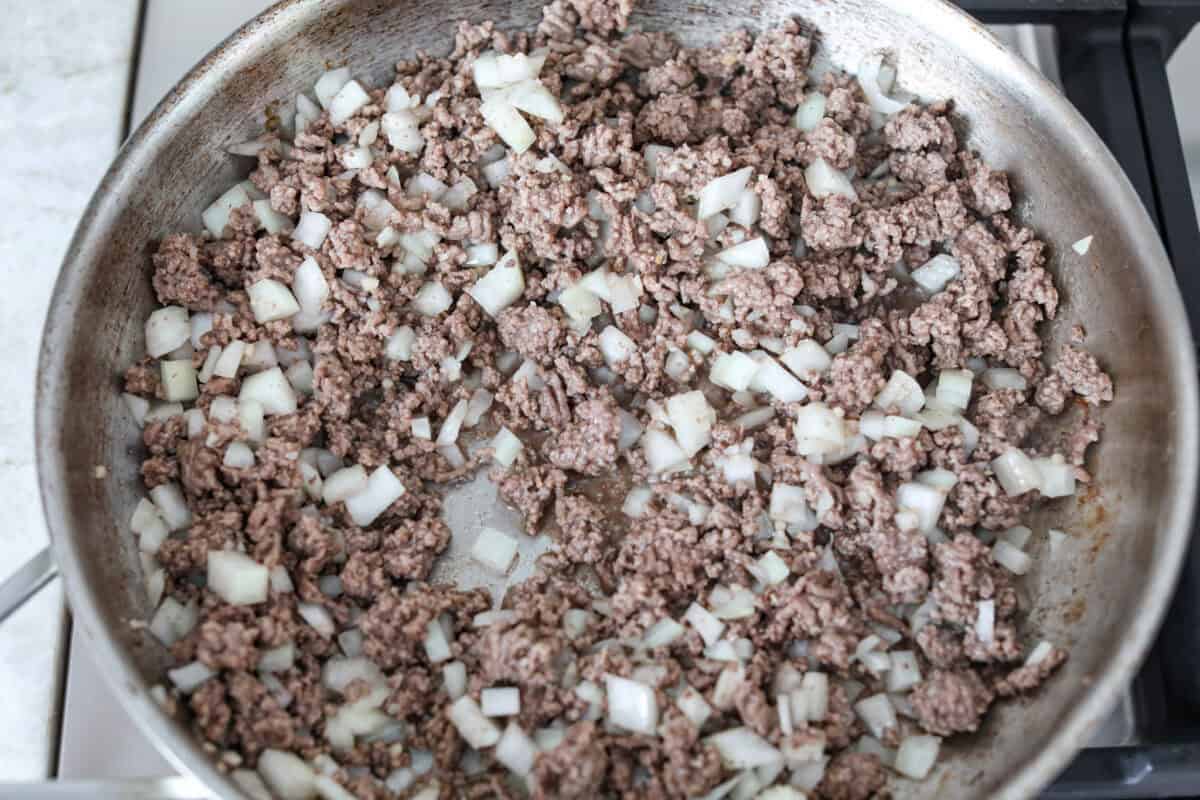
Cook Beef: Preheat the oven to 400ºF, and spray a 9 x 13-inch baking dish with nonstick cooking spray. Add ground beef to a large skillet and cook over medium heat until fully browned, about 5 to 7 minutes, breaking up the beef as it cooks. Add diced onion and minced garlic to the skillet and cook for an additional minute.
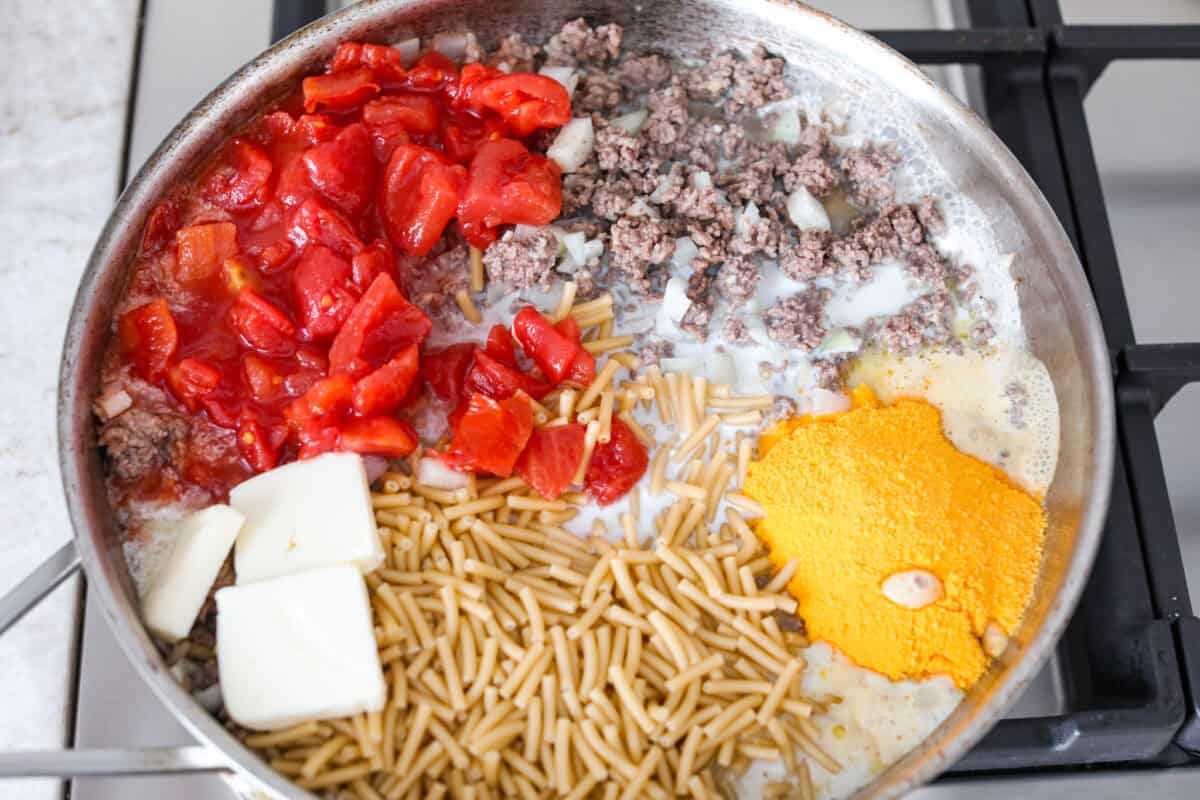
Add Pasta, Milk, and Tomatoes: Add macaroni and cheese along with the cheese packet, diced tomatoes, milk, and butter to the skillet, then stir to combine.
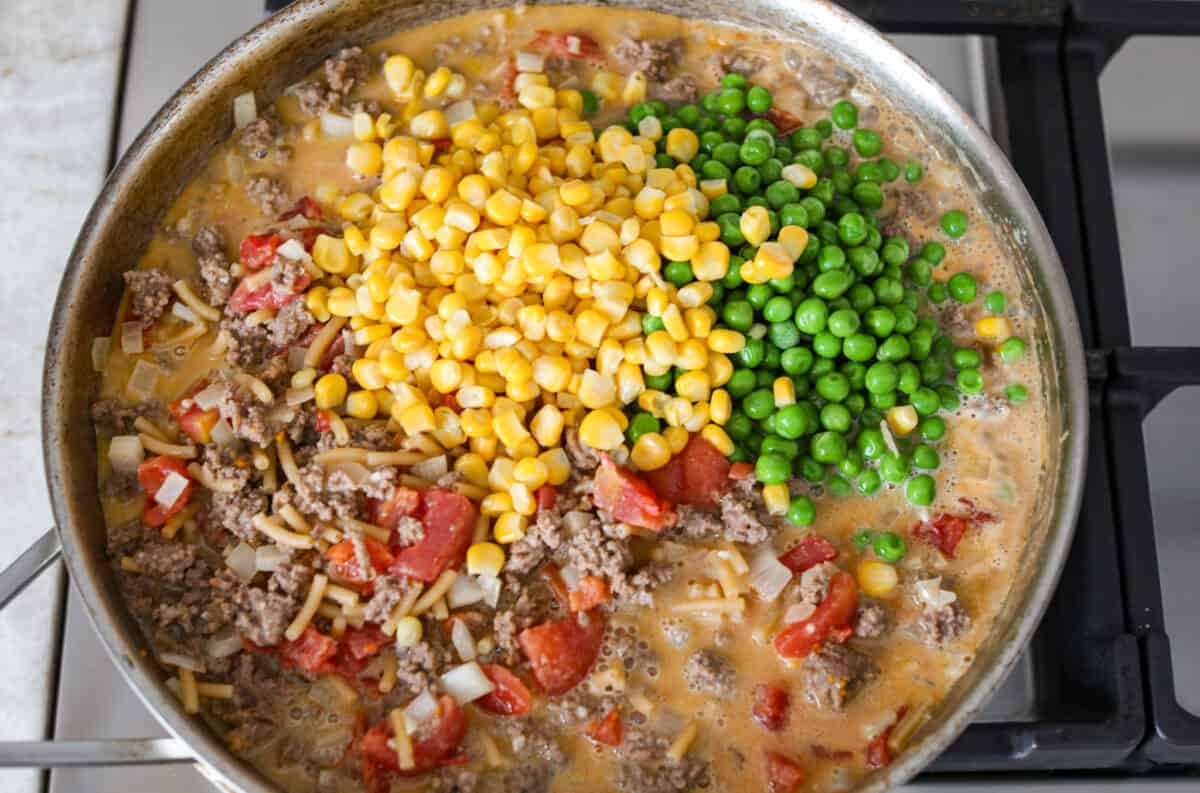
Combine with Veggies: Add peas and corn and bring the mixture to a simmer. Season with salt and pepper to taste.
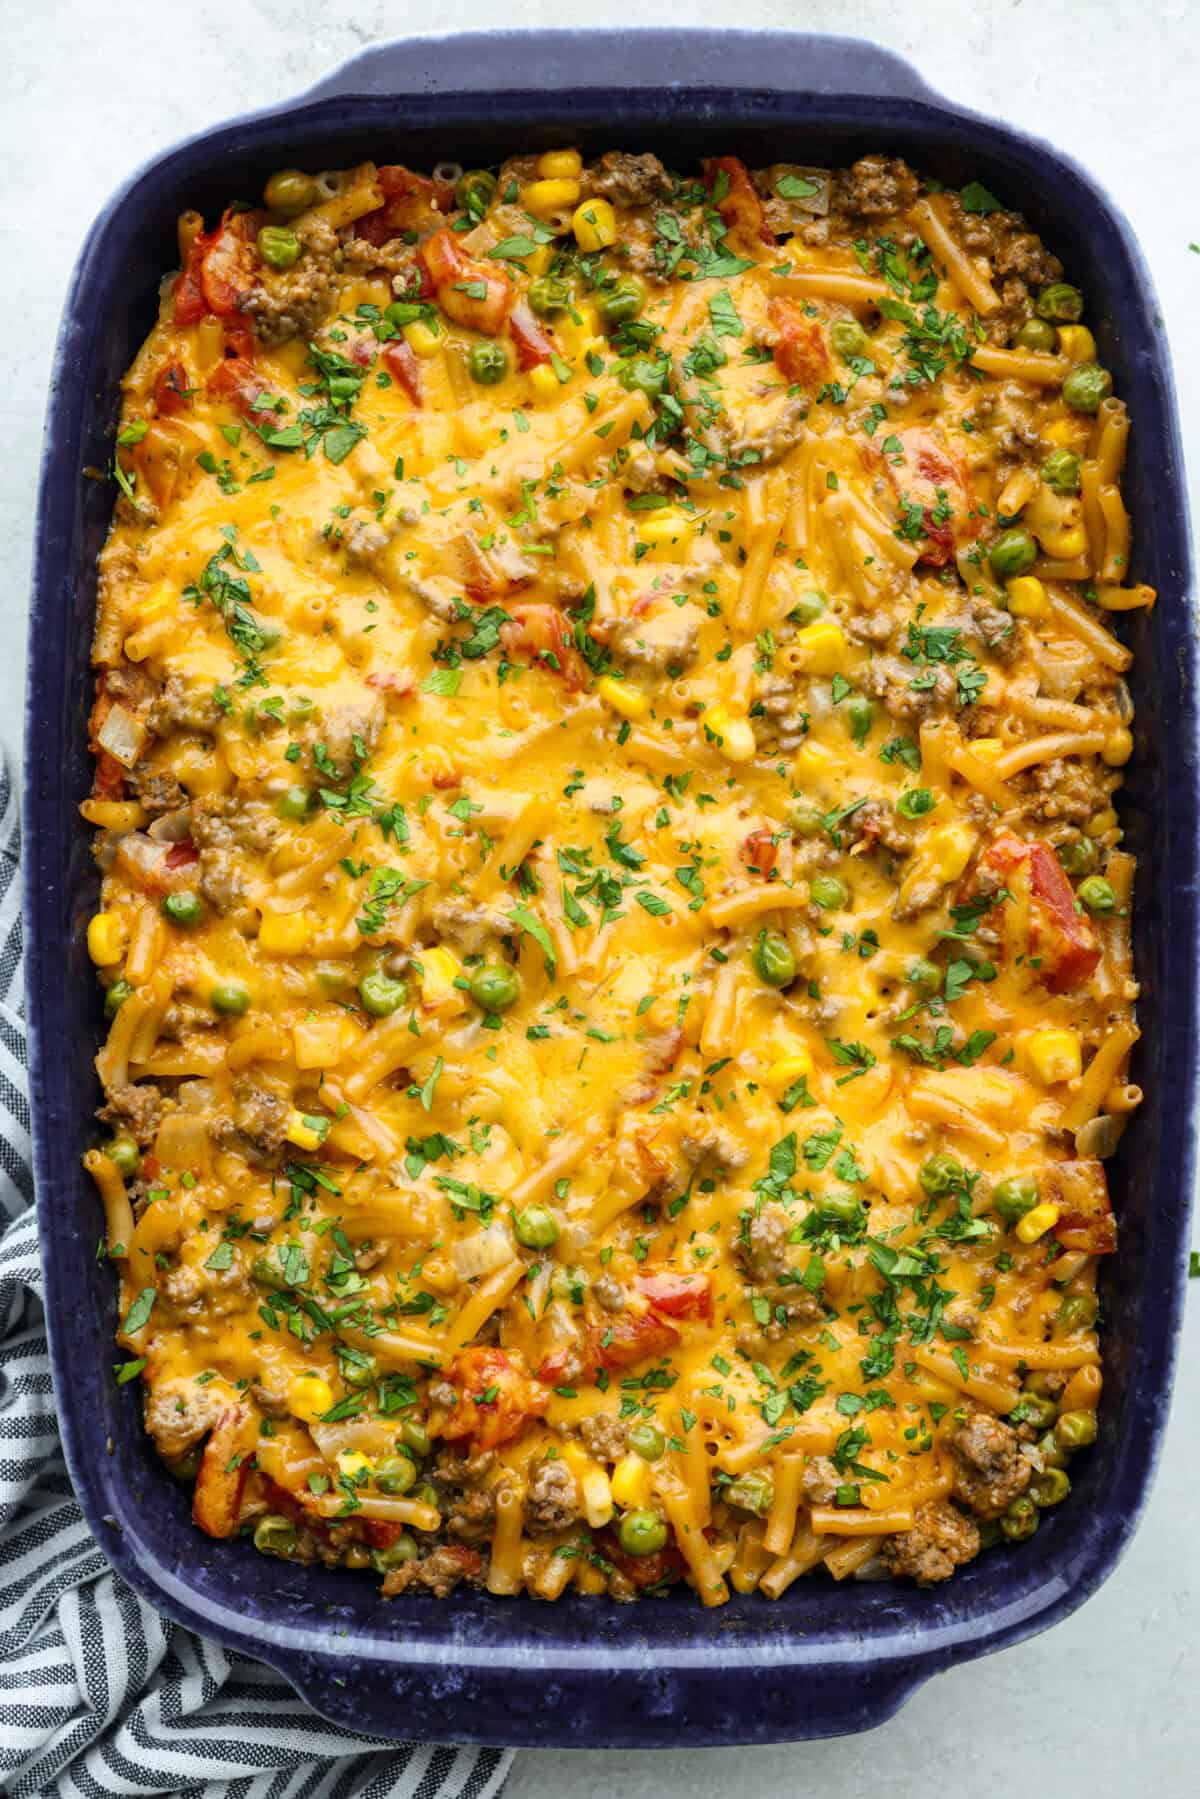
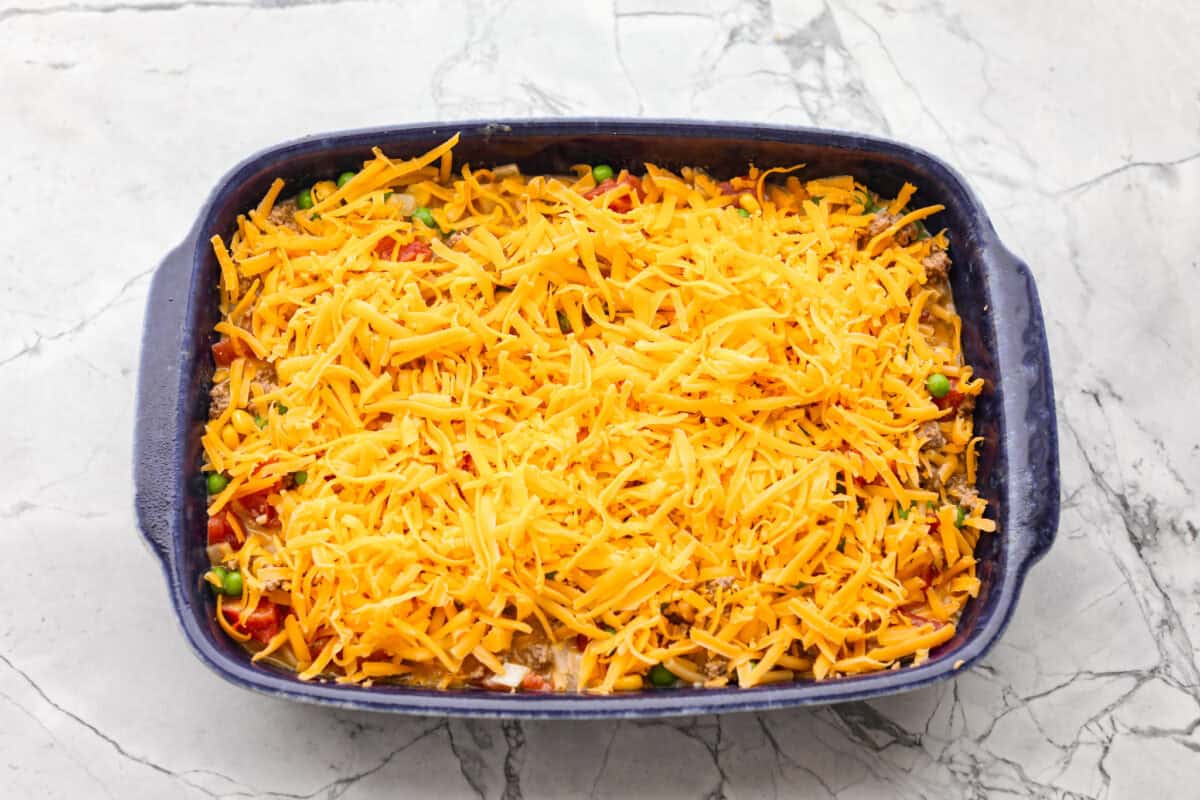
Bake: Transfer the mixture to the prepared baking dish and top with cheddar cheese. Cover with foil and bake for 30-35 minutes, until the cheese is melted and bubbling. Let the shipwreck casserole sit for 5 minutes before serving.
Easy Swaps to Make It Your Own
One of the best things about this casserole is how flexible it is! You can change it up based on what you’ve got in the pantry or what your family loves most. Here are a few simple ways to switch it up:
Mac & Cheese: If using the kind with cheese sauce (not powder), cut the milk to 1 cup and skip the butter.
Potato Version: Skip the mac and cheese, milk, and butter. Spread 4–5 cups of frozen hash browns on the bottom, top with the meat and veggies, then bake 50–60 minutes until the potatoes are tender and the cheese is bubbling.
Rice Version: Leave out the mac and cheese, milk, and butter. Spread ½ cup uncooked long-grain rice in the bottom, mix ⅔ cup water into the meat and veggie mixture, then pour it over the rice. Bake for about 1 hour, adding 5 minutes at a time until the rice is fully cooked.
Preheat the oven to 400 degrees Fahrenheit, and spray a 9 x 13-inch baking dish with nonstick cooking spray.
Add 1 pound lean ground beef to a large skillet and cook over medium heat until fully browned, about 5 to 7 minutes, breaking up the beef as it cooks. Add 1 cup diced onion and 1 tablespoon minced garlic to the skillet and cook for an additional minute.
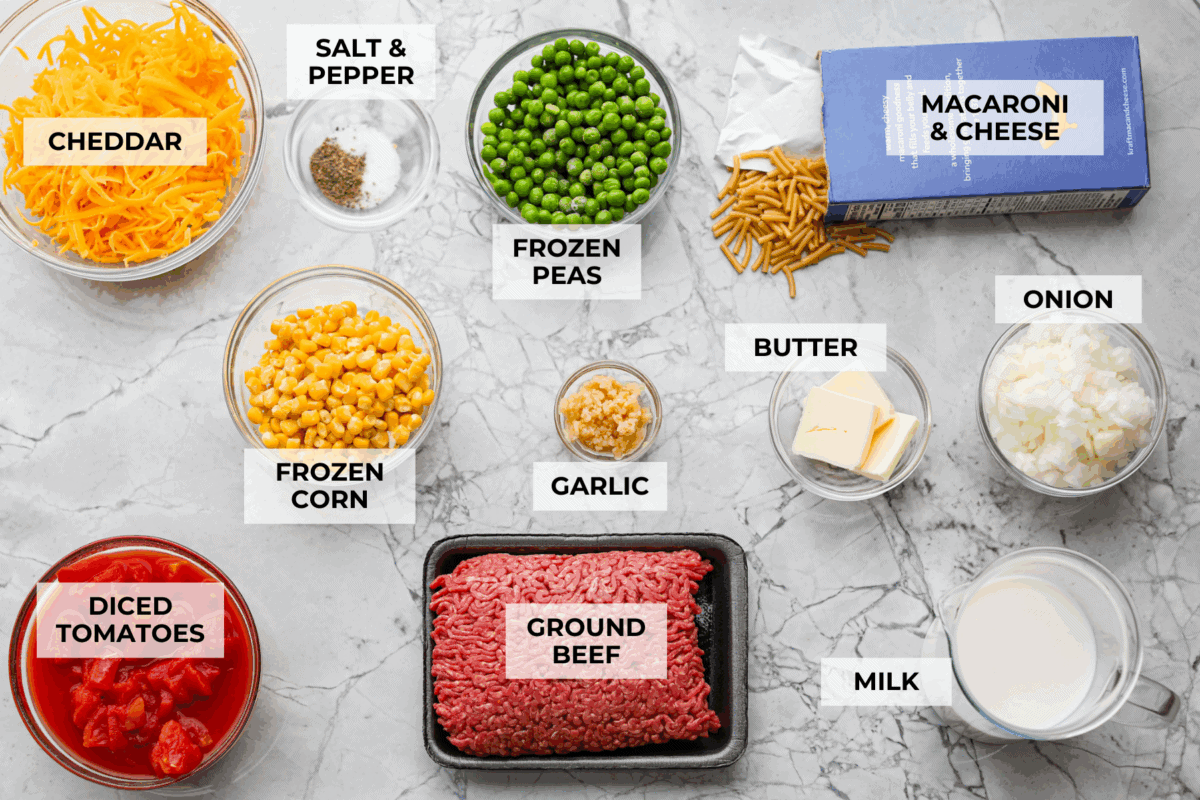
Add 1 (7.25-ounce) box macaroni and cheese, along with the cheese packet, 1 (10-ounce) can diced tomatoes, 1 ¼ cup milk, and 3 tablespoons salted butter to the skillet and stir to combine. Add 1 cup frozen peas and 1 cup frozen corn and bring the mixture to a simmer. Season with salt and pepper to taste.
Transfer the mixture to the prepared baking dish and top with 2 cups shredded cheddar cheese. Cover with foil and bake for 30-35 minutes, until the cheese is melted and bubbling. Let the casserole sit for 5 minutes before serving.
Notes
Storage Instructions
In the Refrigerator
Store leftovers in an airtight container.
Keeps fresh for up to 5 days.
Reheat in the microwave in 30-second increments until heated through.
In the Freezer
Freeze the fully cooked casserole for up to 3 months.
Thaw overnight in the refrigerator.
Bake at 375ºF for 30–40 minutes, or until the center reaches 165ºF.
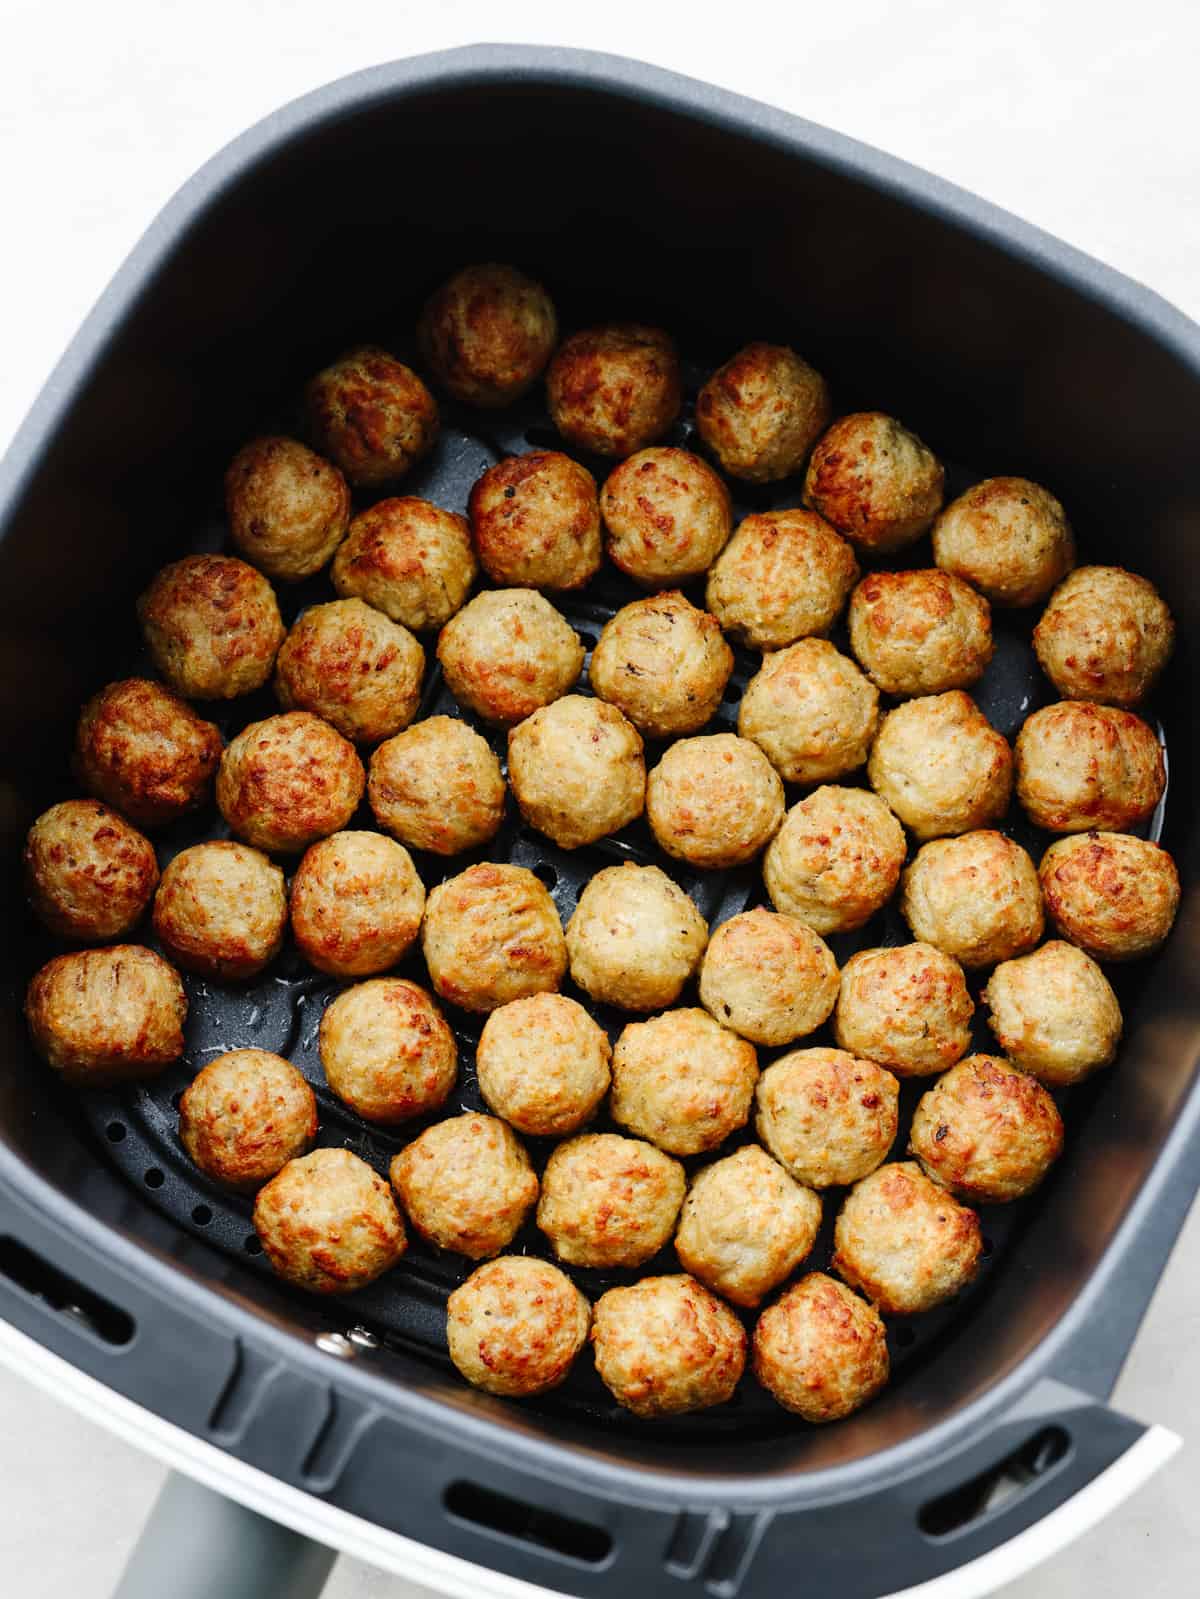
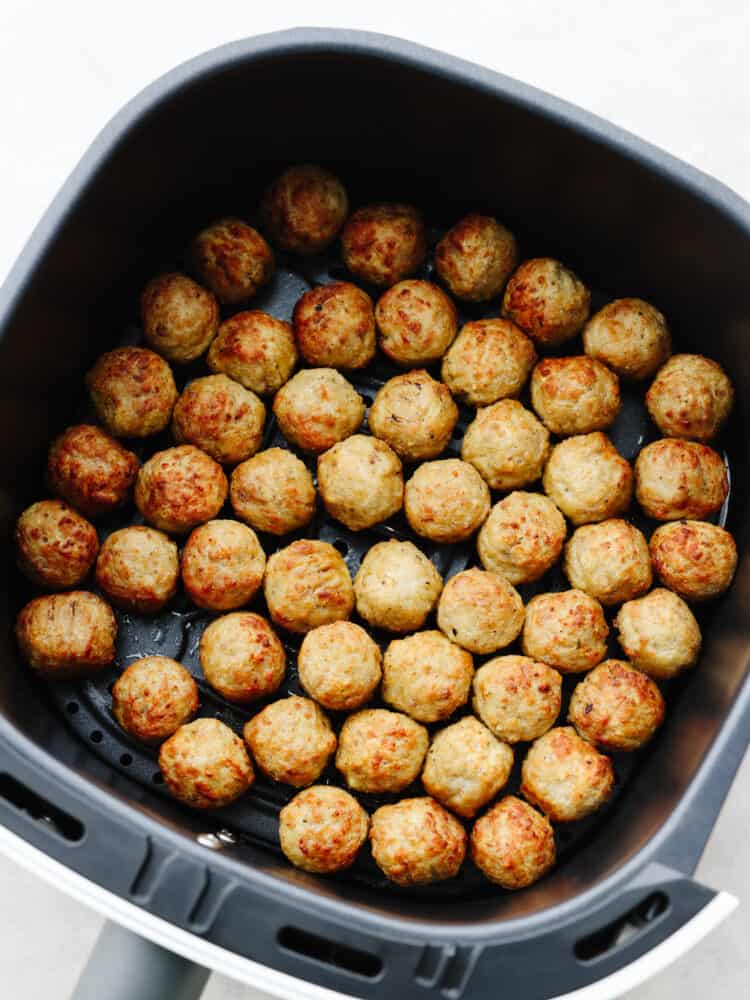
Okay, hear me out, frozen meatballs in the air fryer are a total game-changer. They come out crispy on the outside, juicy on the inside, and taste like you made them from scratch (but without the effort). I use them ALL the time!
Why You’ll Never Cook Meatballs Any Other Way
No guessing, no stressing! Toss frozen meatballs in the air fryer, and they come out perfectly crispy on the outside and juicy on the inside.
Dinner in record time! Forget waiting on the oven. The air fryer gets them hot and golden in minutes, and cleanup is basically nothing.
So many uses! Sub sandwiches, pasta night, party appetizers. These meatballs are ready to use with whatever you’ve got going on.
You can quickly pop the meatballs straight from the freezer into the air fryer! They are perfect for an appetizer, an after-school snack, or on top of spaghetti for dinner. Here is my tried-and-true method for making the perfect meatball!
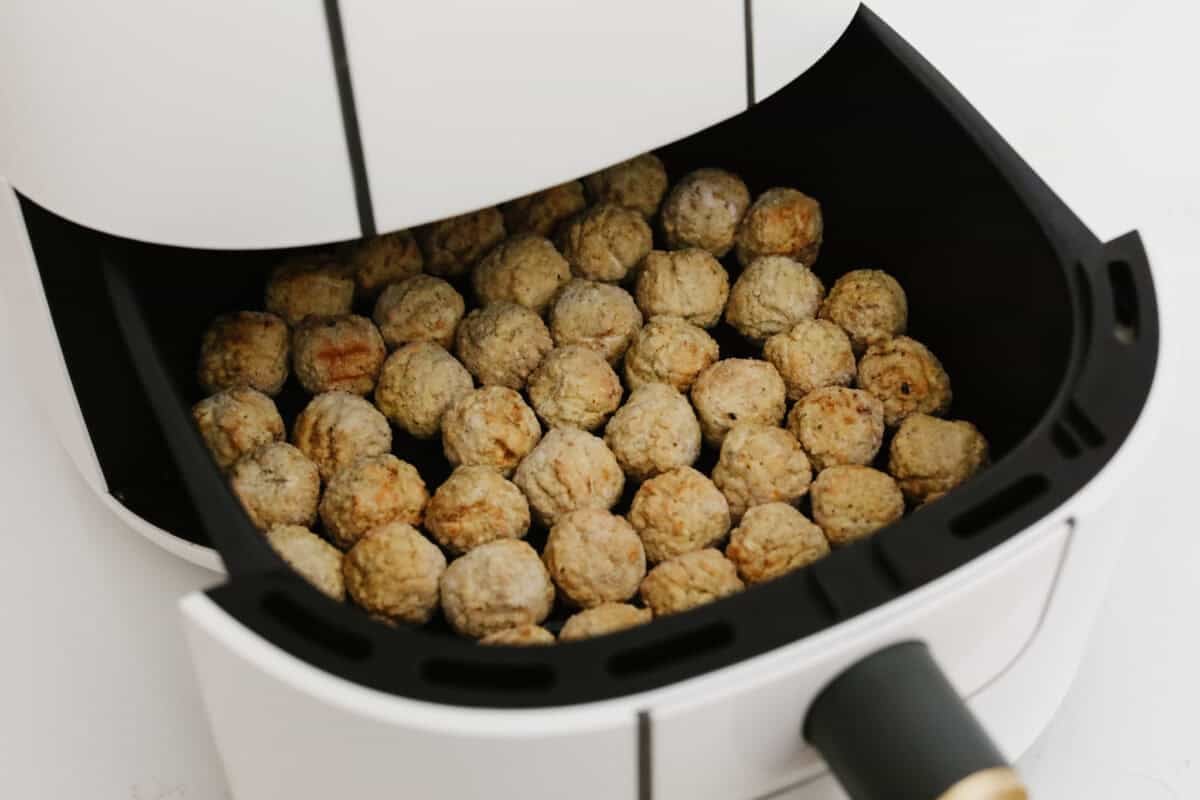
Arrange: Place half the bag of frozen meatballs into the air fryer basket, then close and air-fry for 10 minutes at 400°F. (Cooking times may vary.)
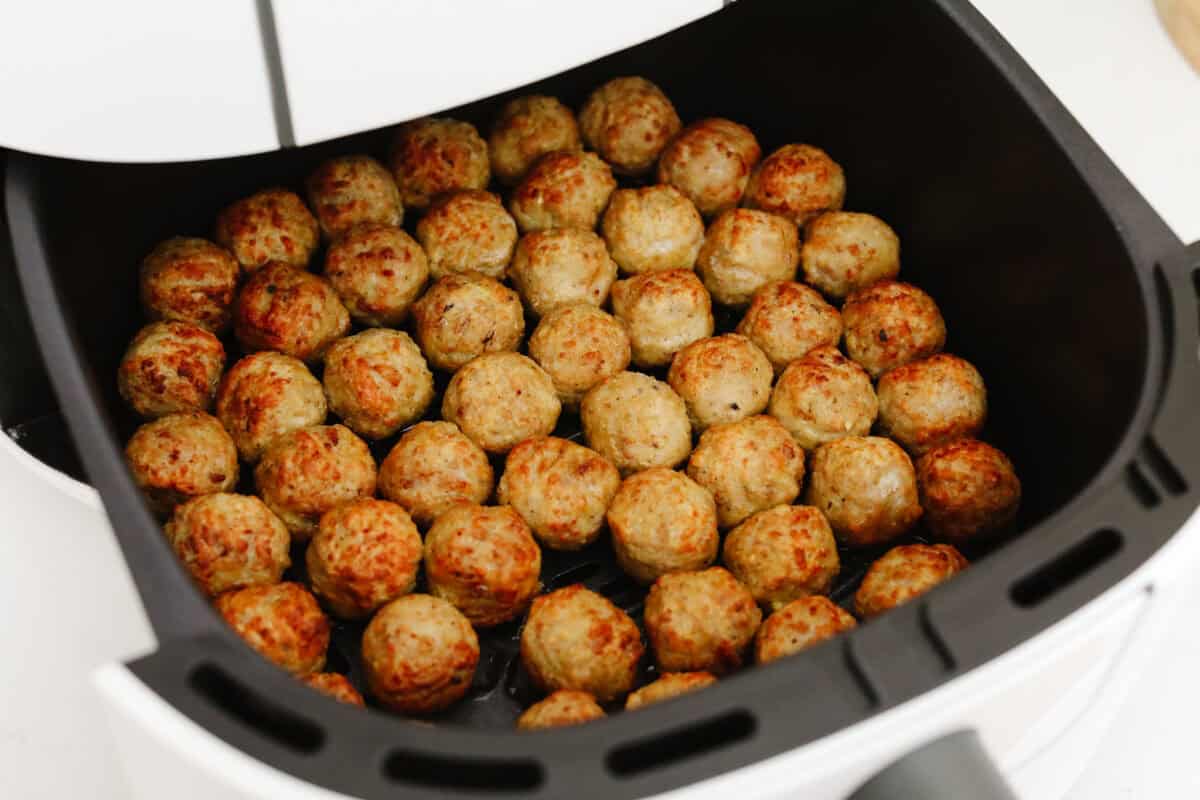
Cooking Meatballs: Shake the basket halfway through so the meatballs cook evenly. *Don’t skip this step! Cook the other half of the meatballs if desired. Enjoy as an appetizer or entree! Serve with your favorite sauce, BBQ, or marinara, or use them in any dish that requires meatballs.
Alyssa’s Pro tip
Don’t crowd: Cook the meatballs in a single layer, leaving a little space between them so they can crisp up on all sides. Continue to cook for an additional 1-2 minutes if you want an extra-crispy outside.
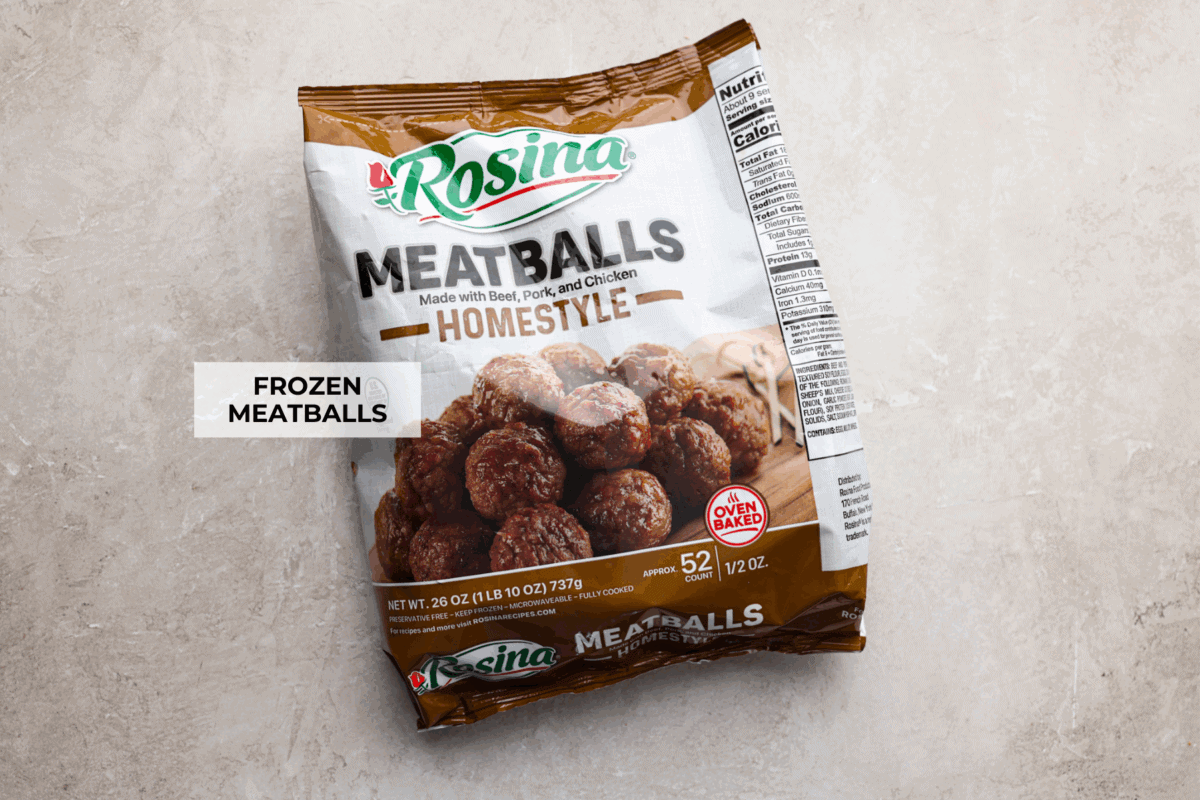
Place half of 1 (26-ounce) bag frozen meatballs into the basket of the air fryer.
Close the basket and air fry the meatballs for 10 minutes at 400 degrees Fahrenheit.
Shake the basket halfway through to evenly cook the meatballs.
Continue to cook for an additional 1-2 minutes if you want your meatballs extra crispy on the outside. Cook the other half of the meatballs if desired.
Enjoy as an appetizer or entree! Serve with bbq sauce, marinara sauce, on top of spaghetti, or in any recipe that requires meatballs.
Video
Notes
Storing and Reheating
Storage: Keep leftover meatballs in an airtight container in the fridge for 3–5 days.
Reheating: Pop them back in the air fryer at 400°F for about 5 minutes.
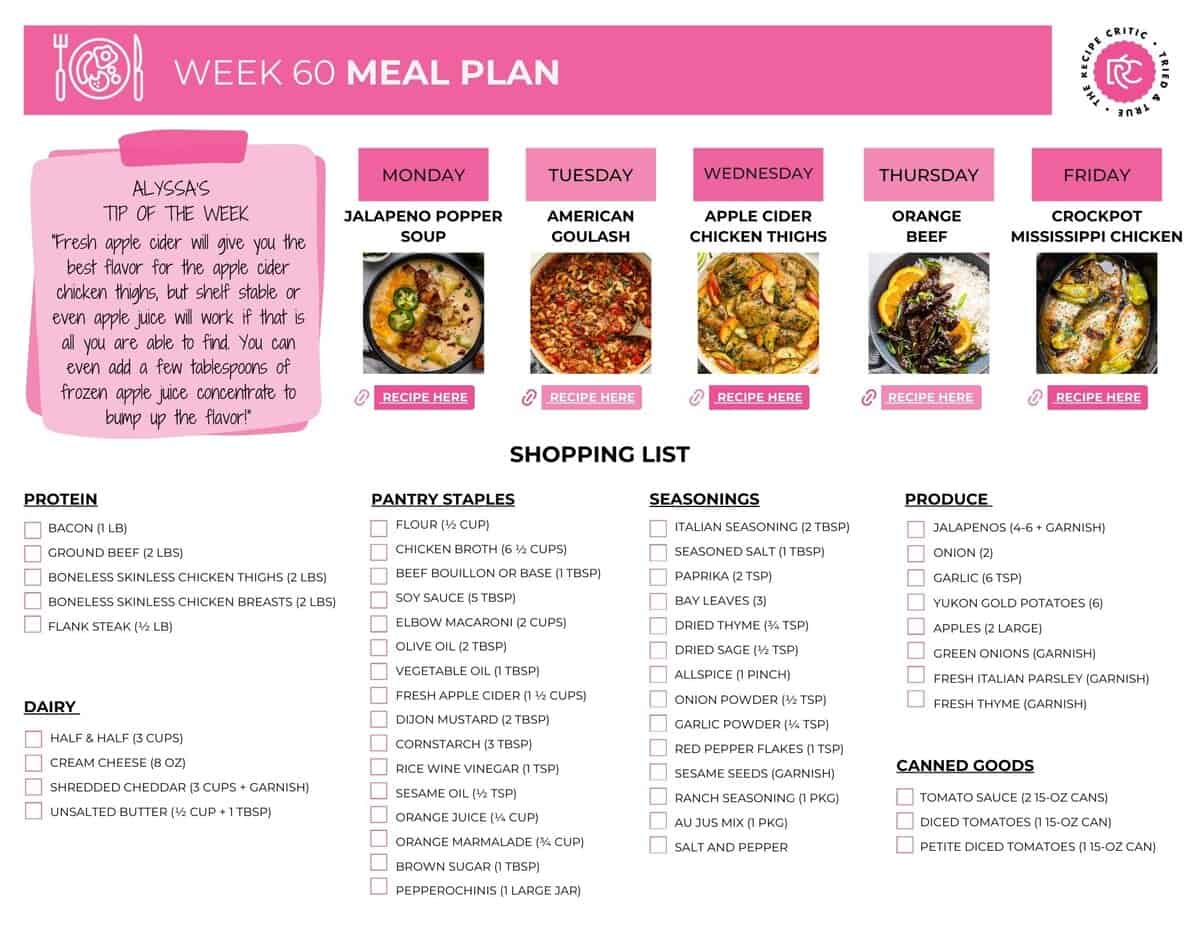
This week’s meal plan is all about big flavors and easy prep to keep dinnertime stress-free! If you are interested in checking out my other weekly meal plans, click here.
What’s for Dinner?
If you’ve been waiting for the right time to jump on the meal plan train, this is it! These meals are hearty, comforting, and packed with flavor your whole family will love! Check out what’s on the menu:
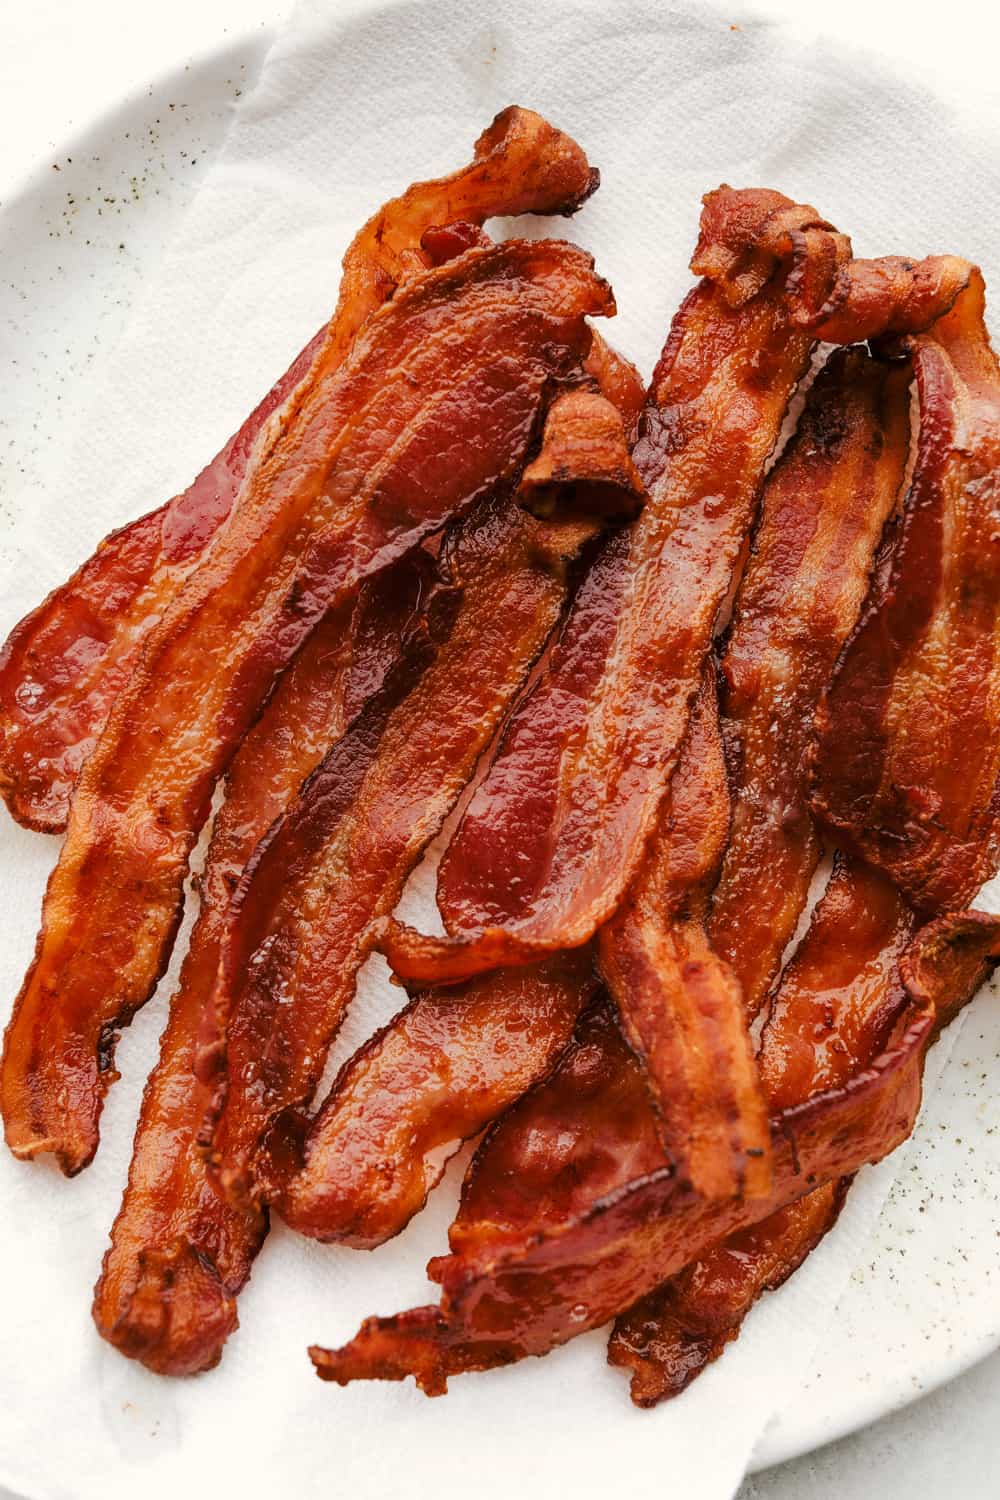
A classic appetizer made into a hearty soup! Creamy, cheesy, and packed with potatoes, jalapenos, and bacon, this jalapeno popper soup is the perfect comfort food for lower temperatures.
Cozy, hearty, and full of flavor, this American Goulash combines tender pasta, seasoned ground beef, and a rich tomato sauce for the ultimate one-pot comfort food.
Crispy on the outside, tender on the inside beef strips coated in a tangy orange glaze. This orange beef recipe is the perfect weeknight dinner and sure to become a new family favorite! It may even rival your favorite takeout spot.
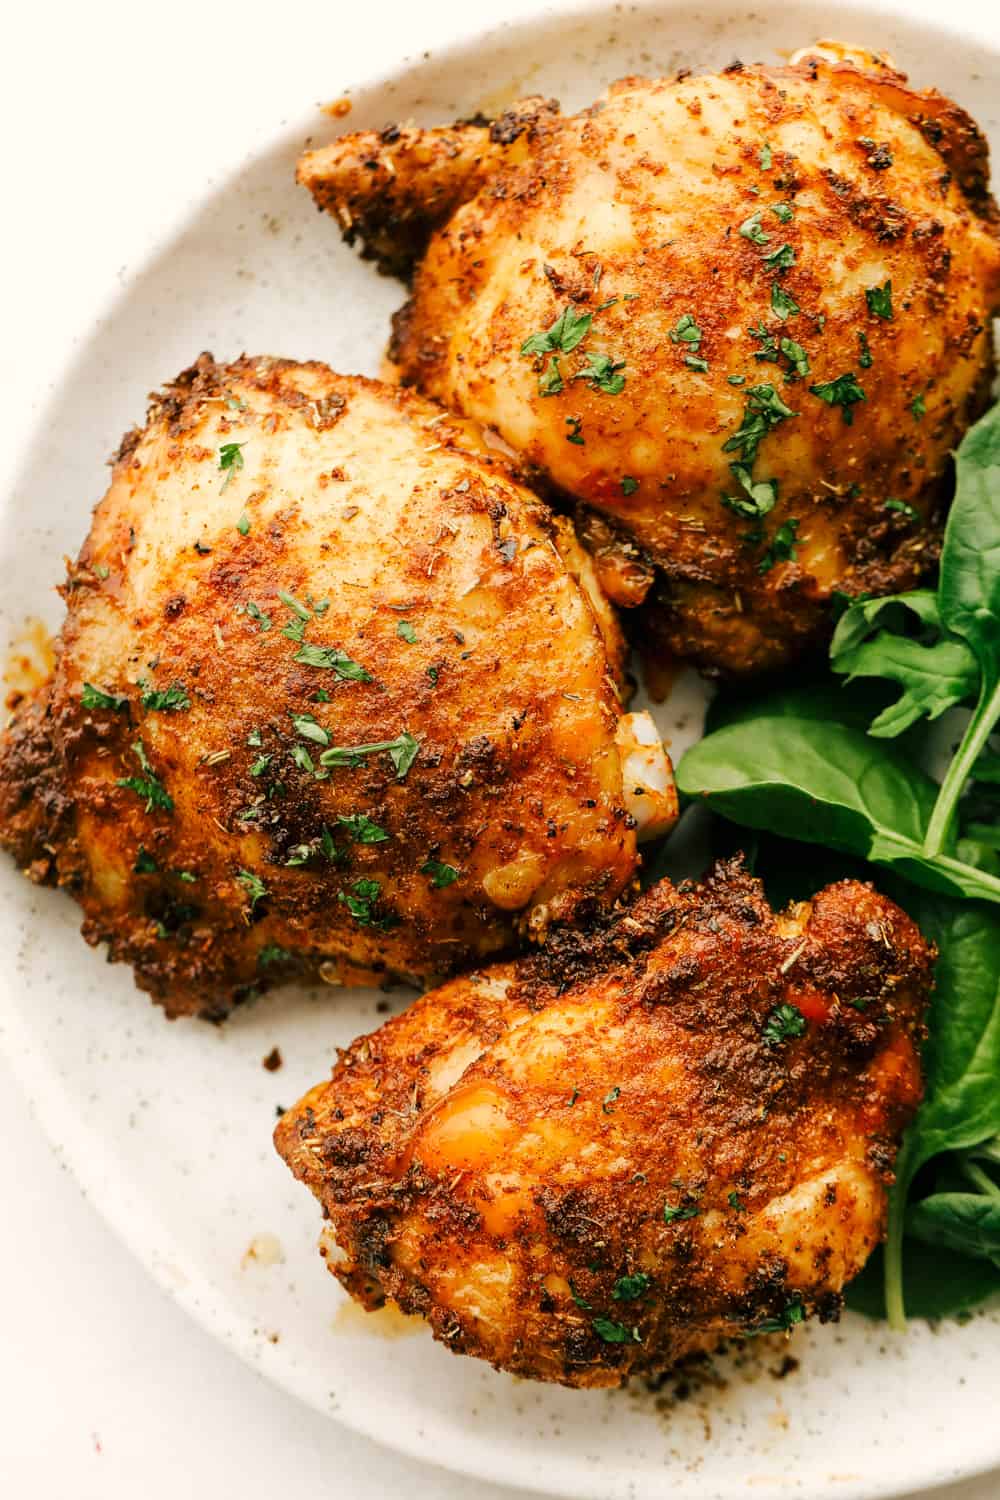
Crockpot Mississippi Chicken is all about fork-tender, juicy chicken that's bursting with flavor. You've got zesty pepperoncini peppers, ranch seasoning, au jus mix, and butter that slow cooks with it for some seriously amazing flavor. It's the perfect Southern comfort meal!
This free weekly meal plan is just what you need to get your week started. It provides five meals that will feed 6 people, and it includes a free shopping list.
Why Should I Meal Plan?
If you haven’t tried meal planning yet, this is your sign. Trust me, it’s about to change your life. Here’s why I swear by it:
Time saver: No more 4 PM “what’s for dinner?” panic. You already know the plan, the groceries are waiting, and dinner actually gets on the table.
Money saver: Planning keeps your cart (and budget) under control. You can shop smarter, buy in bulk when it makes sense, and stretch leftovers into something new.
Bye-bye takeout: When you’ve got meals ready to go, you’re way less tempted to hit the drive-thru. More savings, more homemade meals, and it just feels good.
I only meal plan Monday through Friday because we sometimes have plans over the weekend, or I have leftovers that we can use to finish off the week. If you have leftovers, be sure to store them properly in an airtight container in the fridge.
Air Fryer Egg Rolls are everything you love about your favorite takeout appetizer, made right at home! They’re crispy, crunchy , loaded with flavorful chicken filling , and cooked without the hassle of deep frying. The Egg Roll Upgrade You’ll Love Perfectly Crispy Without Deep Frying: The air fryer gives these egg rolls an irresistibly crunchy exterior while keeping the filling juicy and tender. Better Than Takeout: Loaded with seasoned chicken, crunchy veggies, and bold Asian-inspired flavors, they’re fresh, flavorful, and made right in your own kitchen. Great for Dinner or Appetizers: Serve them with a good sweet chili sauce or sweet and sour sauce s for an easy weeknight meal, game day snack, or party appetizer everyone will devour. A Reader’s Review These are delicious!! So much healthier than store bought or take-out. Pretty easy to make. – Janice Ingredients For Air Fryer Egg Rolls Gr...